
How to Slice, Weld, Attach, Contour, Duplicate, and Delete
Posted by Savana Price on 13th Aug 2019
In this list I will explain how to Slice, Weld, Attach, Contour, Duplicate, and Delete in Cricut Design Space. Please read carefully and reference the screenshots so you will know exactly how to Slice, Weld, Attach, Contour, Duplicate, and Delete. These instructions are specifically written with Cricut Design Space in mind.
Slice: will cut out the shape or text that is on top or behind a layer. Think of it like a cookie cutter. You can only select 2 layers at a time that are ungrouped. The end result will provide multiple cut out pieces and layers that you can delete or manipulate. Select the 2 layers you want to slice and then right click on your mouse and select Slice or select the Slice button.
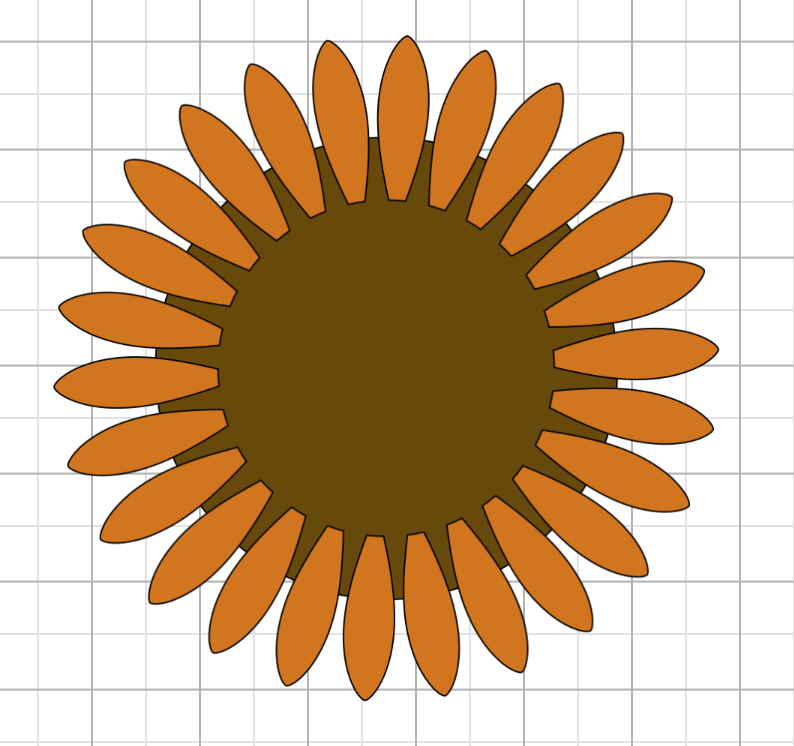
These are the 2 shapes or layers that I want to slice.
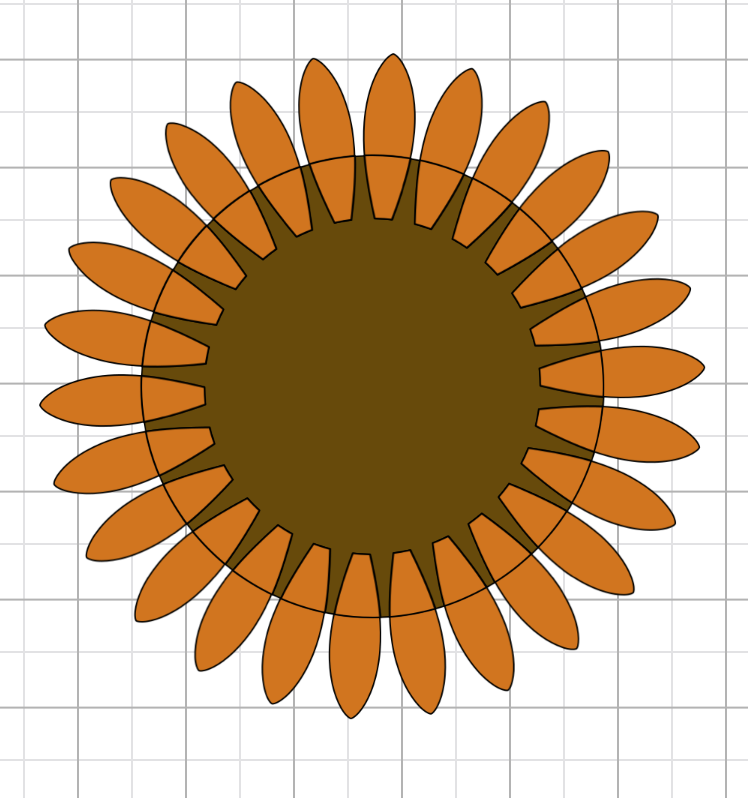
Once I select my 2 layers and click Slice this is what it looks like.
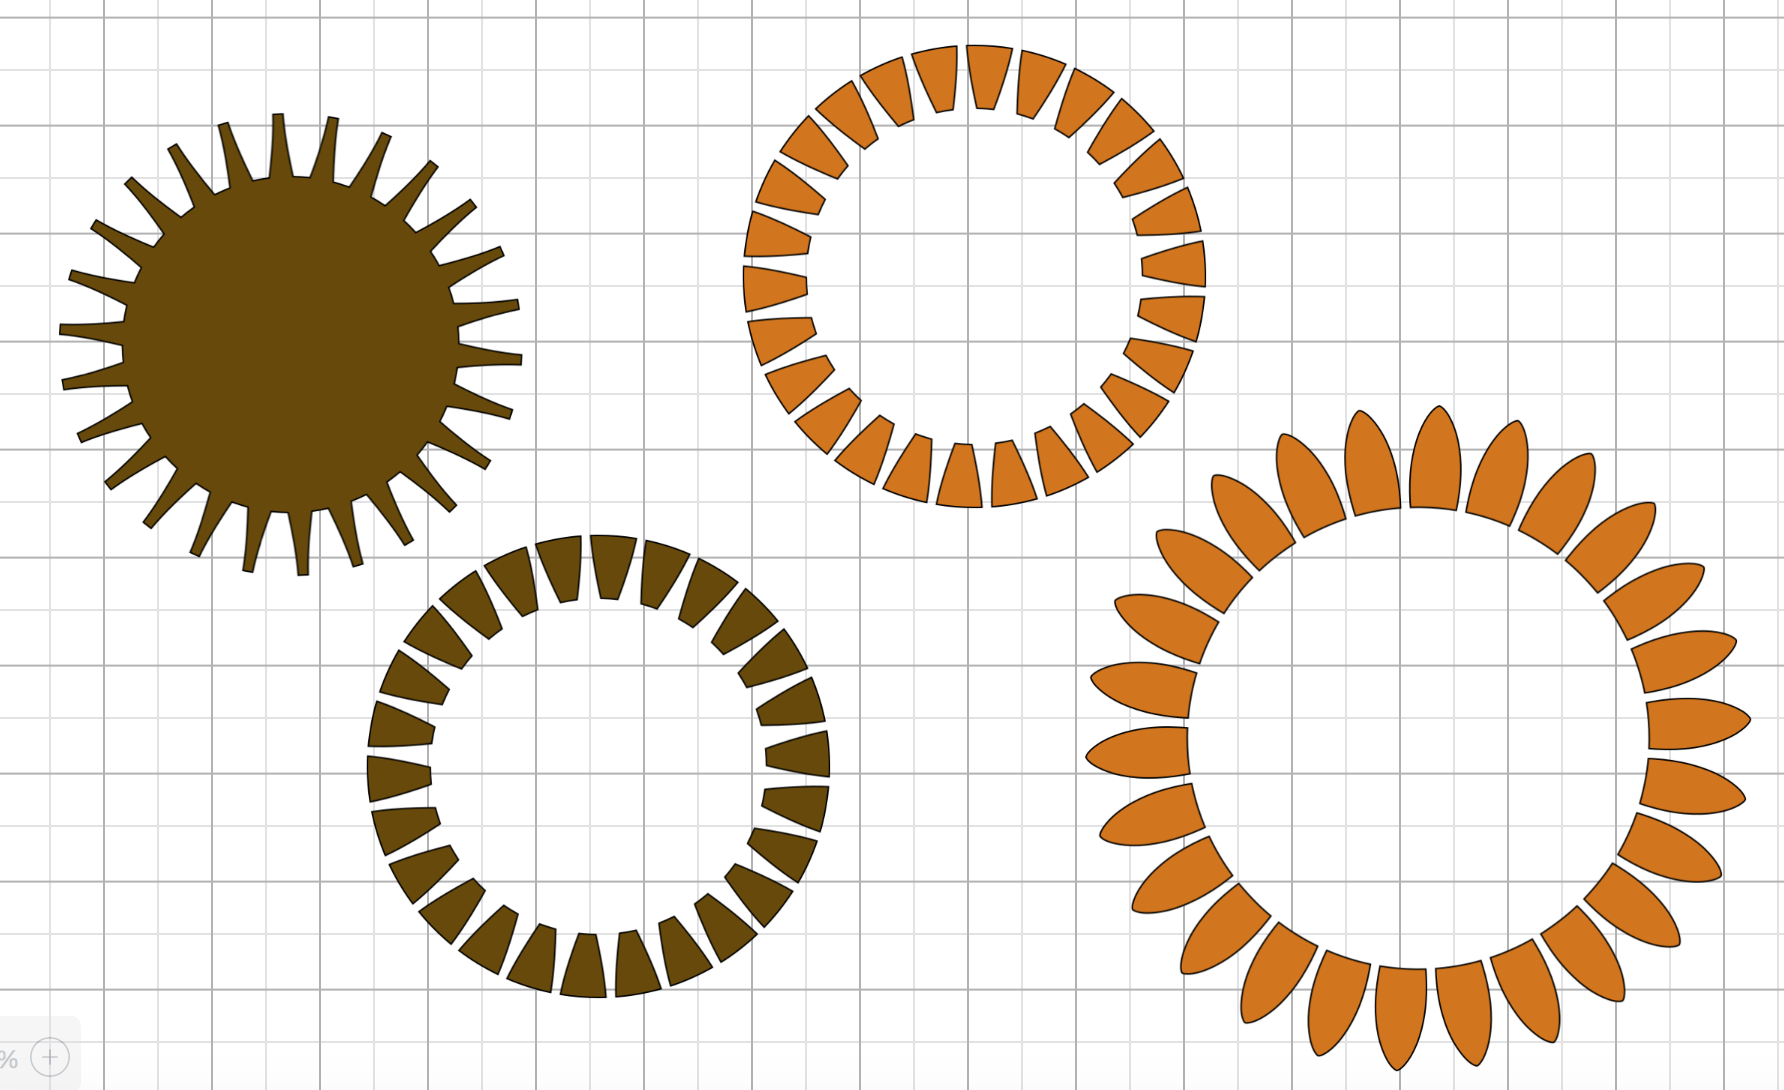
Now I can spread everything out to see how they are Sliced.
Weld: combines 2 or more shapes into one. If shapes or text is spaced out, then weld will combine all parts into 1 single layer. This is especially helpful when dealing with cursive or normal text. Select the layers you wish to weld and right click your mouse to select Weld or select the Weld button.
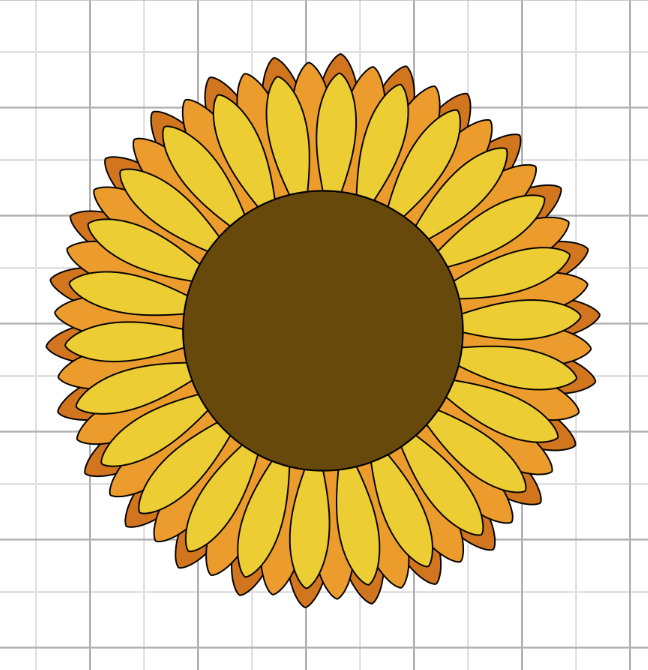
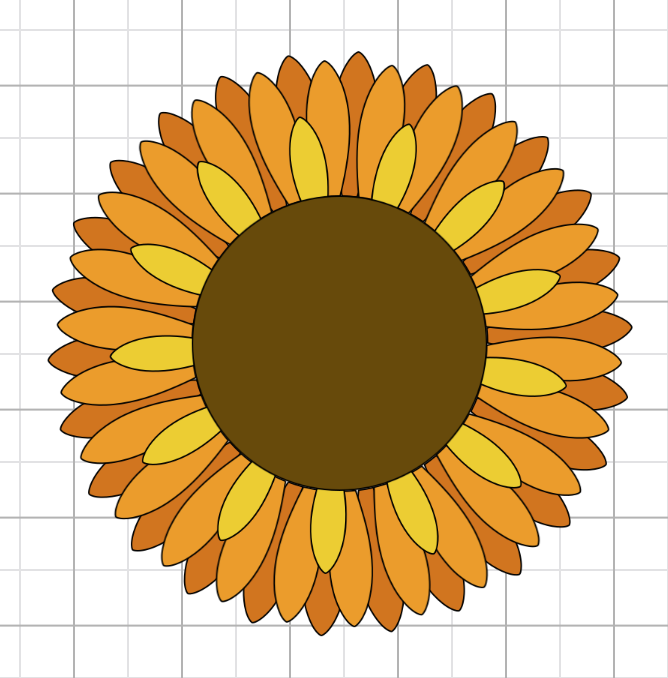
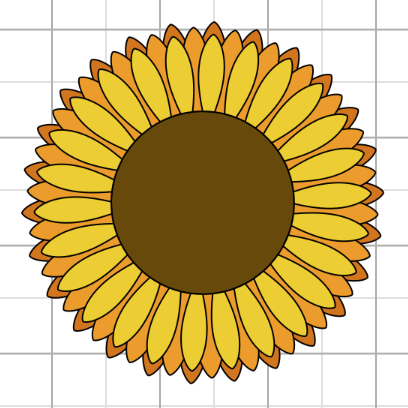
This is my original design that I want welded together.
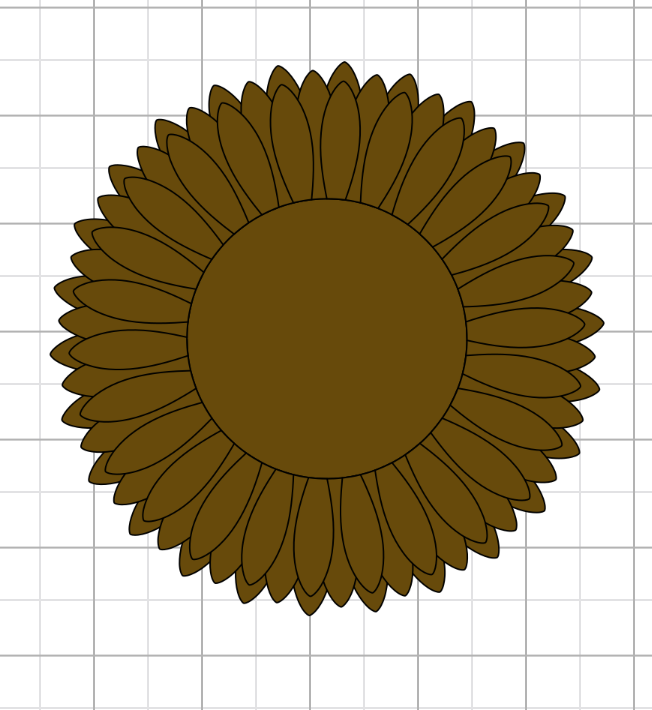
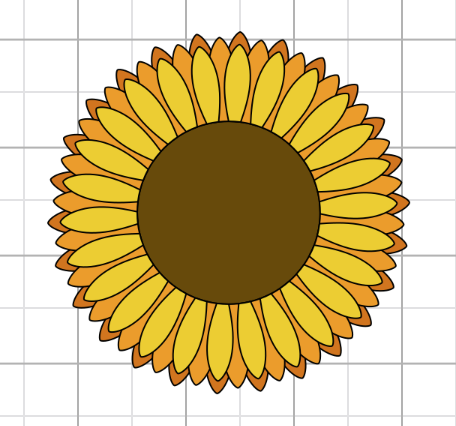
I selected my design and clicked on Weld. This is my final result - all of my layers merged into one single layer.

Attach: keeps separate pieces on the same layer or if pieces are overlapped will cut out the visible shapes and cut lines. You can Detach if you no longer want your pieces attached. When you go to cut you will see that the pieces that are attached are in the exact position you were designing from and will not be scattered. Select the layers you wish to Attach and then right click your mouse and select Attach or select the Attach button.
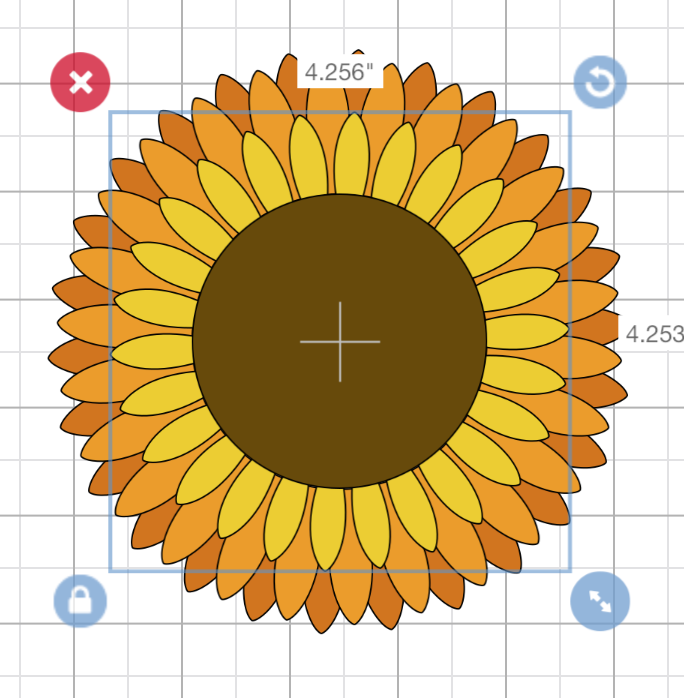
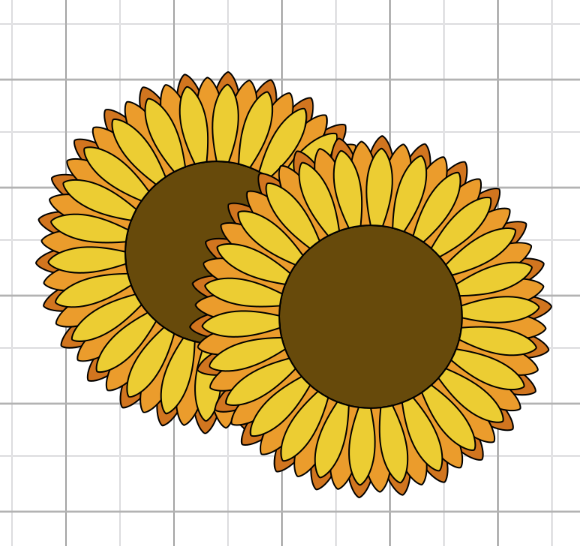
This is the design that I started out with.
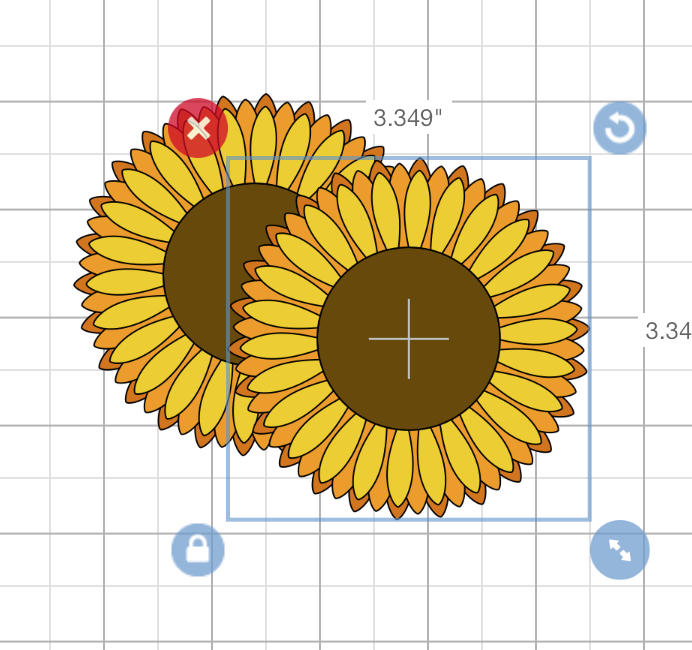
I selected my design and clicked on Attach. Now the design is one color but will still cut out all of the main cut lines. If this were spaced out T E X T then the text that is attached will work exactly how weld works with spaced out text. It will combine it into one cuttable layer.
Contour: allows you to remove parts of the design so they will not be cut out. You can only contour 1 ungrouped layer at a time. Select the layers you wish to Contour and then select the Contour button.
This is the design that I want some parts contoured.

I click on the layer or area that I want to contour. I then select Contour.
I use the dialog box to click on the pieces that I want to hide. Hiding your pieces will make them not cut out.
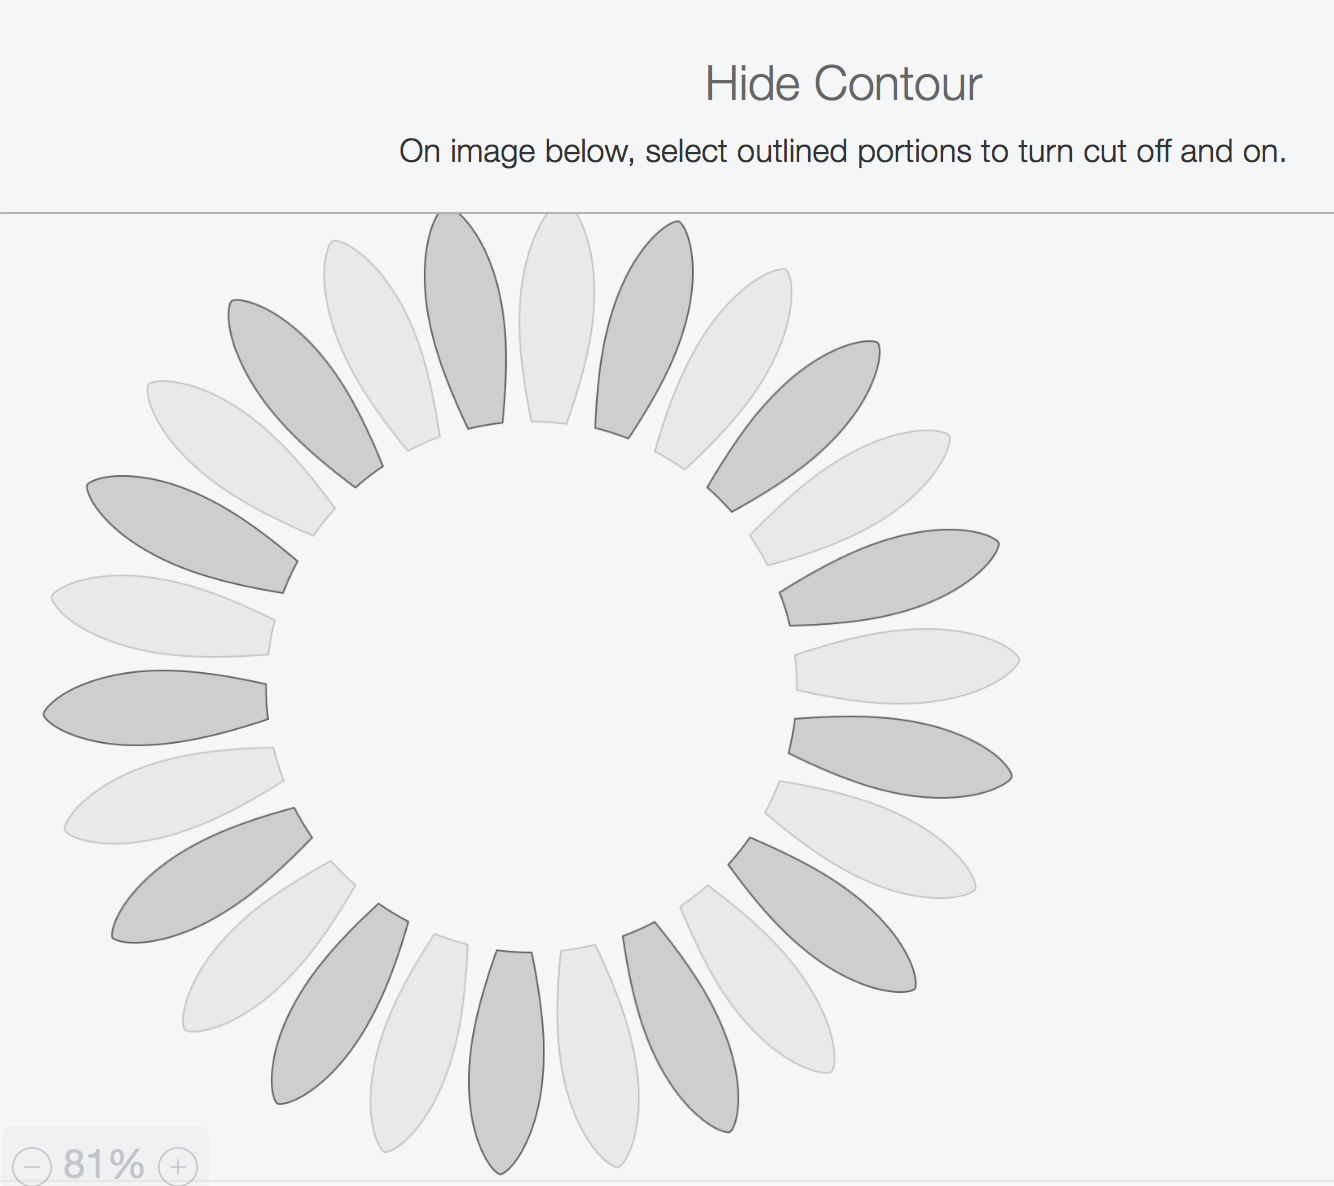
This is my final result when I finished contouring.
Duplicate: is self explanatory. If you would like to duplicate a layer or set of layers you will select the part of the design or the layers that you wish to replicate and then right click your mouse and select Duplicate or select the Duplicate button.
This is the design I want to duplicate.
I clicked on my design and selected Duplicate and then dragged out my new duplicated design.
Delete: is also self explanatory. If you would like to delete a layer or set of layers you will select the part of the design or the layers that you wish to delete and then right click your mouse and select Delete or select the Delete button.
I want to delete one design but keep the other so I select the one design I want to delete and click Delete.
This is my final result - the one design I wanted instead of two.
See Also:
- How to Buy, Download, and Use A Cutting File
- How to Group, UnGroup, Flatten, and Unflatten in Cricut Design Space

![]()