
How to Group, UnGroup, Flatten, and Unflatten
Posted by Savana Price on 9th Aug 2019
First off it is important to know exactly what Group, UnGroup, Flatten, and Unflatten will do when used in your cutting software. Then I will explain how to Group, UnGroup, Flatten, and Unflatten in Cricut Design Space. These instructions are specifically written with Cricut Design Space in mind.
What is Group, UnGroup, Flatten, and Unflatten?
Group: to group 2 or more layers into the same layer
UnGroup: to break up a layer group whether it be a group of 2 layers or a layer grouped multiple times into separate layers (please note if your layers are grouped more than once you may need to keep ungrouping them if you want them to separate out).
Flatten: will group all layers into one flattened layer in order to use with the Print then Cut feature. The flattened layer will be named something like “flatten” in your layers
Unflatten: separates flattened layers
You do not need to worry about Flatten or Unflatten if you are not using the Print then Cut feature.
How do I Group, UnGroup, Flatten, and Unflatten?
Group: select all of the layers you would like to group together by clicking your mouse and dragging on the design or by using a keyboard shortcut to select multiple layers in your layer panel. You can select multiple layers on your layer panel by pressing CTRL and then selecting your layers on PC or by pressing Command and then selecting your layers on Mac. After you have selected your layers, right click your mouse and then select Group or click on the Group button. You can create groups inside of groups if you wish. Creating groups inside of groups may make it easier to work with when dealing with a lot of text or a complex design.
When would I need to Group? Groups in Design Space are mostly to be able to work with the layers more efficiently. It will not keep positions in place when you go to cut. Groups are great when wanting to manipulate part of the design. You can easily stretch or resize the selection. Overall they do not provide a lot of assistance in your cutting software as you can manipulate the design anyway by selecting parts of the design or the layers.
Examples of using the Group option:
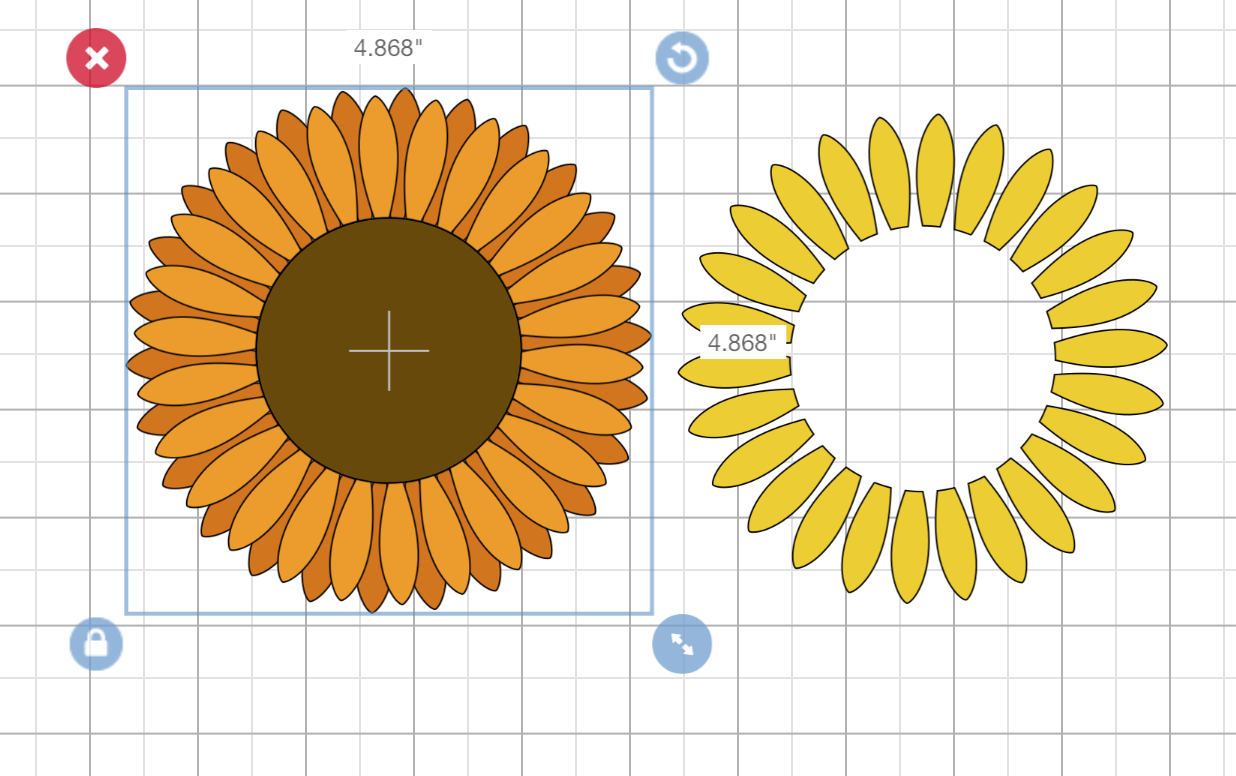
Select on all of the design that you wish to group and select Group. This will make it into one layer to manipulate.
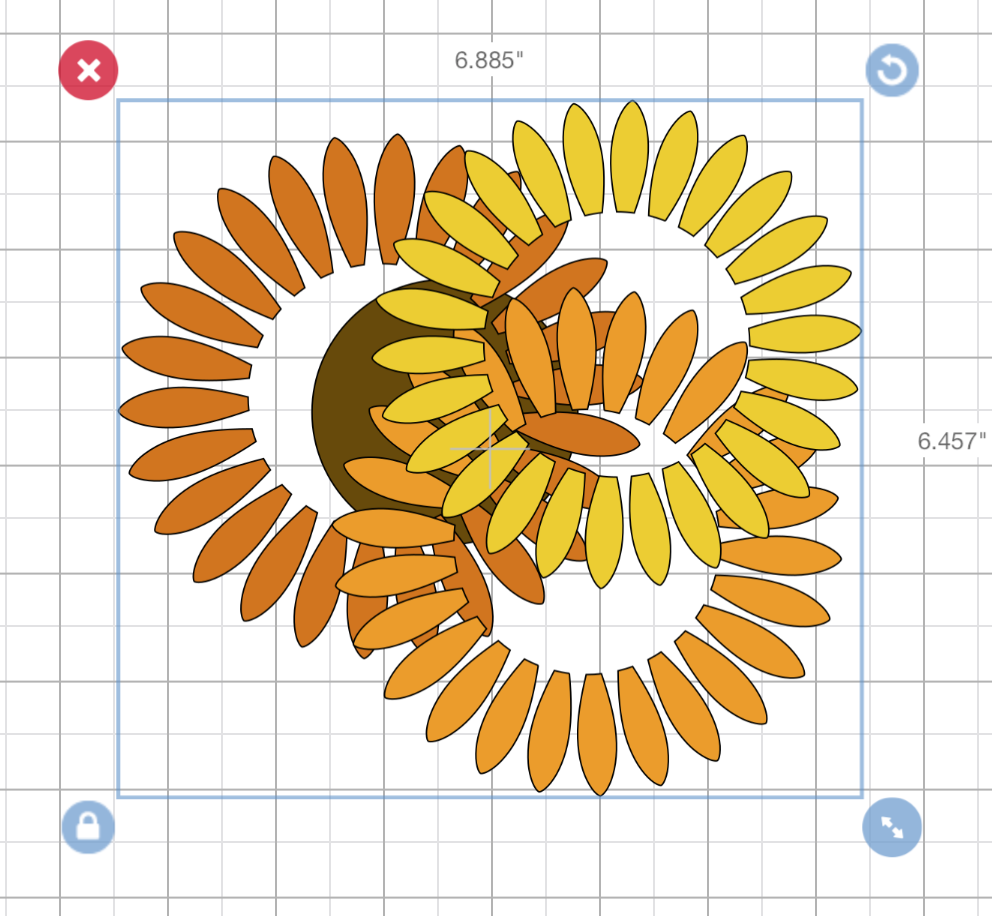
You can now easily manipulate your grouped layer such as stretching it.
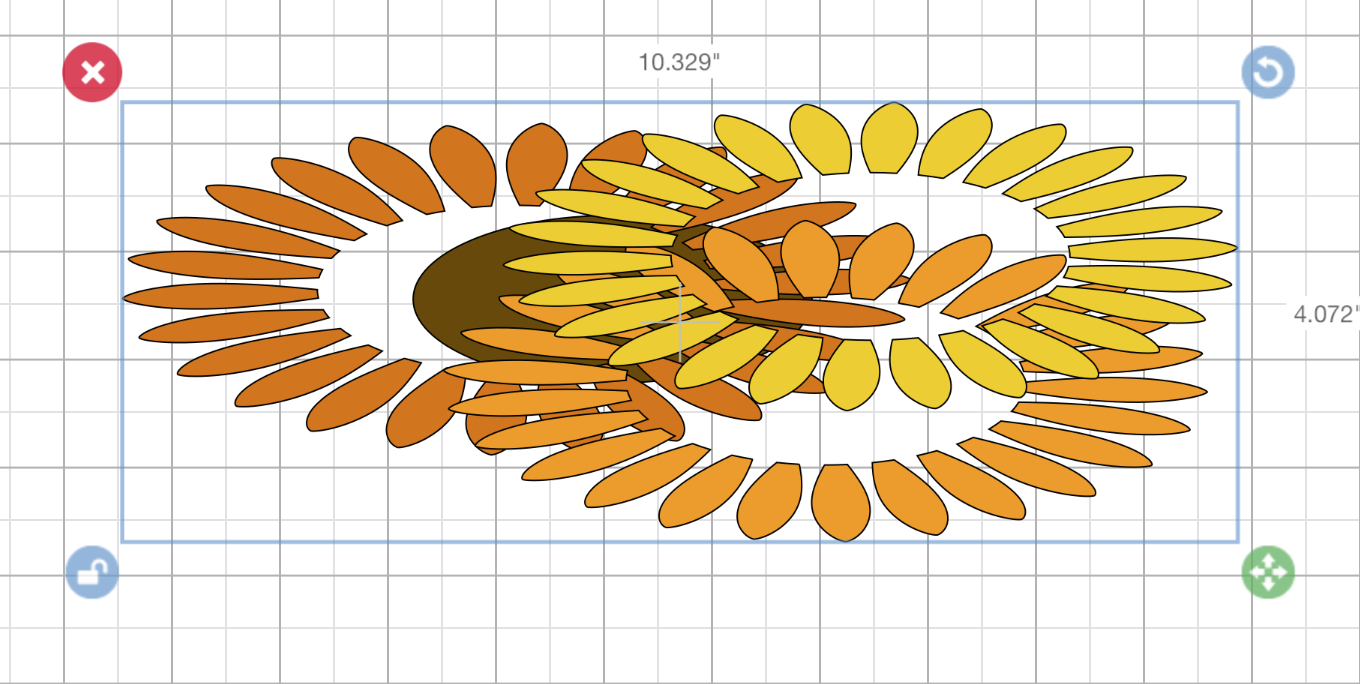
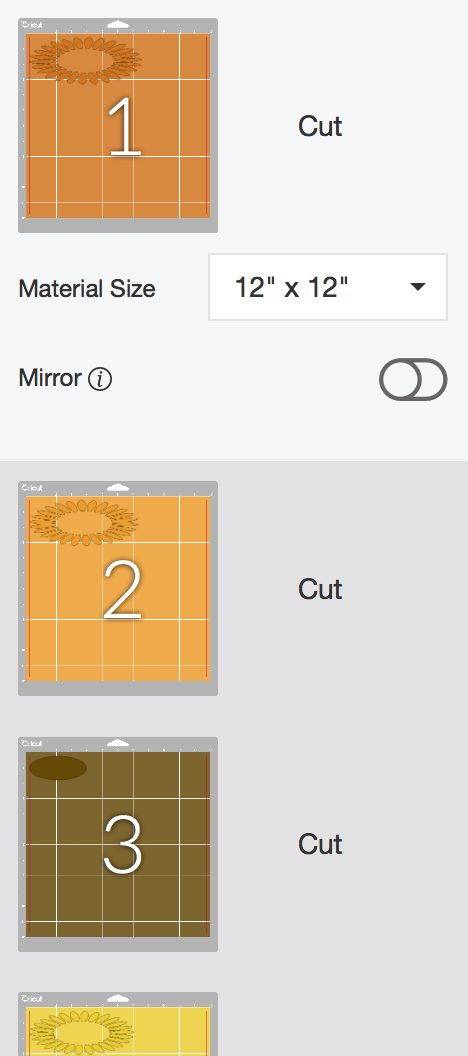
Note in the example below that a grouped layer WILL NOT cut out as one layer.
UnGroup: once a design is grouped together it is very easy to UnGroup. Select the layer you wish to ungroup and then click right on your mouse and select UnGroup or click on the UnGroup button. A layer may be grouped multiple times so if you would like it ungrouped further you will need to keep selecting it again and clicking UnGroup.
When would I need to UnGroup? The only reason you may want to UnGroup is to manipulate or change a part of the design. This could be a physical change or it can be by changing a part of the design by attaching, welding, or using another option whereas the rest of the design will not use the same option.
Examples of using the UnGroup option:
I selected my grouped design and then selected UnGroup.
I pull off my top layer to see that this design still has more groups. I can keep selecting my design and clicking on the UnGroup button to separate it out further.
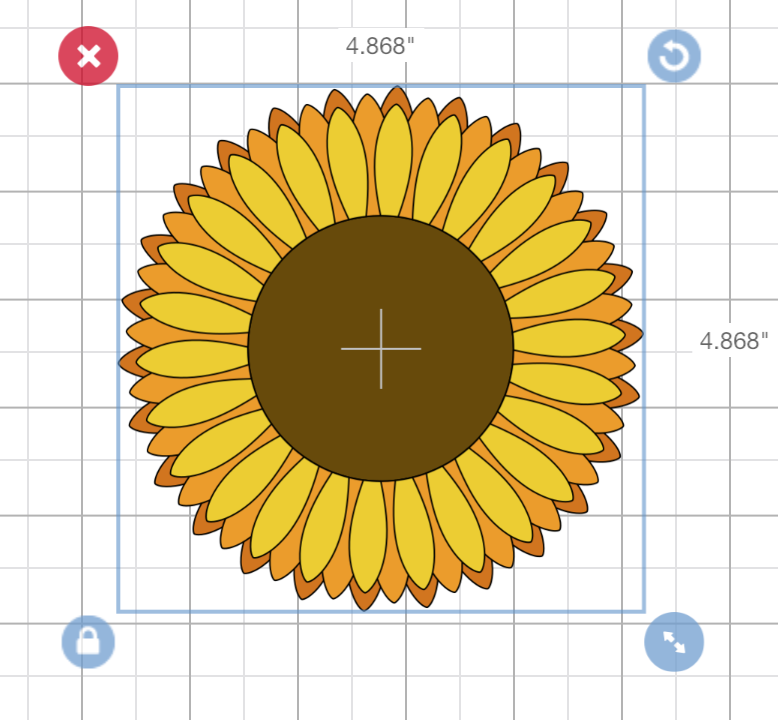
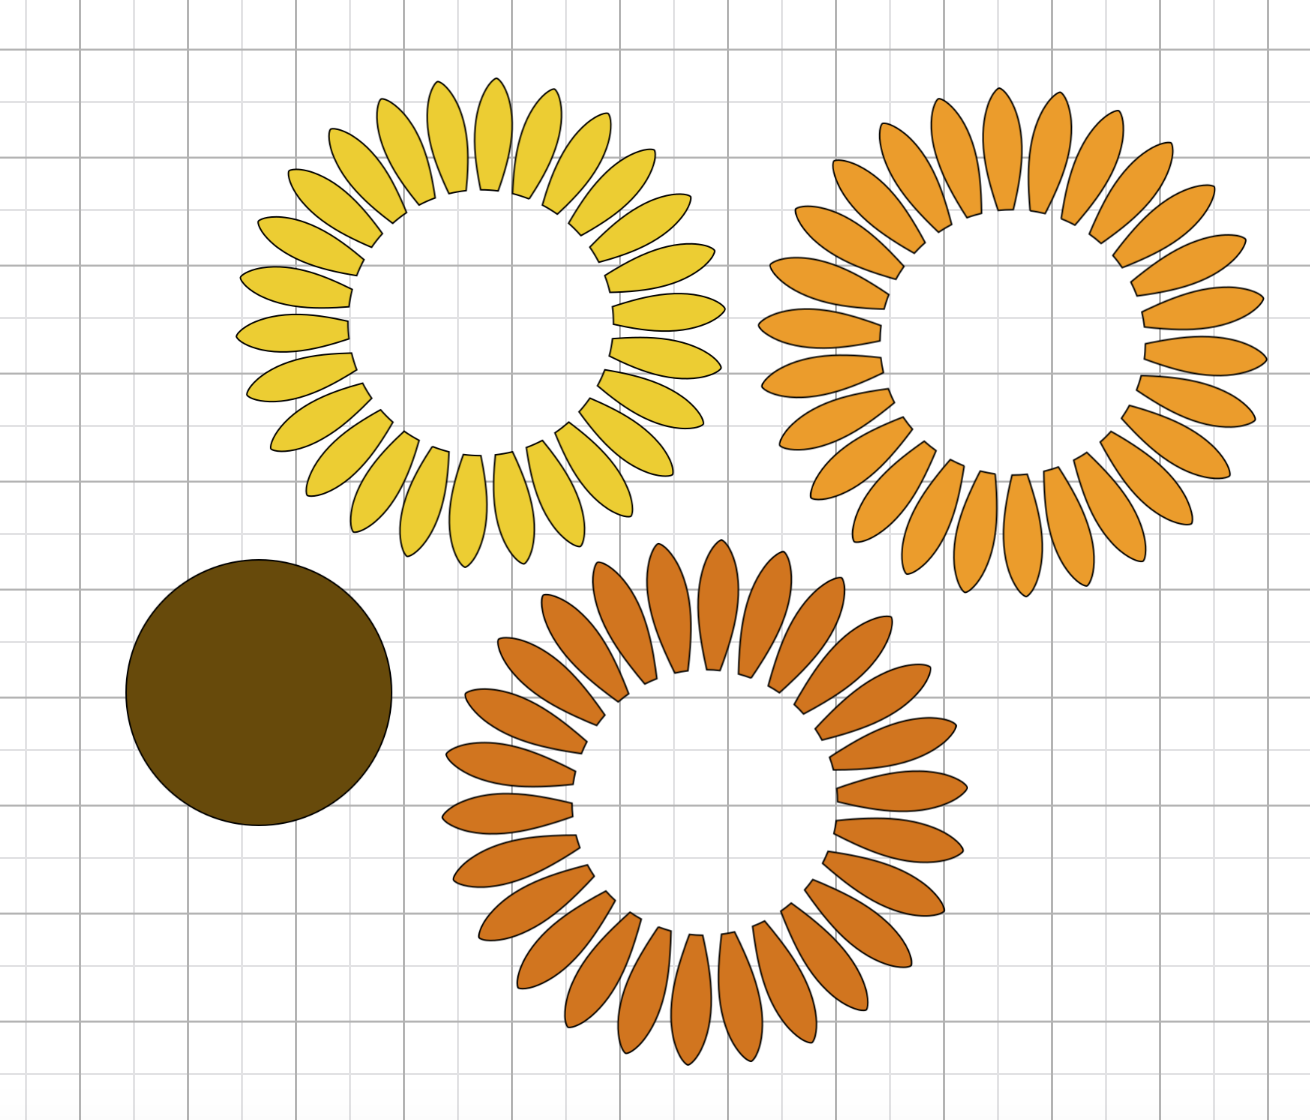
This is the outcome of this fully UnGrouped design that I spaced out separately.
Flatten: to Flatten a design you will select the entire design or only part of the design that you want flattened and then you will right click your mouse and select Flatten or you can select the Flatten button. This will make it into a printable image.
When would I need to Flatten? If you want to print a design and then cut it out in a simple box around the design (for instance, a printed sticker or printed card) you would want to use the Flatten option.
Example of using the Flatten option:
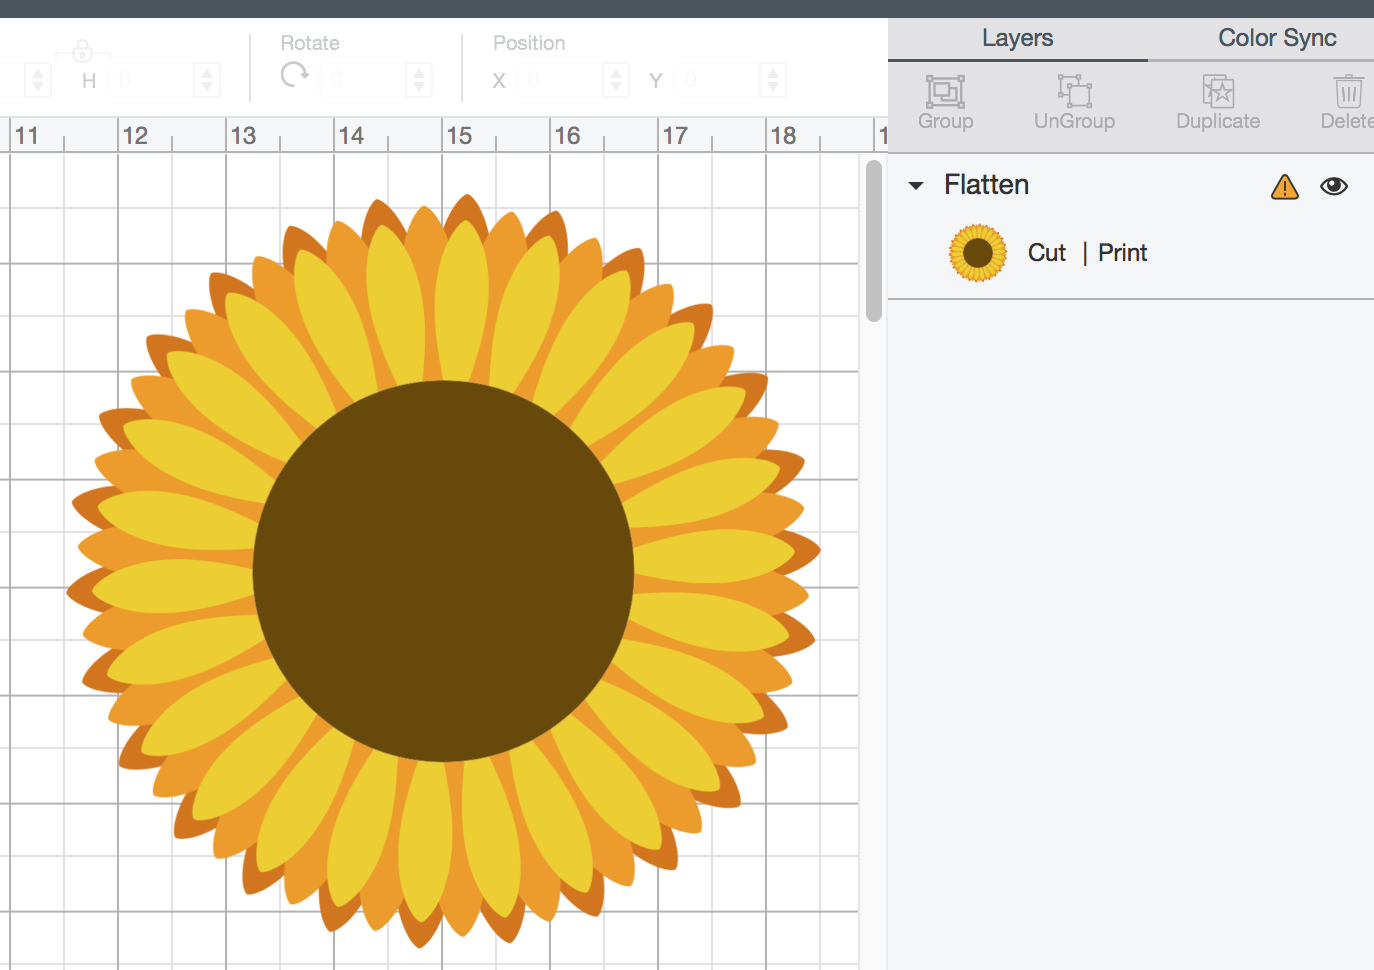
As you can see my design layer now shows Cut | Print instead of only Cut.
Unflatten: once a design is flattened it is very easy to Unflatten. Simply select the design and right click your mouse and select Unflatten or you can select the Unflatten button. It will then separate the design back out into its original cut layers but will still include print as well. You will need to make sure to change your Linetype to cut if you only want to cut.
Why would I need to Unflatten? You would only want to Unflatten something if you have flattened it and want to cut and print the individual layers. You can also unflatten your design if you no longer want it to be a printable image. You will need to make sure to change your Linetype to cut if you only want to cut.
Example of using the Unflatten option:
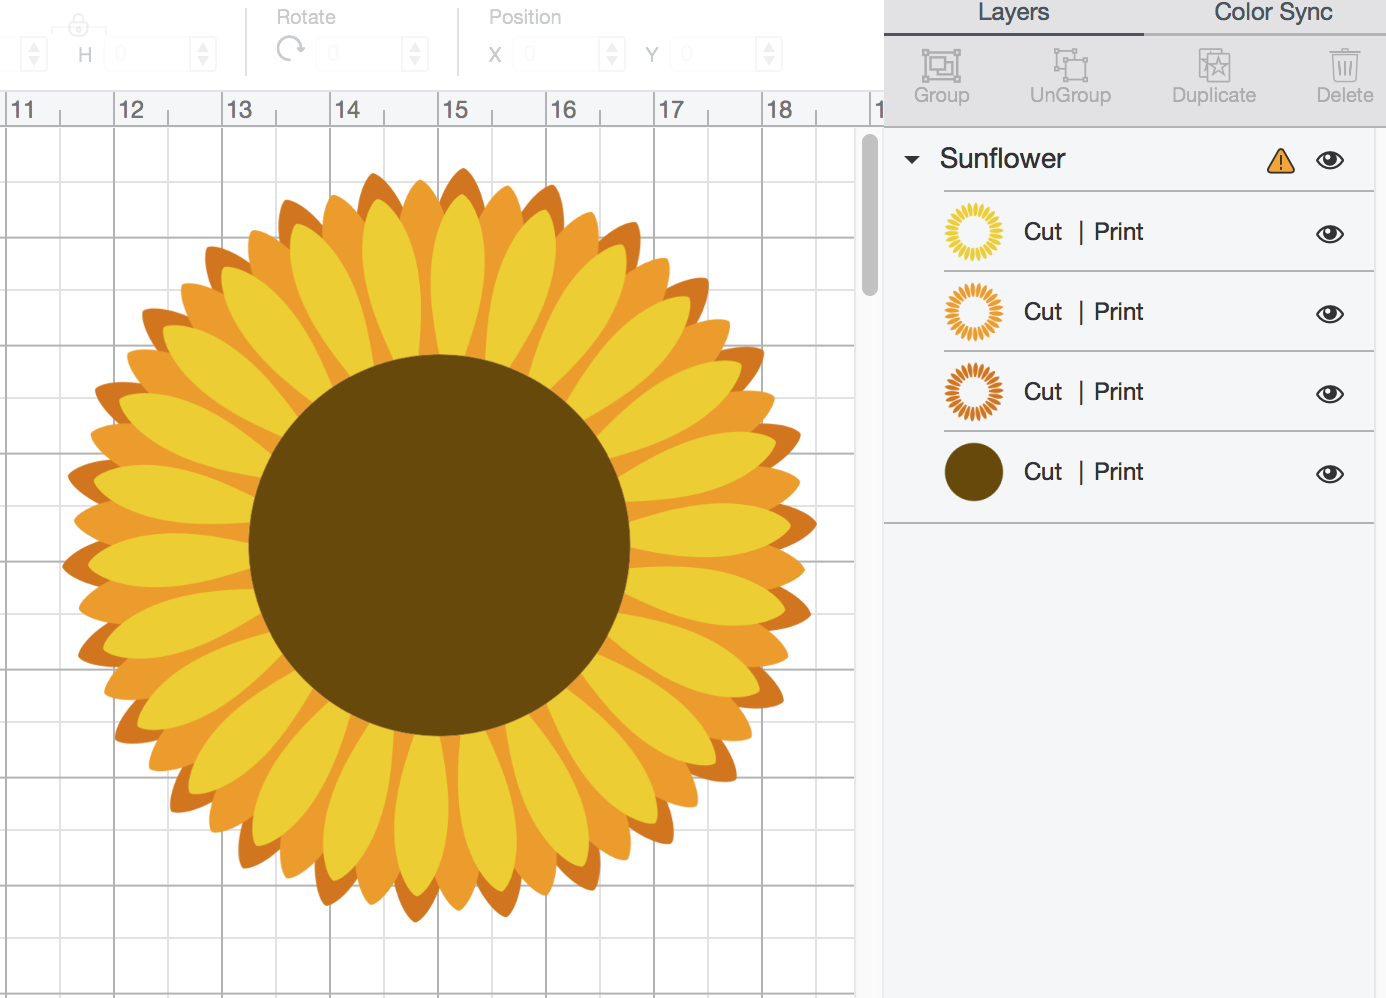
As you can see my design layers still shows Cut | Print instead of only Cut. It is now separated out into multiple layers again. You will need to make sure to change the Linetype to cut if you wish to only cut. Linetype is located near the top left of Design Space.
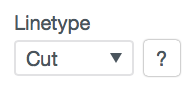
After I selected my entire design I chose the option "Cut" for Linetype to change all of my layers back to Cut only.
See Also:
- How to Buy, Download, and Use A Cutting File
- How to Slice, Weld, Attach, Contour, Duplicate, and Delete in Cricut Design Space

![]()