How to Buy, Download, and Use a Cutting File
Posted by Savana Price on 7th Aug 2019
If you found this blog post, chances are you want a little extra confidence before you spend money on a cutting file. Follow these simple steps and you will be on your way to building your very own collection of beautiful designs in no time.
First I will lay out some general things you should be aware of. 1. What cutting machine are you using? 2. What cutting software are you using? 3. Is your cutting software properly connected to your machine? 4. What file formats does your cutting software allow in your current version of the program? As long as you know all of those things, the only thing you really have to worry about when looking for a design is what file format you need.
How to Buy a Cutting File
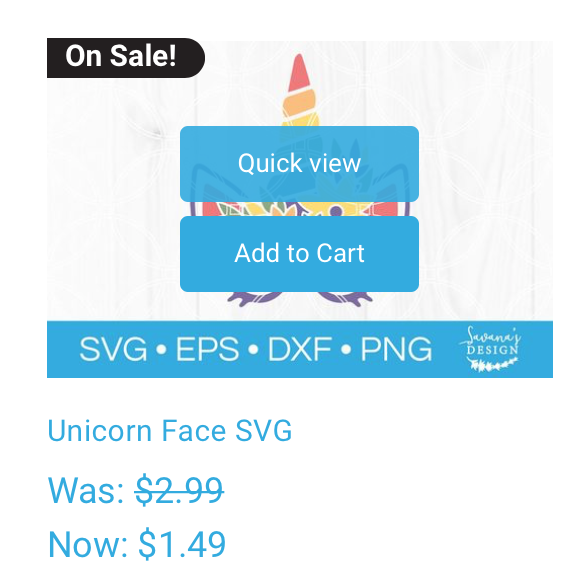
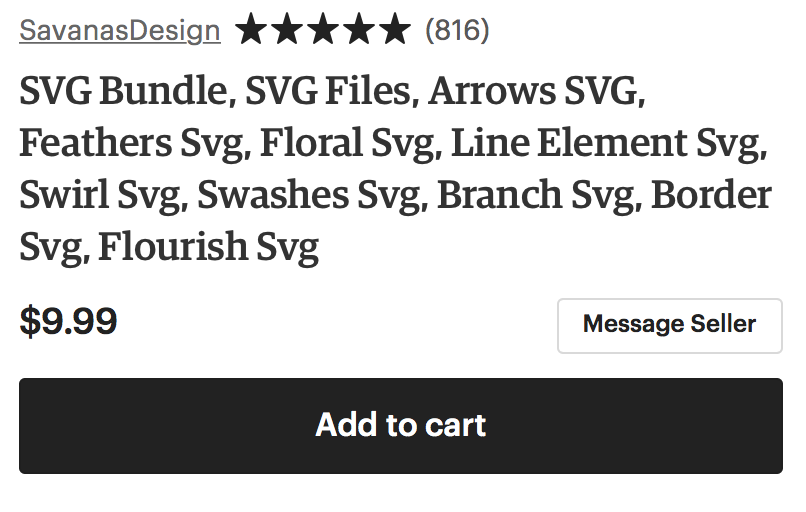
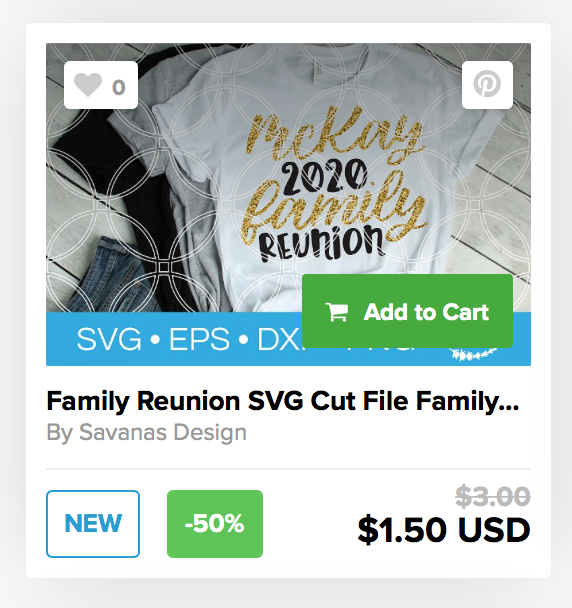
This is a very simple thing to do. There are many marketplaces that make finding the right SVG or cut file easy. I LOVE Etsy for this! You can also find designs on Creative Market, Design Bundles, or the personal website of the designer. You will simply do everything you would as if you were purchasing anything else online. Search some keywords you are wanting to find a design for and pick out something that is perfect. Make sure the design includes the file format you need. Try to go for a simple design if this is your first time cutting from your machine. Add the design to your cart. Below are examples of what an Add to Cart button may look like.
Examples:
Example 1 (SavanasDesign.com):
Example 2 (Etsy.com):
Example 3 (DesignBundles.net):
MAKE SURE YOUR E-MAIL ADDRESS IS UP TO DATE IN YOUR ACCOUNT before you click on checkout. Once you have checked out and paid, you have finished Step 1! As a side note I strongly recommend creating an account on Etsy before checking out. If you use guest checkout it is much more difficult to find your files.
You may need to click on your cart button in order to checkout. Your cart should look something like these examples:


How to Download a Cutting File
PLEASE I beg of you DO NOT try to download on your phone or tablet! That stuff requires big girl panties and is far too complicated for right now. Make sure you start on a computer for now. You will log in to the marketplace that you just bought your design from. You will then look for the purchases, orders, or downloads area where you can see your past purchases (usually under your account somewhere). Then you will click on a button that says download, download files, or an arrow if there is no button. Sometimes you may have to click on the order # first if there is no immediate download button. Your download button should look like something similar to the examples below.
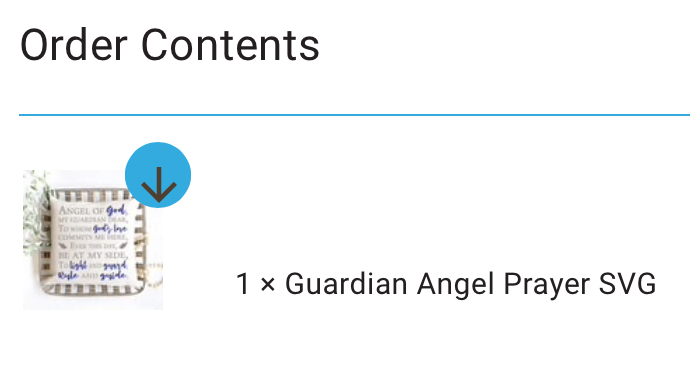
In the image above the blue circle with the black arrow pointing down is your download button! If you go to your Orders and do not immediately see this icon or a download button, you will want to click on your order number first.
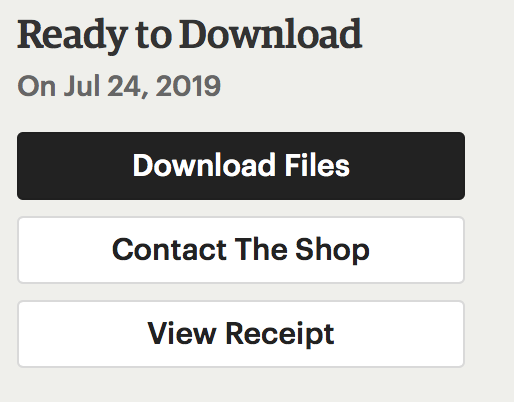
In the image above you would click on Download Files to download your files.
You may need to unzip your file if your computer does not do so automatically. Once downloaded and unzipped, be sure to move your design to somewhere that you can find like your desktop for now. You may also get an e-mail with your design file link ready to download.
How to Use a Cutting File
There are so many ways to use a cutting file! But for the purpose of this tutorial, I think you are more curious about how you get the file that you just downloaded into your cutting software. You will open up your cutting software. Always update your software if an update is available. After any updates, make sure to restart your computer. This will help reduce any potential problems. Next, in Design Space you will click on New Project and then Upload, next select Upload Image and then Browse. In Silhouette or other programs, you will click on Open once you launch the software or select File > Open. If you are working in another program there should be a similar option like upload, import, open, or place. You will then click on the desktop option in your finder or directory of files to find your downloaded design. Select your design. Click Choose, Select, or OK. In Cricut Design Space you will then click Save. It will then bring that file into your software. In Design Space you will still need to select your design and then click Insert Images to bring your design on screen to work with. There you have it. You just uploaded your design! You can now cut it as-is or follow our other tutorials to see all sorts of options that your cutting machine and software can do! If this is your first time cutting, I recommend practicing on some cheap paper or card-stock first! Designers handle their files differently from one another. Some may be one layer, multiple layers, grouped, ungrouped, and many other options. Read more to find out how to Group, UnGroup, Flatten, and Unflatten your design. You can also see how to Slice, Weld, Attach, Contour, Duplicate, and Delete. All of these options are important to understand before moving forward with your design. Congratulations, you now know how to buy, download, and use your cutting file!
See Also:
- How to Group, UnGroup, Flatten, and Unflatten in Cricut Design Space
- How to Slice, Weld, Attach, Contour, Duplicate, and Delete in Cricut Design Space

