
Silhouette Split Monogram Tutorial
Posted by Savana Price on 14th Jul 2020
Our last blog post showed you how to create a split monogram in Cricut Design Space. Now I will show you how to create a split monogram using Silhouette Studio!
Upload Your Design or Insert Your Shapes
In my example, I am using a basic candy wrapper shape. You can use a basic shape in Silhouette Studio or upload an SVG or DXF design if you wish. Upload or insert your design and have it ready for the next steps. Size out your design big enough for you to work with and recolor it if you wish!

Creating Two Lines
You will need to create two lines to create the split monogram section. You will do this by inserting a rectangle by selecting the button to the left of the screen known as “Draw a Rectangle".

Pull out and manipulate the shape into a horizontal line.

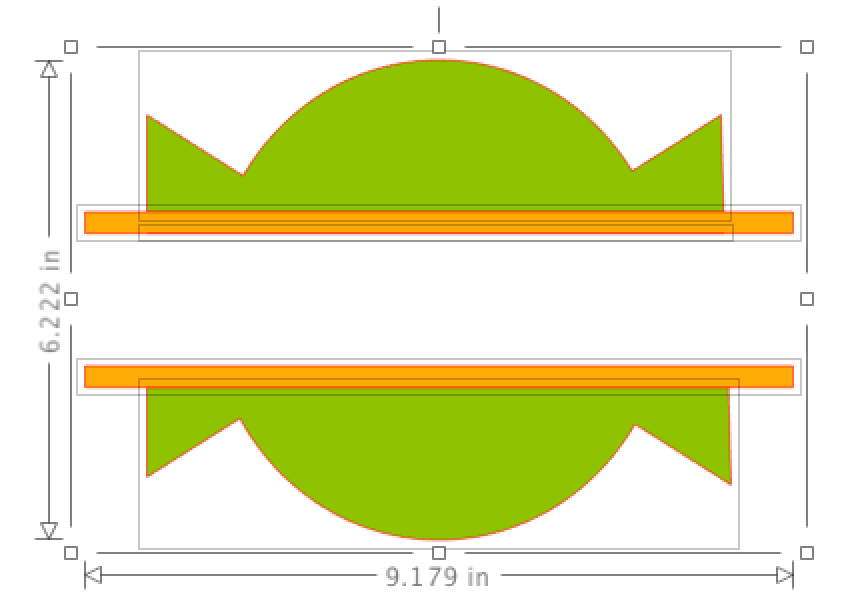
Once you have your line how you want it, you will select it and then click right Copy and then click right Paste to create your second line. (You can also go to Edit in the top menu and then select Copy and then Edit in the top menu to select Paste.) Position both lines on your design and align them centered by selecting the Align button and then selecting Align Center.
then

Creating The Space
To create the blank space inside your design you will need to select all of the design. Open the Modify Window dialog box.

Select Divide.

(You can also use Subtract All if you would rather.) Next you will delete the center portion of the design that is between your two lines that you created.
Finalizing Your Split Monogram
The next step is to select all of the rest of your design and the lines you inserted and select Weld.

This will weld the design together as one whole.

Insert Your Text
The last step is to insert your own text in the middle of your design by using the text tool!


![]()