
Layering in Cricut Design Space
Posted by Savana Price on 31st Mar 2020
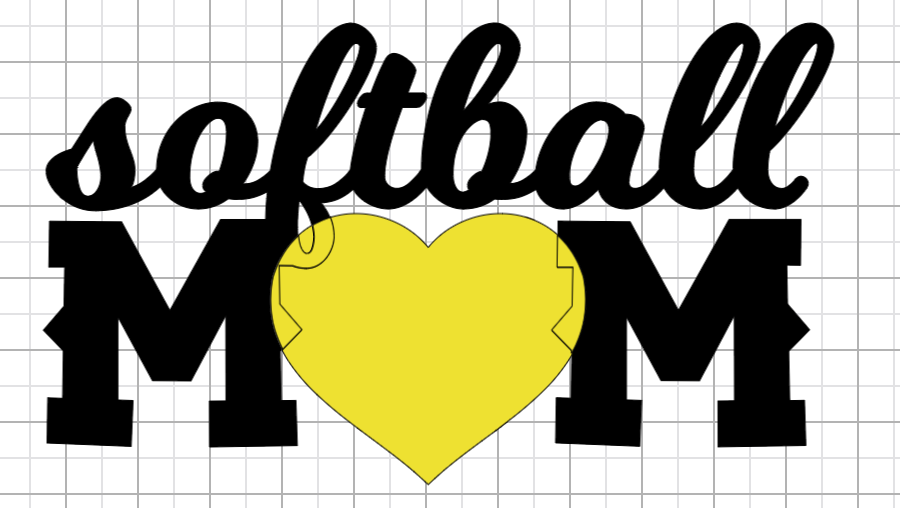
If you wish to learn about layering in Cricut Design Space, this guide will help teach you step-by-step why layering correctly is so important. I will also give you tips on how to make your layers position perfectly when dealing with vinyl or other mediums!
Before we can layer on vinyl or any other medium, we need to learn about layering in the Cricut Design Space program itself. This should help keep confusion at bay, but ultimately Cricut will decide on what order it wants to cut. If you have found a way to set the cut order, please let me know!
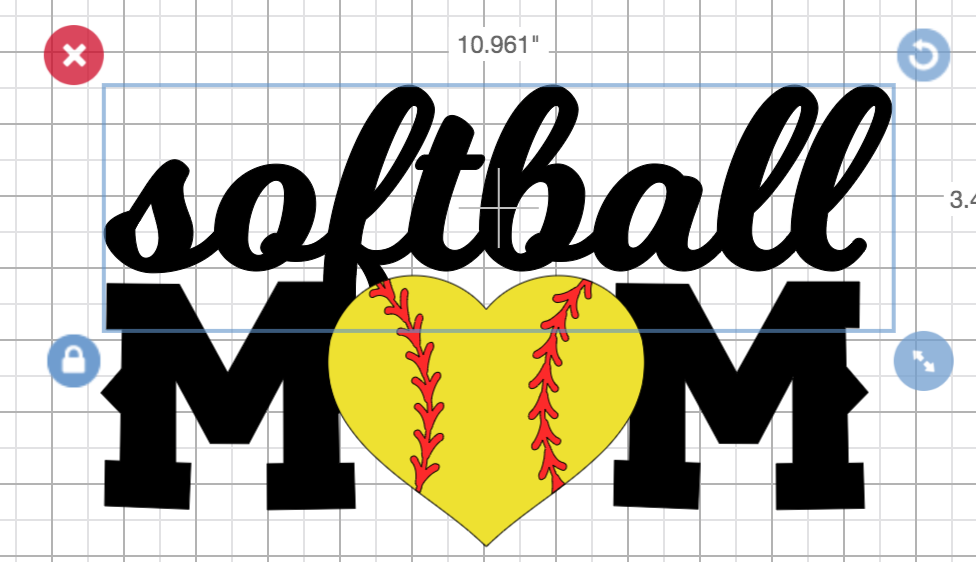
Here is an example of where you may wish to reorganize your layers.
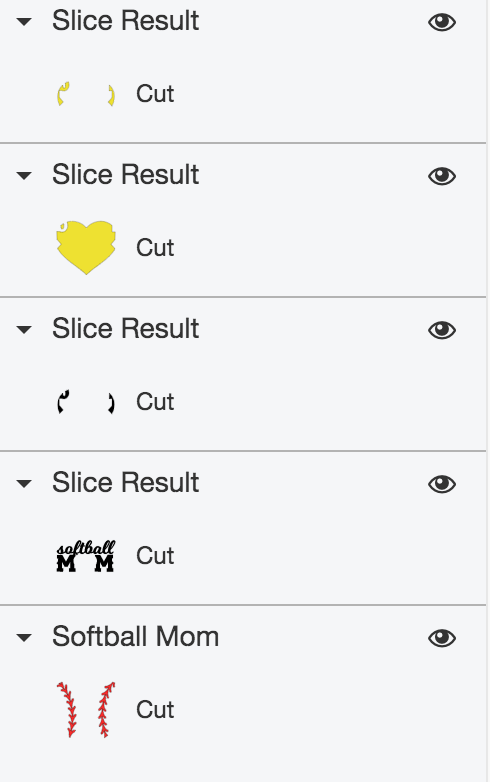
Layer Panel:
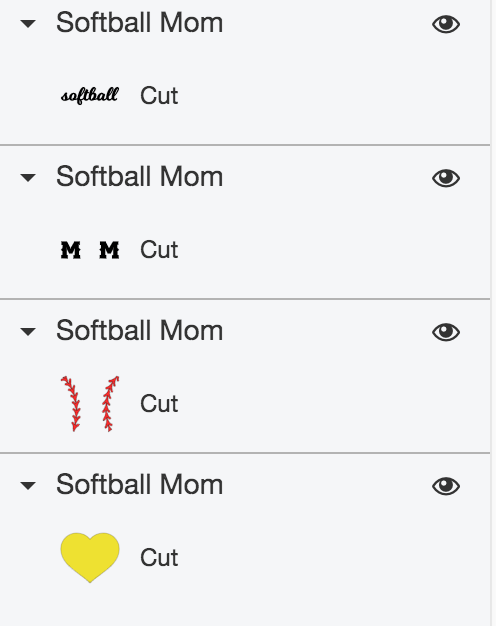
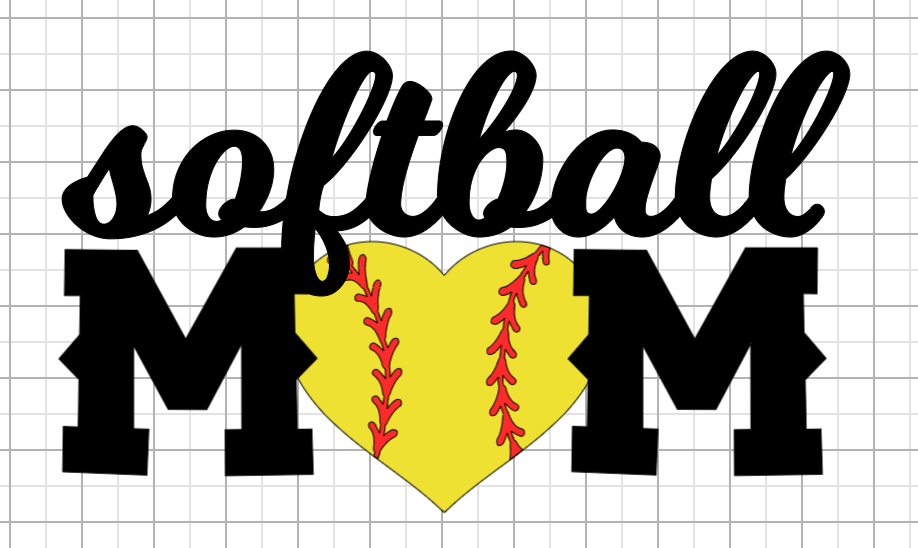
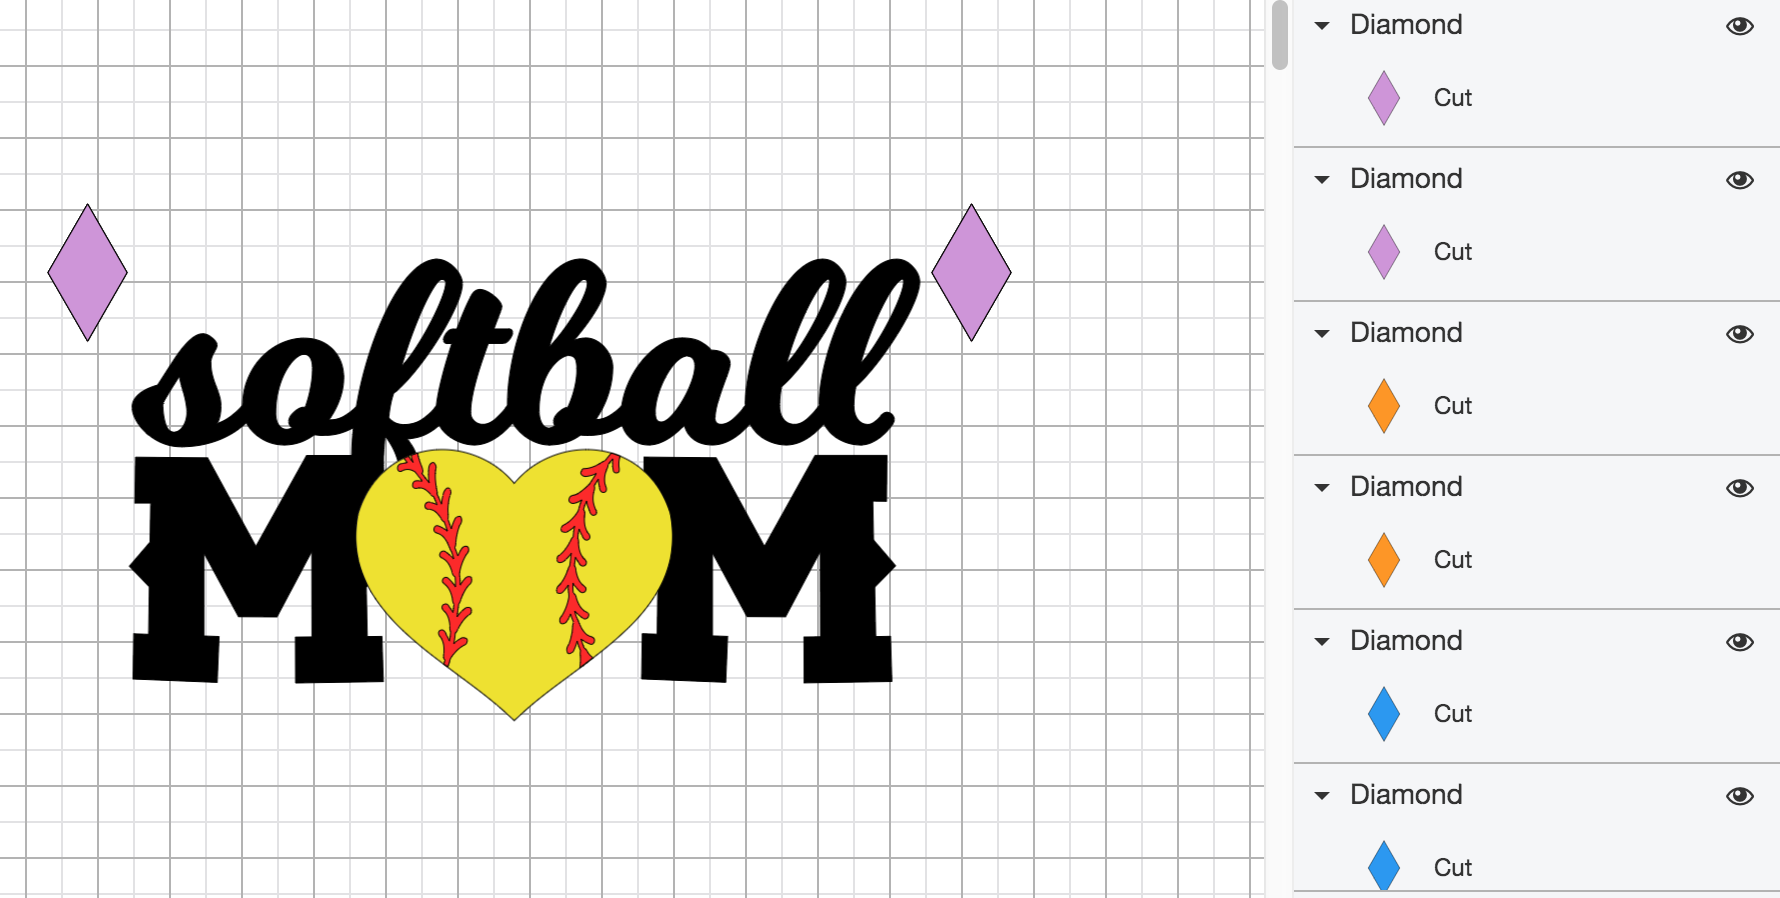
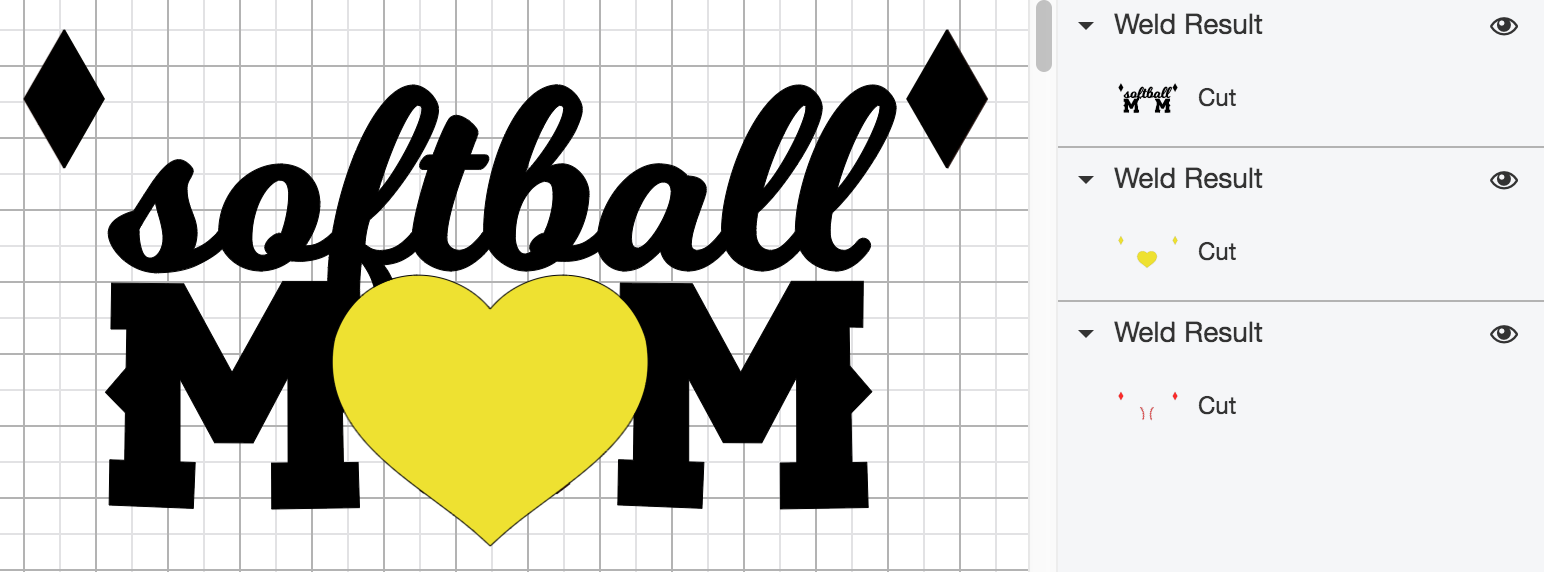
First you will want to make sure to select your design and UnGroup. In my example, the word “softball” and “M” and “M” for mom are on the very top and cover portions of the softball heart. If I want the softball heart to be in front of the text, then I need to make sure those layers are at the very top. Pay attention – I don’t want to forget the little details (like the softball laces) which should go to the very front.
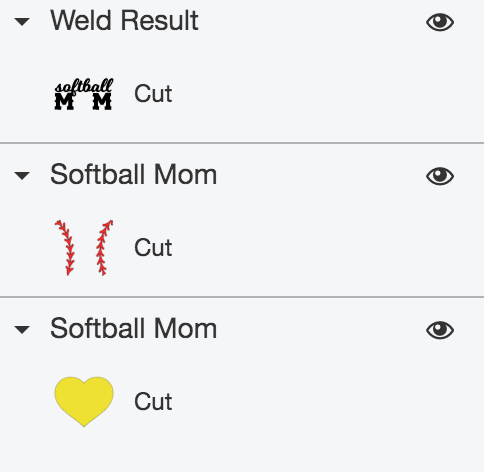
Layer Panel:
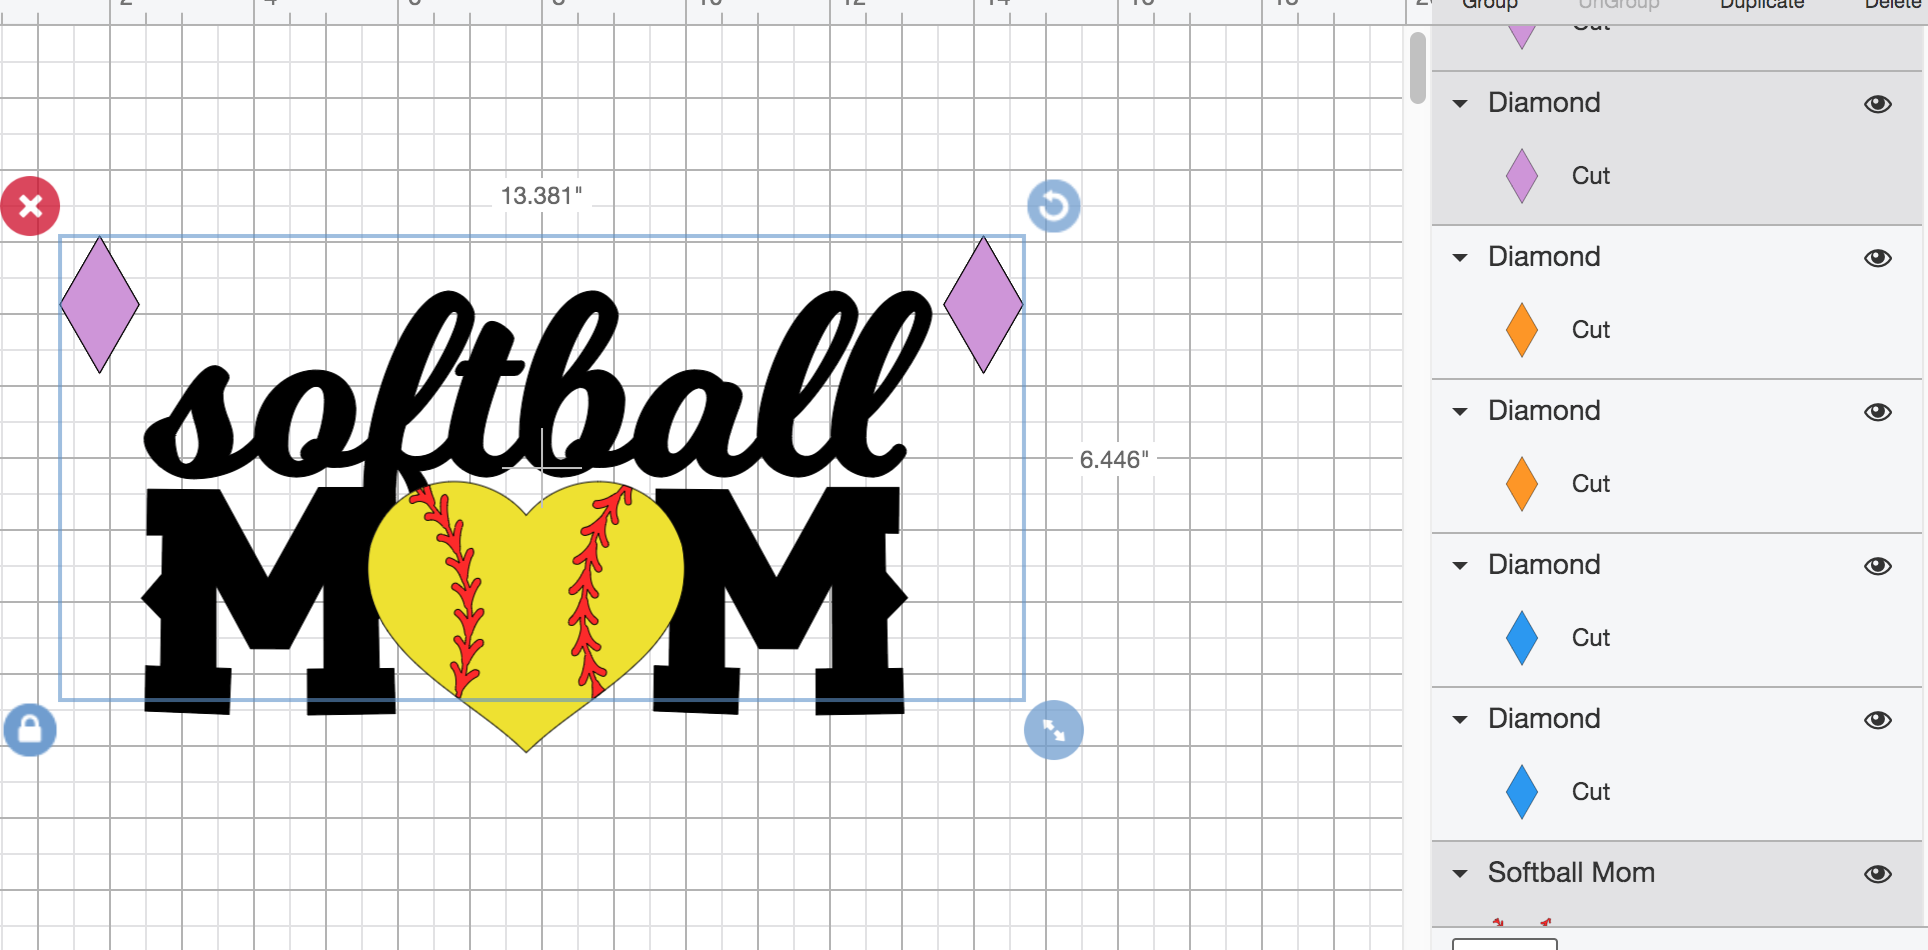
Now, pay attention to what is actually being layered on top of. The “f” in softball will be a separate piece that is layered on top of the first “M” in mom. This is a little tricky to see because they are both black. If I want that part to be one single layer, I need to select the word “softball” and “M” and the other “M” then select Weld.
Example of "f" in softball overlapping on the first M.
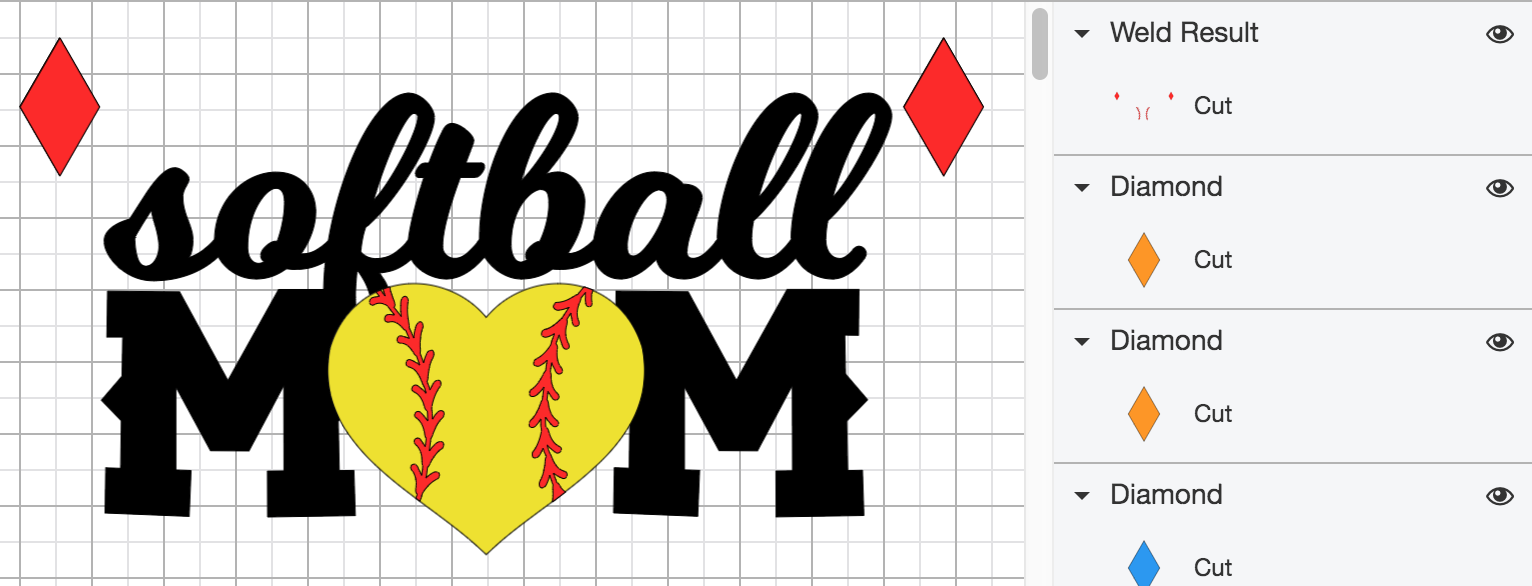
Welded:

Layers Panel Welded:
This moved the single layer of text to the very top. We need to rearrange it again. Even if you do not have touching text or shapes that need to be welded you may wish to Weld to make sure that it will cut out in the right position.
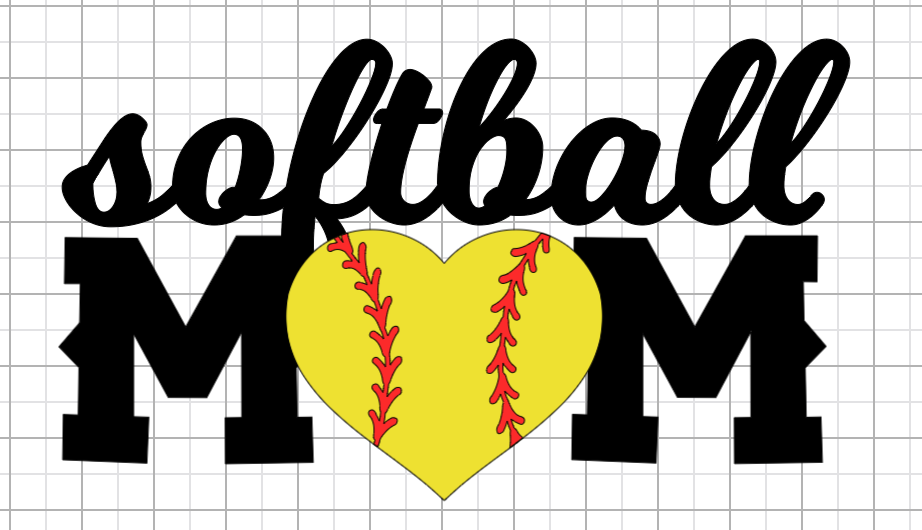
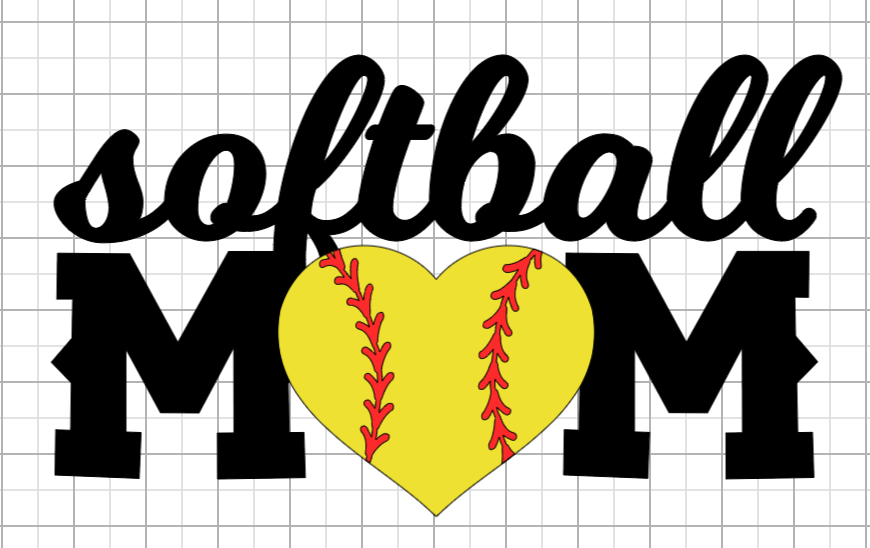
Rearranged Layers Again:
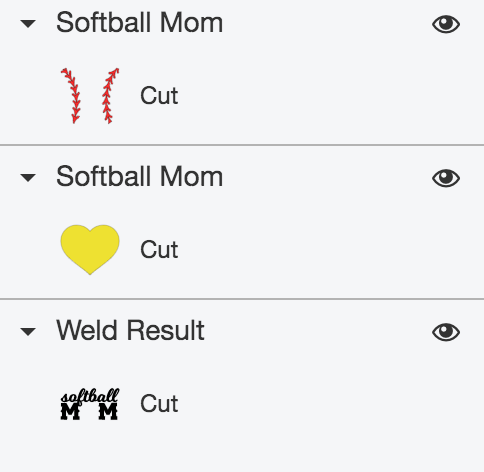
Rearranged Layers Panel:
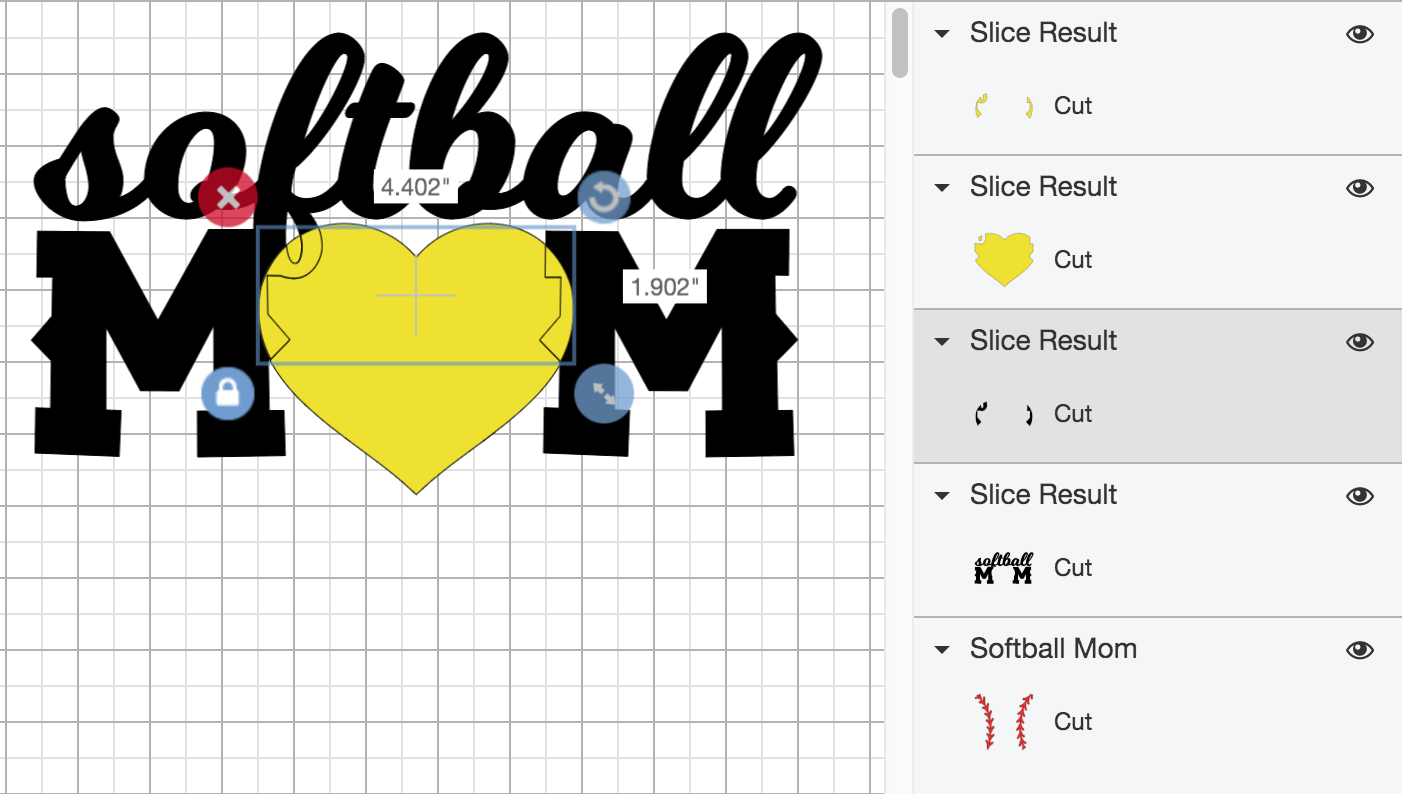
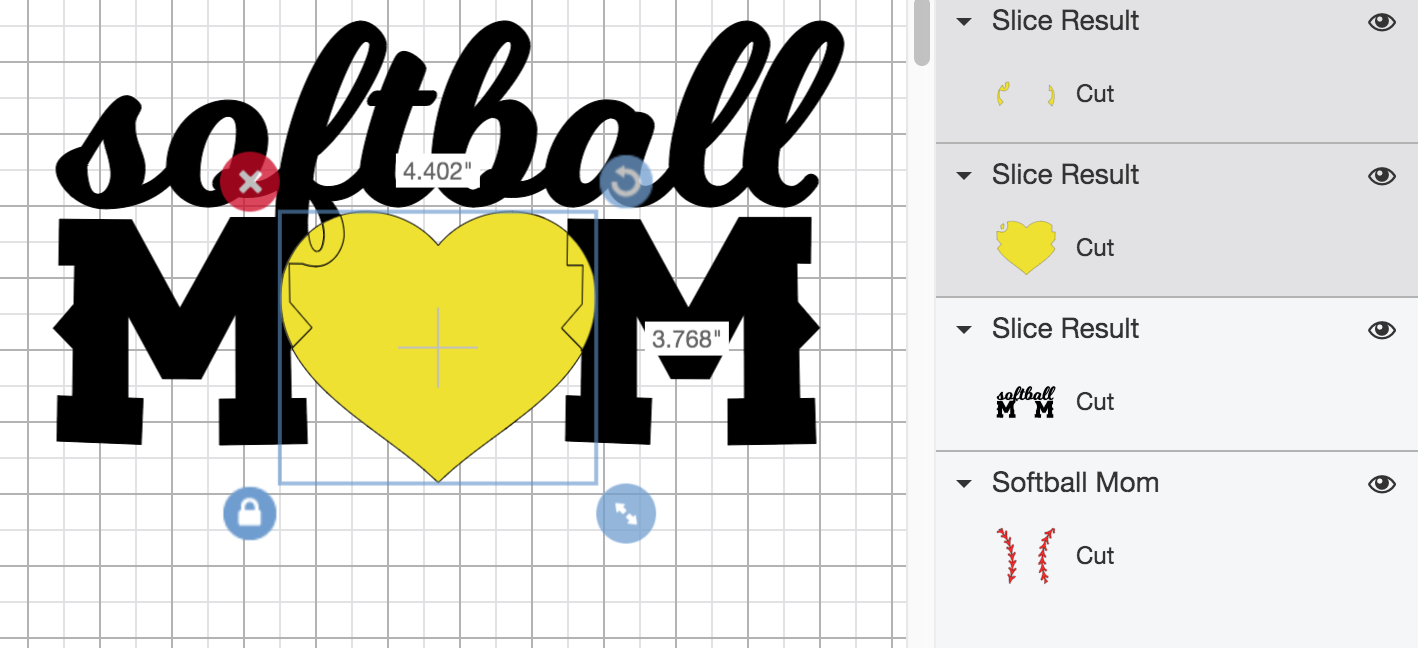
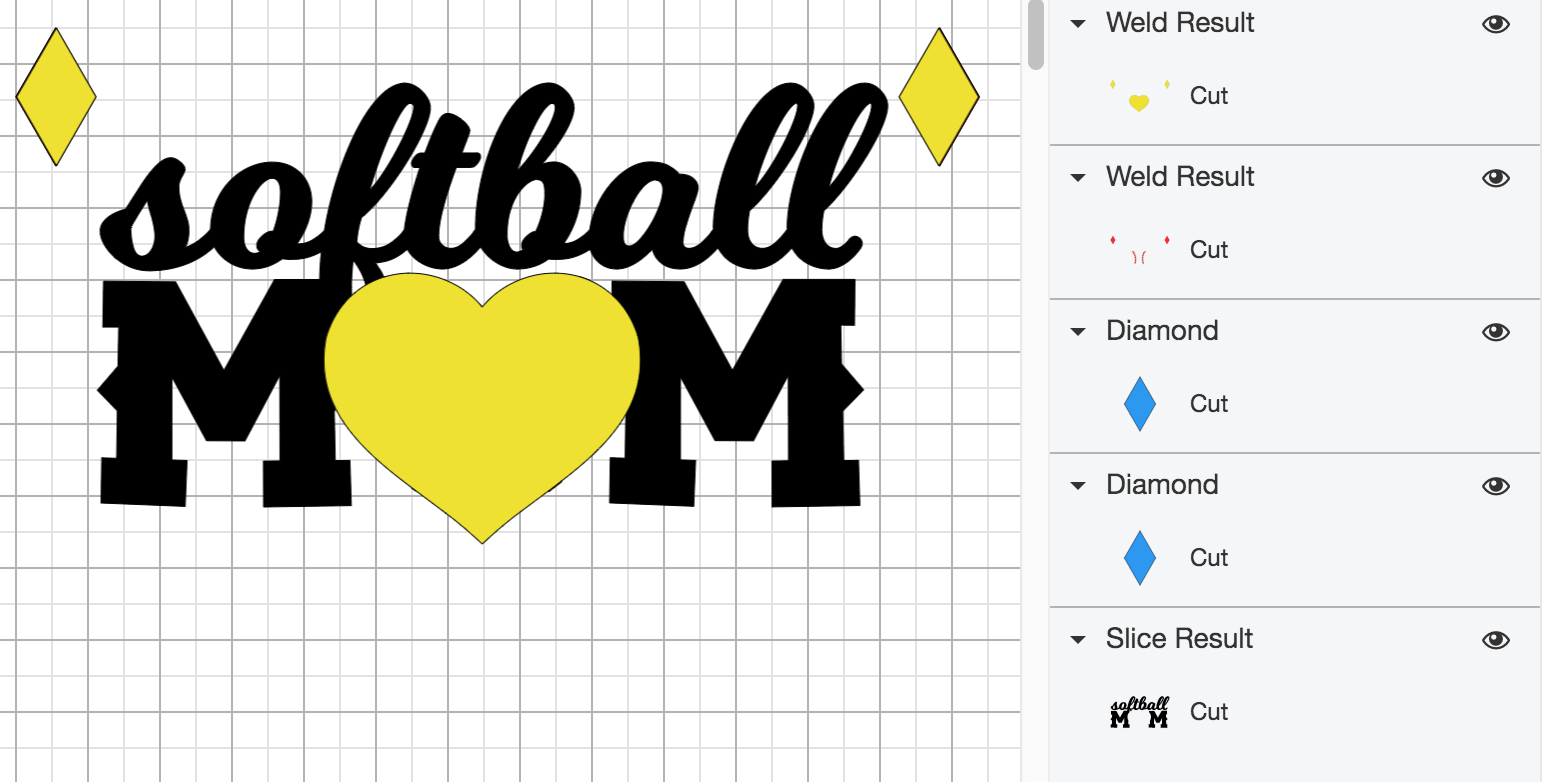
Say you do not want the extra parts under the heart. It may look funny going from 1 layer to 2 to 1 layer. You will want to select the parts of the design you wish to exclude and select Slice. This comes with a little extra attention to detail.
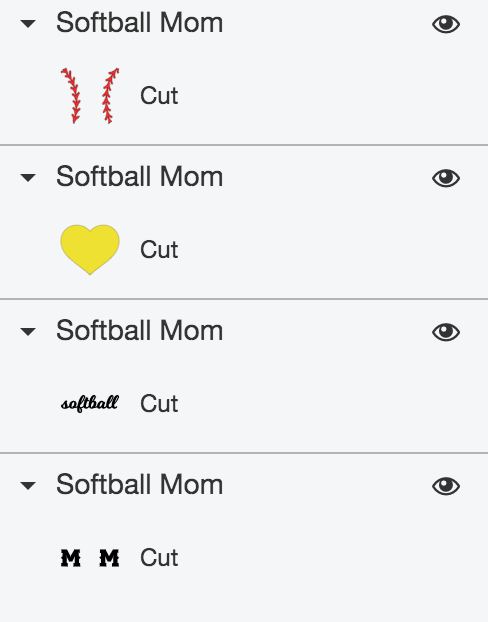
Layers Panel:
You will now need to manually select and delete those areas that are double-layered. Even though it may be hard to see since it is under the yellow layer, I select the black double-layered part that is sitting underneath. Then I Delete.
I now unfortunately have a heart that is in 3 pieces.
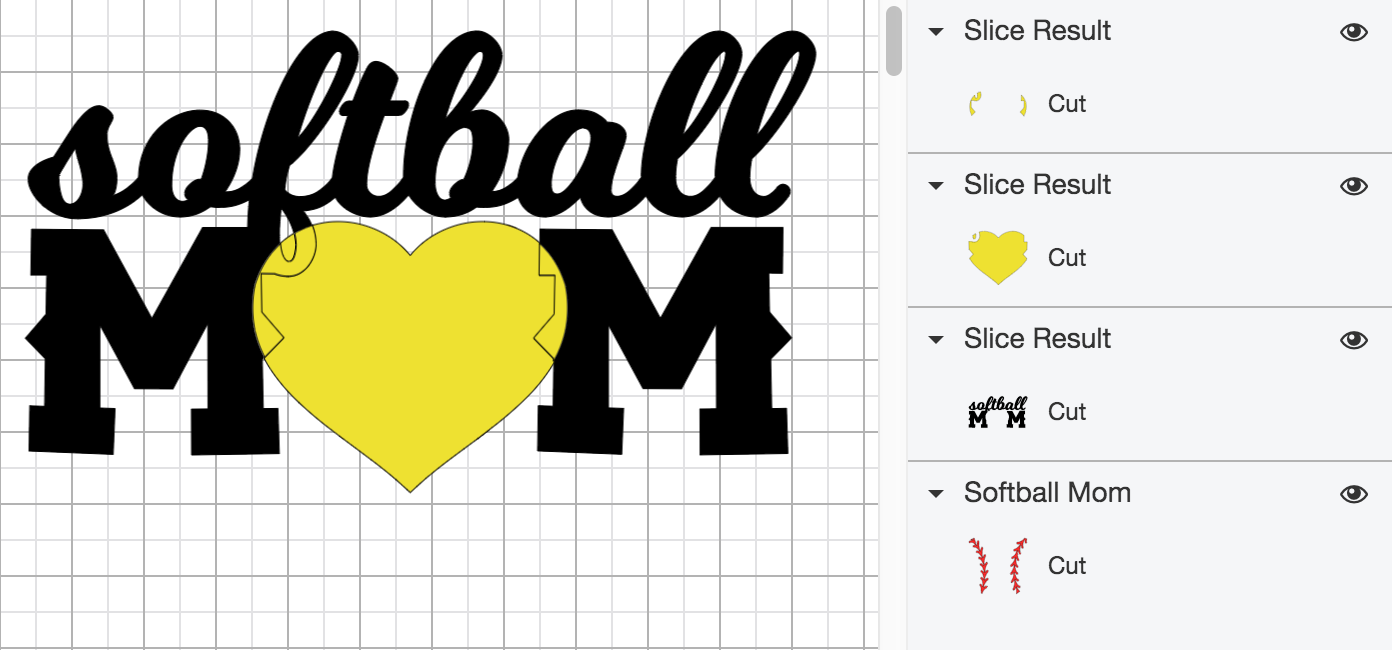
To easily make it one again I select all 3 pieces of the yellow heart. I select Weld and it is now one layer again.
Welded:
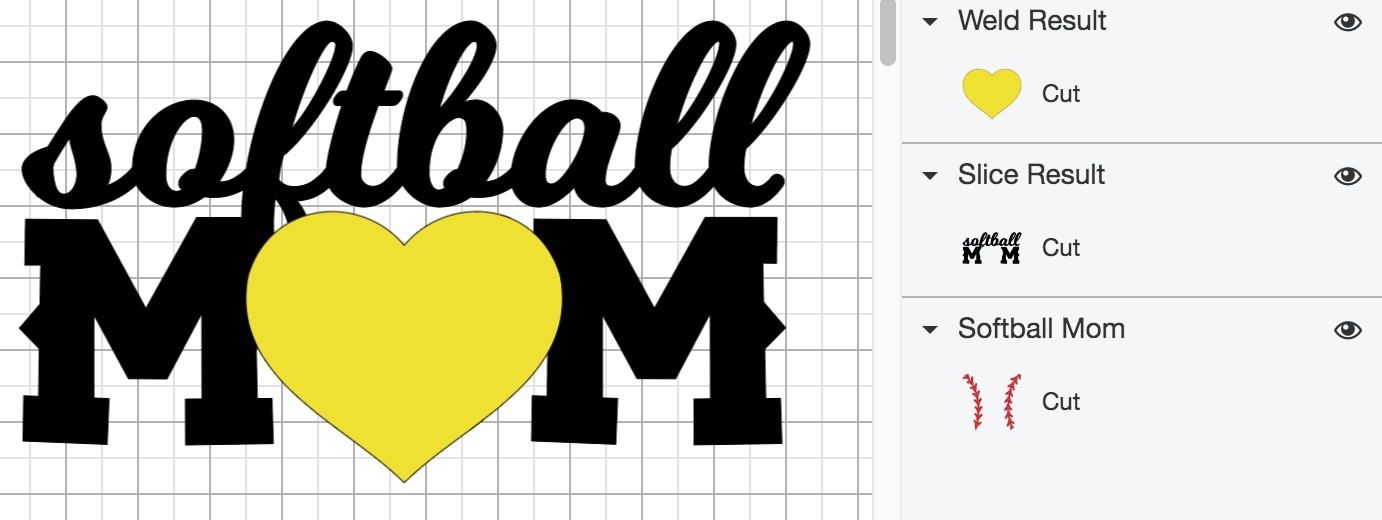
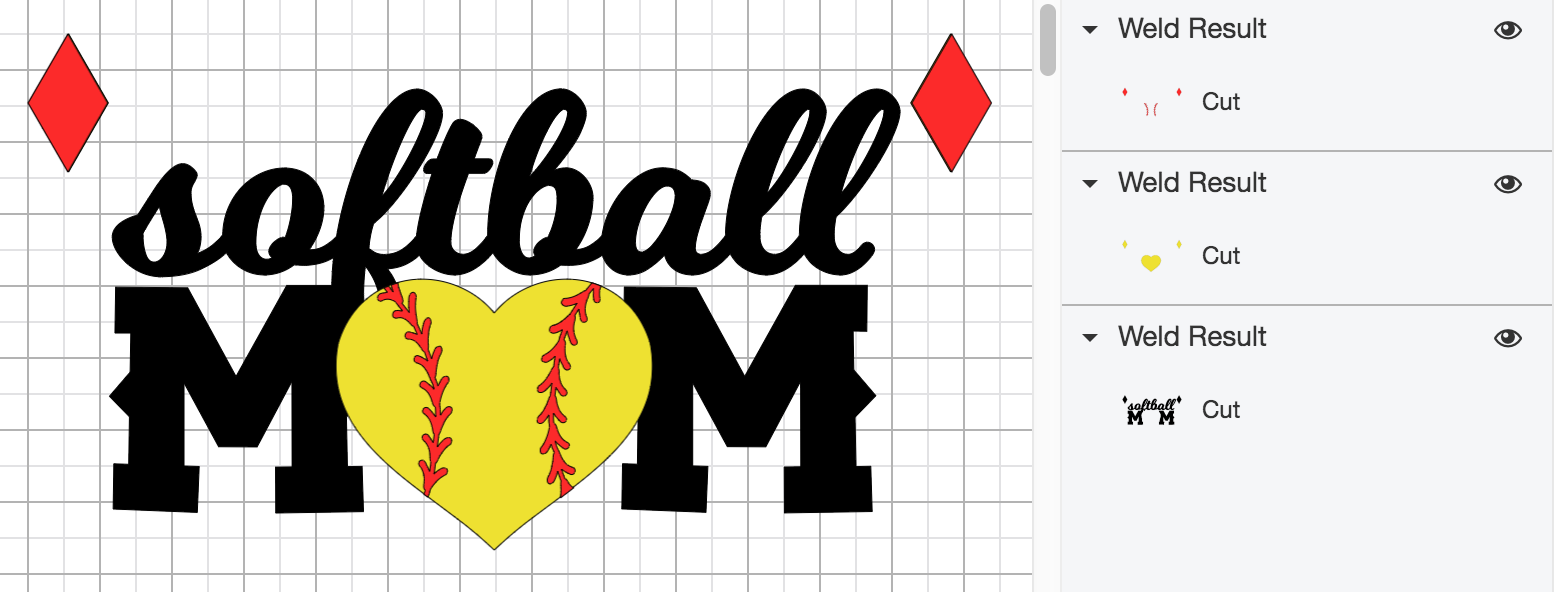
As you can see, I need to rearrange my layers yet again so the lace is at the top.
When I hide my other layers except for my layer with text, this is what you would see.
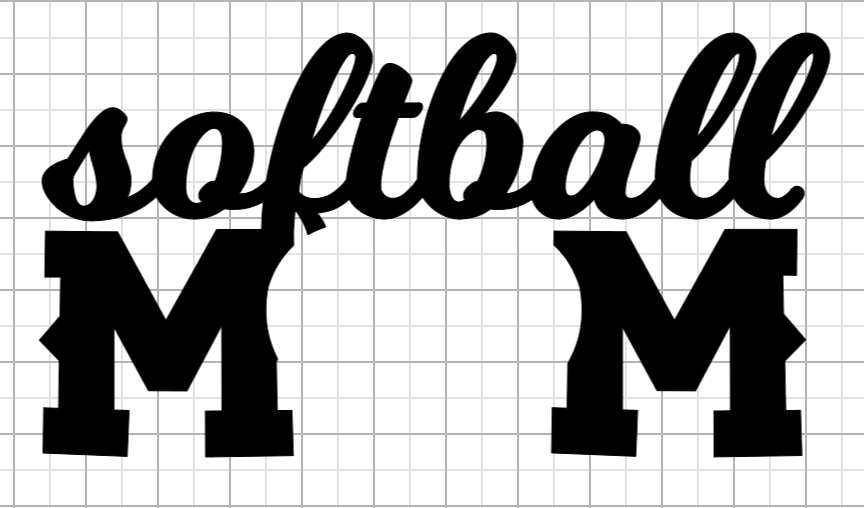
Now instead of there being a perfect “M” and “M” and even the “f” in softball – you see that there are pieces cut out to allow for the heart to sit in perfectly without unnecessary layers.
In my designs (as you can see in this example) I keep just about every layer that I can. I do this so my customers can use them however they wish. It may take extra work if they are doing a heat transfer vinyl and only want basic layers, but I provide the additional layers so paper crafters and others can use them. It also allows you to have more options when playing around with vinyl color. If I had the “softball” and two “M”s for mom already in one layer you would never have the option to make them different vinyl colors on your shirt – it would have had to be the same.
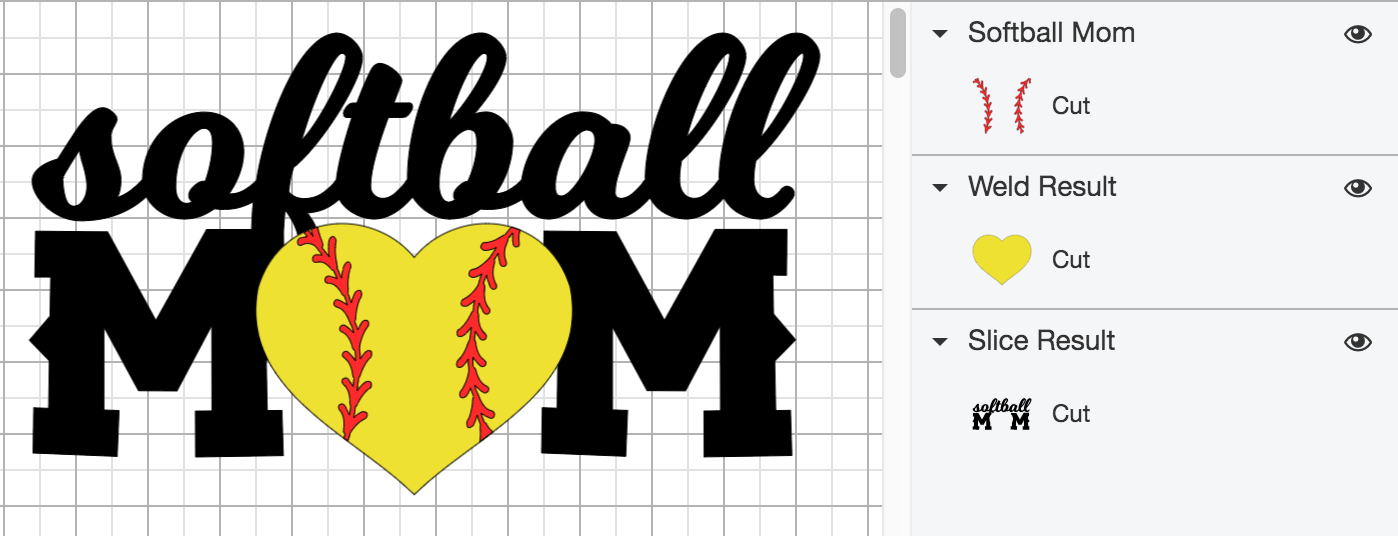
Now the true layering of my design will be the laces on top of my heart. The rest of the design, as well as the layered part, will just need to be properly positioned so it is not out of place when we go to put it on our product.
How can we do this? You can technically just wing it and hope for the best. But a better option is to make little guides to follow so your design will align perfectly. Even though this step takes additional time, it avoids unnecessary frustration in the long run.
You will want to select “Shapes” at the left of your program. Then, it will not really matter what shape you choose but selecting one with corners will be a little more helpful. I am using the diamond shape. I made it smaller and changed the color.
Shapes Panel in Cricut Design Space:
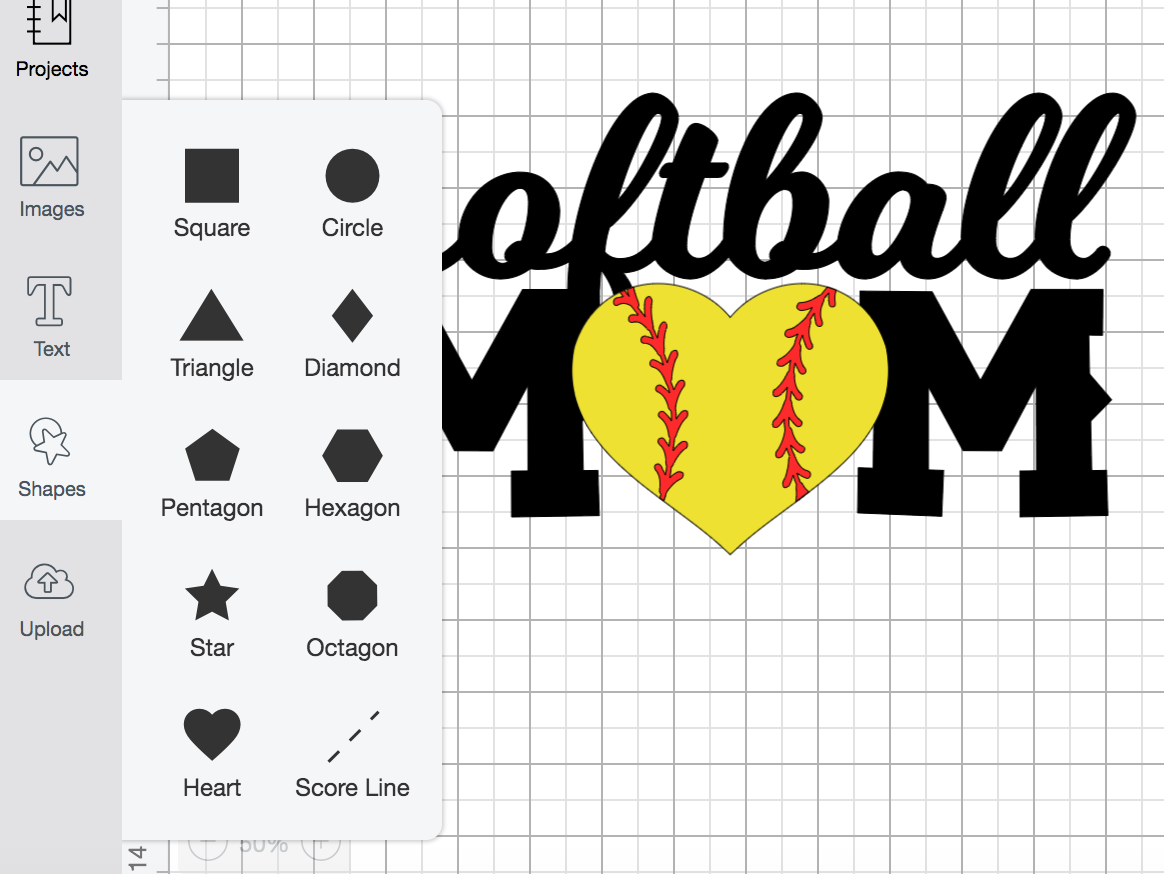
Diamond Shape:
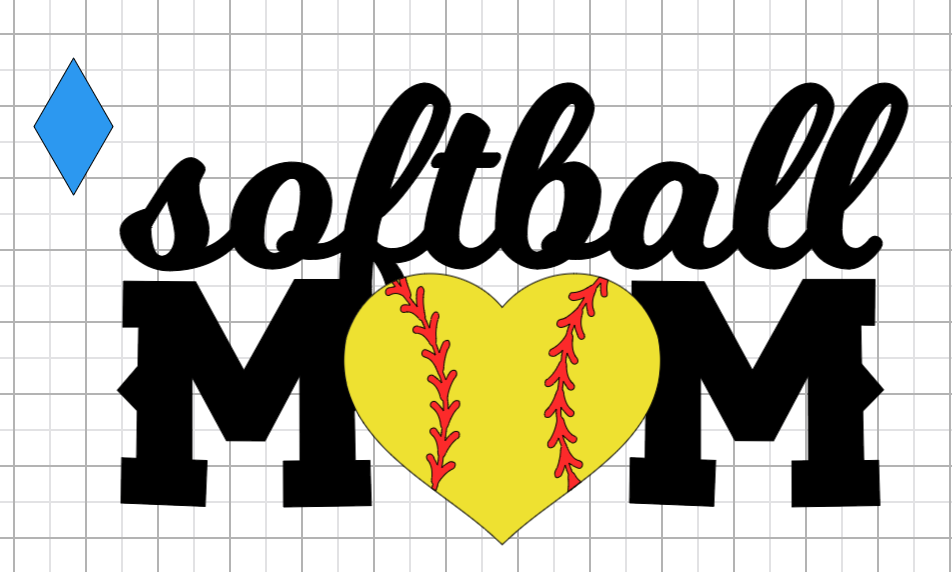
I select it and write down or take note of the exact position of the number in Y:
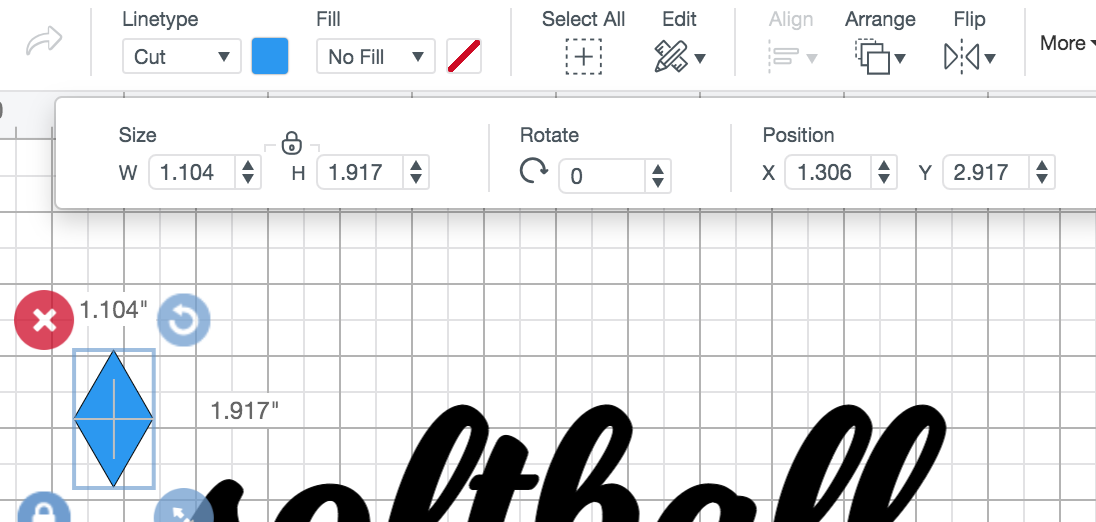
The position of Y: for me is 2.917. I duplicate my shape and put it to the right side of my design and make sure the Y: is the same exact number on my new shape.

Now I duplicate my diamond again and make it a different color. I do so again to have an additional diamond. Both of these new diamonds will go over the EXACT coordinated of the first 2 diamonds. For me this is X: 1.306 Y: 2.917 and X: 13.583 Y: 2.917. Now you can see my orange diamonds are on top of my blue diamonds.
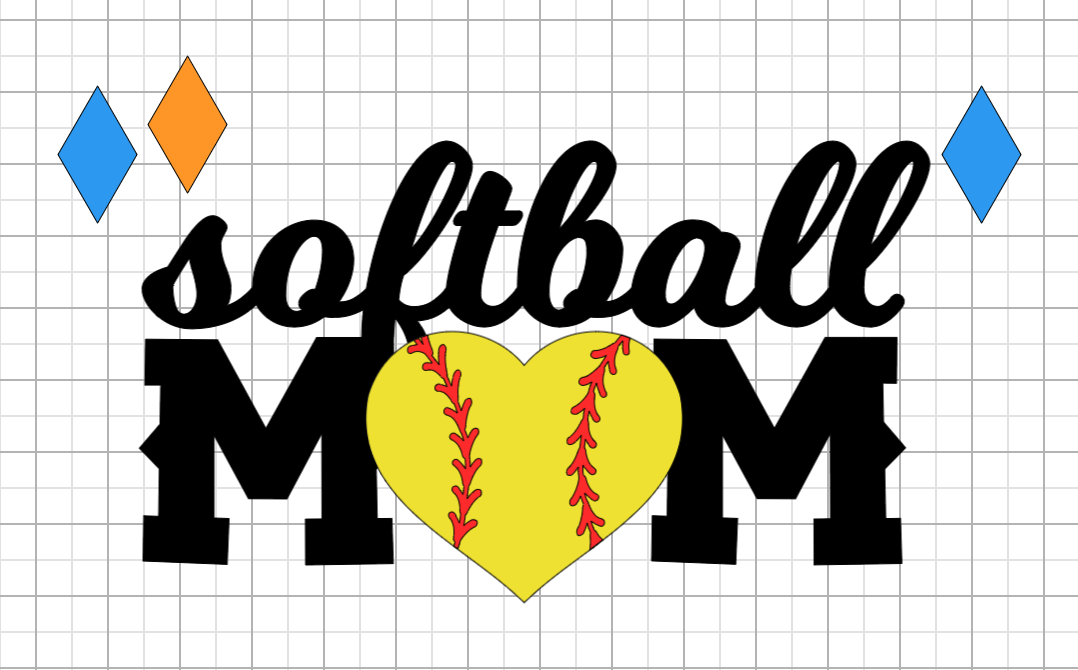
What I see after I layer my orange diamonds directly over my blue diamonds (by using my exact coordinates):

Lastly, I need to duplicate my diamonds once again because I have a 3rd layer. I make sure they are on the exact coordinates again.
Now did the color really matter? Nope. It is just easier for me to visualize what goes with what. It may be easier to work with your top layers, but it doesn’t really matter. I am going to select my top first. I select my very front layer of the design (the laces) and the coordinating diamonds, though it doesn’t matter which diamonds you select really as long as you have one left diamond and one right diamond selected.
Then I select Weld. You can now see how my layers changed.
I do the same thing with my 2nd and last layers.
I need to rearrange my layers yet again so they coordinate with their position. Now you can feel free to select all of your layers and size it to the size you need. Save out the project first because mine froze when I went to go “Make It”
Then you will go to “Make It”
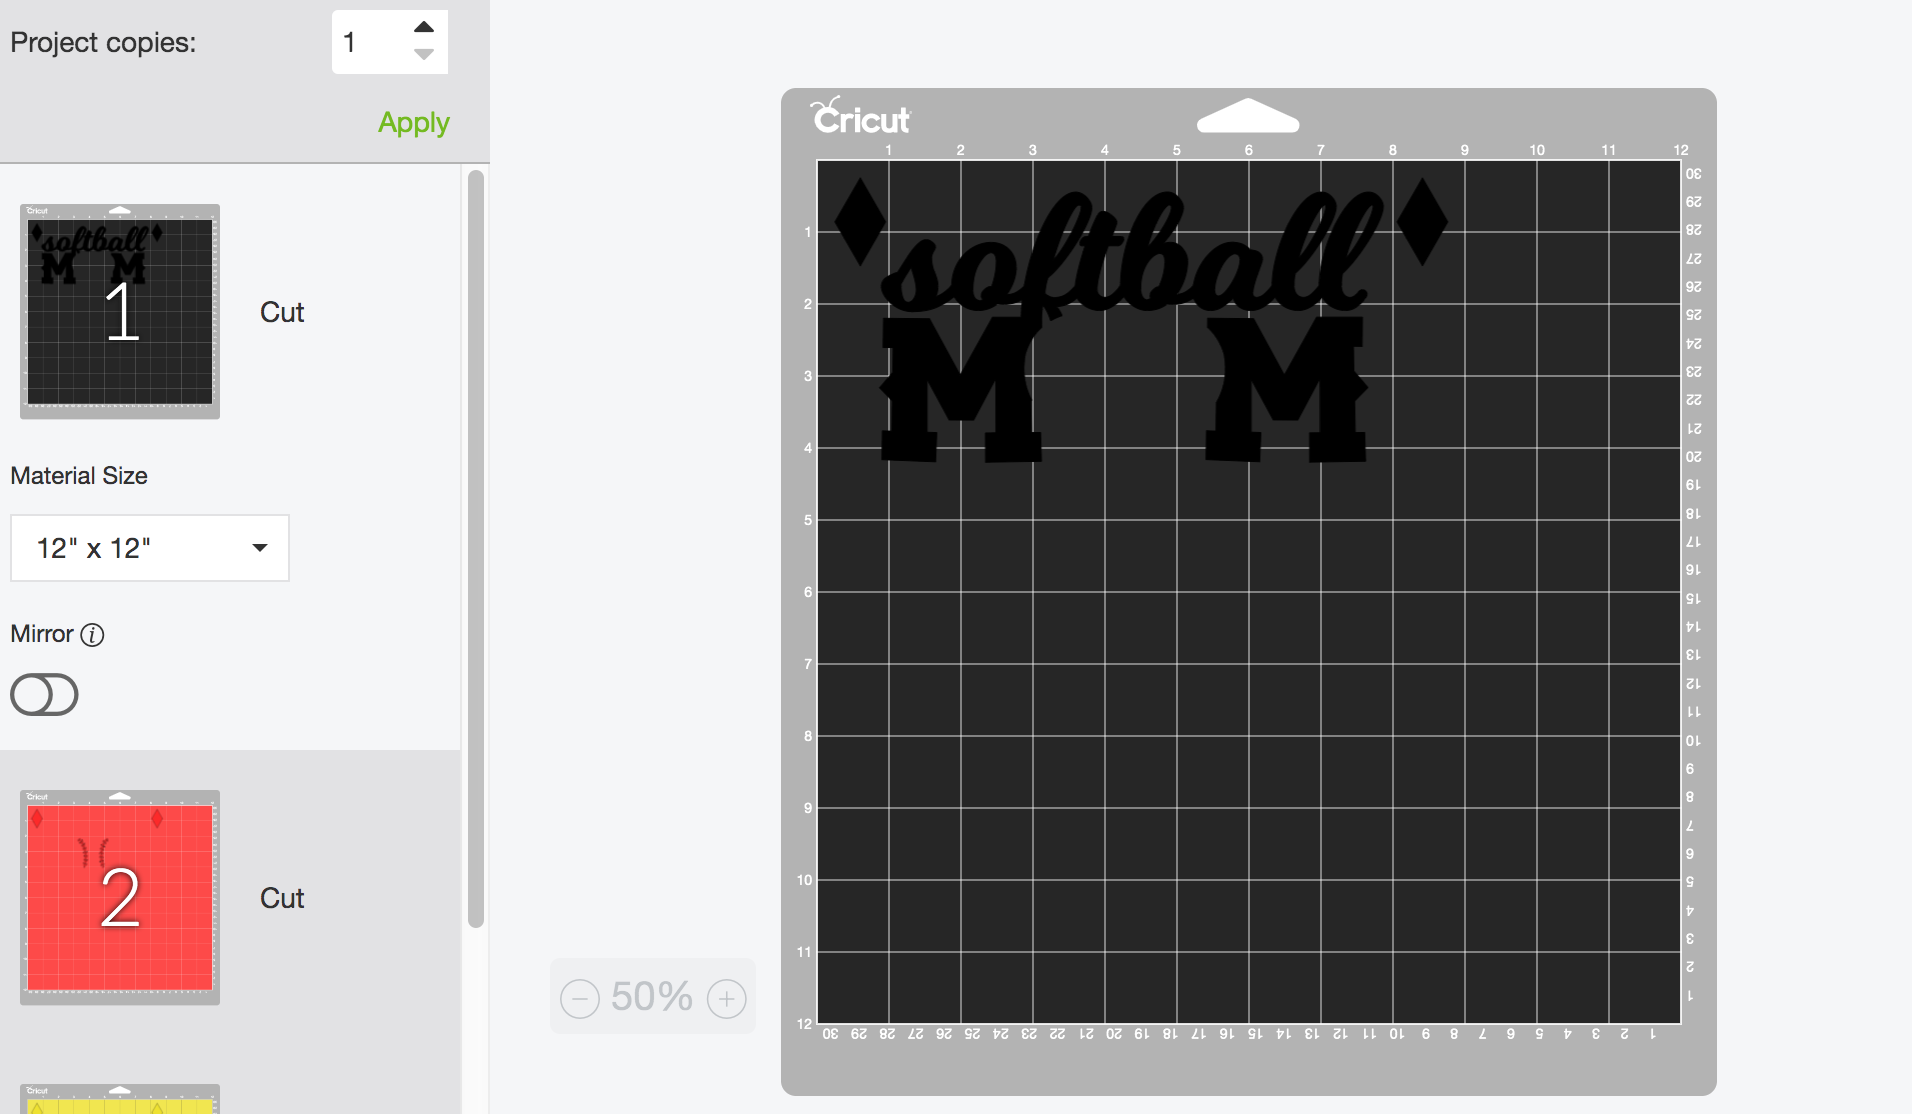
Don’t forget to select mirror for each design if you are doing a heat transfer vinyl or similar application. Unfortunately, it looks like the layers have a mind of their own when you go to “Make It” so you will just have to make sure your 1st cut, 2nd cut, etc. lines up with the color of vinyl or material you wish to use.
Once cut out, you will weed out your vinyl and use transfer tape. Once you have your t-shirt or material you will be transferring onto, you will simply line up the diamonds (or whatever shape you used) on top of one another. You can either go one by one layering the pieces onto one sheet. Or you can very carefully align all the layers in order and staple them at the top. You will then want to tape on your pieces to your shirt. You can then iron-on them slowly carefully making sure to not touch any of the diamonds. Once done with the bottom layer, cut off the transfer tape that was just used, but keep the diamond part and make sure to not move the tape positioned to your fabric around. Iron on the next layer and repeat the process until you are done. My first application would be my black layer of “softball” and the “M”s for mom. My next layer on top of that would be the yellow heart. My last layer that will go on top of every single other layer is my red layer of the softball laces.
There you have it! Now you know exactly how to layer and some tips and tricks to have your layers exactly how you want. It’s a lot of work, but so worth the outcome! The biggest rule to remember in all of this is to take a deep breath and have some fun! This sort of thing takes practice and patience so have fun with it!

![]()