
Gift Tag Tutorial
Posted by Savana Price on 7th Jun 2019
This is a simple gift tag tutorial for my set of 4 Christmas gift tags. I want your tags to look stunning! That is why I put together this easy-to-follow guide so you will be sure to impress your friends and family. Not only can you use my design for Christmas gift tags, but feel free to use the gift tag templates for whatever else you want like door tags, birthday gift tags, and canister tags.
This step-by-step guide is for cutting instructions for Cricut in Cricut Design Space. Similar options should be available in other cutting software programs.
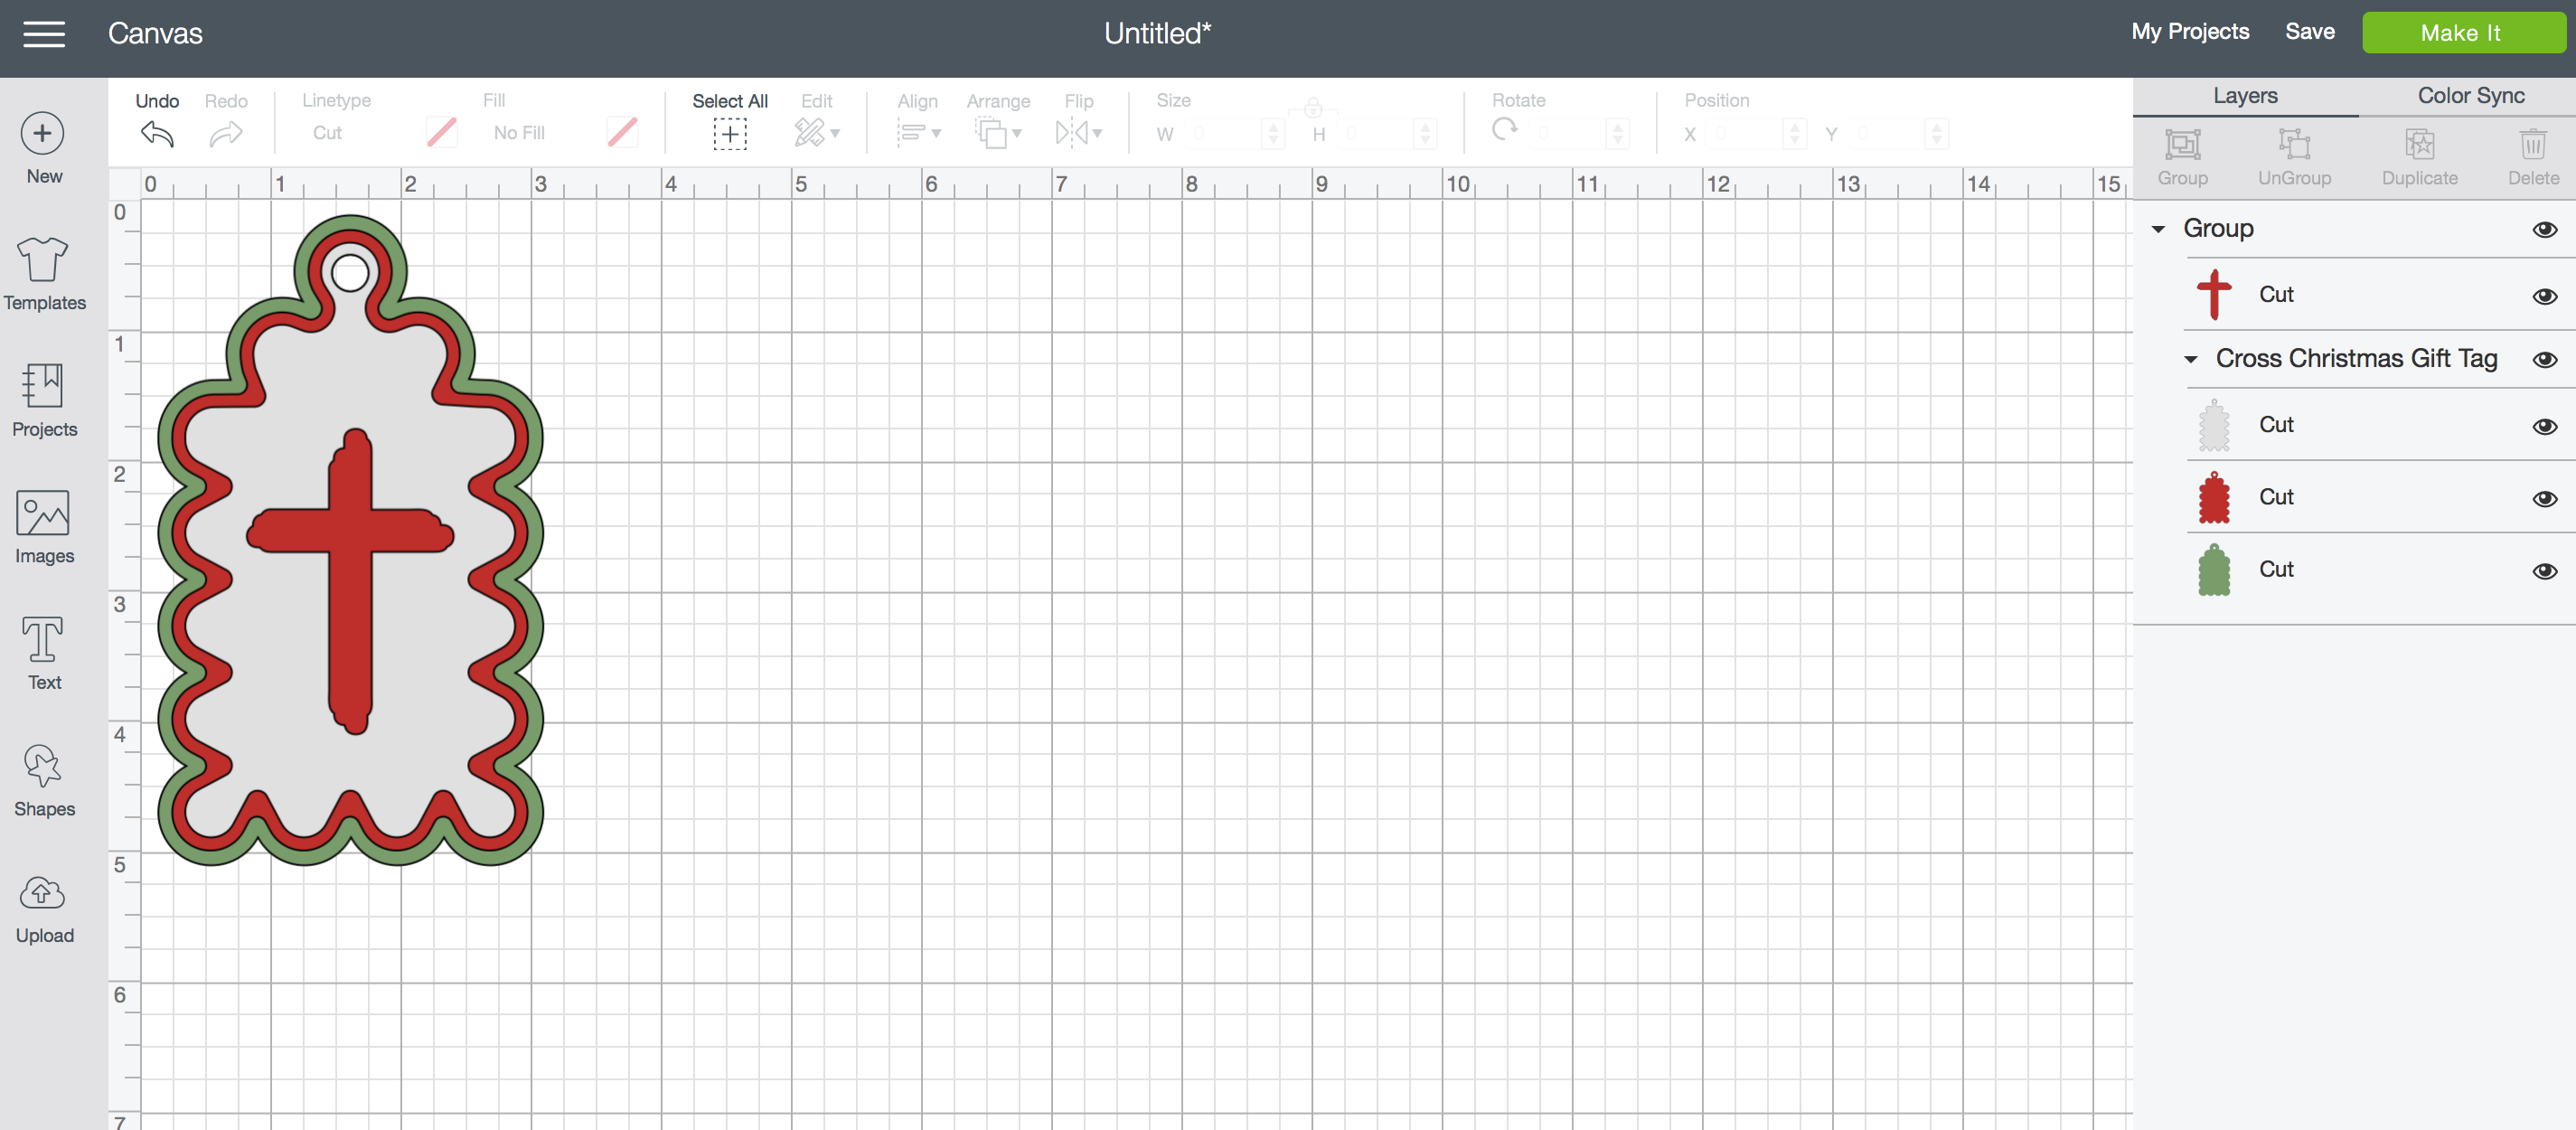
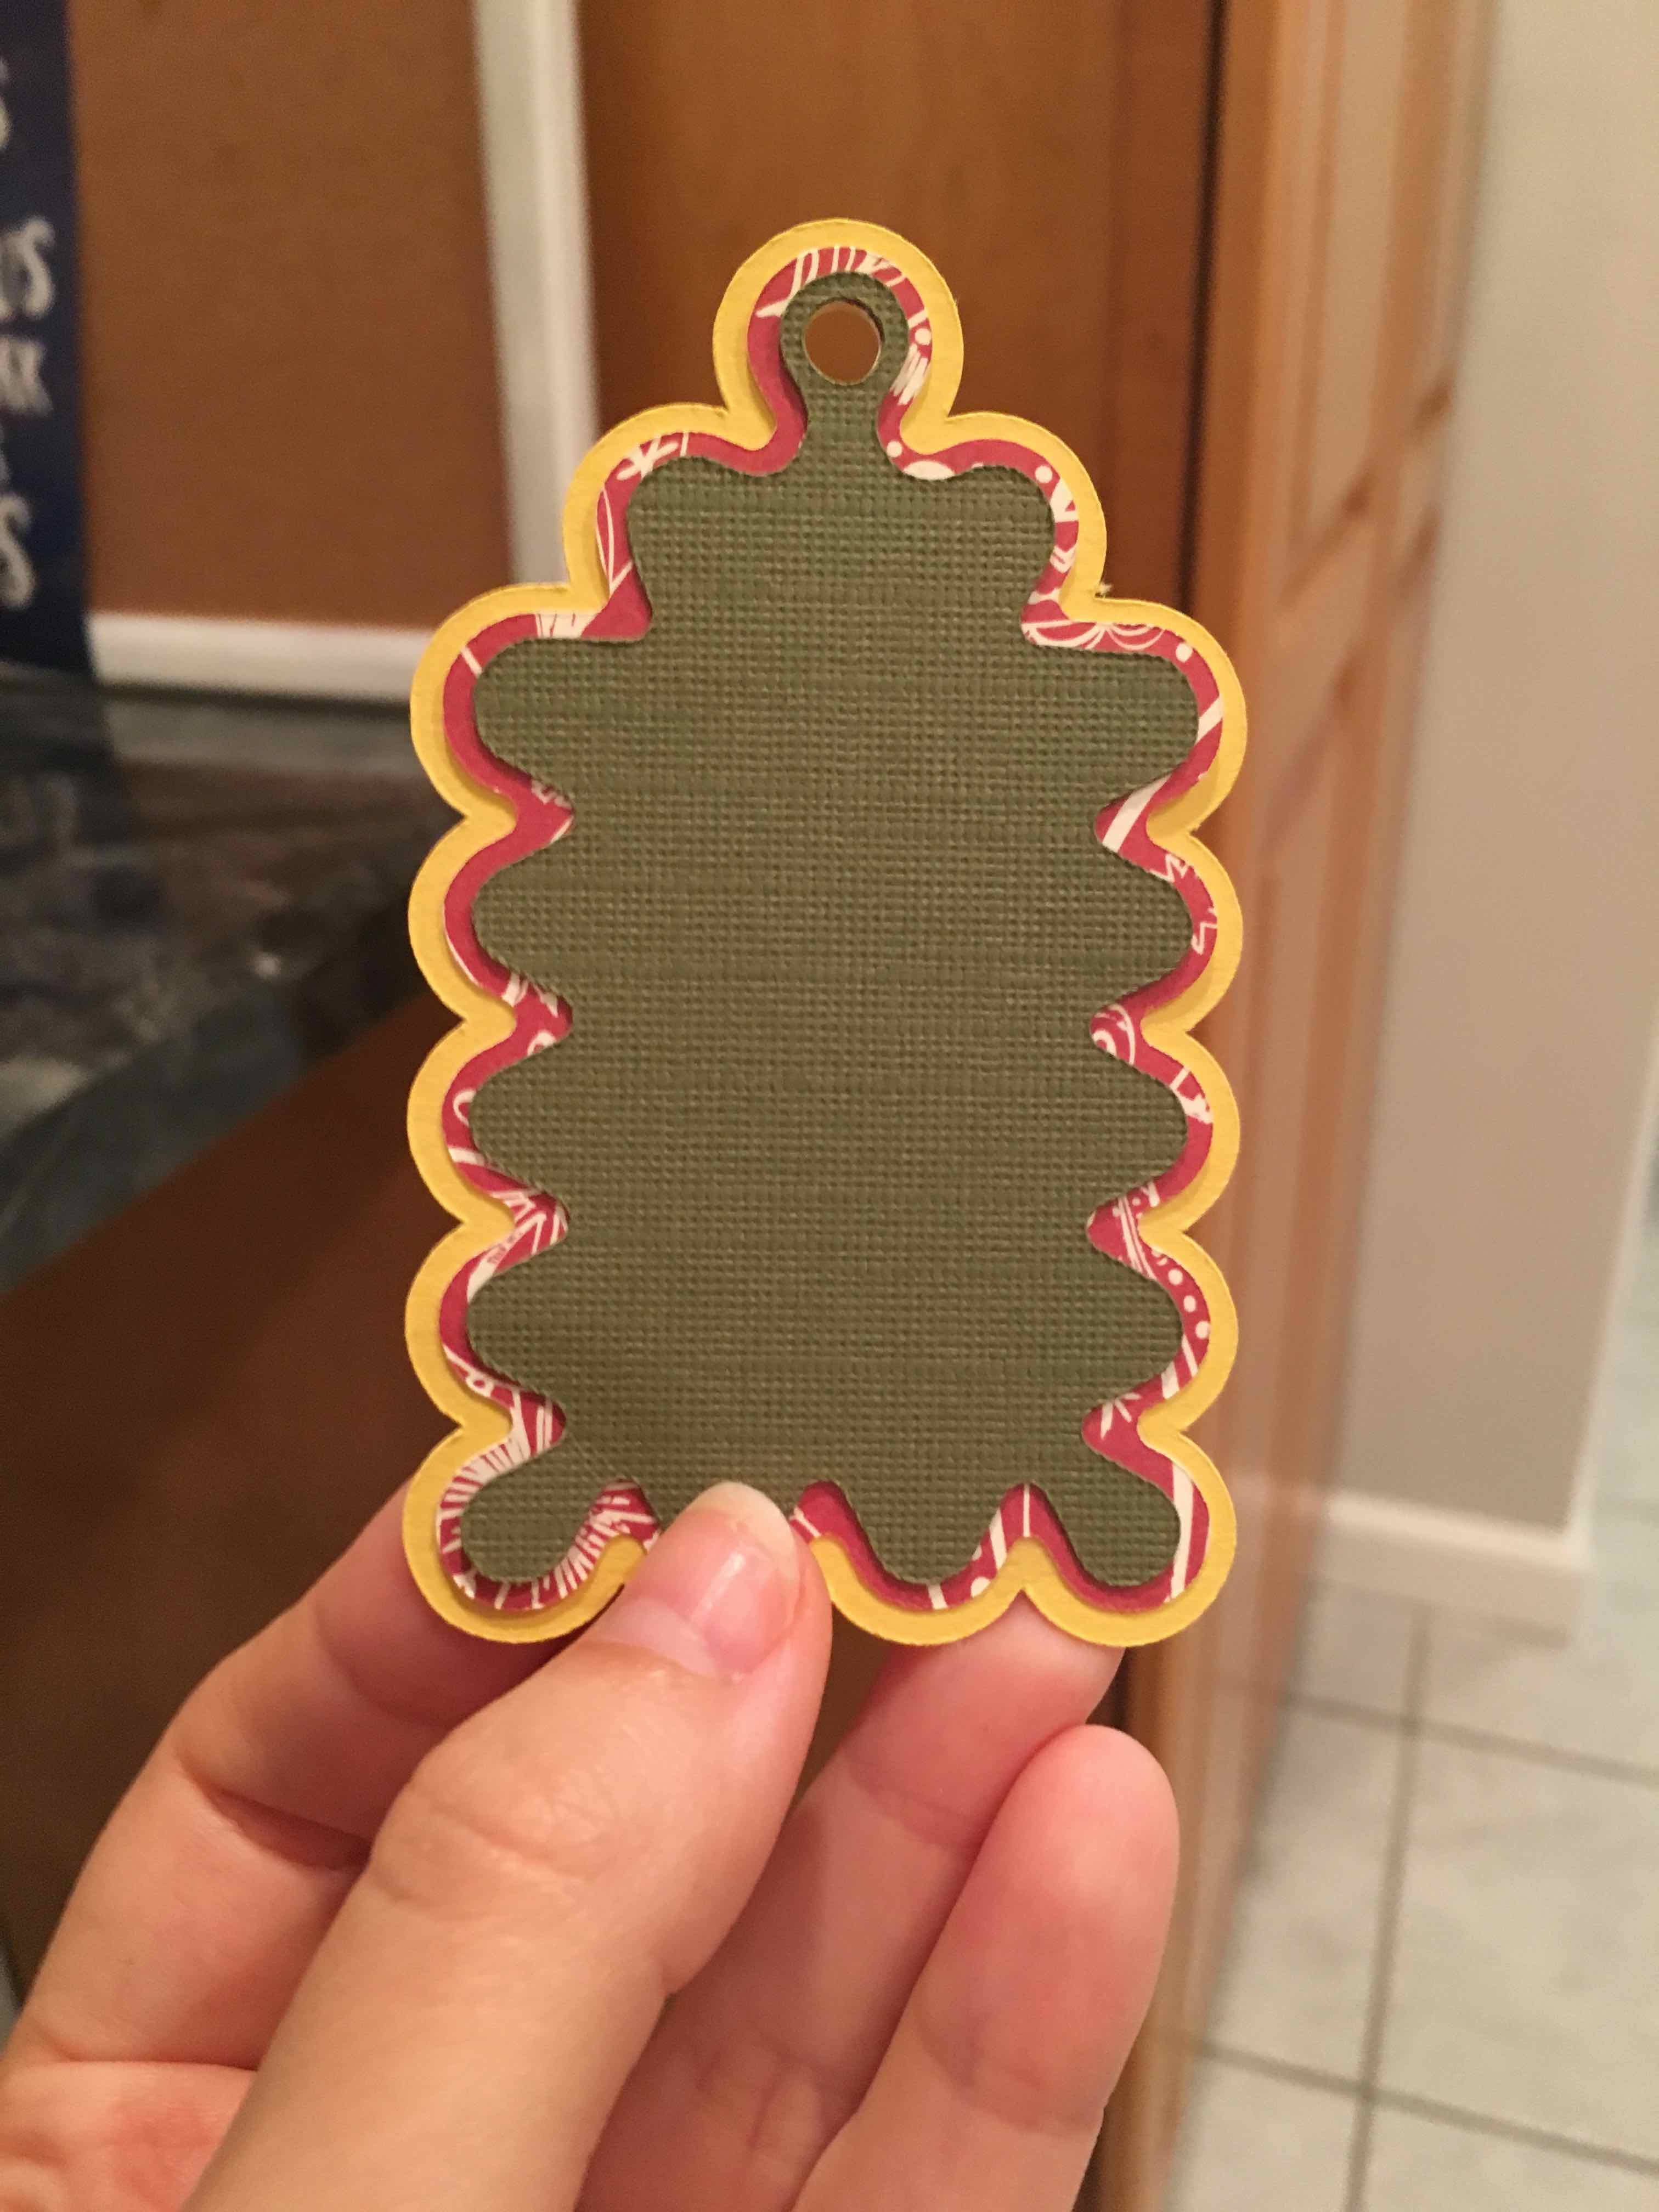
First, it is important to understand that each gift tag has 4 layers. You can add layers, delete layers, and change the layers however you see fit!
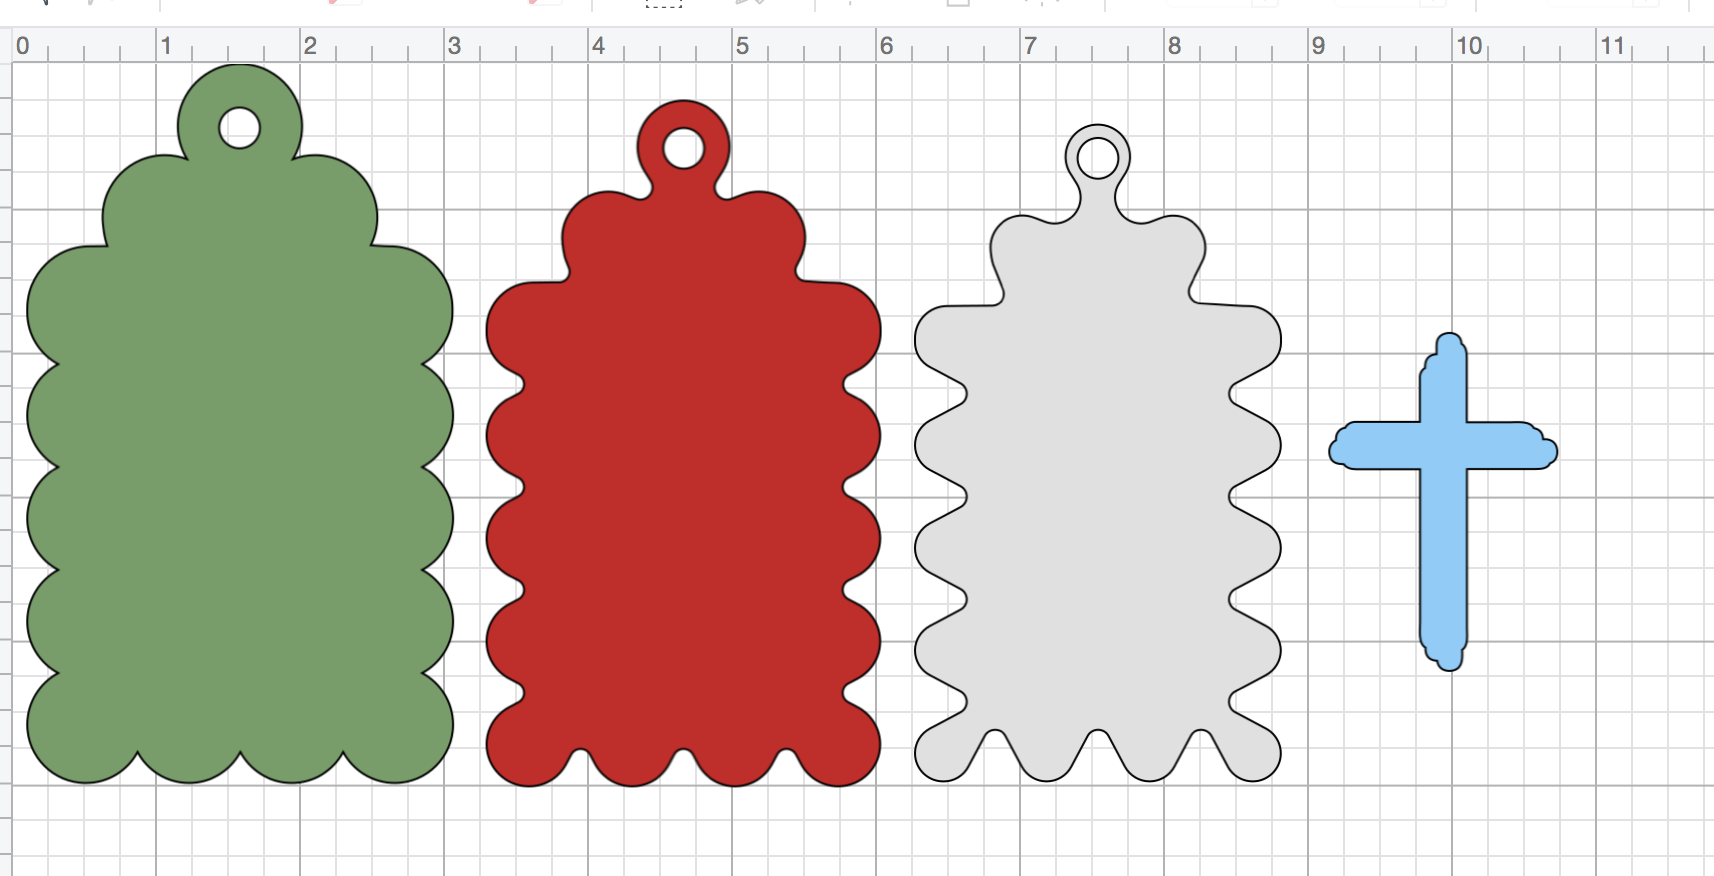
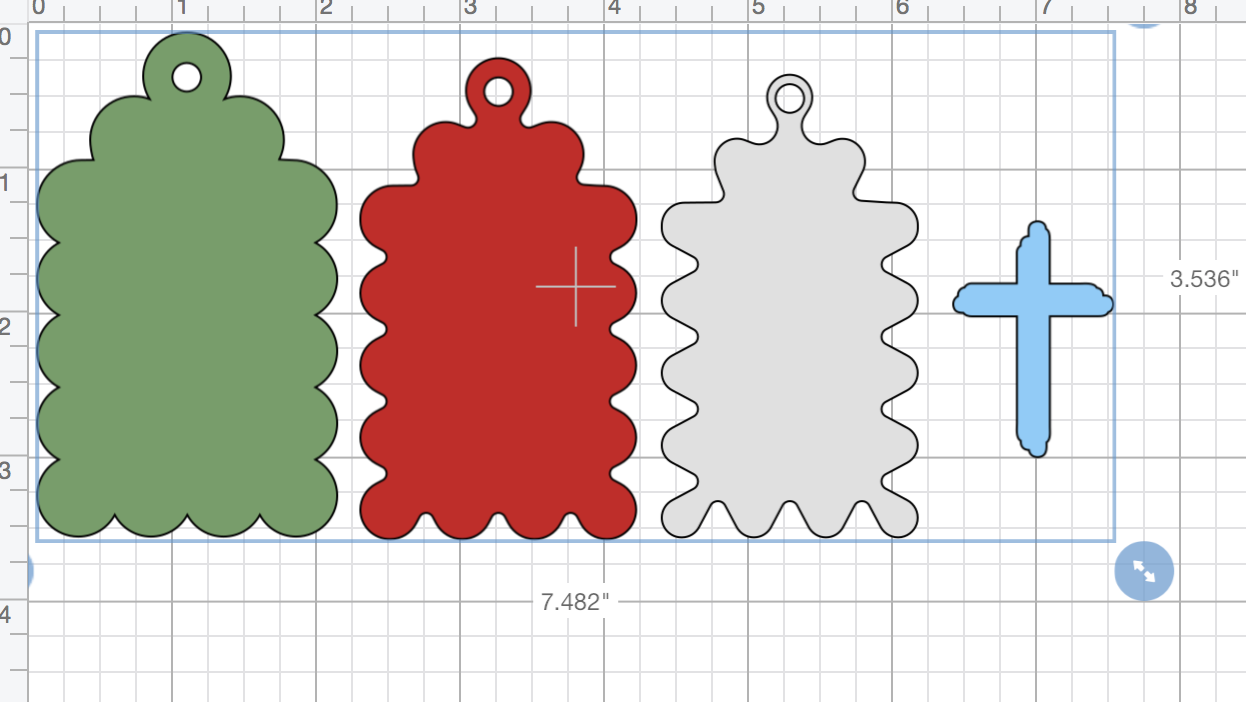
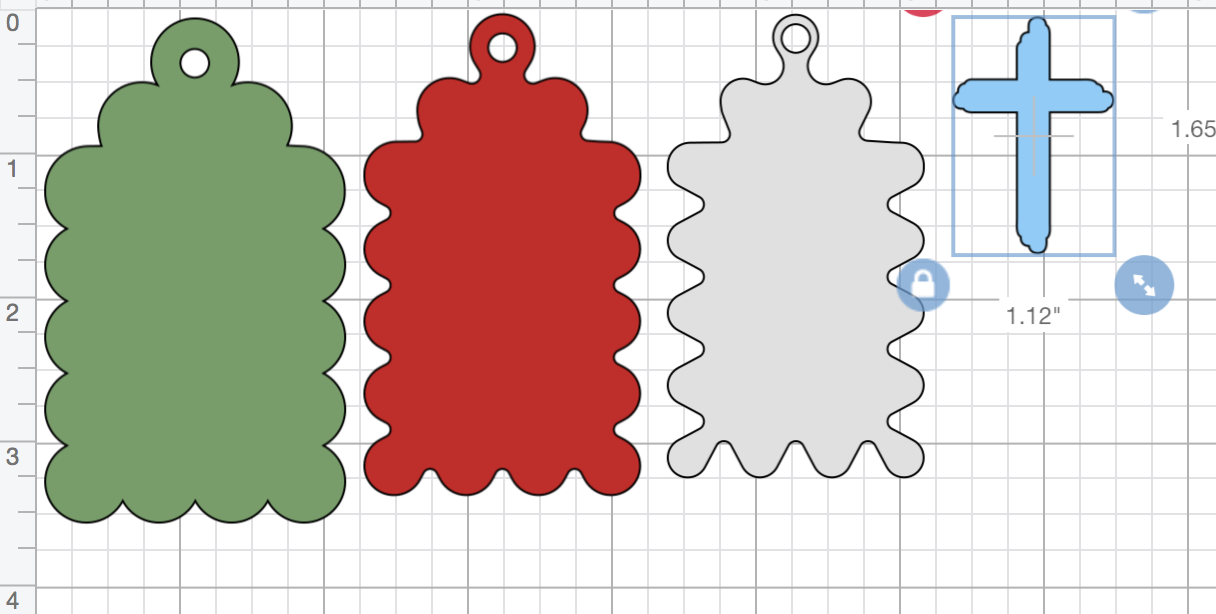
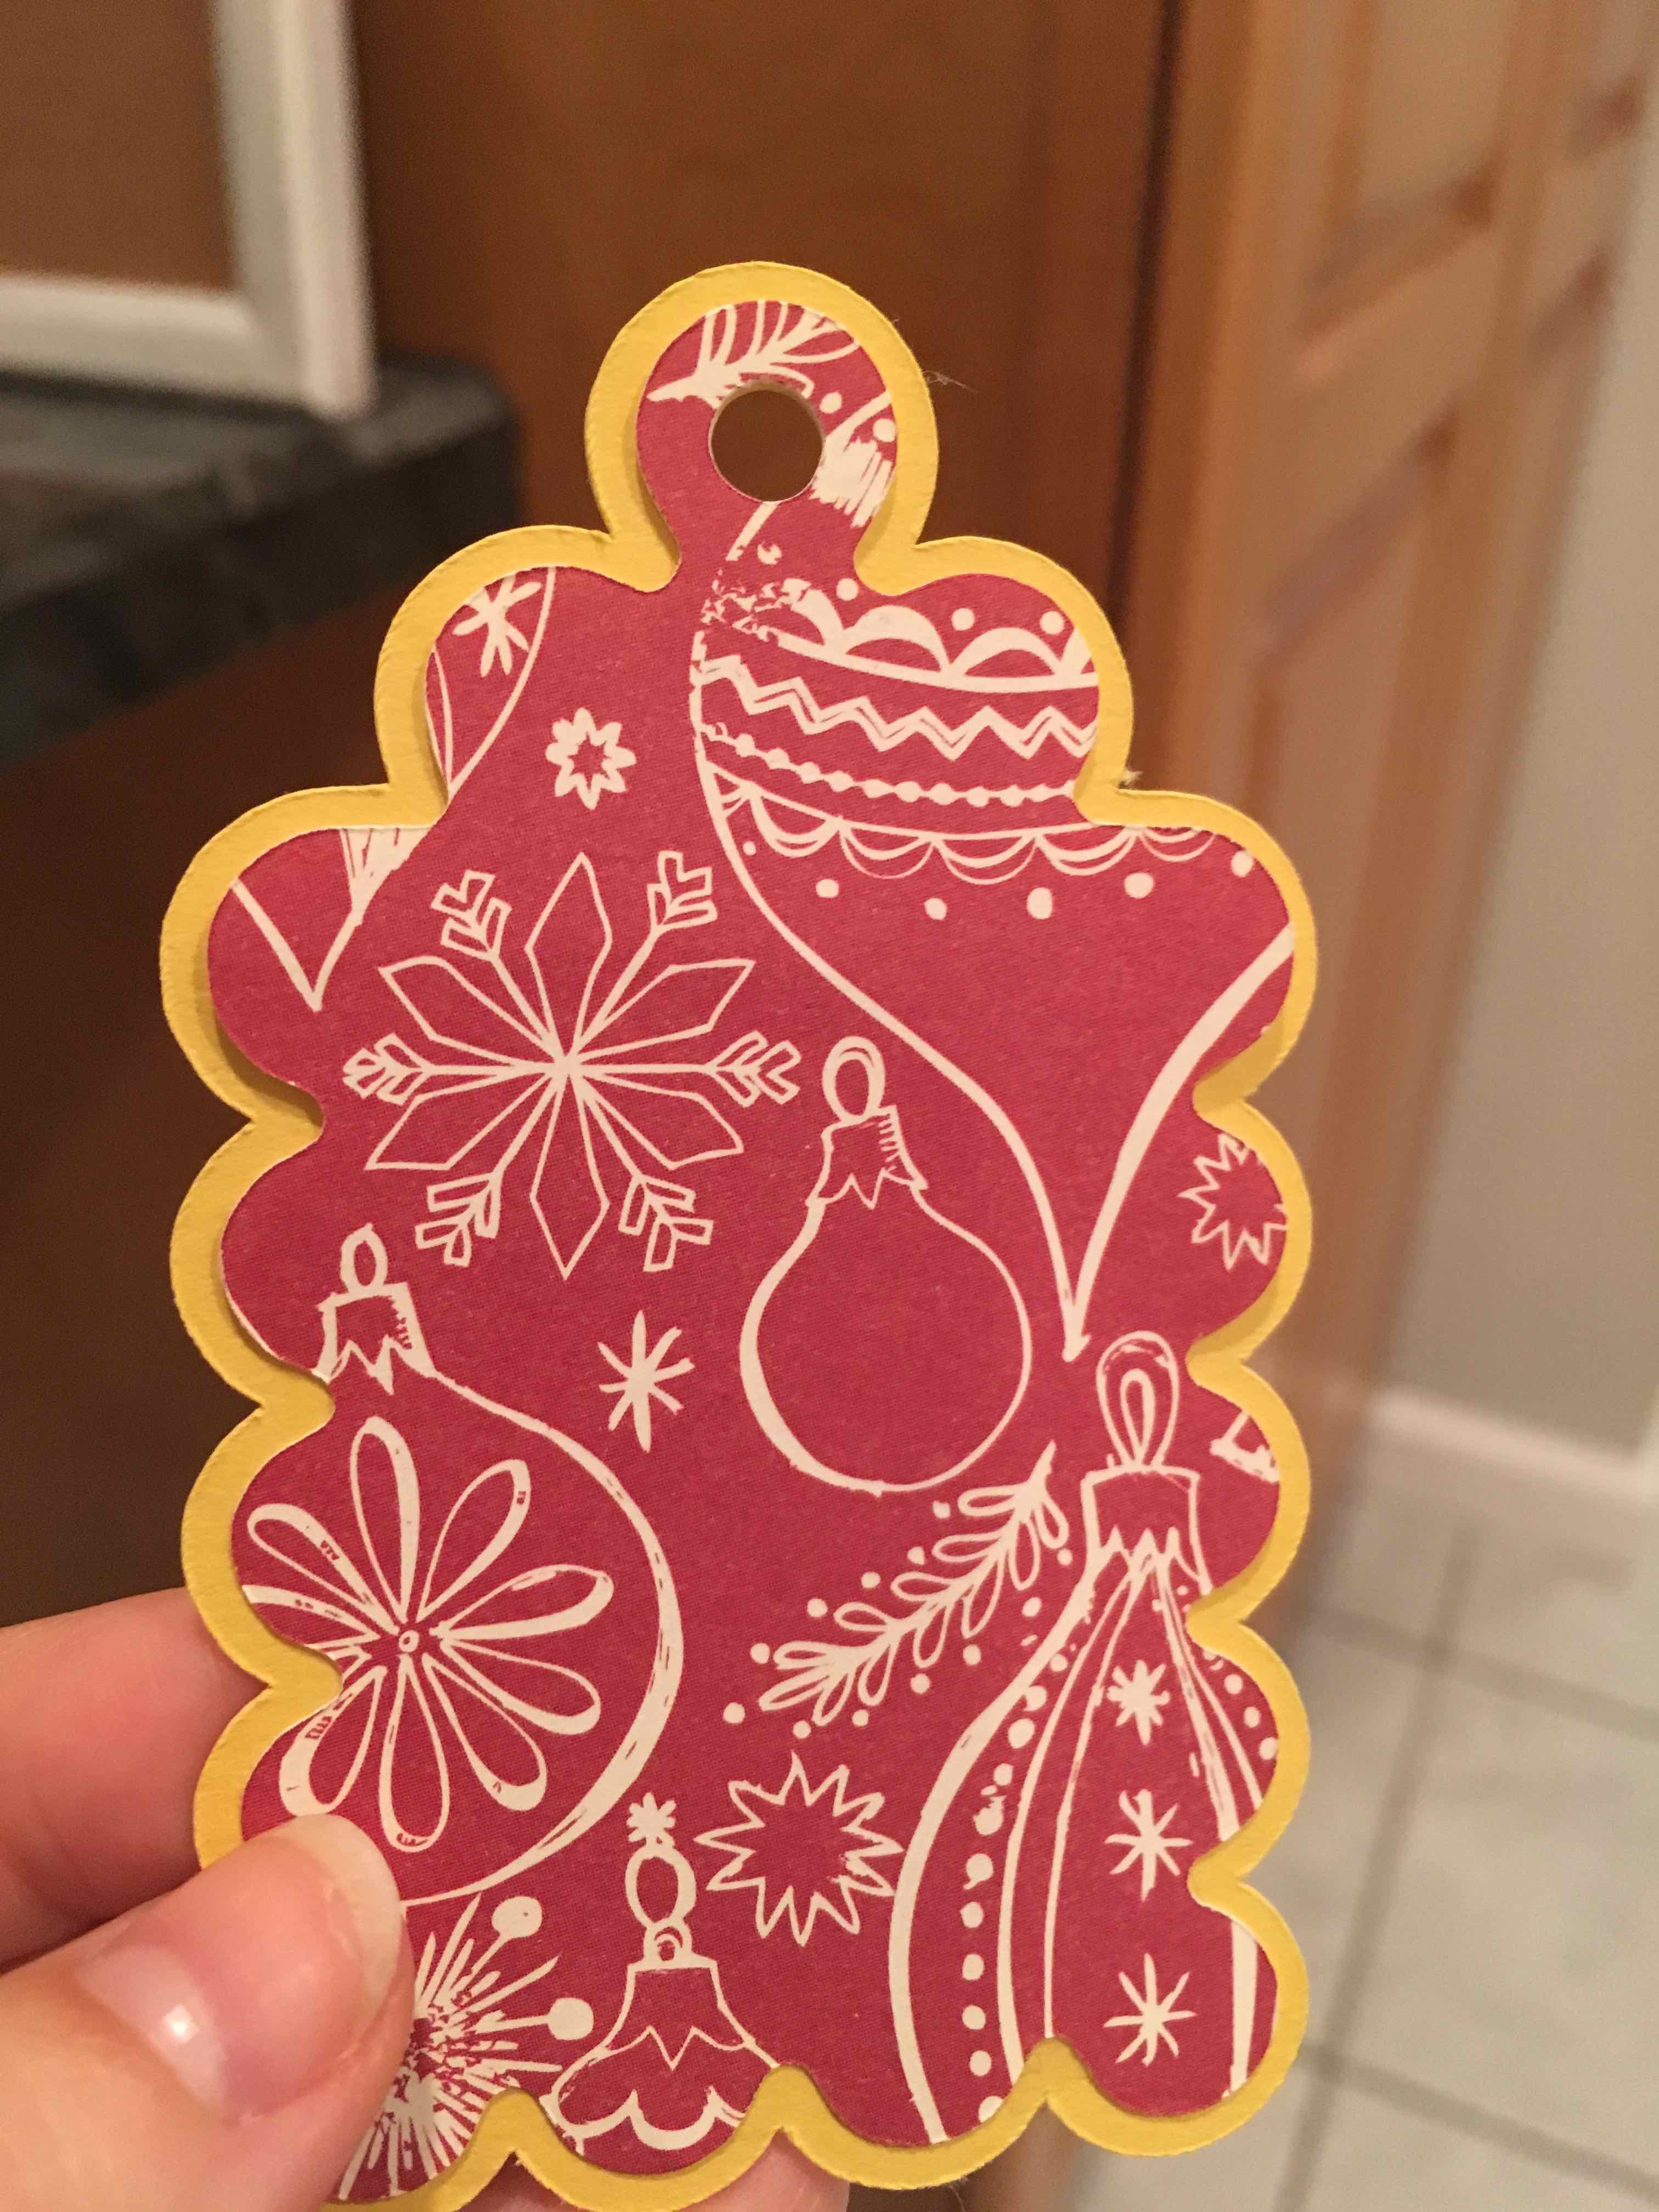
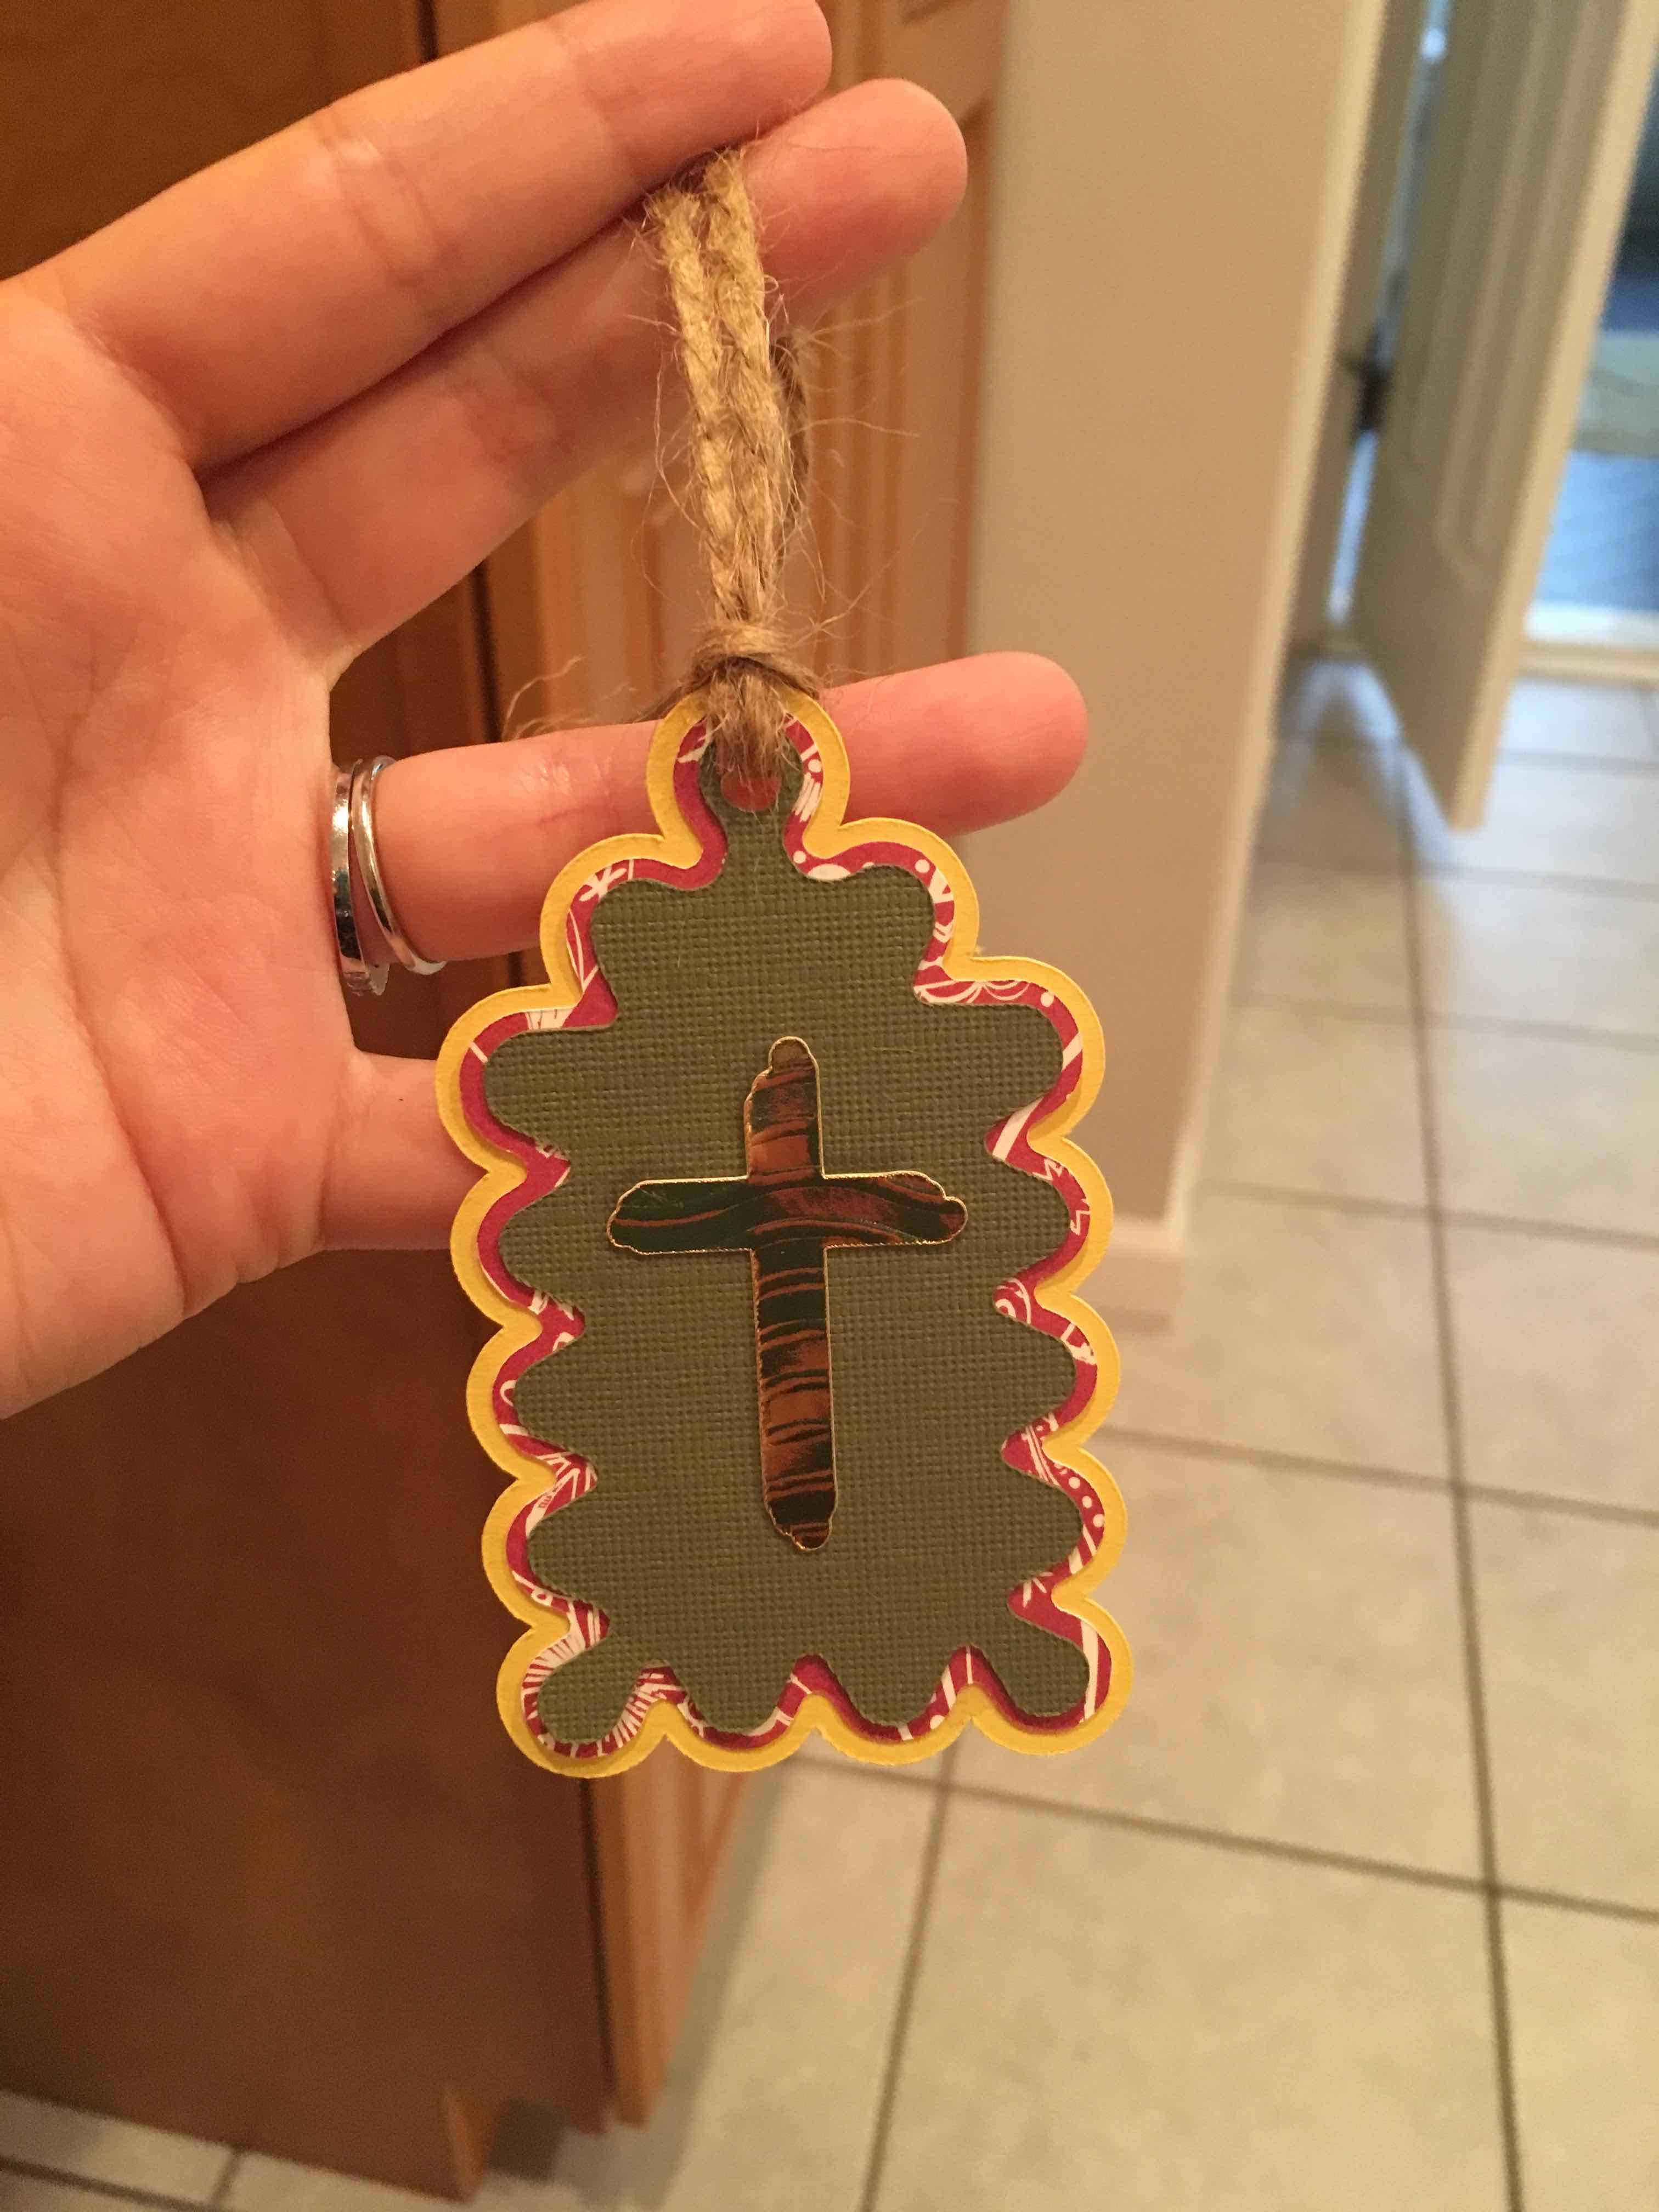
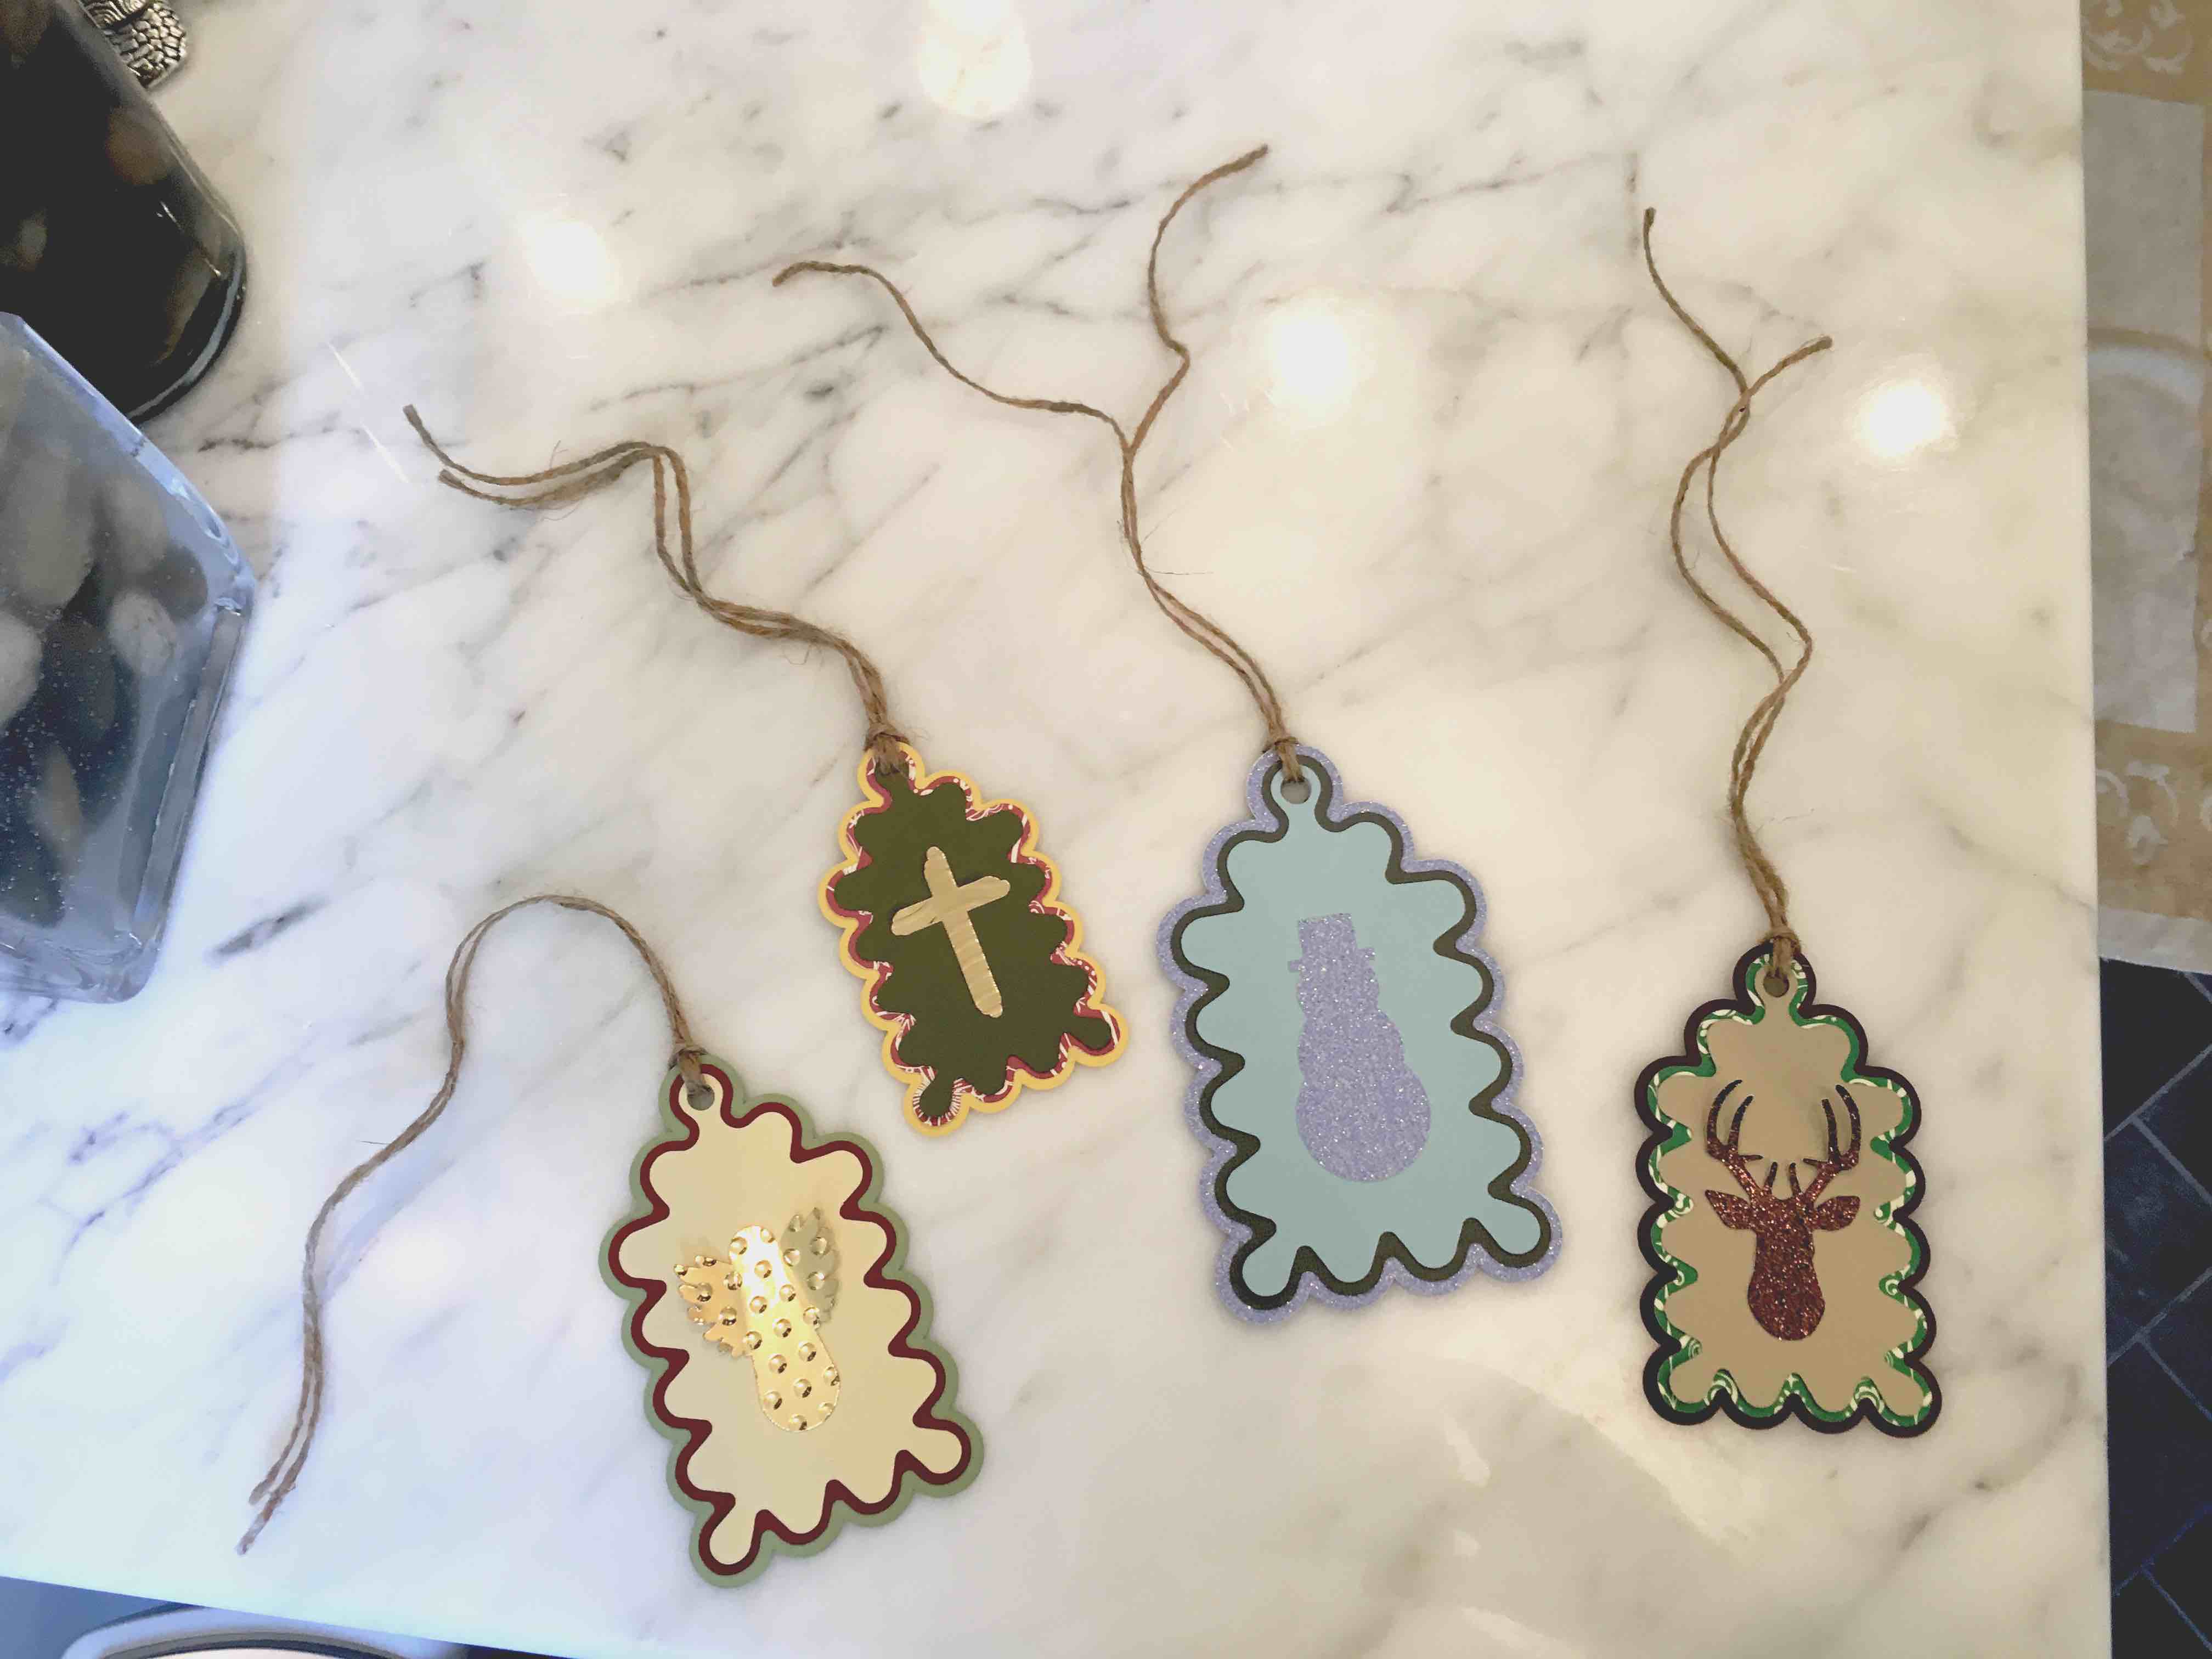
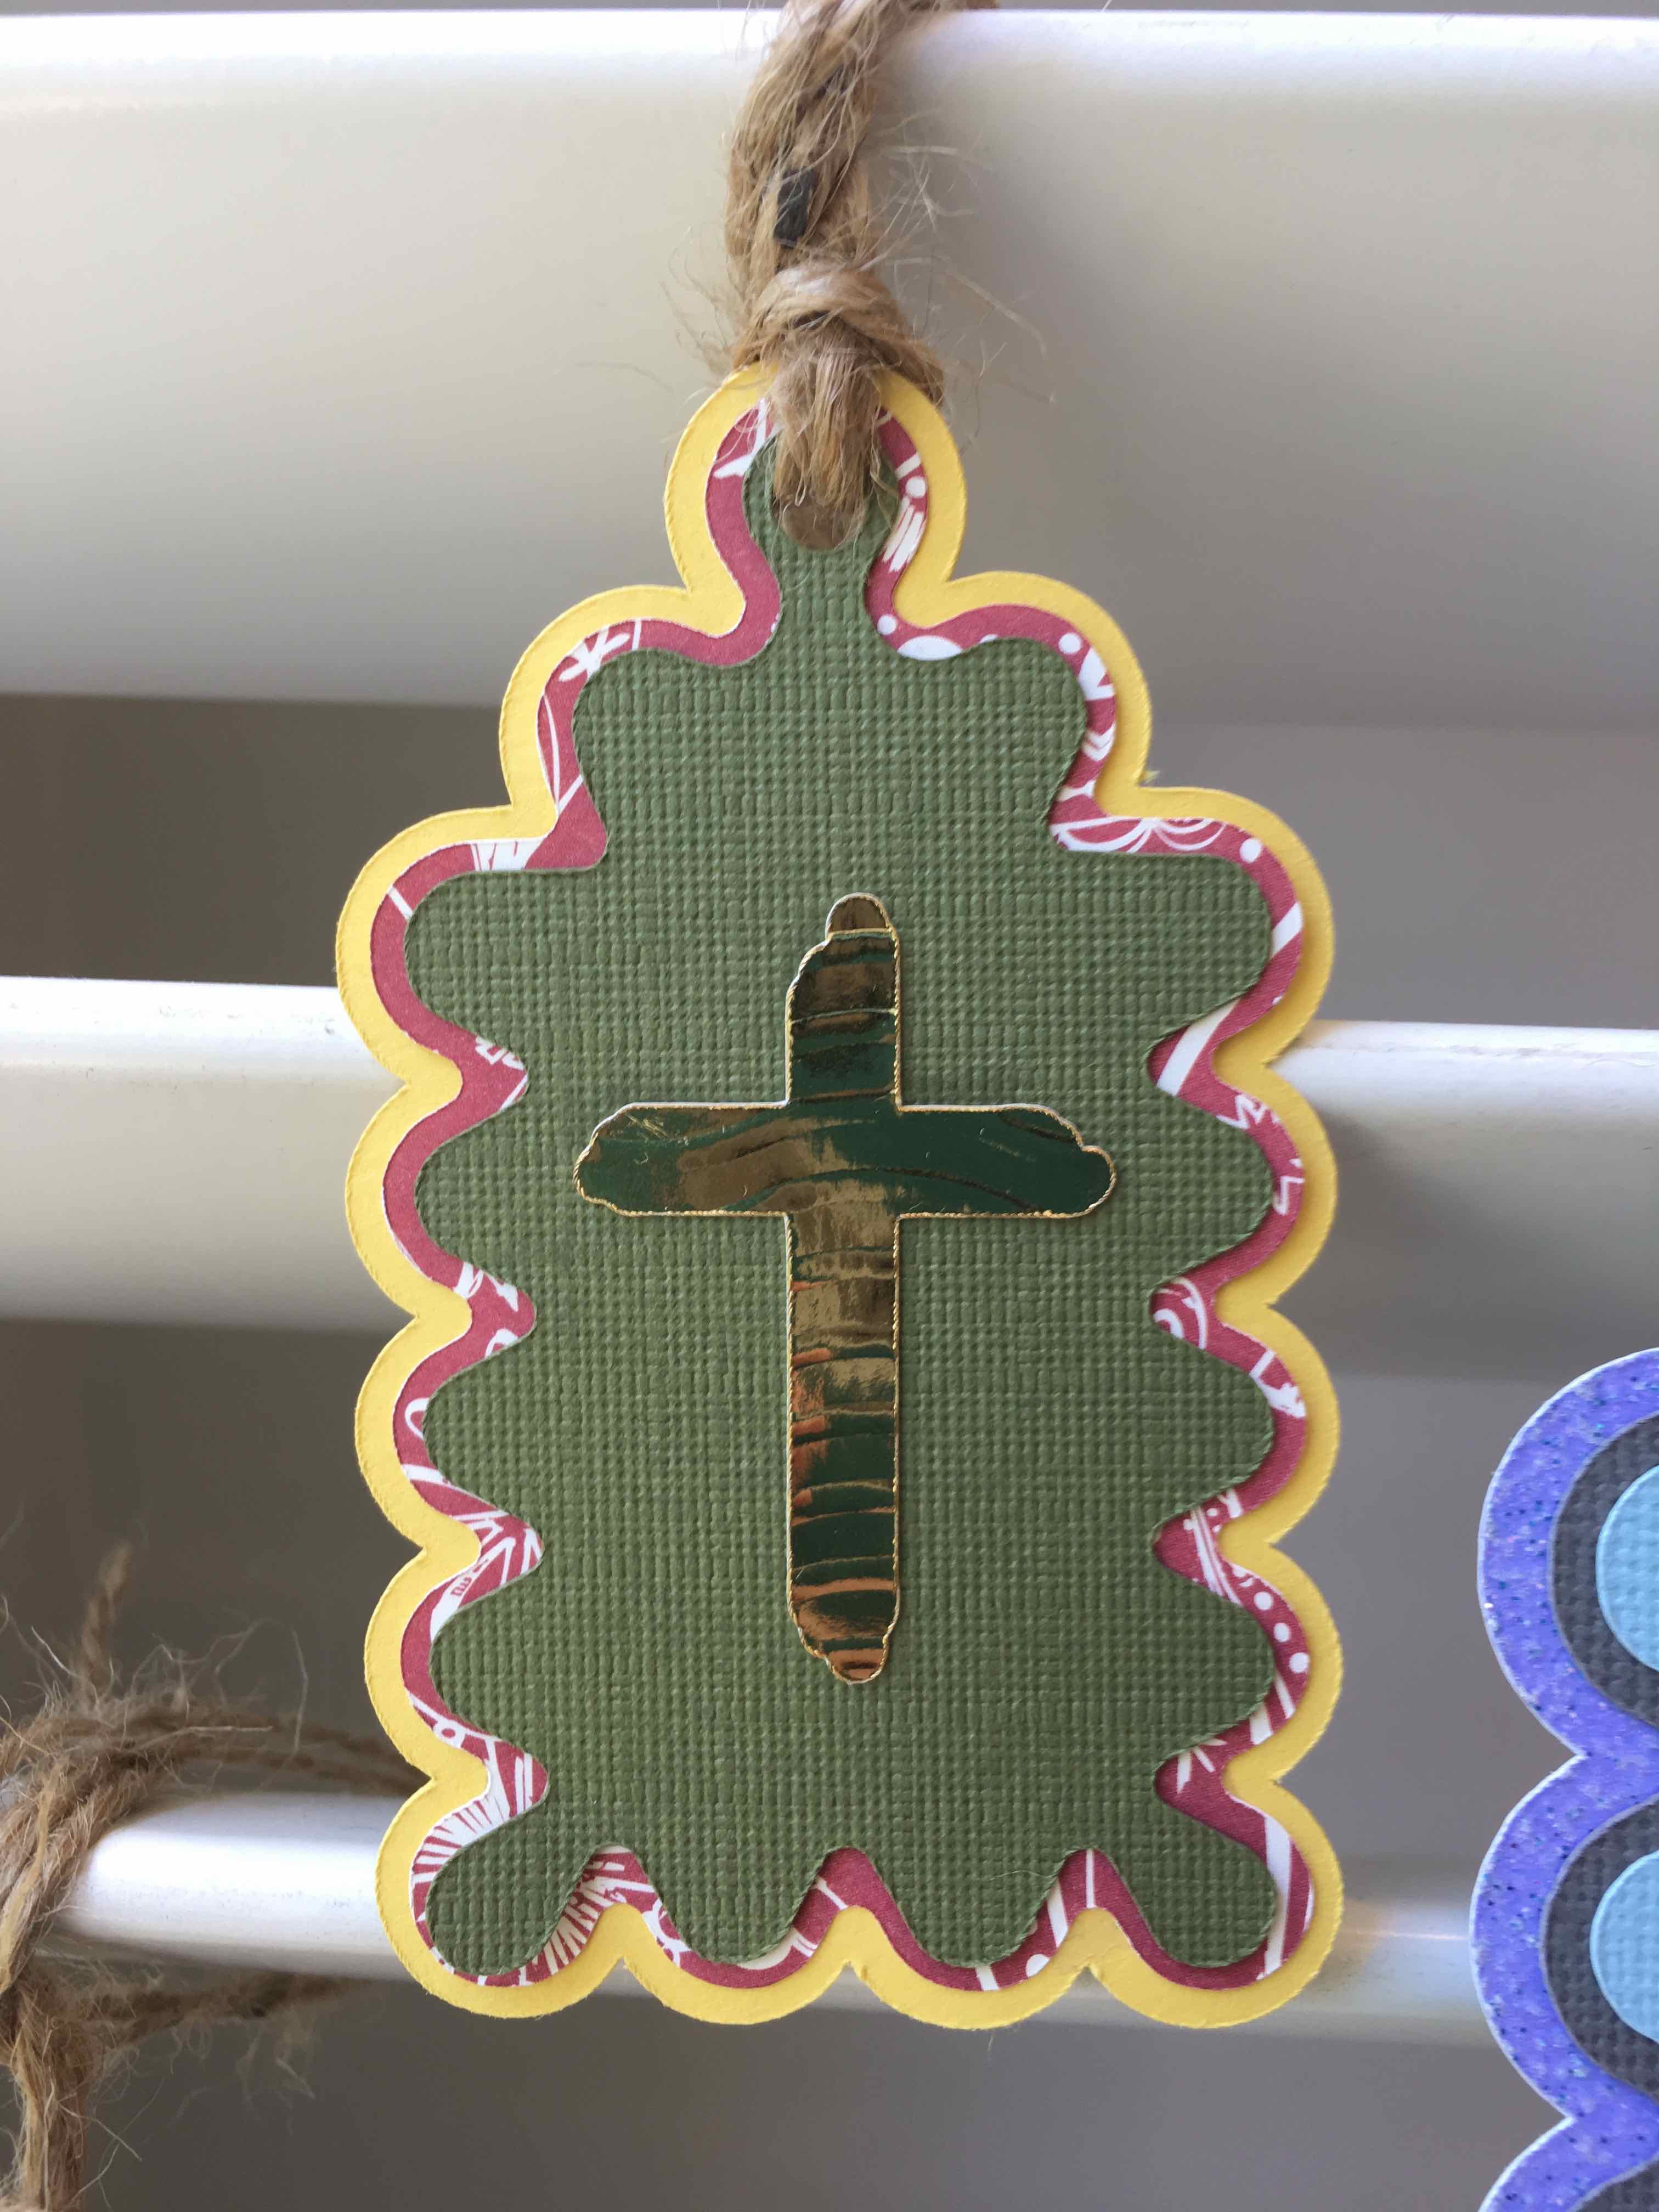
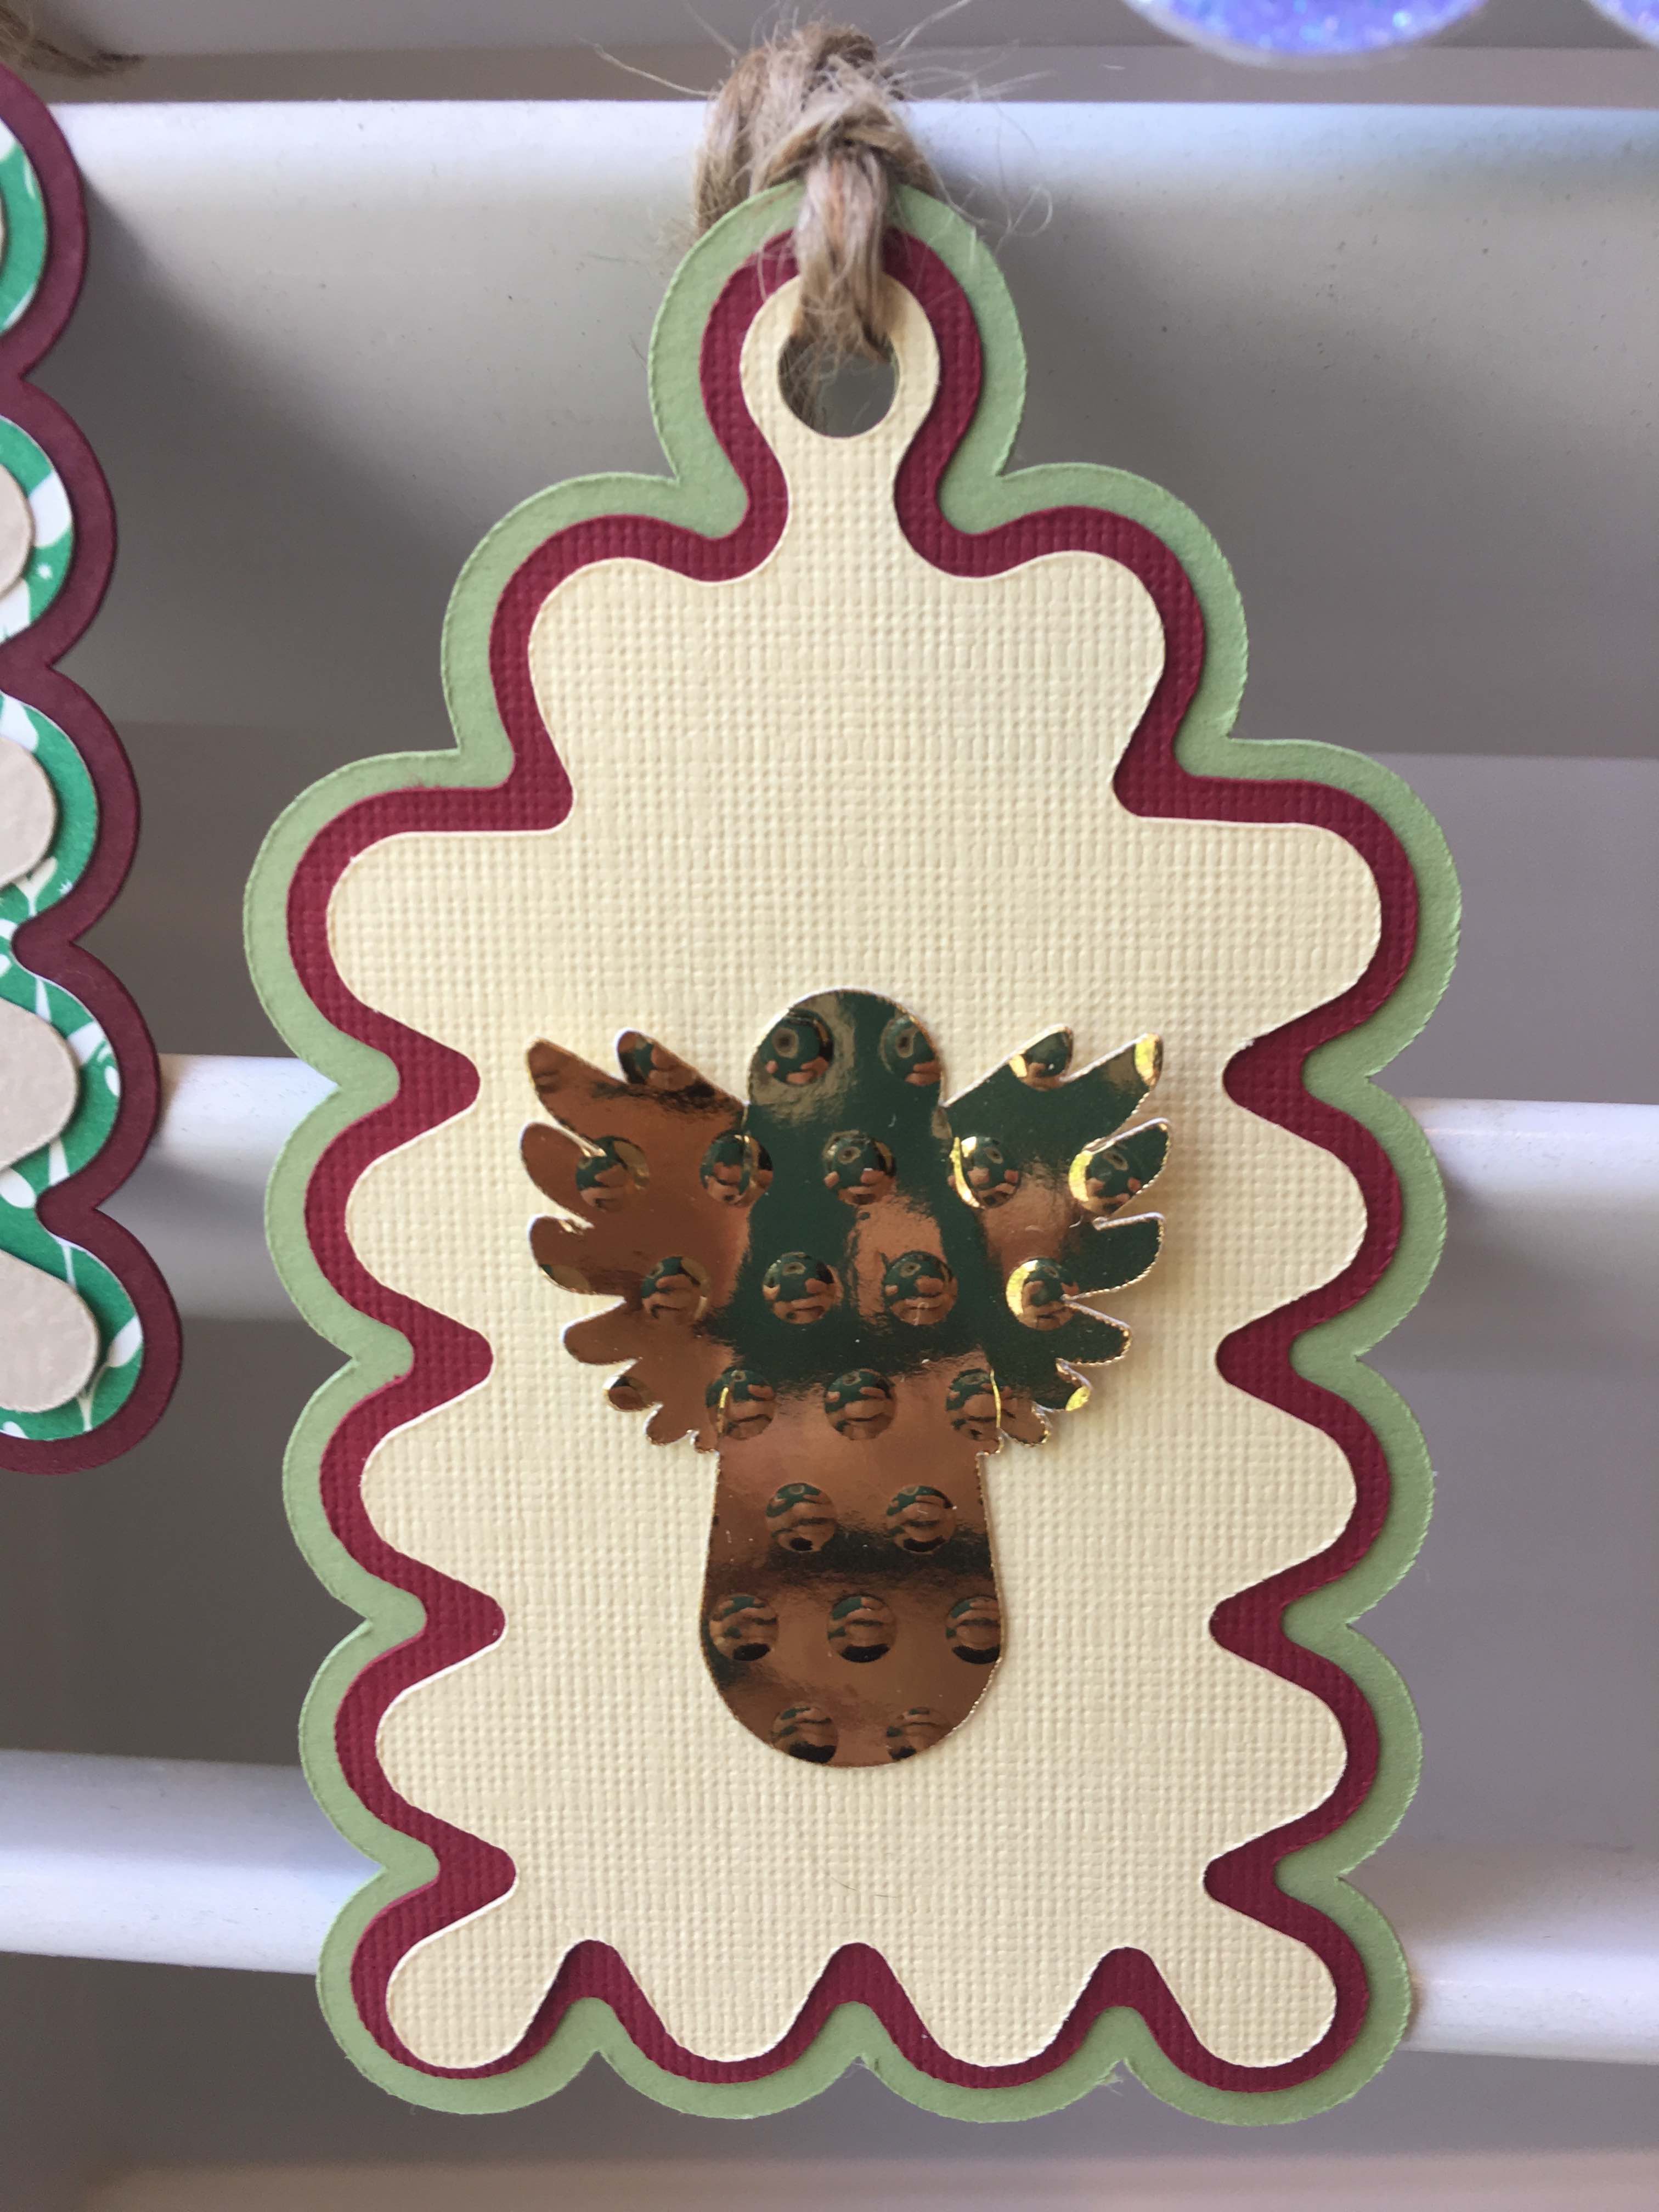
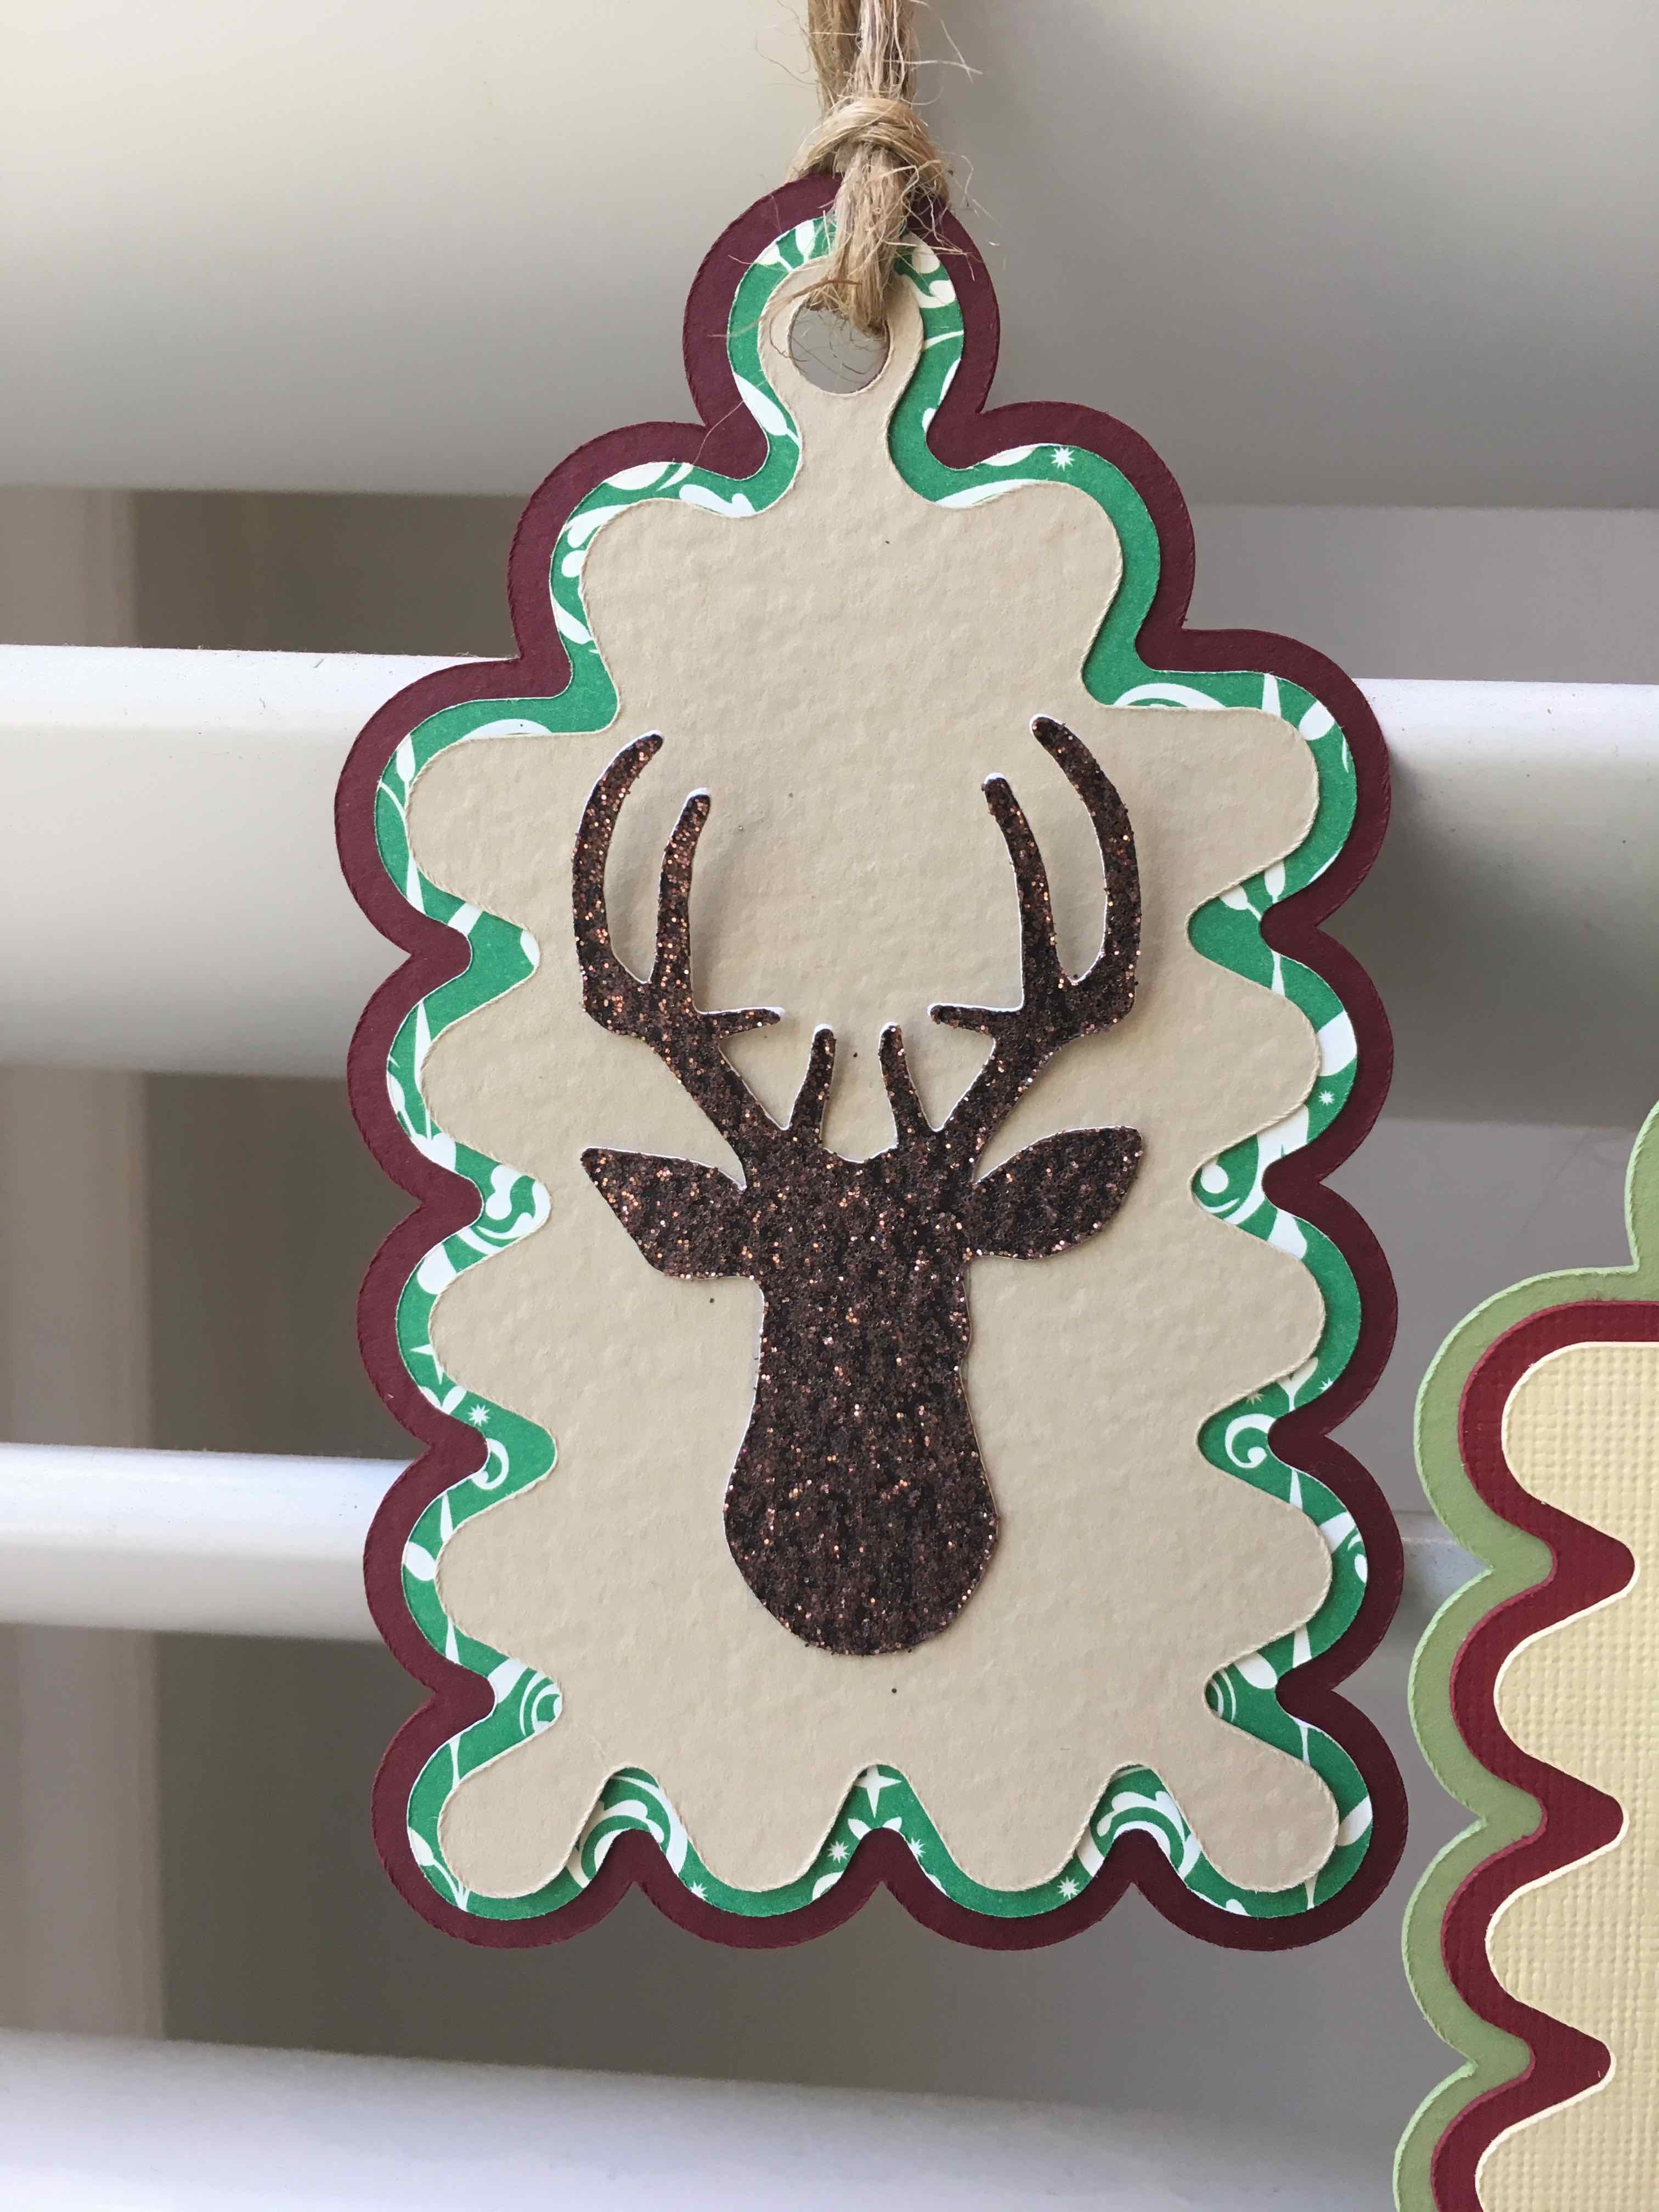
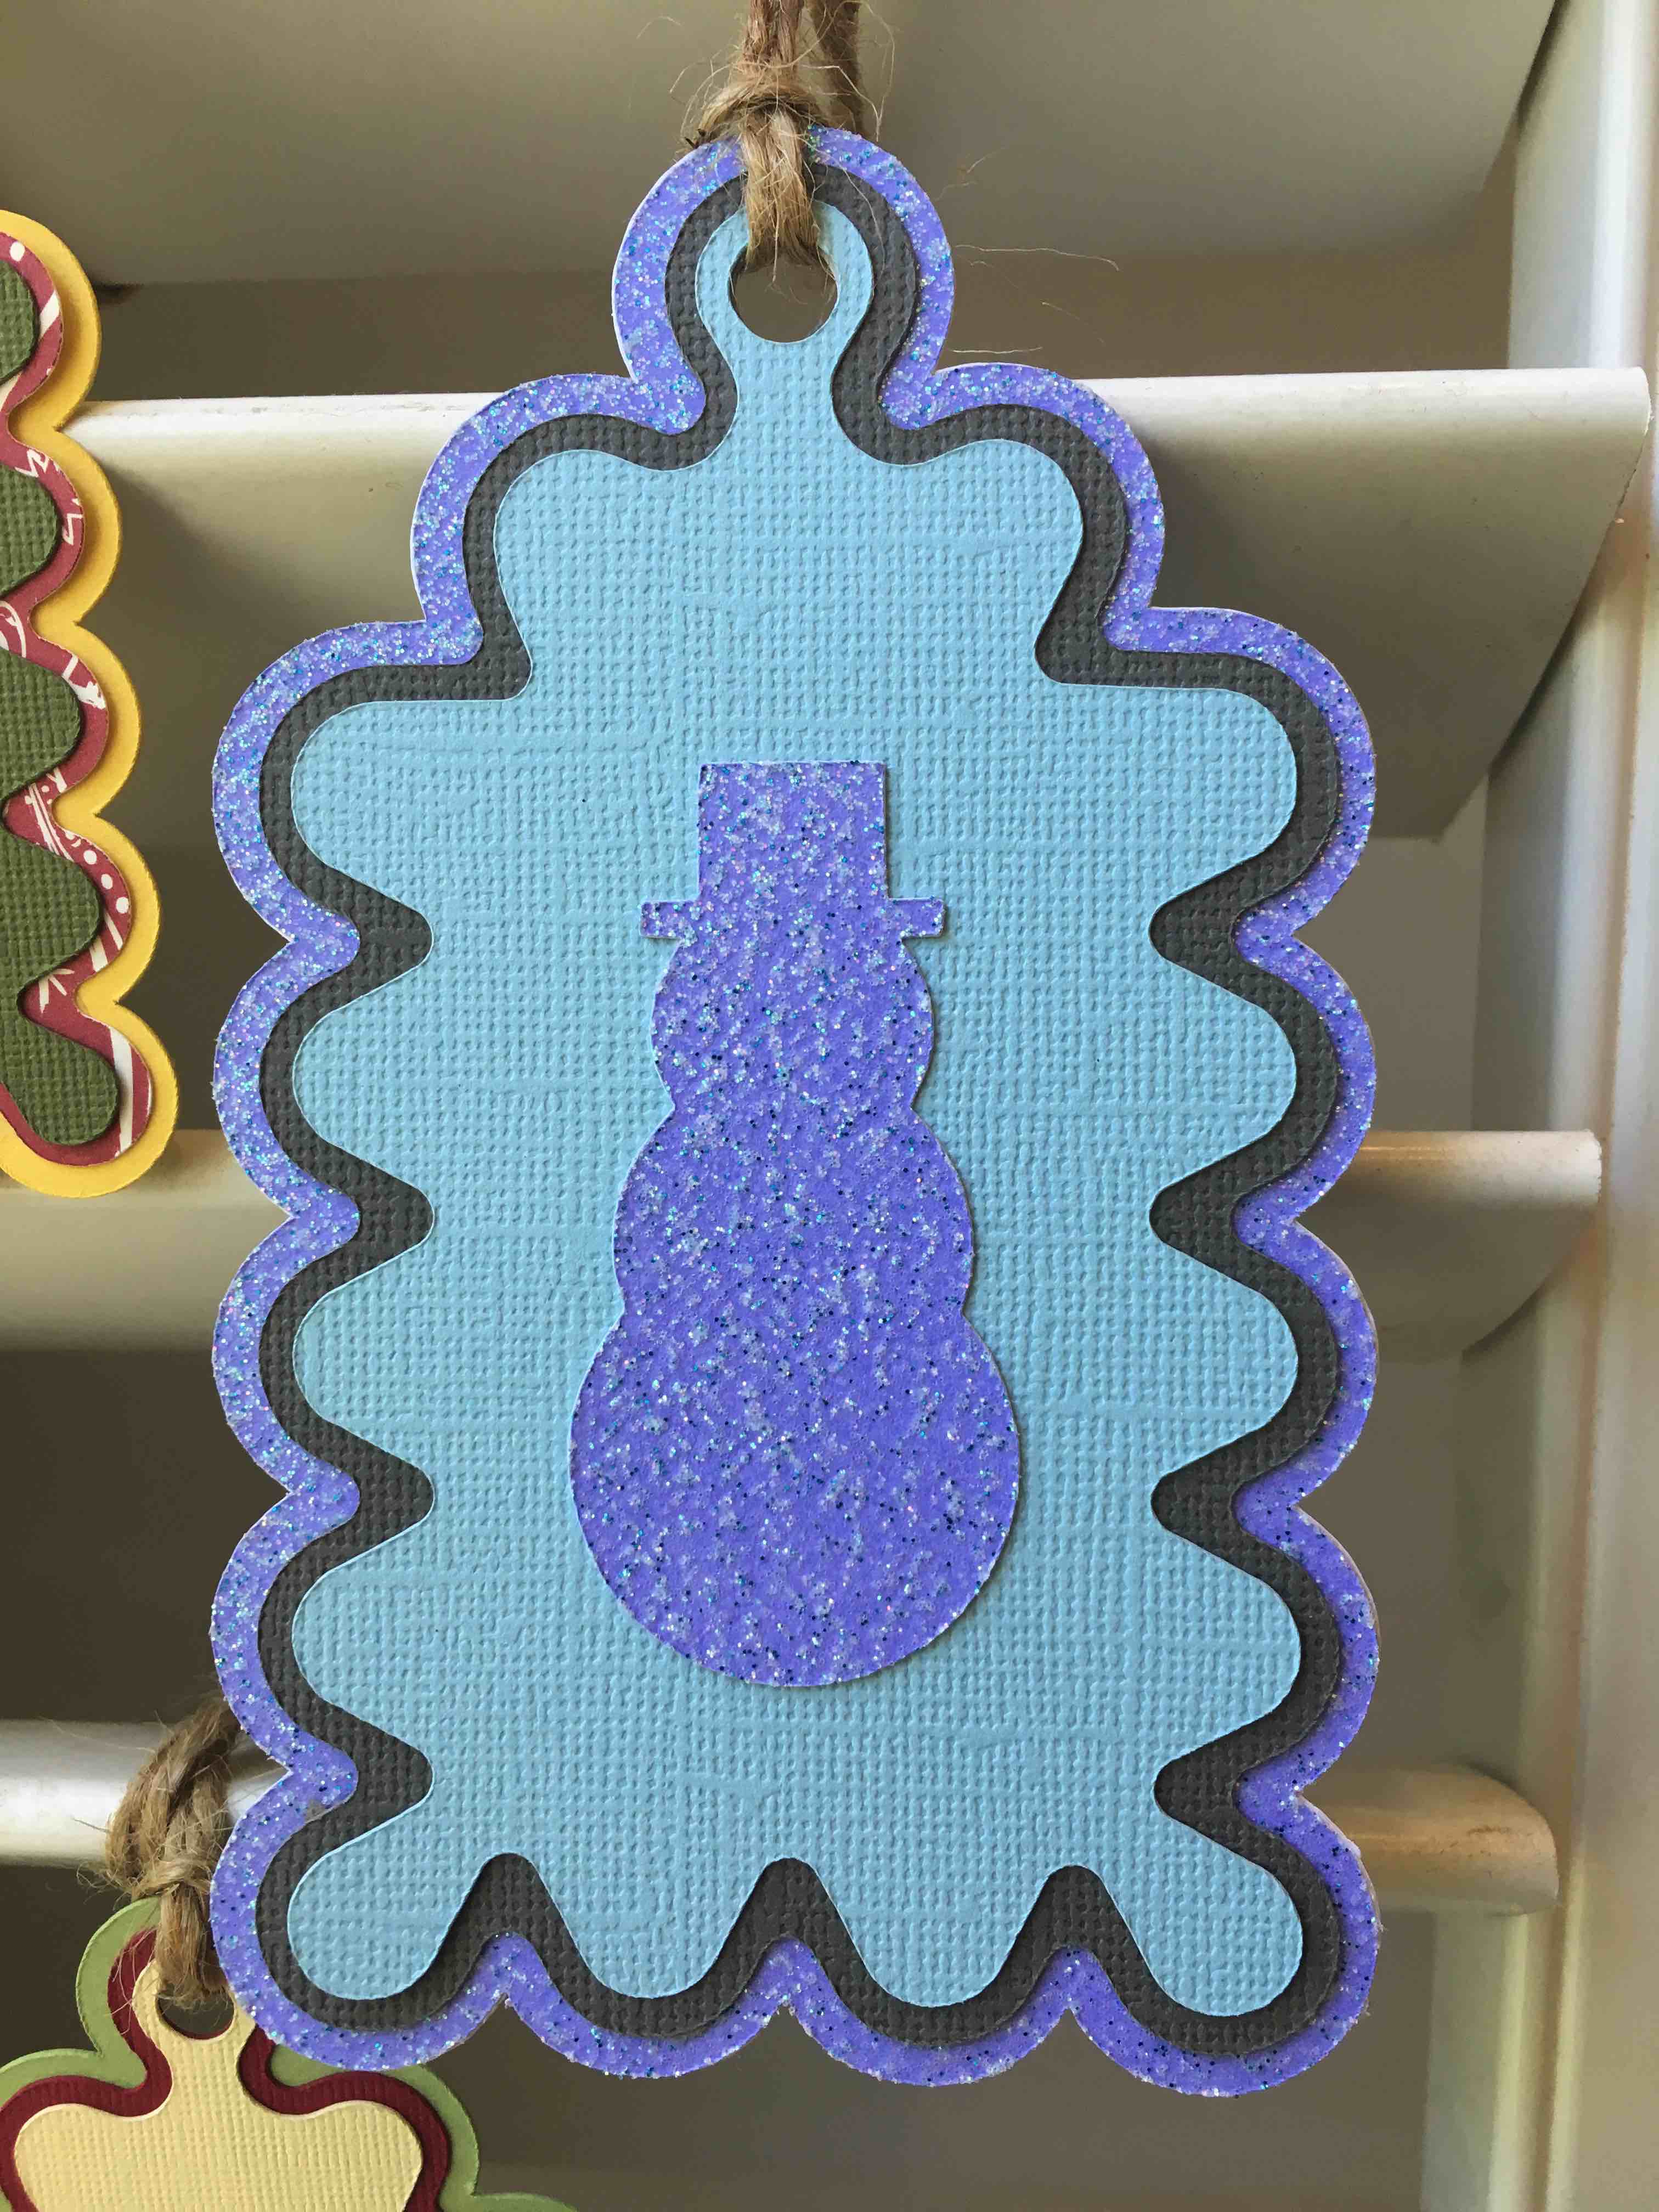
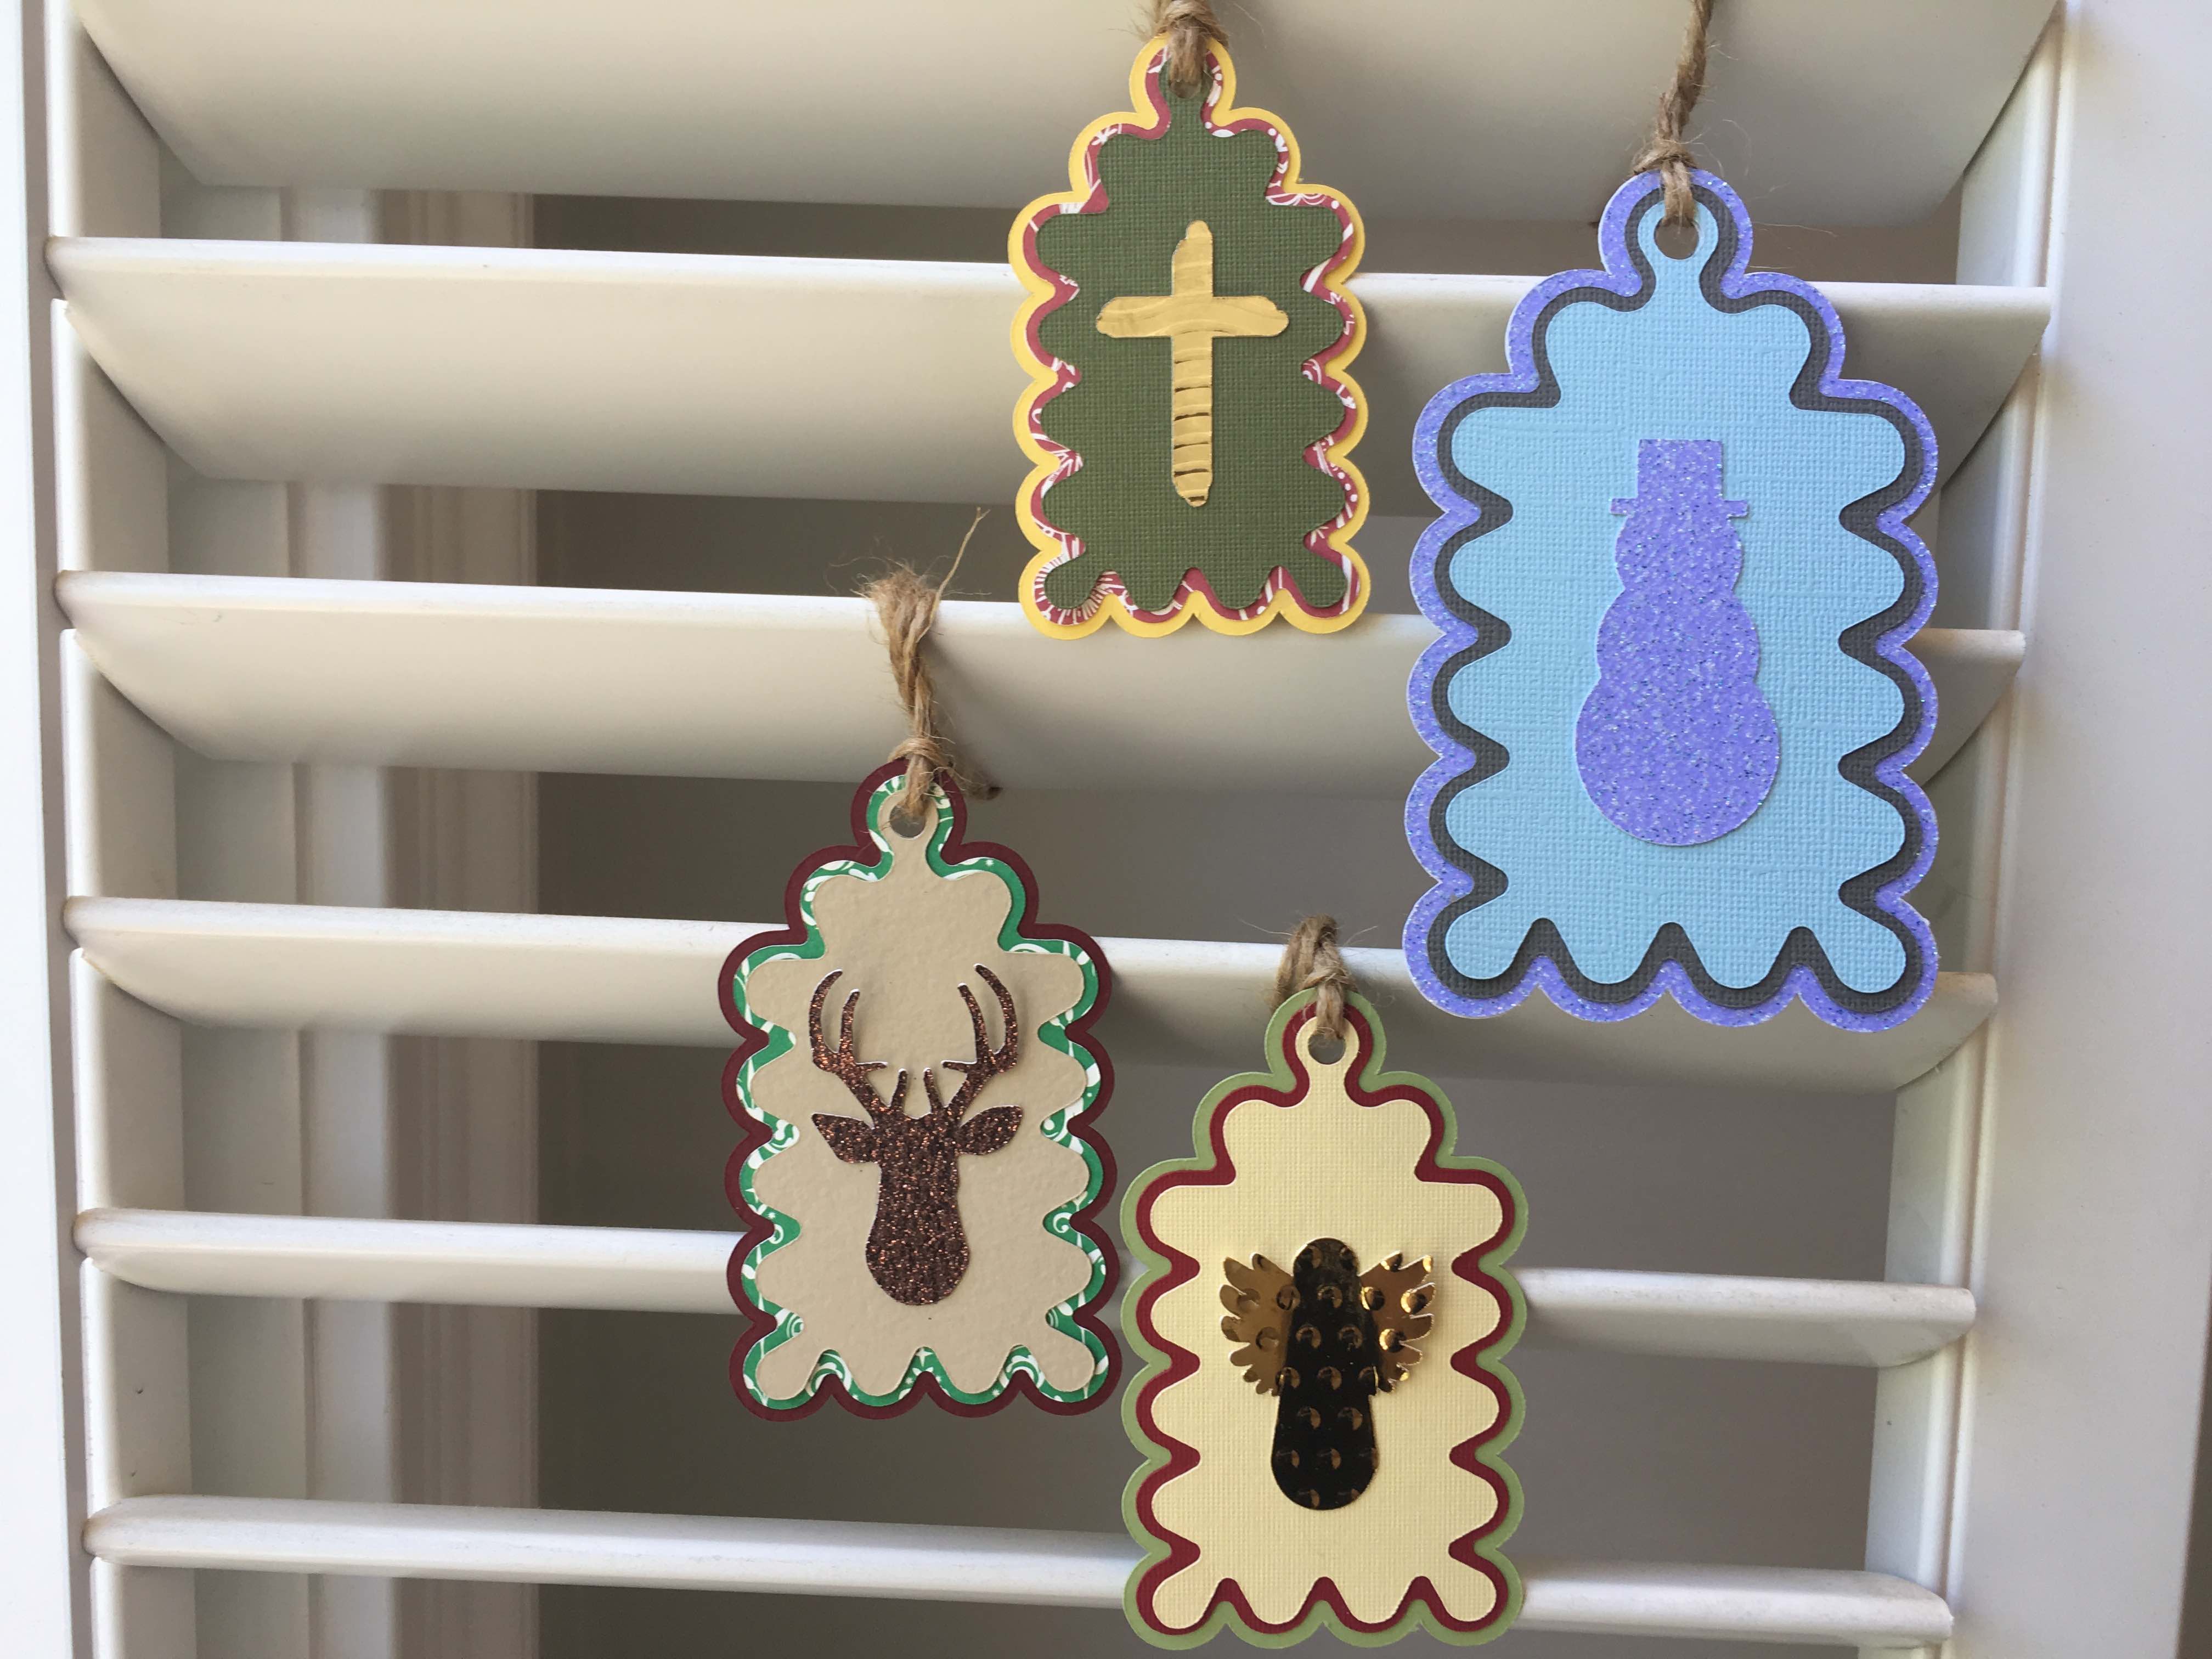
Gift tag designs included are: Cross, Snowman, Angel, and Deer
An important thing to remember is that the medium or card-stock that you choose will be a big determining factor on how your gift tags will turn out.
Materials You Will Need:
- Ribbon or twine
- Good quality card-stock that is on the thicker side
- Foil card-stock or fancier card-stock for the center silhouette images
- Glue dots, double-sided tape, or glue (glue dots or double-sided tape recommended)
- Pen or writing tool to handwrite your “To:” and “From:” messages (if you have good handwriting a brush pen or thicker pen would look amazing!)
Step-By-Step Guide for Cricut Design Space
Step 1
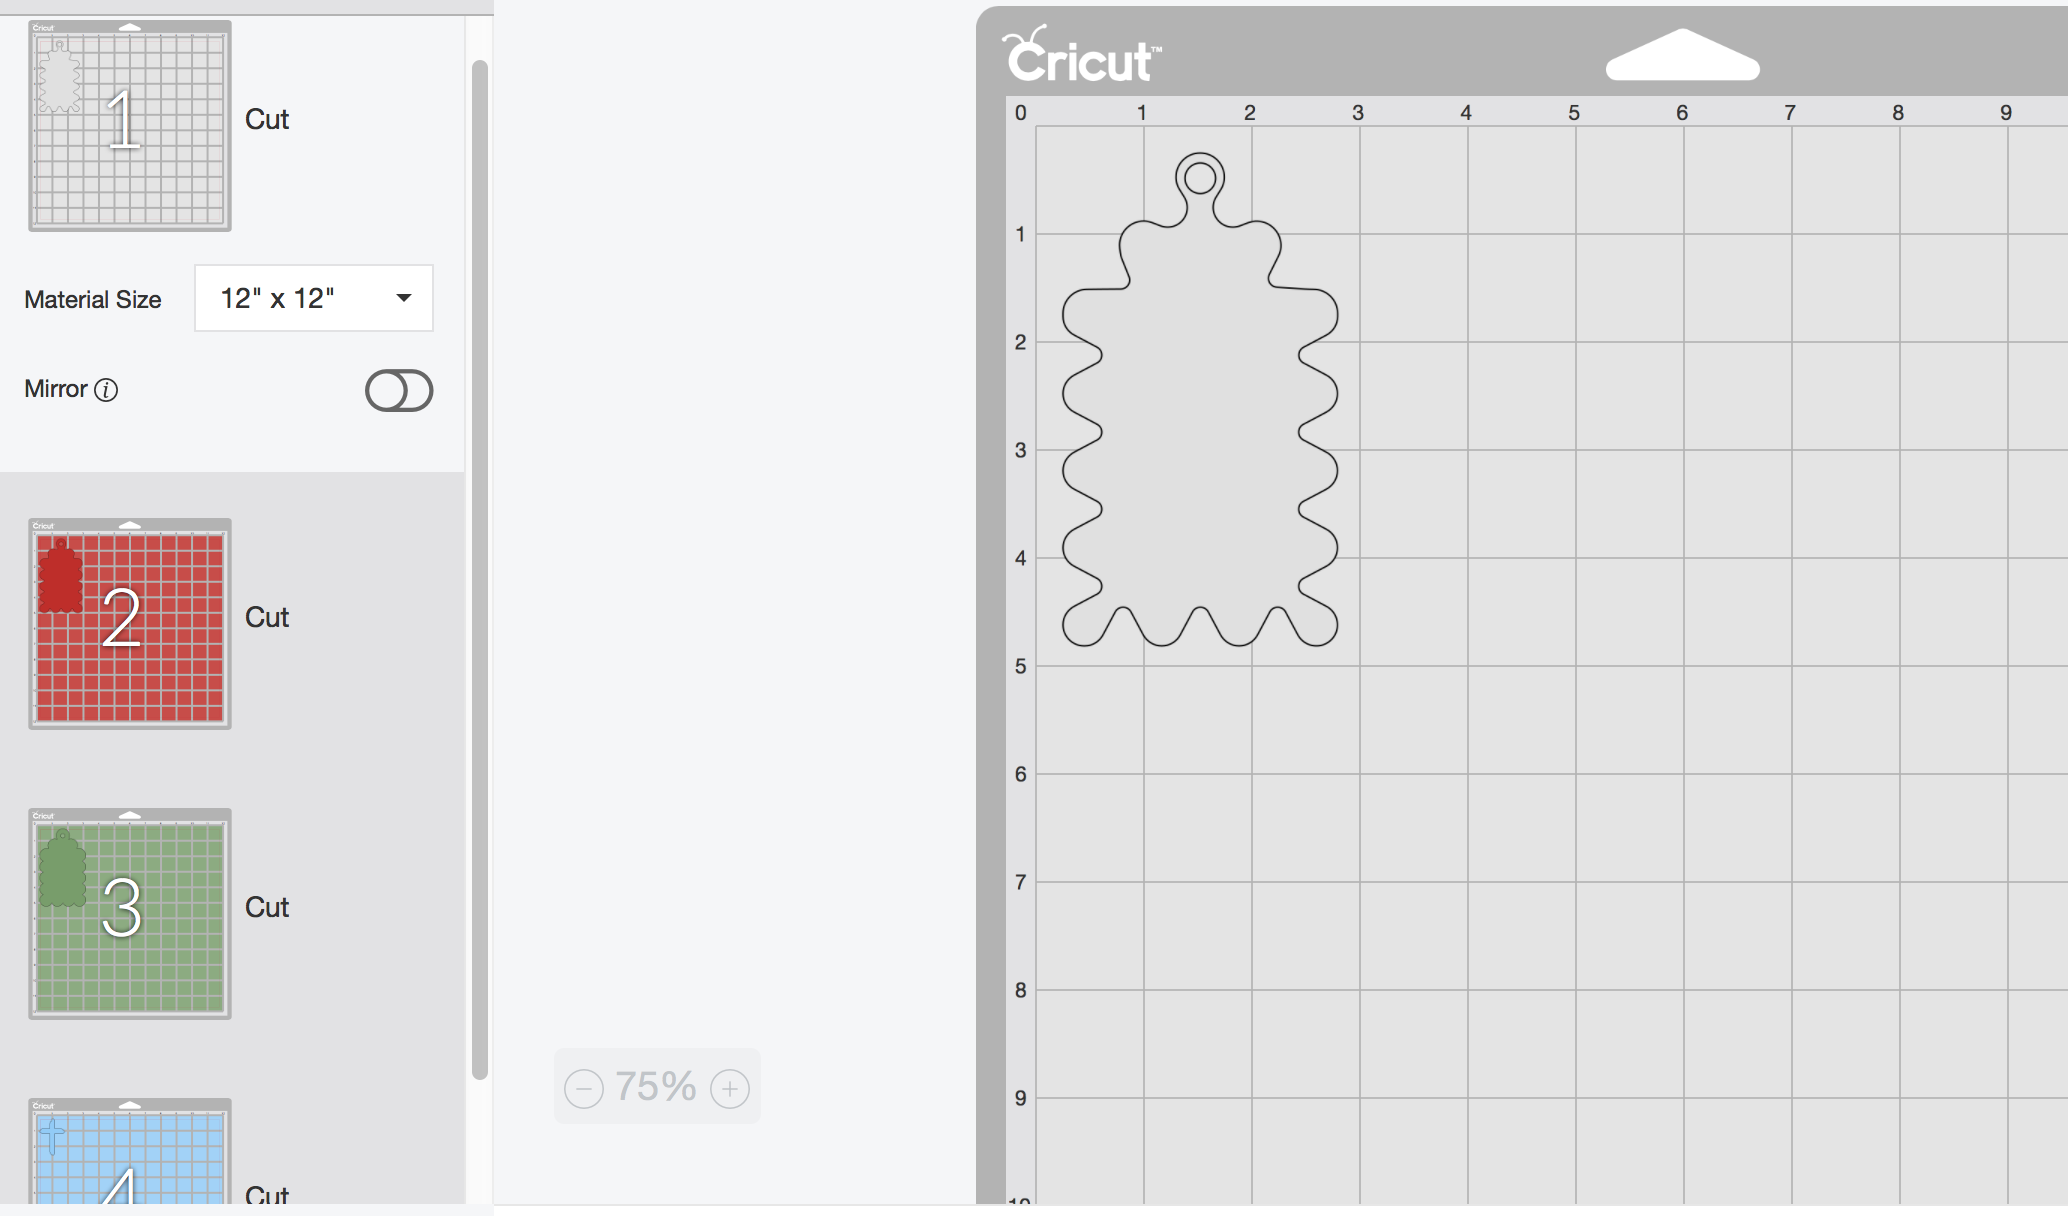
The first step is to have the design set up and ready to go in Design Space. Upload the SVG file.
Step 2
UnGroup the design. You can do this by selecting your design and then click your right mouse button and select UnGroup or by selecting your design and clicking on the UnGroup button.
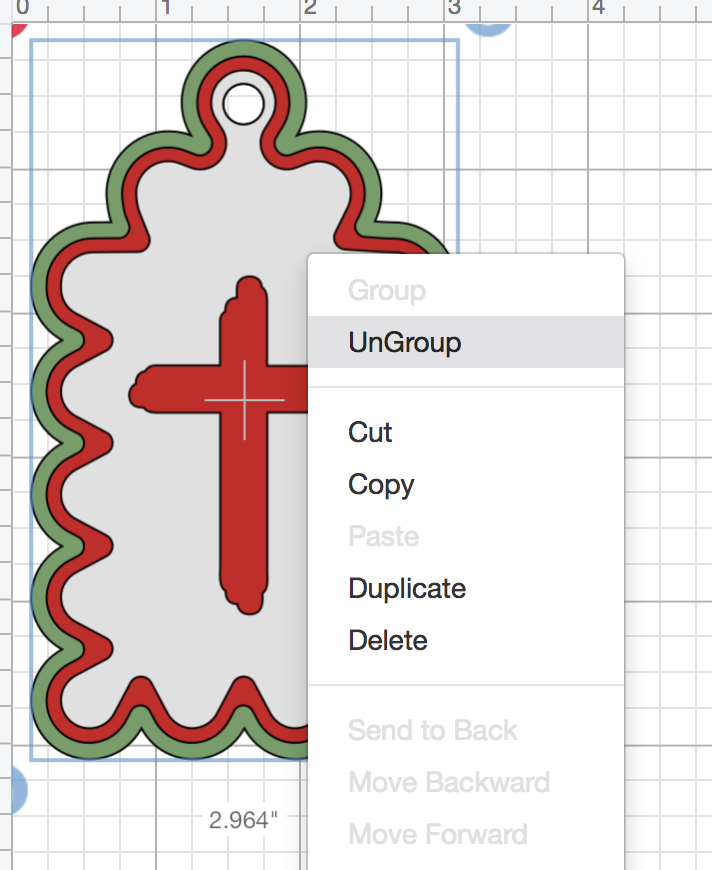
Step 3
As this design was made for cutting or printing - the color of the main silhouette images (in this case, the cross) will match the middle tag layer. If you want to cut on a different sheet, please make sure to select your image and change the color to anything else than the colors already used in your layers. You can do this by selecting the part of the design that you want to change and then go to the color box at top under Linetype. Then select a unique color.
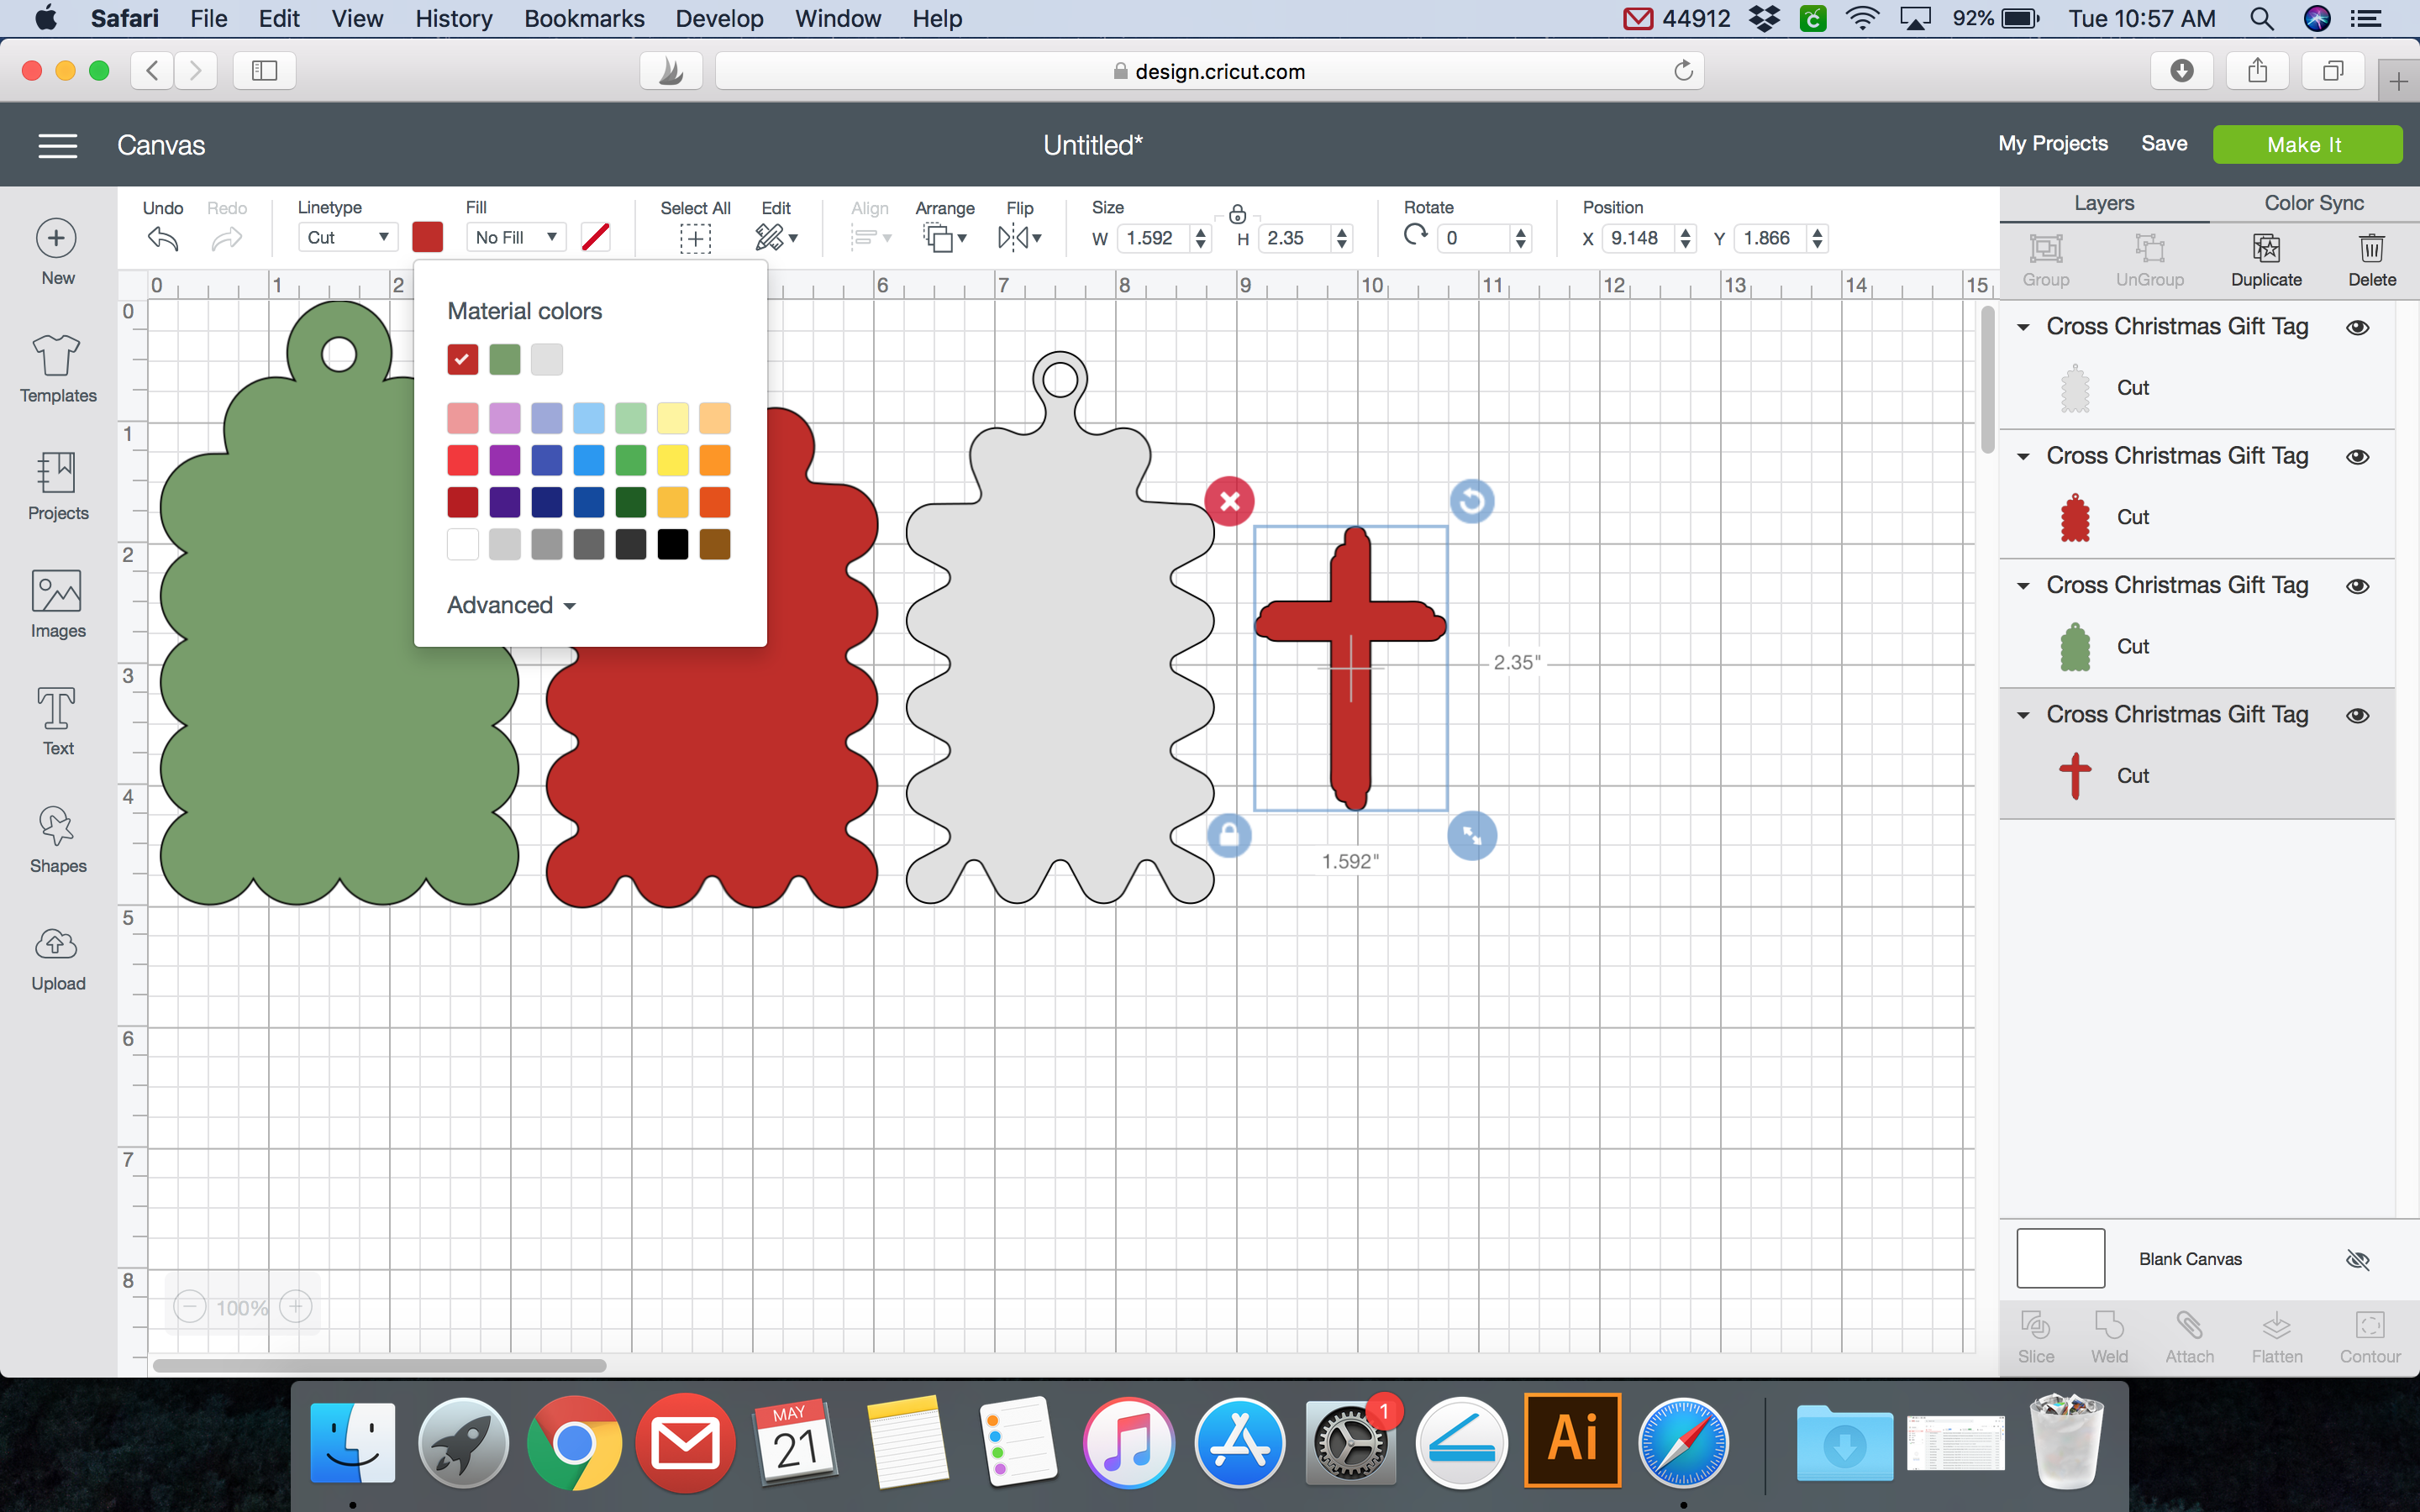
Step 4
These are my new color choices.
Step 5
I realize that the size of my design is larger than the size I am using of paper to create the tag. So I select all of my design and size it down together so it is consistent. You can do this by selecting everything and using the double arrow icon at the bottom right to pull the design in or out.
Step 6
This doesn't usually matter but I like to be consistent and have my files towards the top of the page. This will allow me to save paper sometimes if the first cut is not clean. Since the design will cut at the top of the page - if something messes up I can cut that area off or move the sheet on the cutting mat to cut another blank area more easily.
Step 7
You are ready to cut! When you click "Make It" have a look at your layers and sizes. This is the time to make any edits if necessary.
Step-By-Step Guide for Cutting with the Cricut
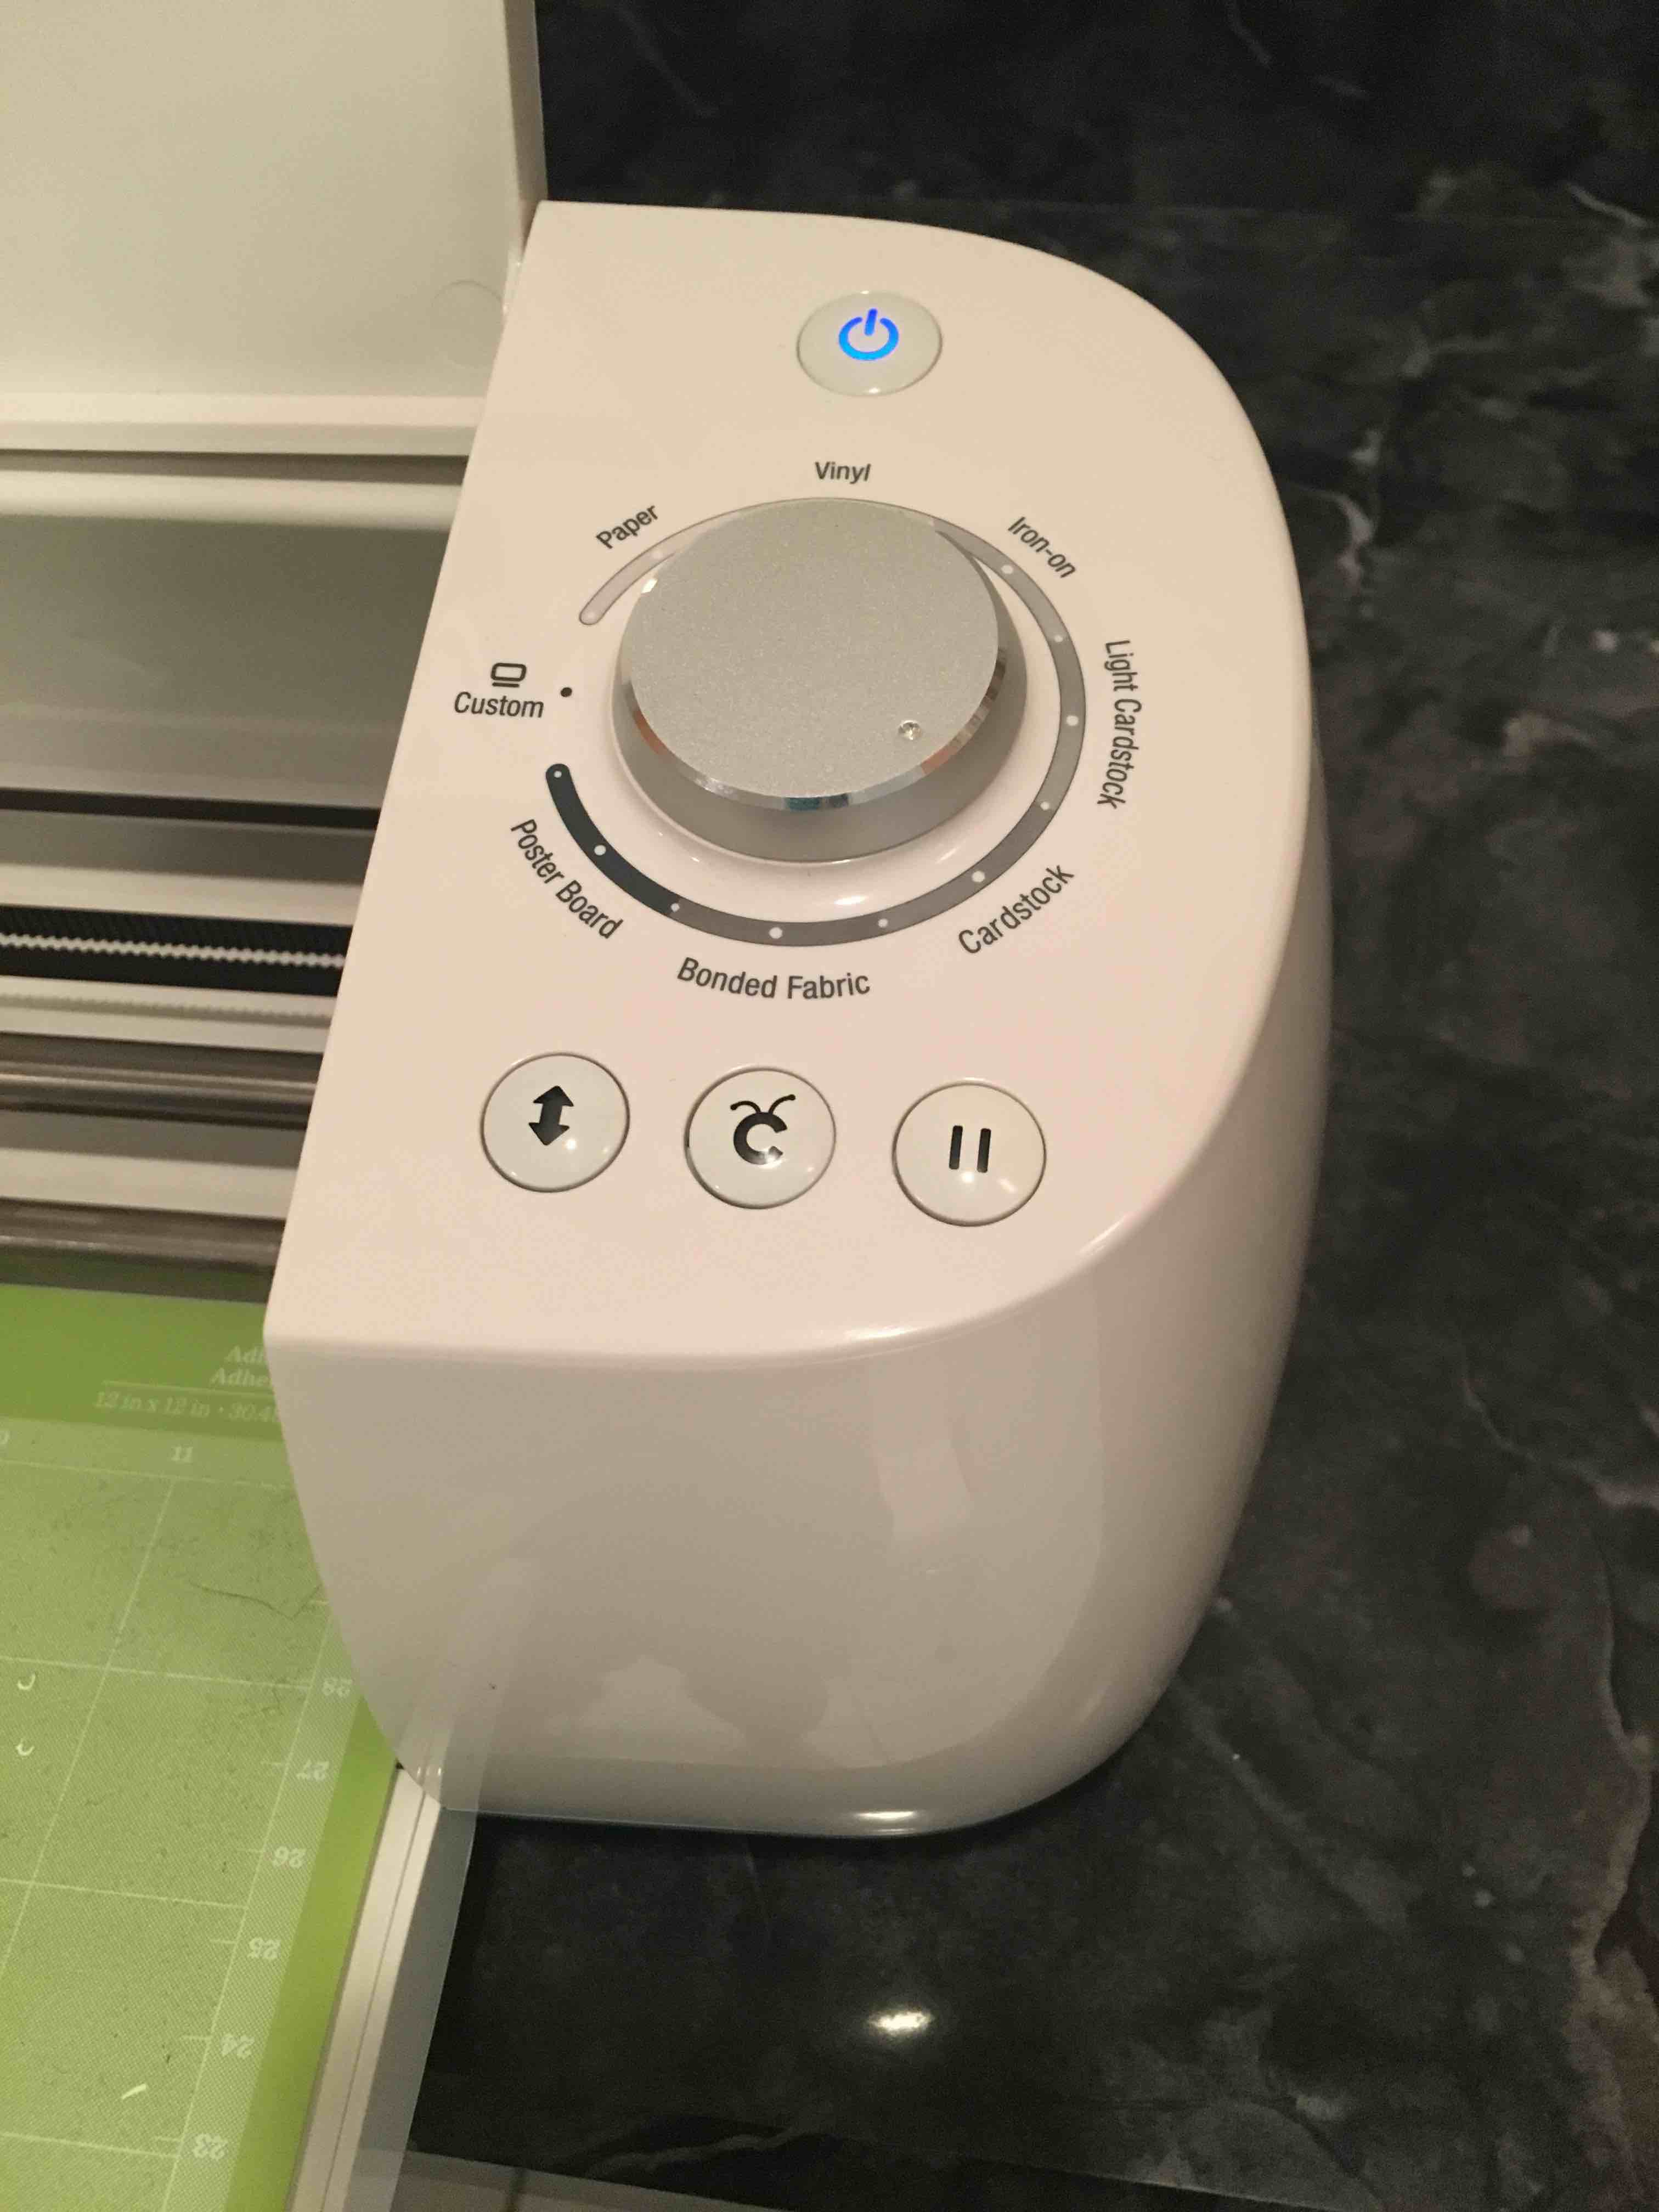
Step 1
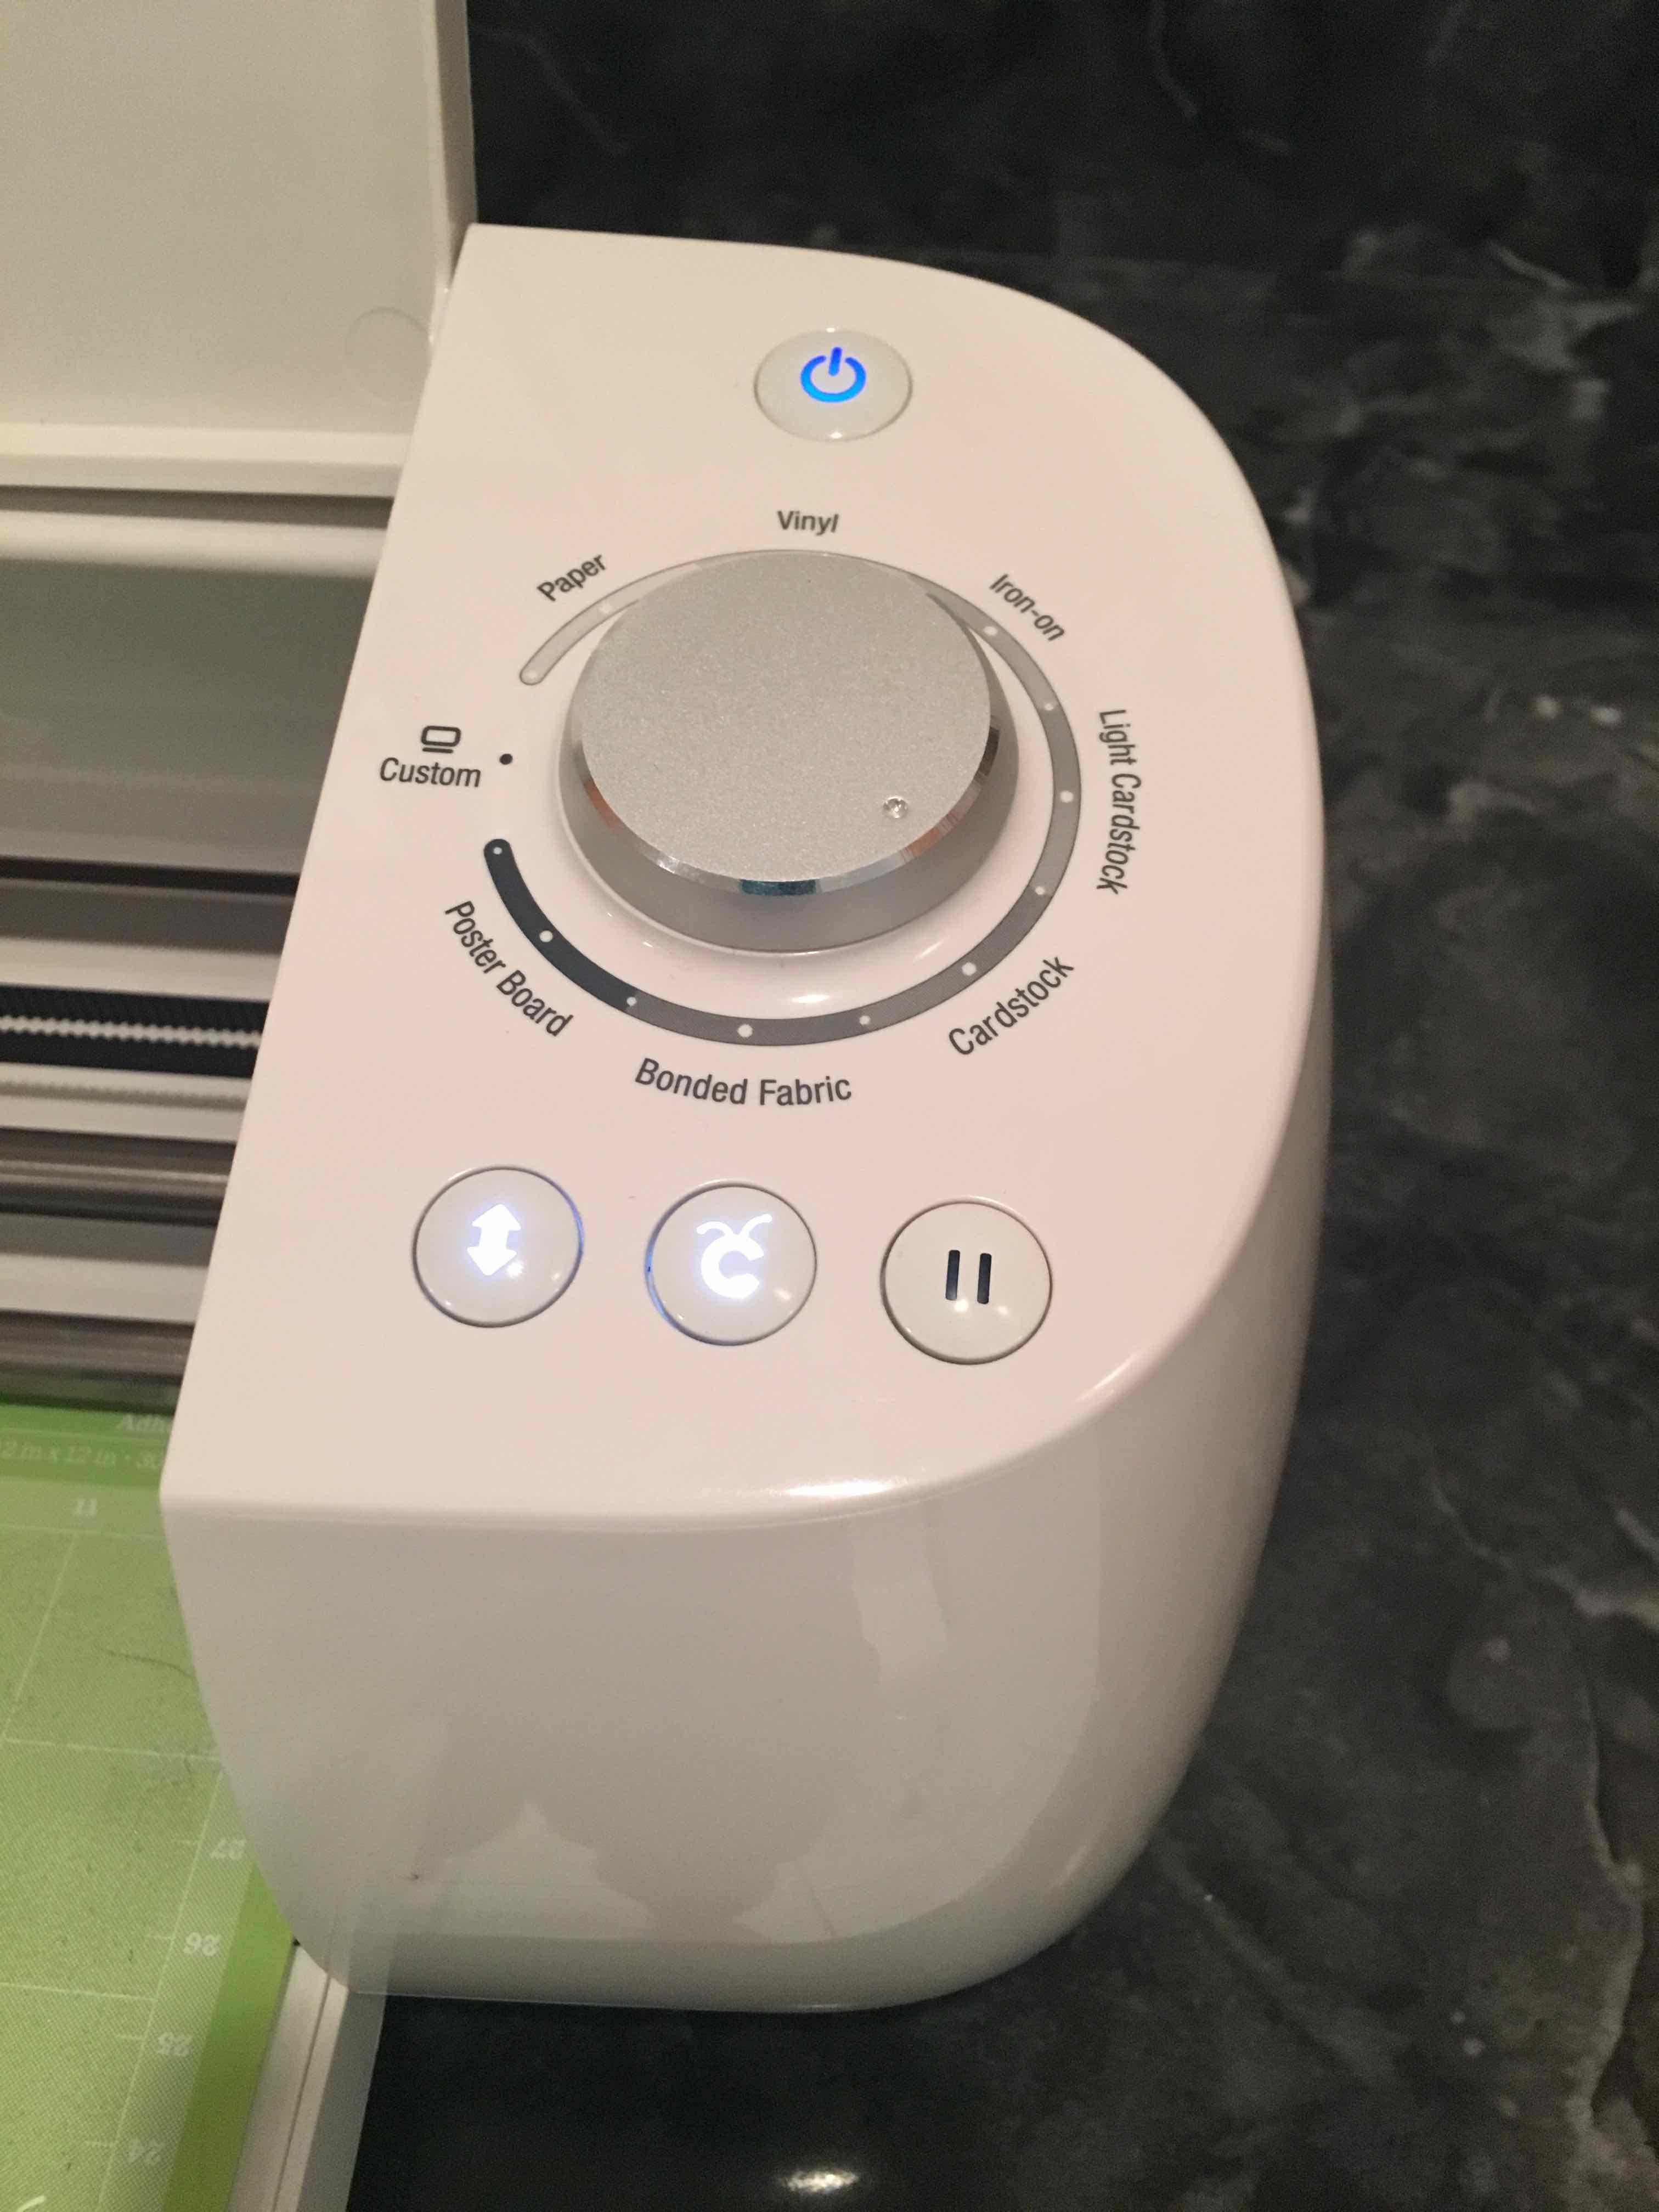
Hopefully you already have your Cricut setup and setup to bluetooth (if your machine is enabled). Simply plug in the machine, open it, and click on the power button.
Step 2
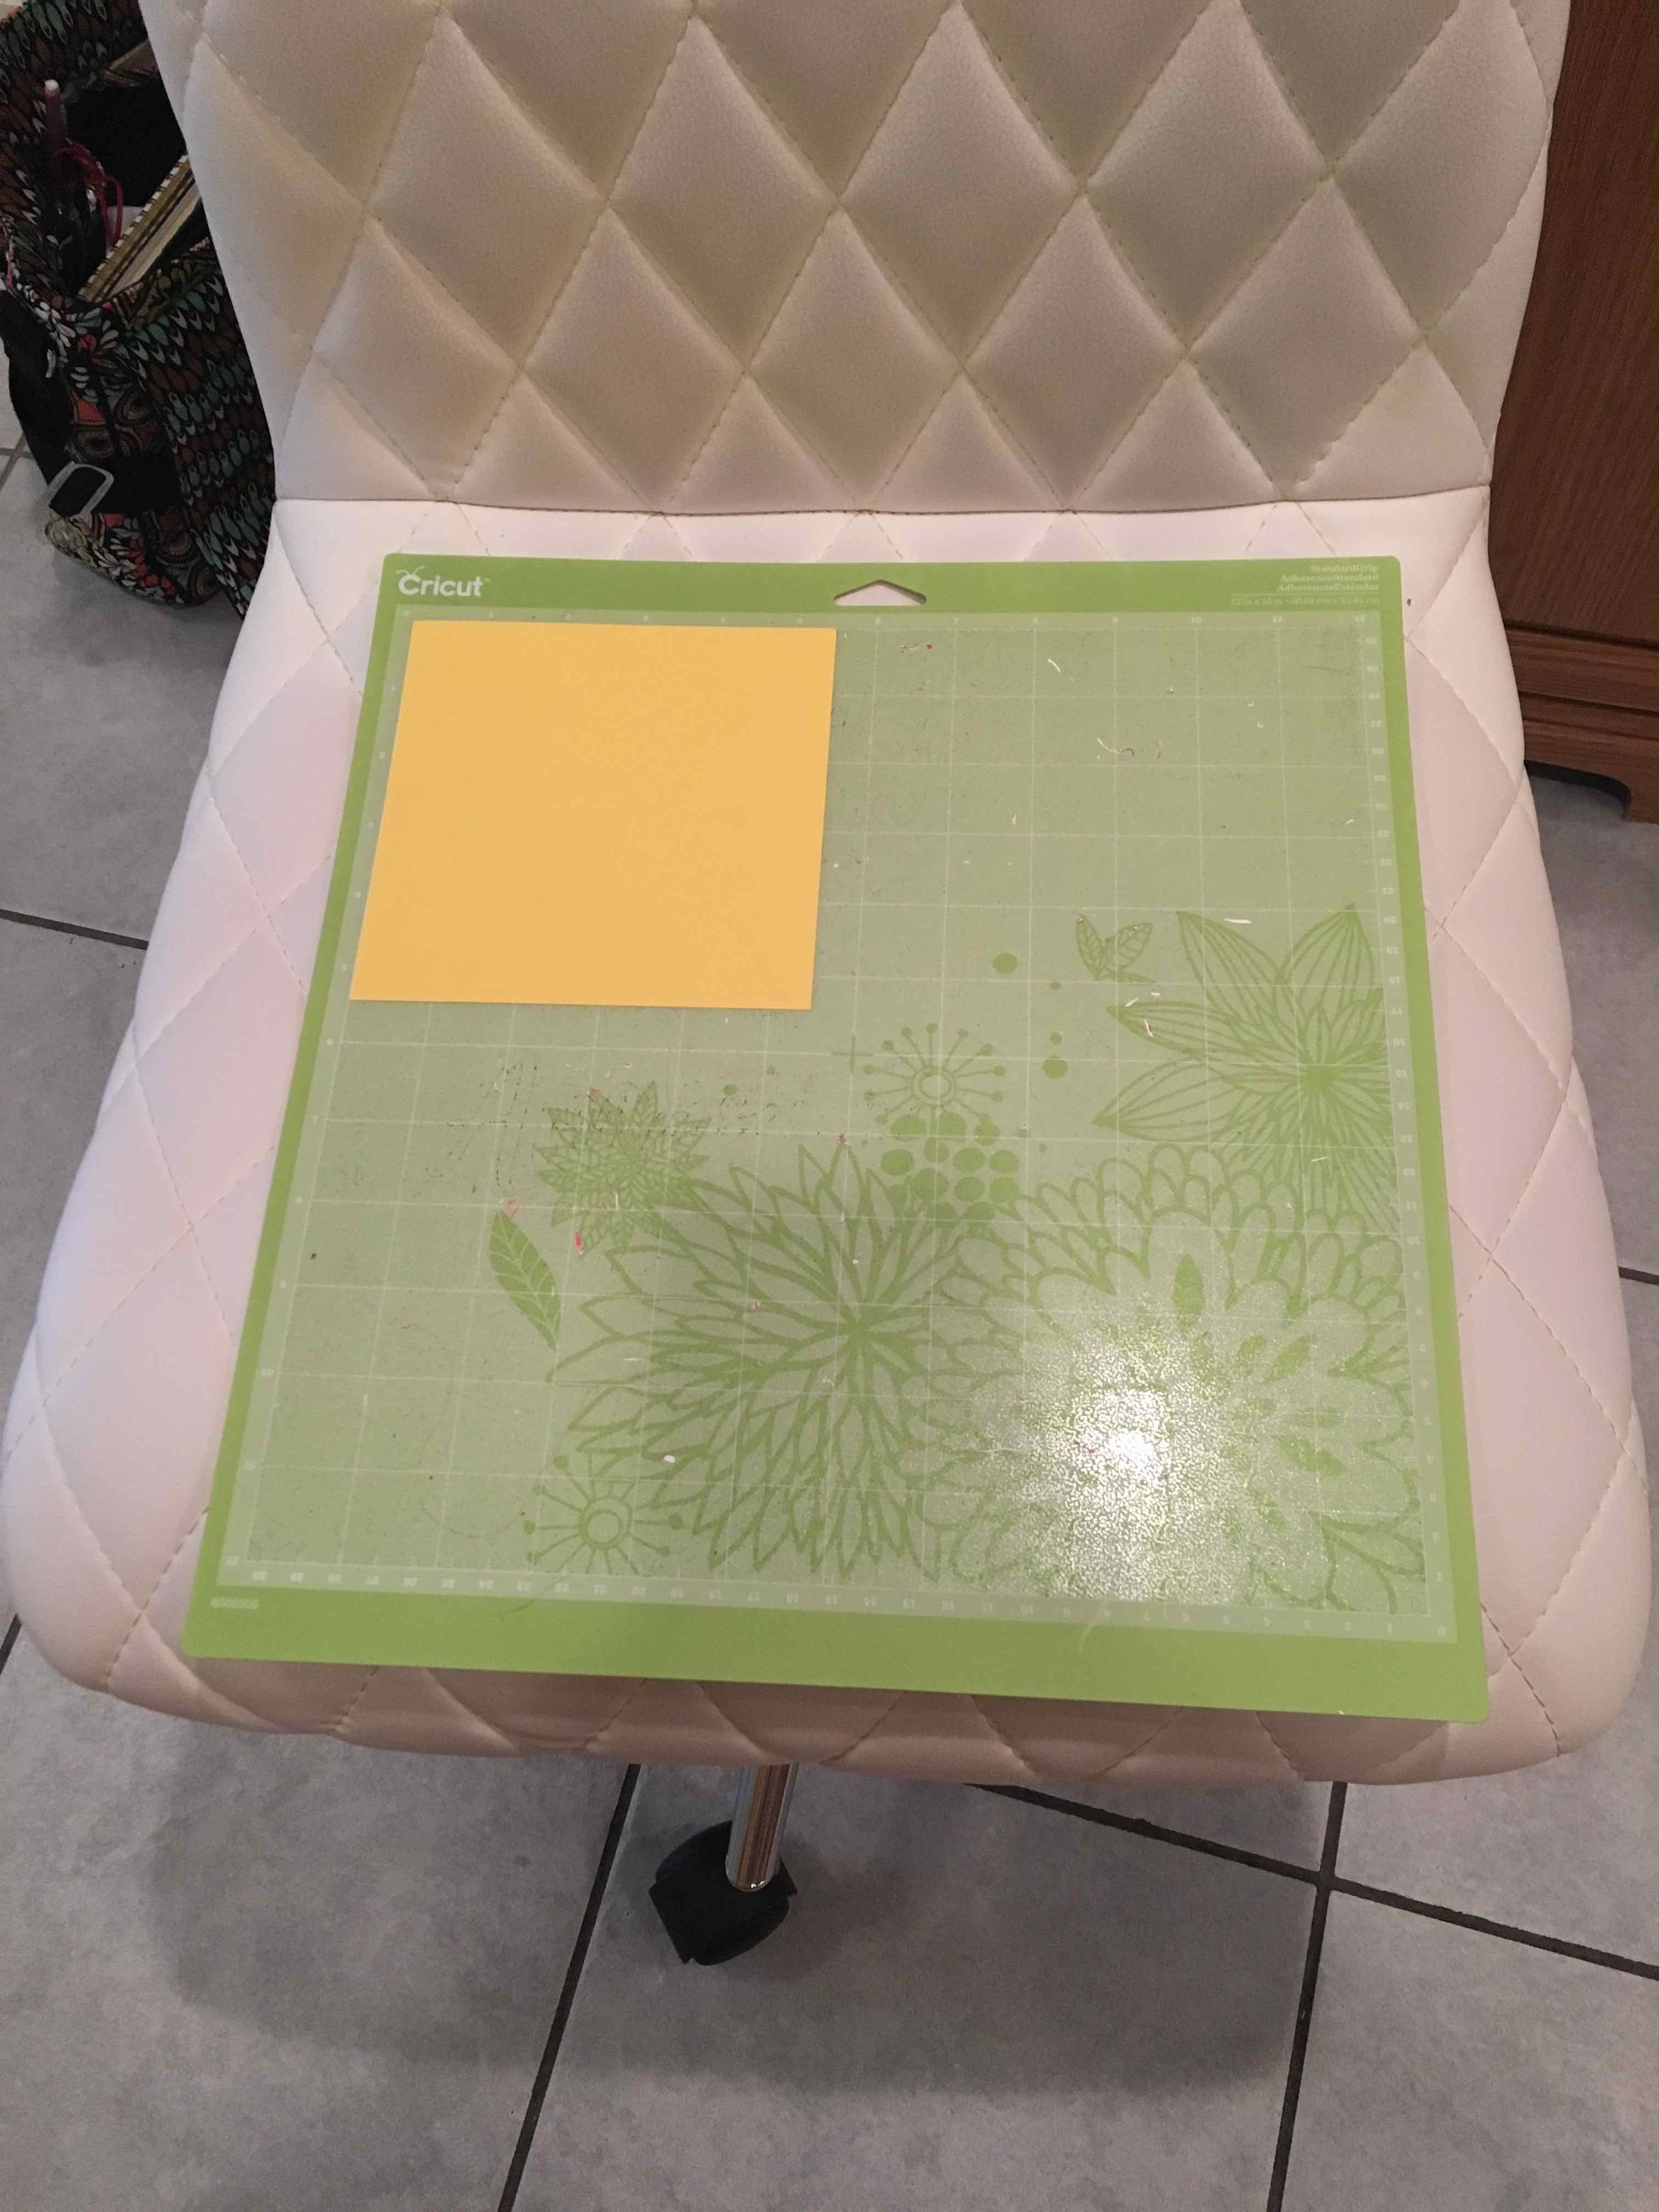
Get your first sheet ready for cutting. In my case the first layer to cut is the smallest gift tag layer.
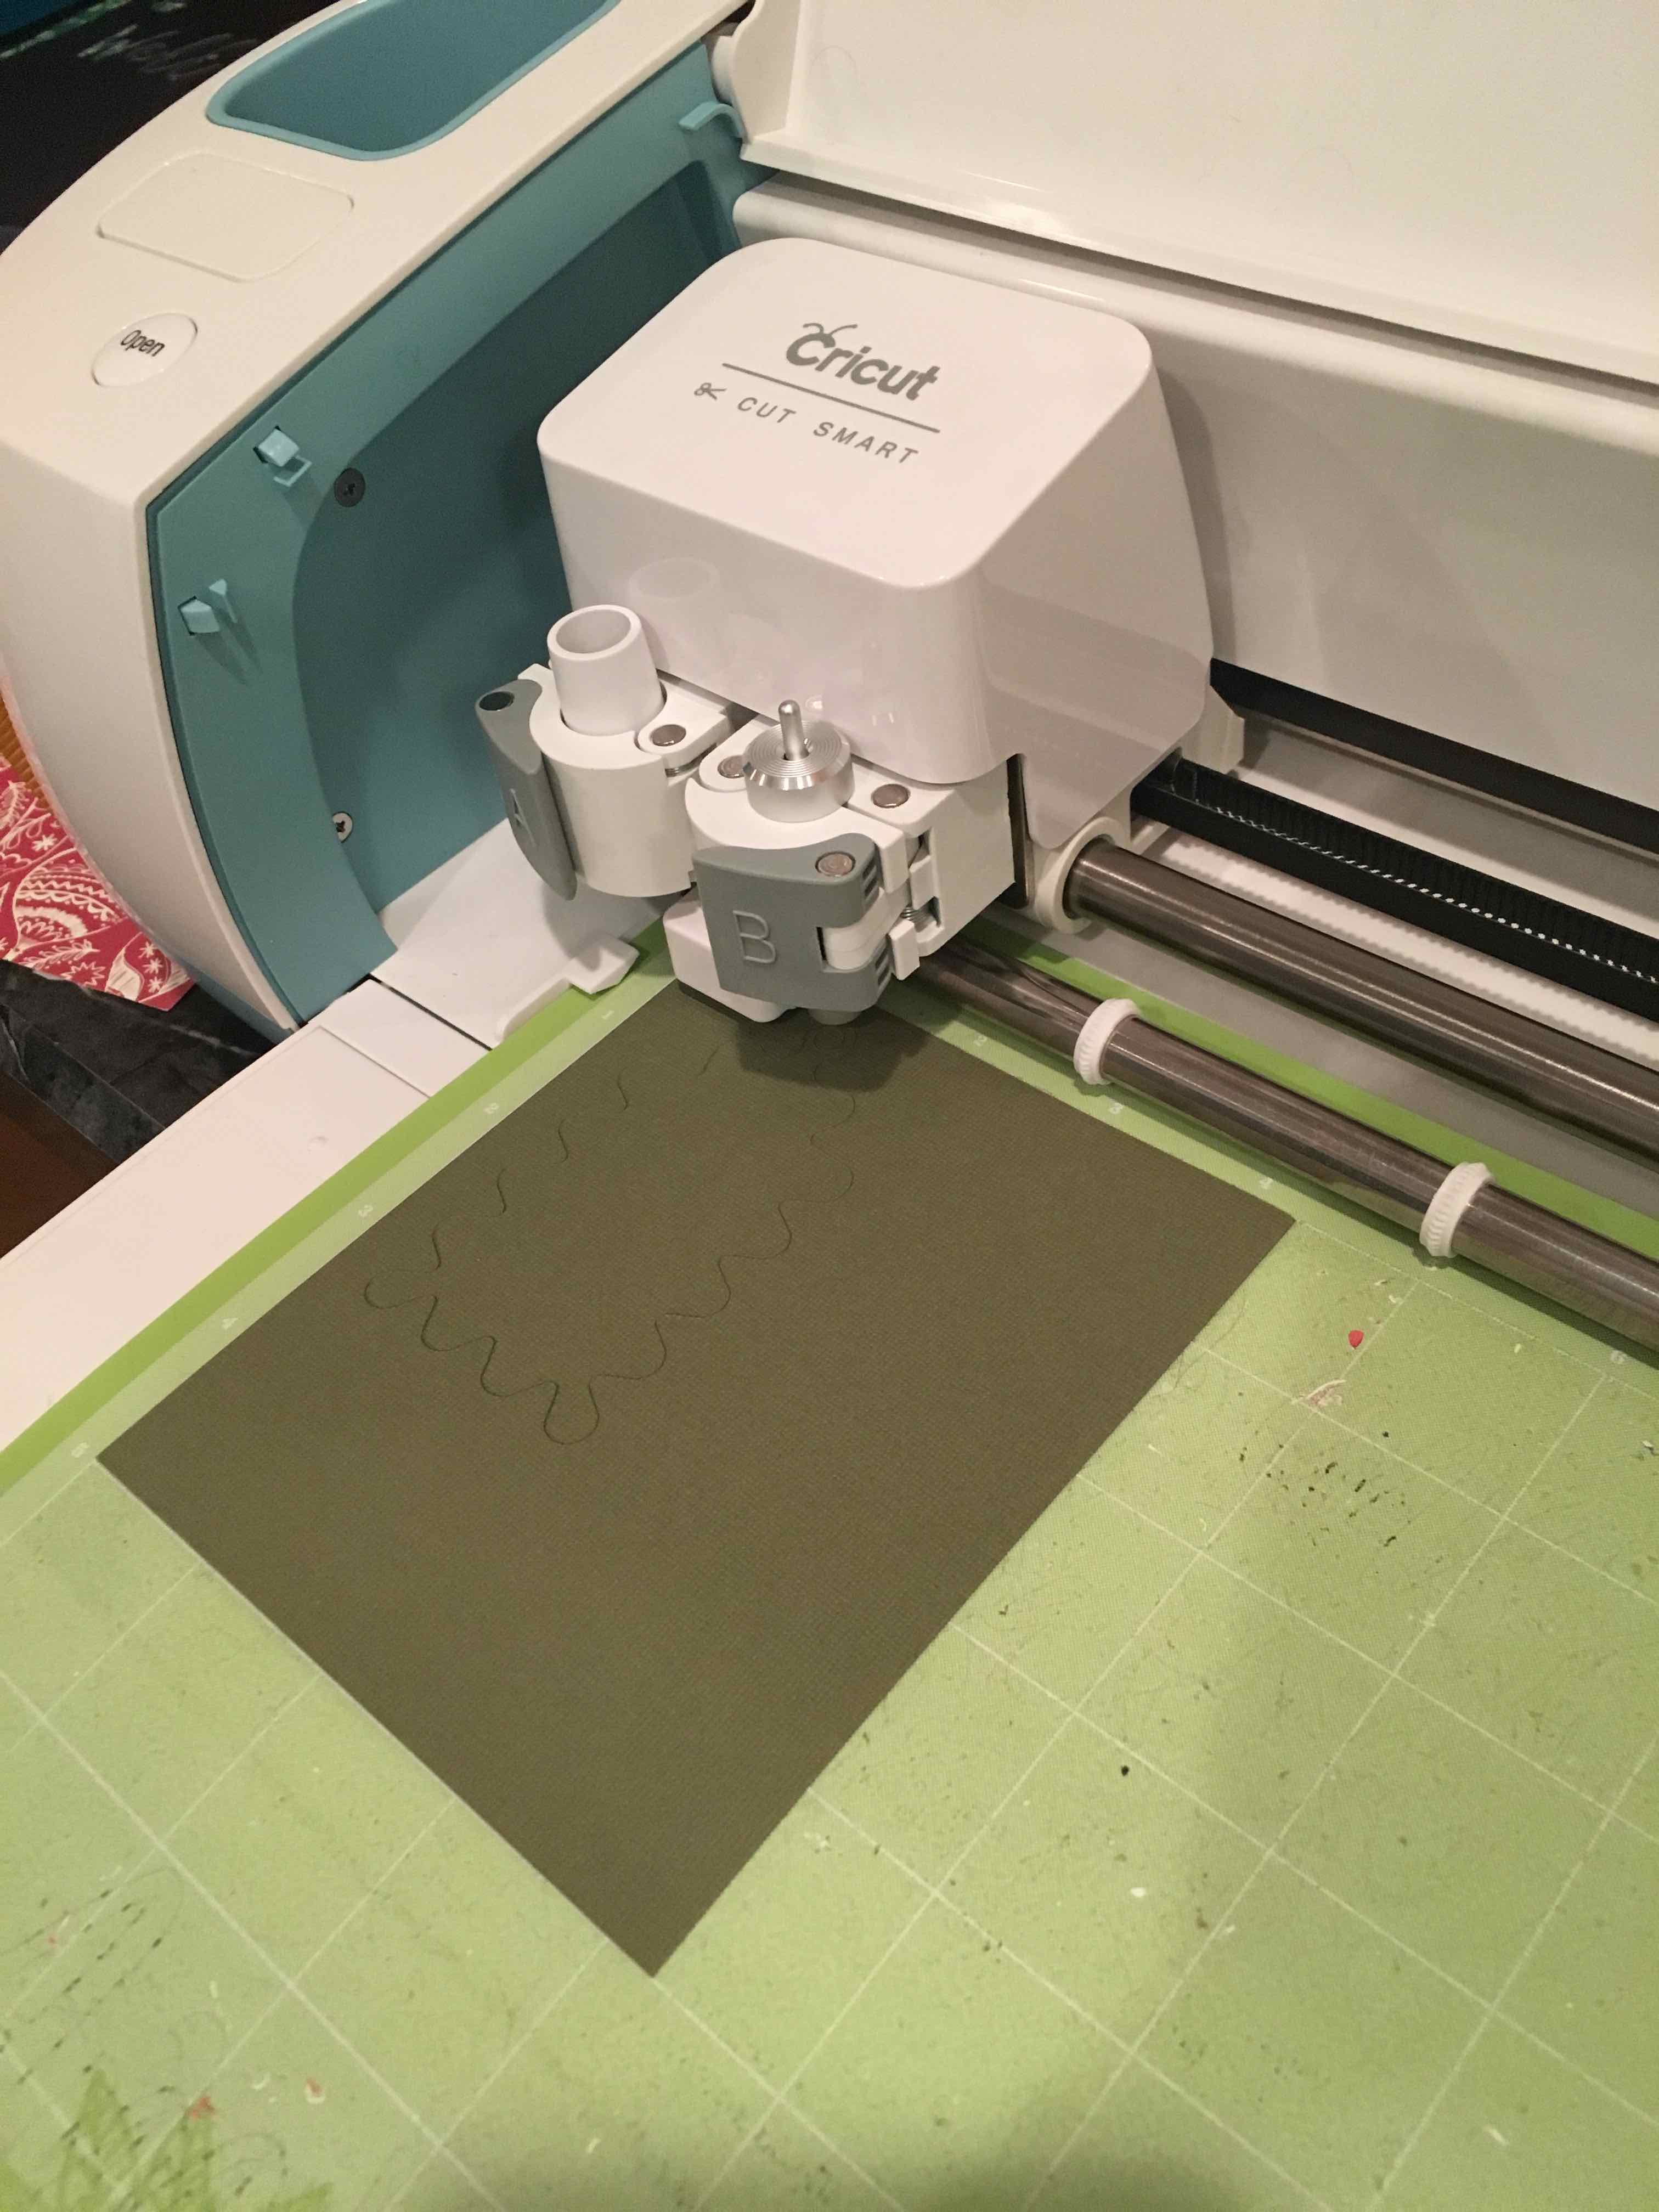
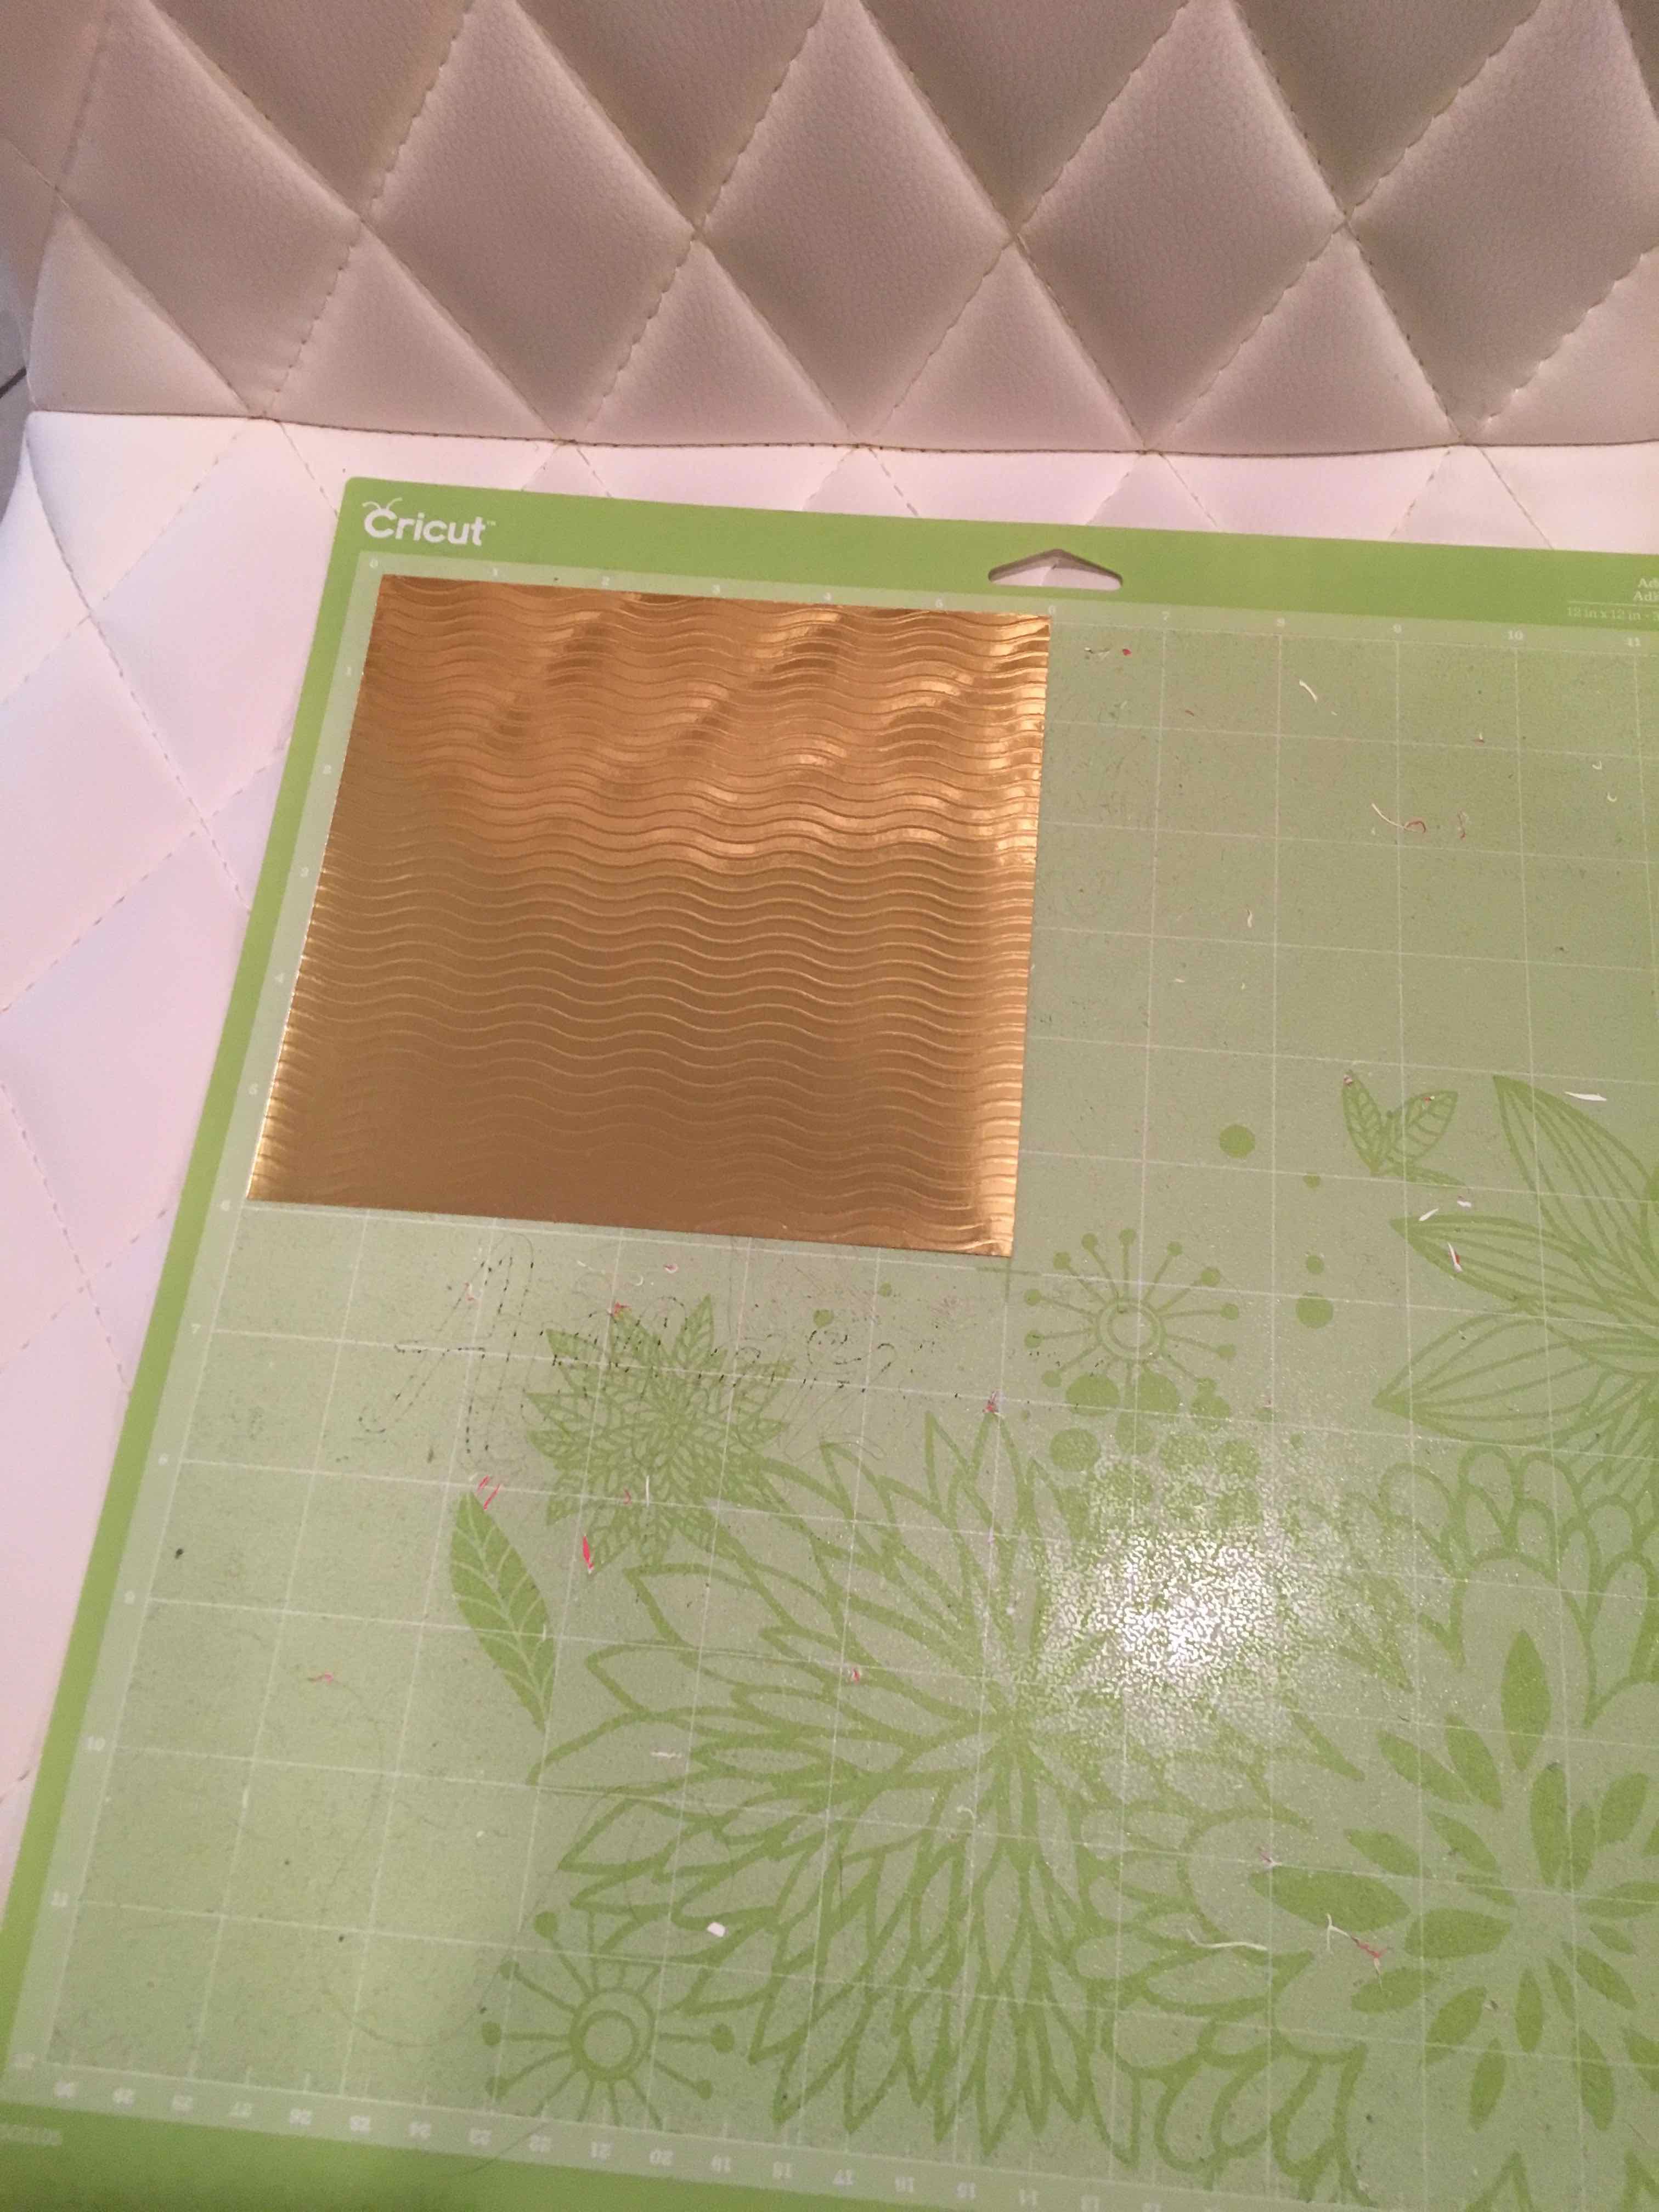
Step 3
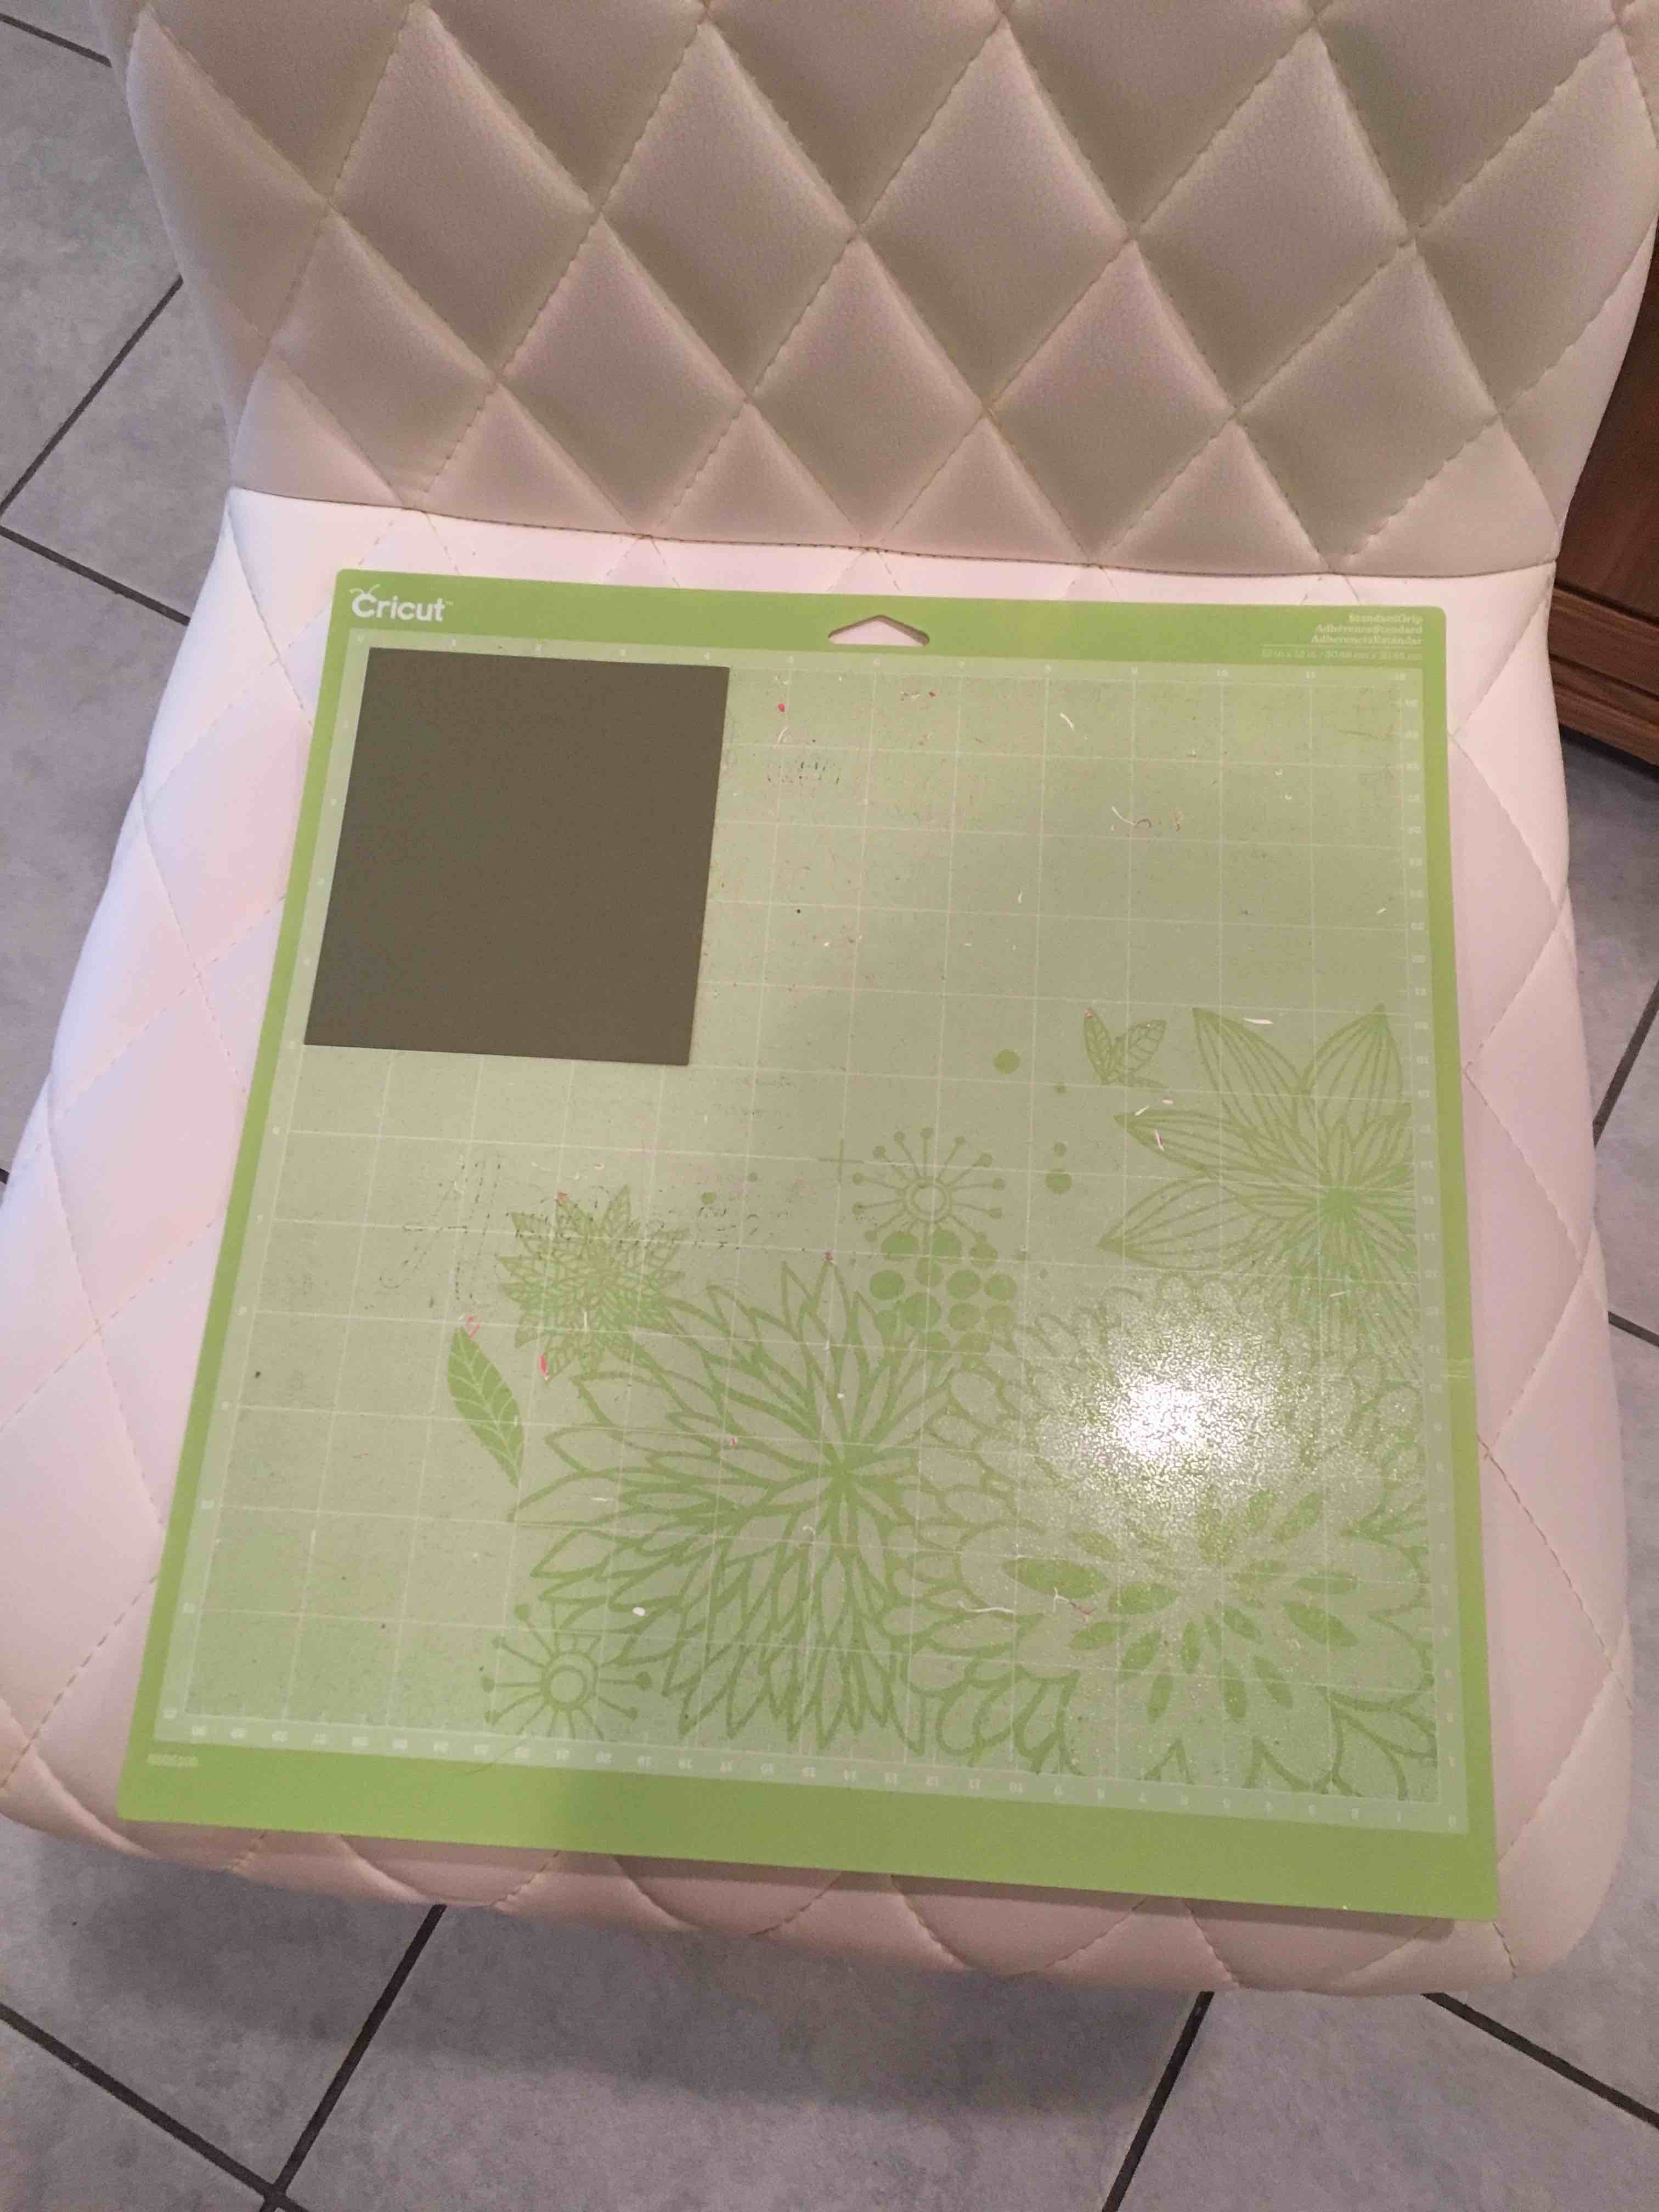
Load in your cutting mat and click on the blinking arrow button to feed it in. Be smart about your cut settings. Thinner card-stock does better for me on the card-stock setting and thicker or thick foil based card-stock does better towards bonded fabric and poster board setting.
Step 4
Once loaded, you will then click on the Cricut logo button. The Cricut button should light up once your computer is reading the machine.
Step 5
Your Cricut machine will now start cutting.
Step 6
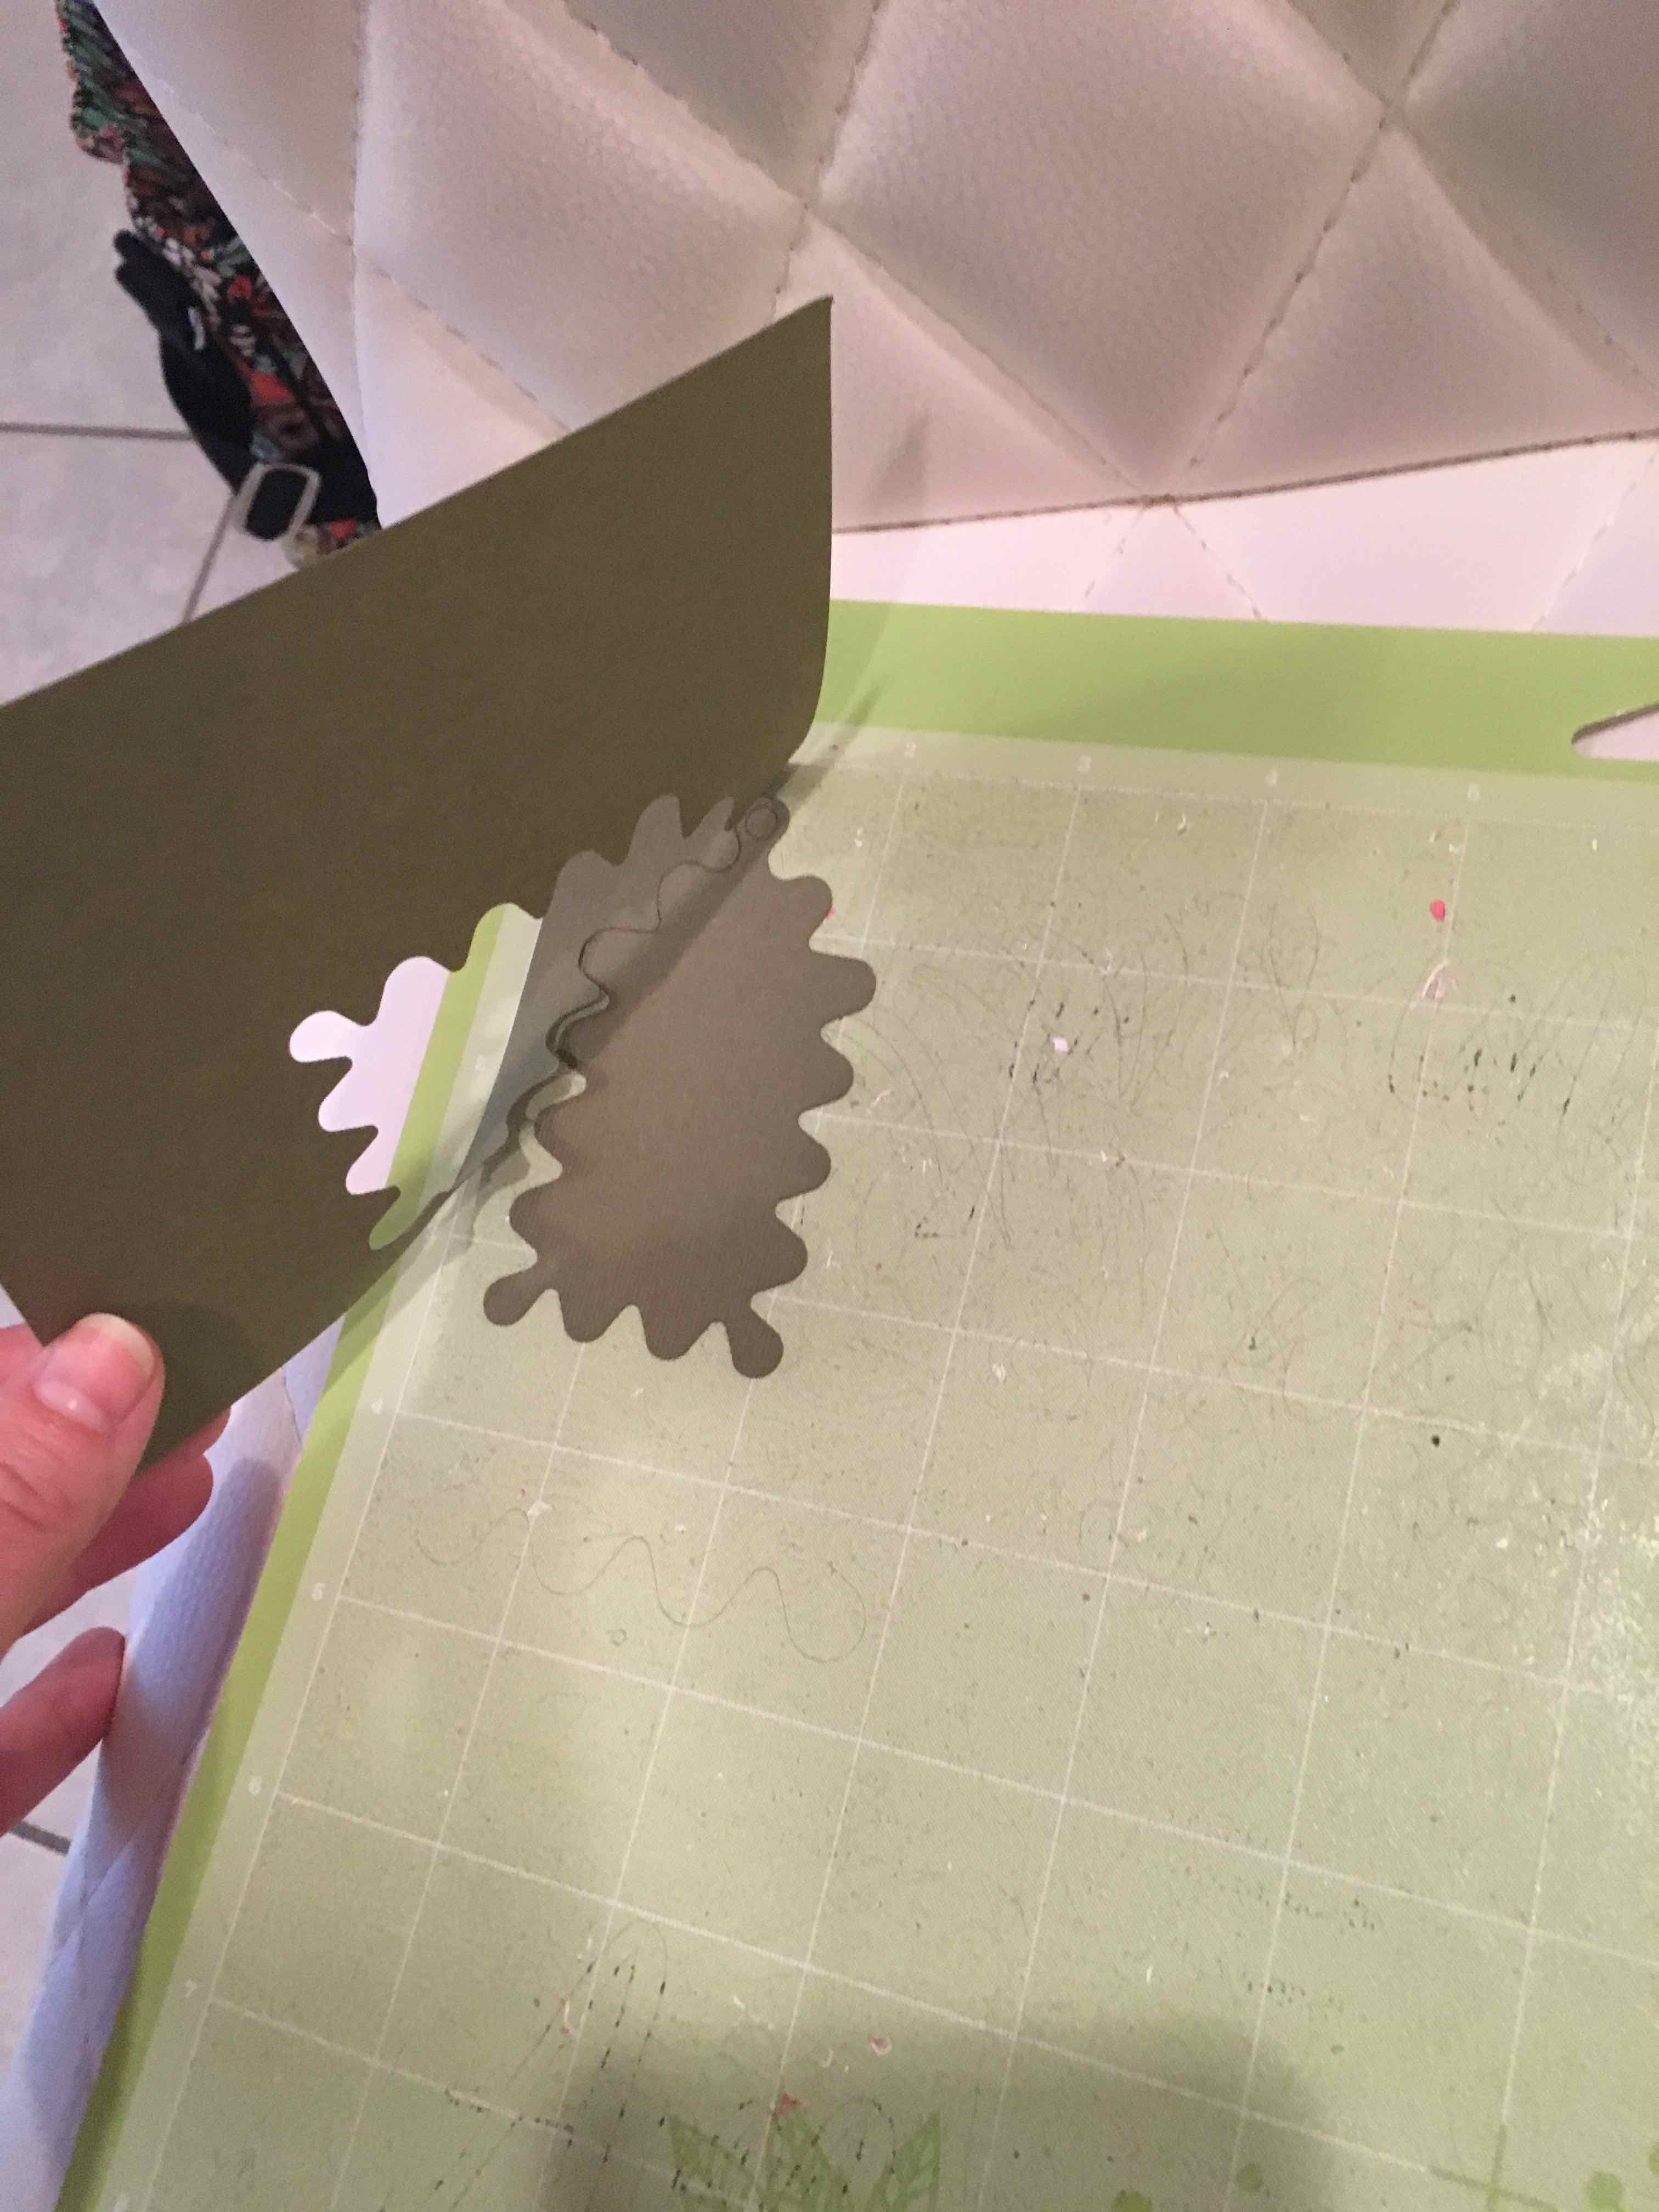
If all looks good - peel back your paper. Then peel back the gift tag gently and the little dot should stick on to your cutting mat. If not gently poke it out with a cutting tool or pencil. If the dot is on the cutting mat don't forget to pull it off before cutting something new.
Final Result
Step 7
On to our next layer! In my case the middle tag layer will cut next. Load your cutting mat with your new card-stock.
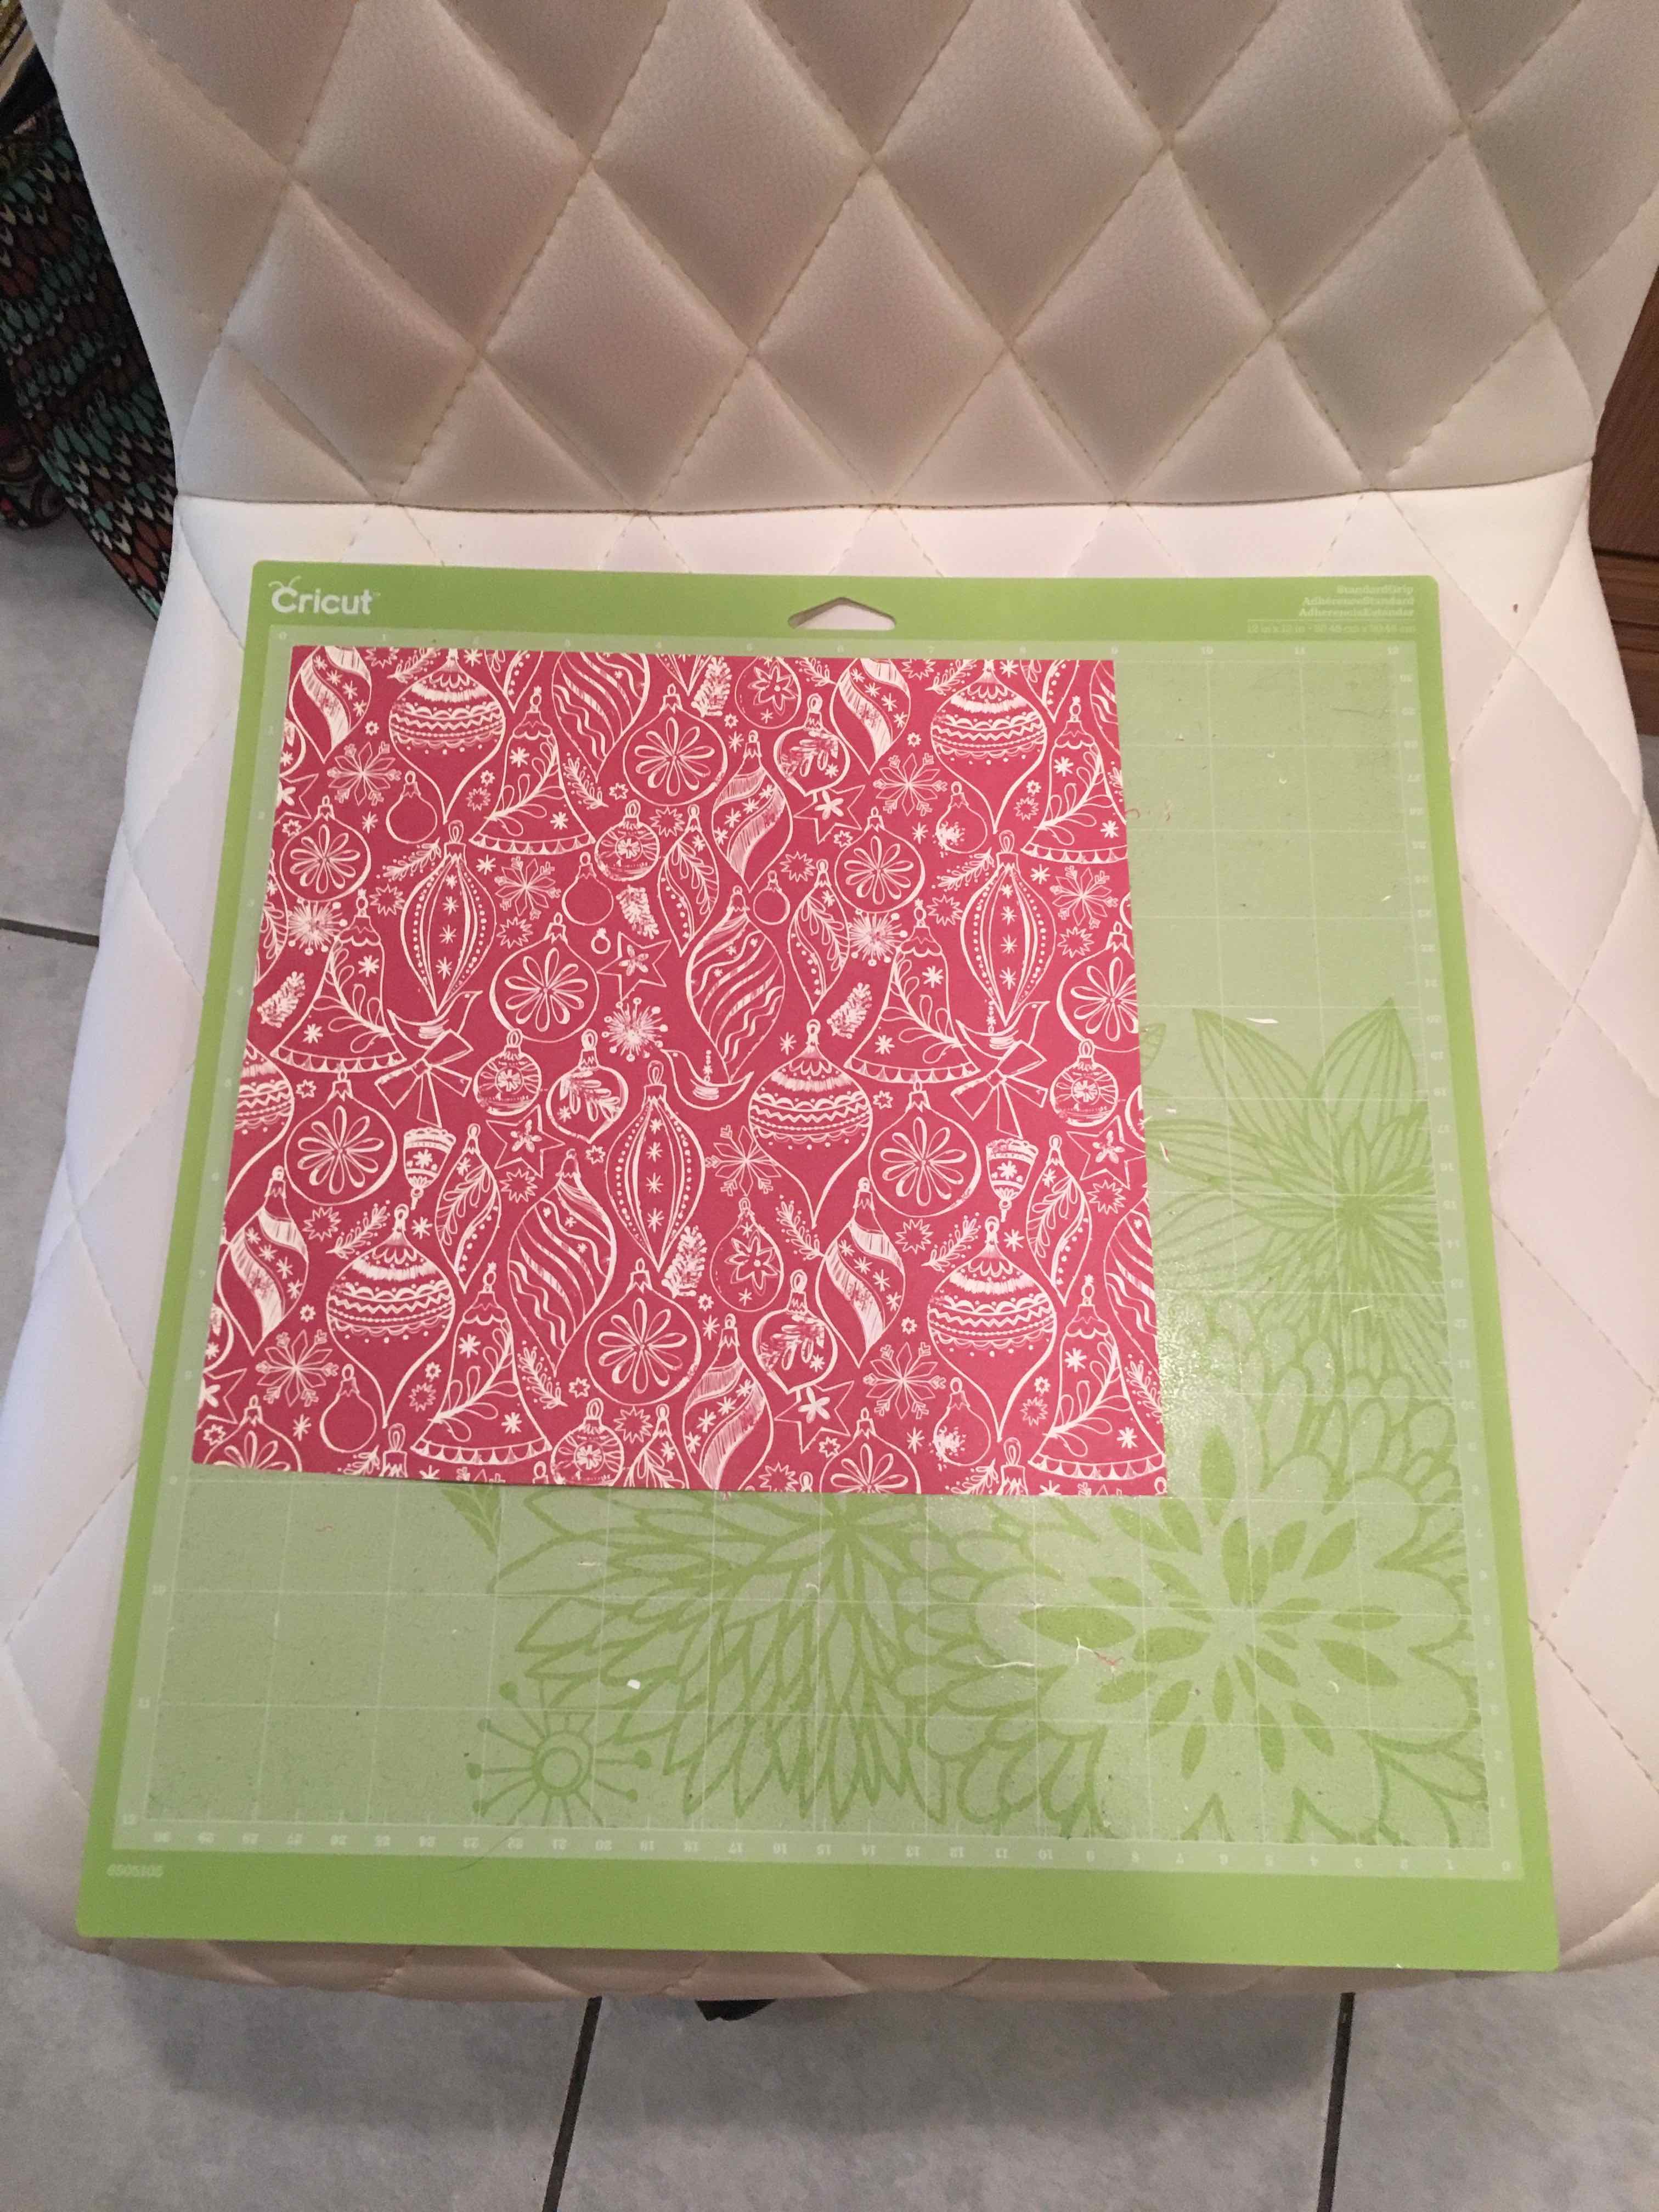
Final Result
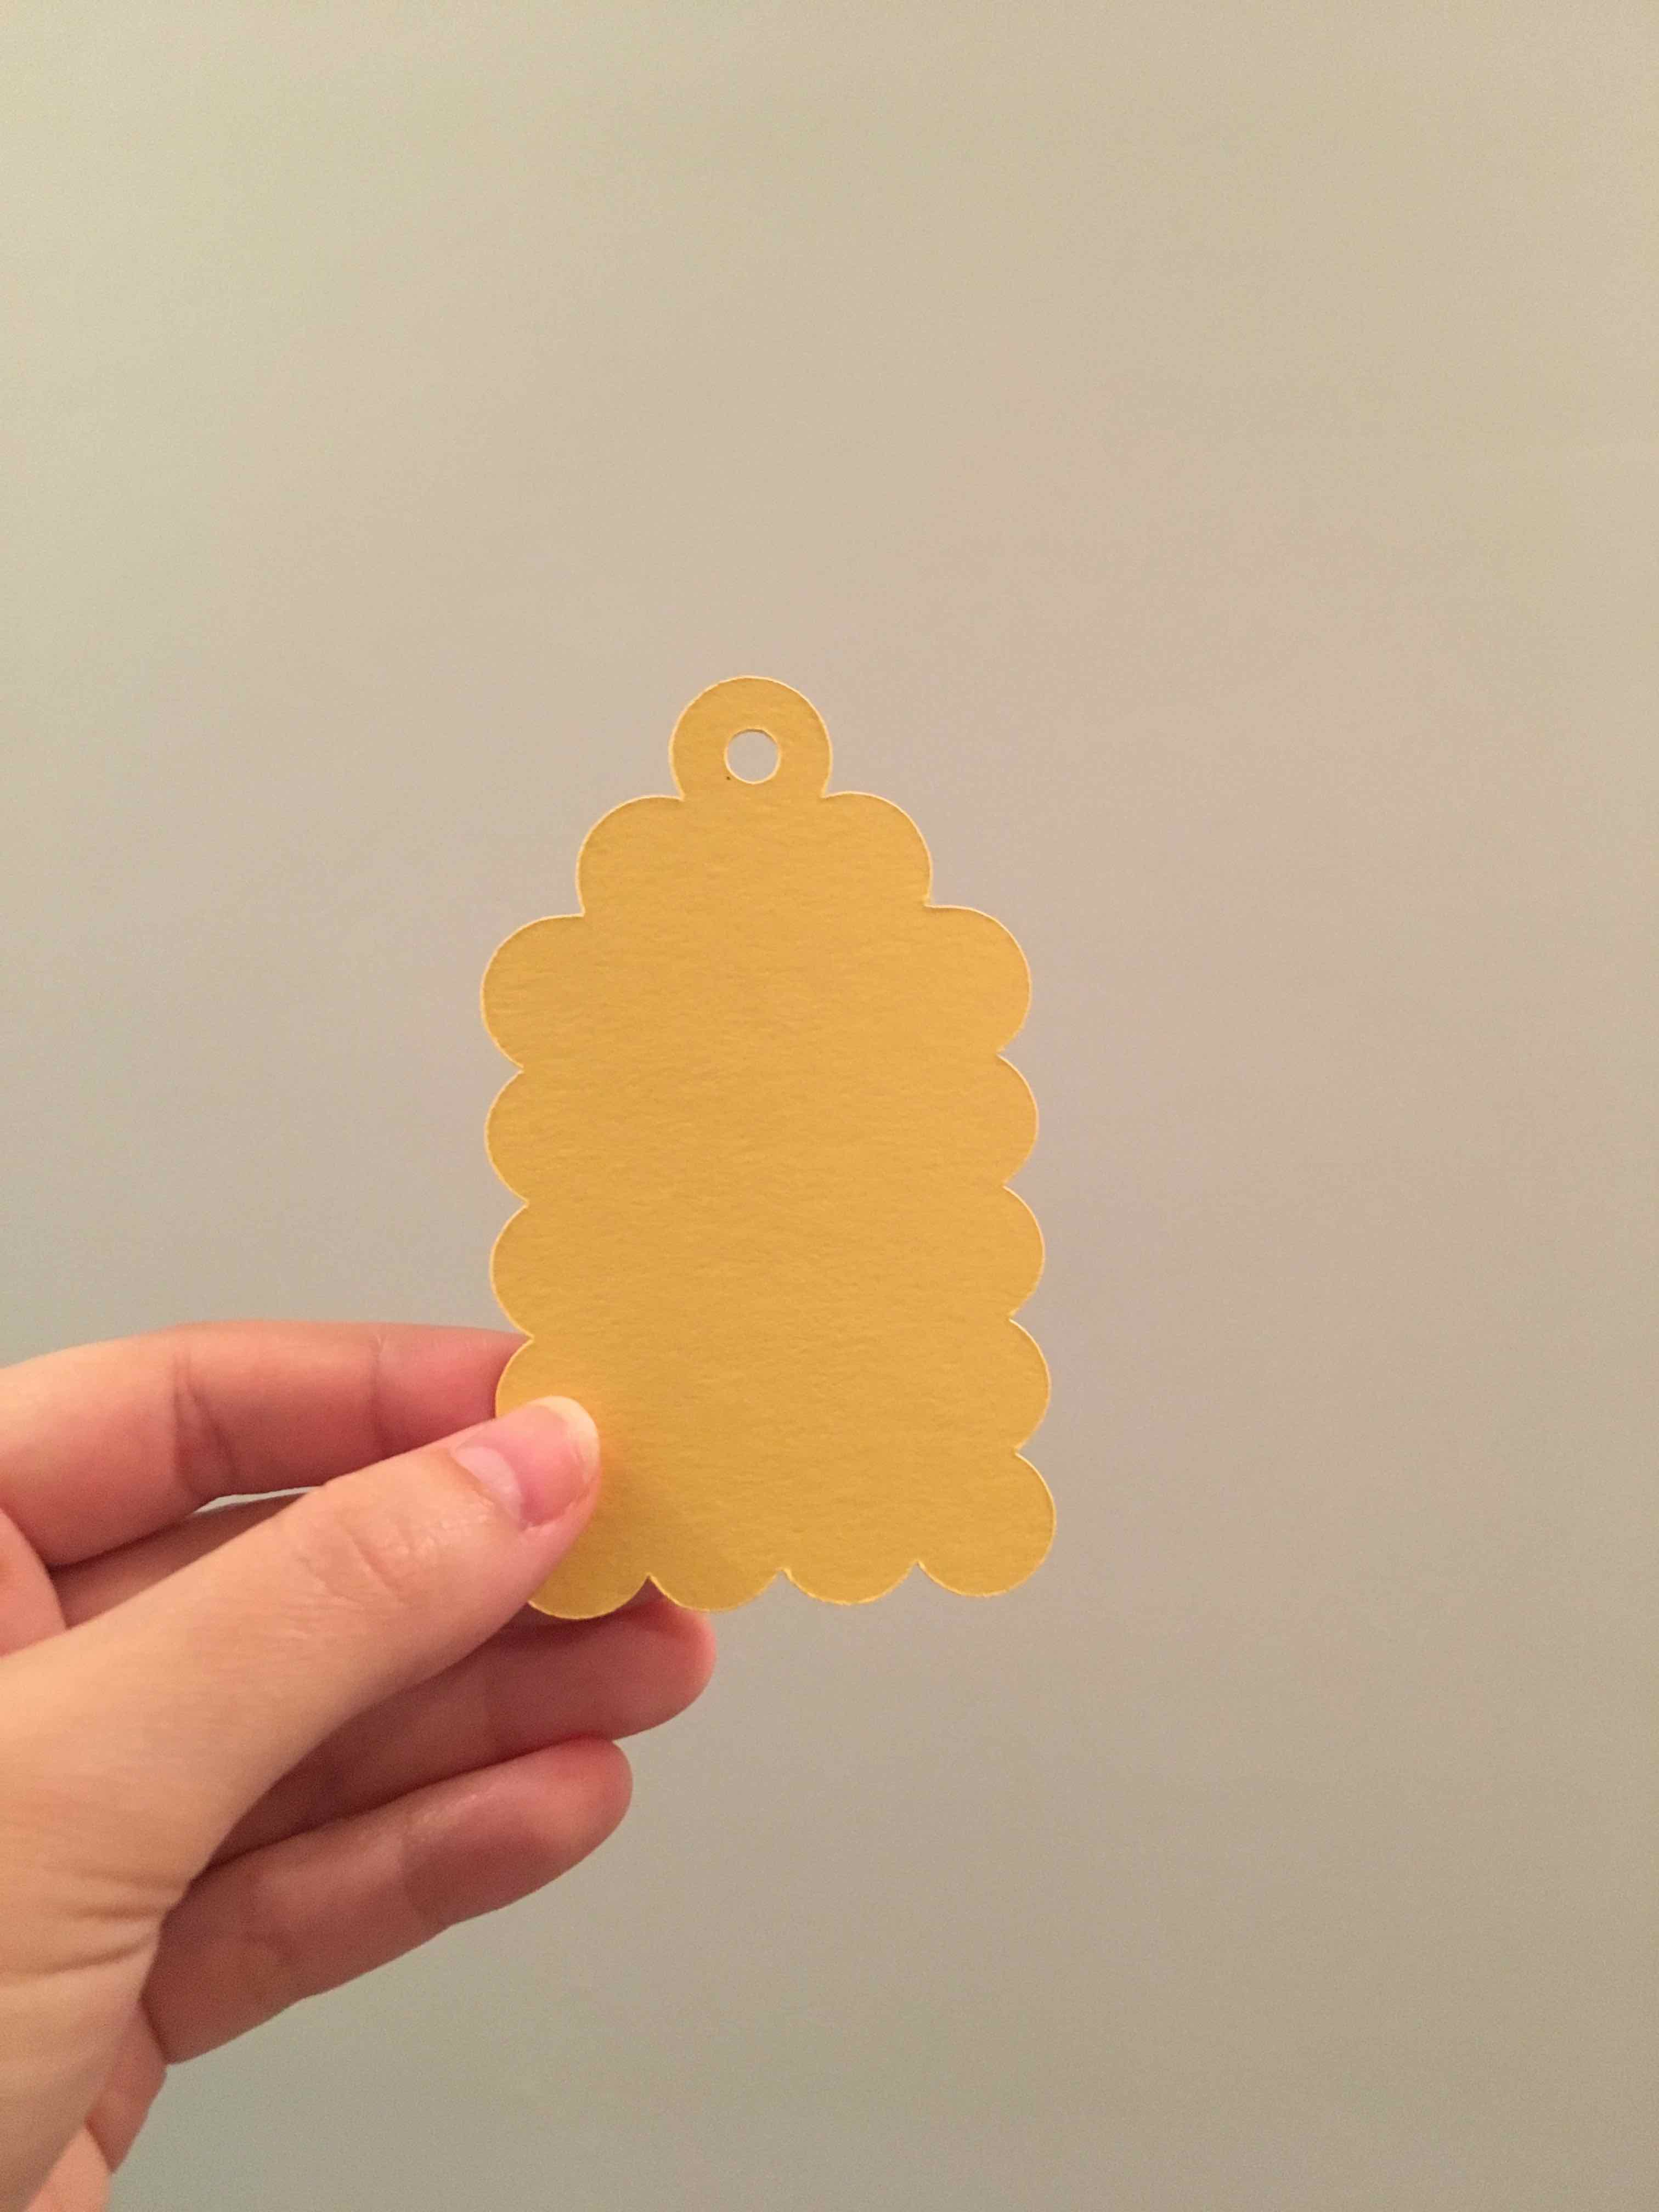
Step 8
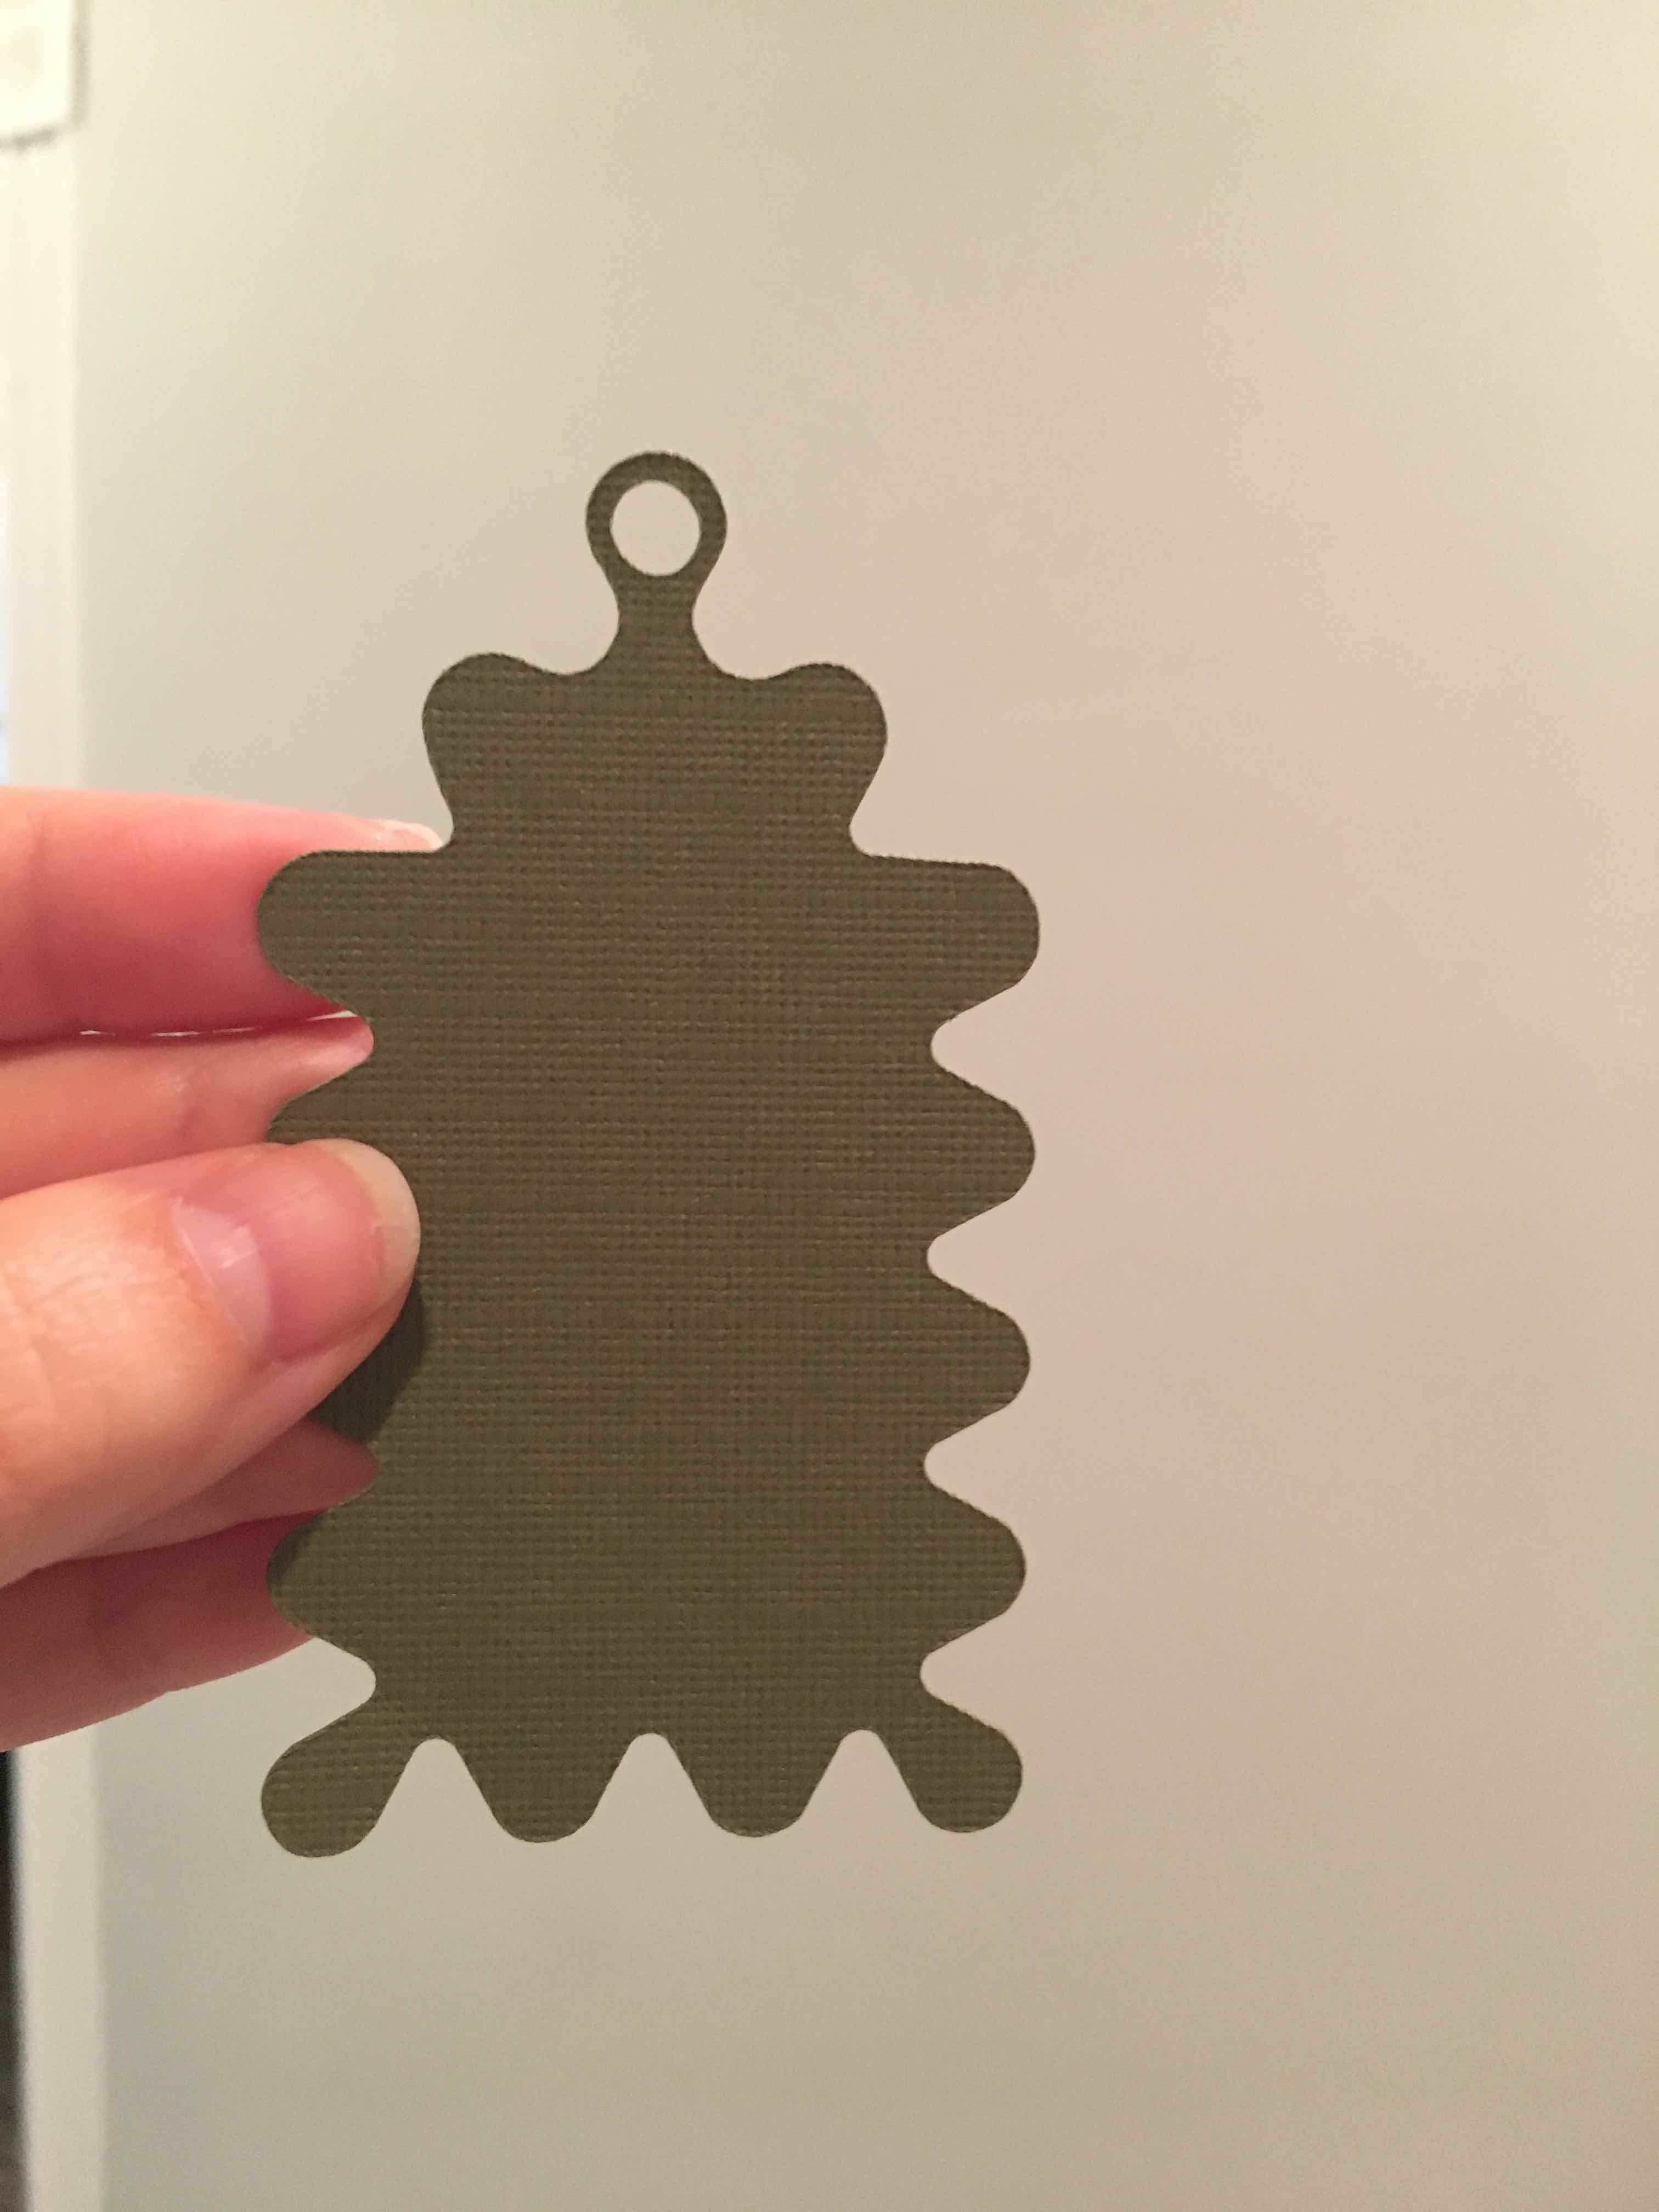
This will be the last gift tag layer. In my case the largest and very back layer will cut out next.
Final Result
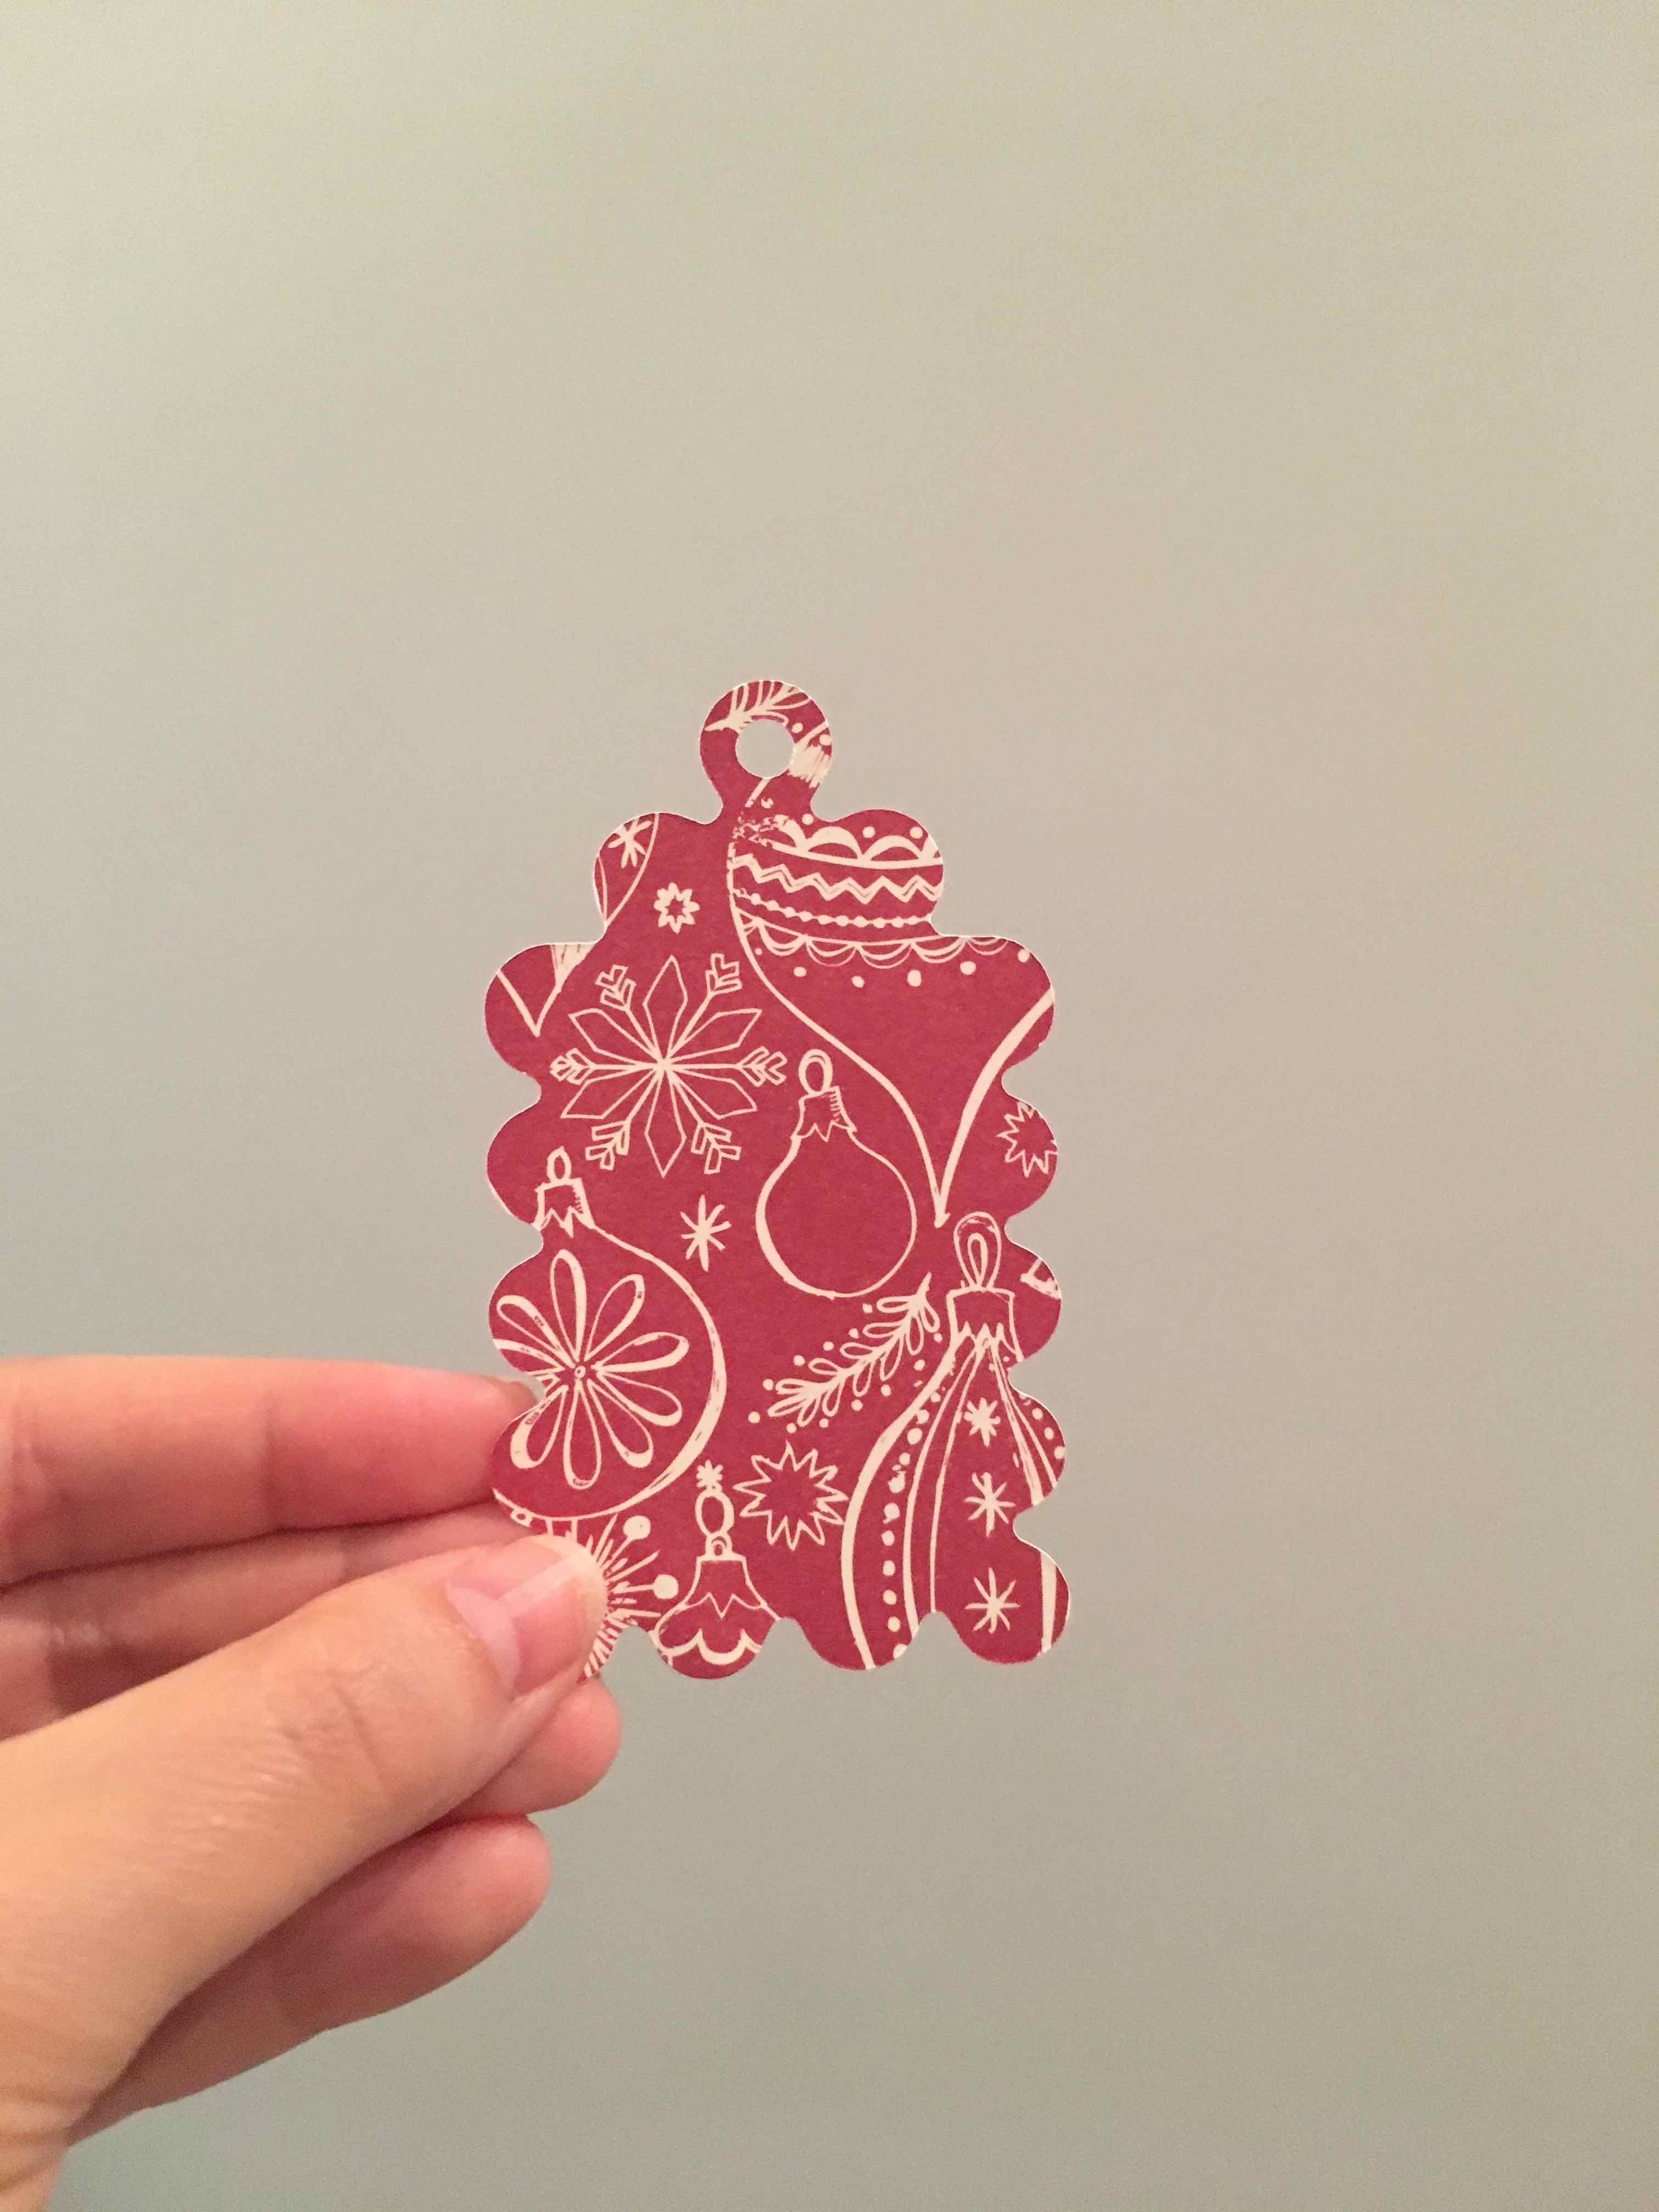
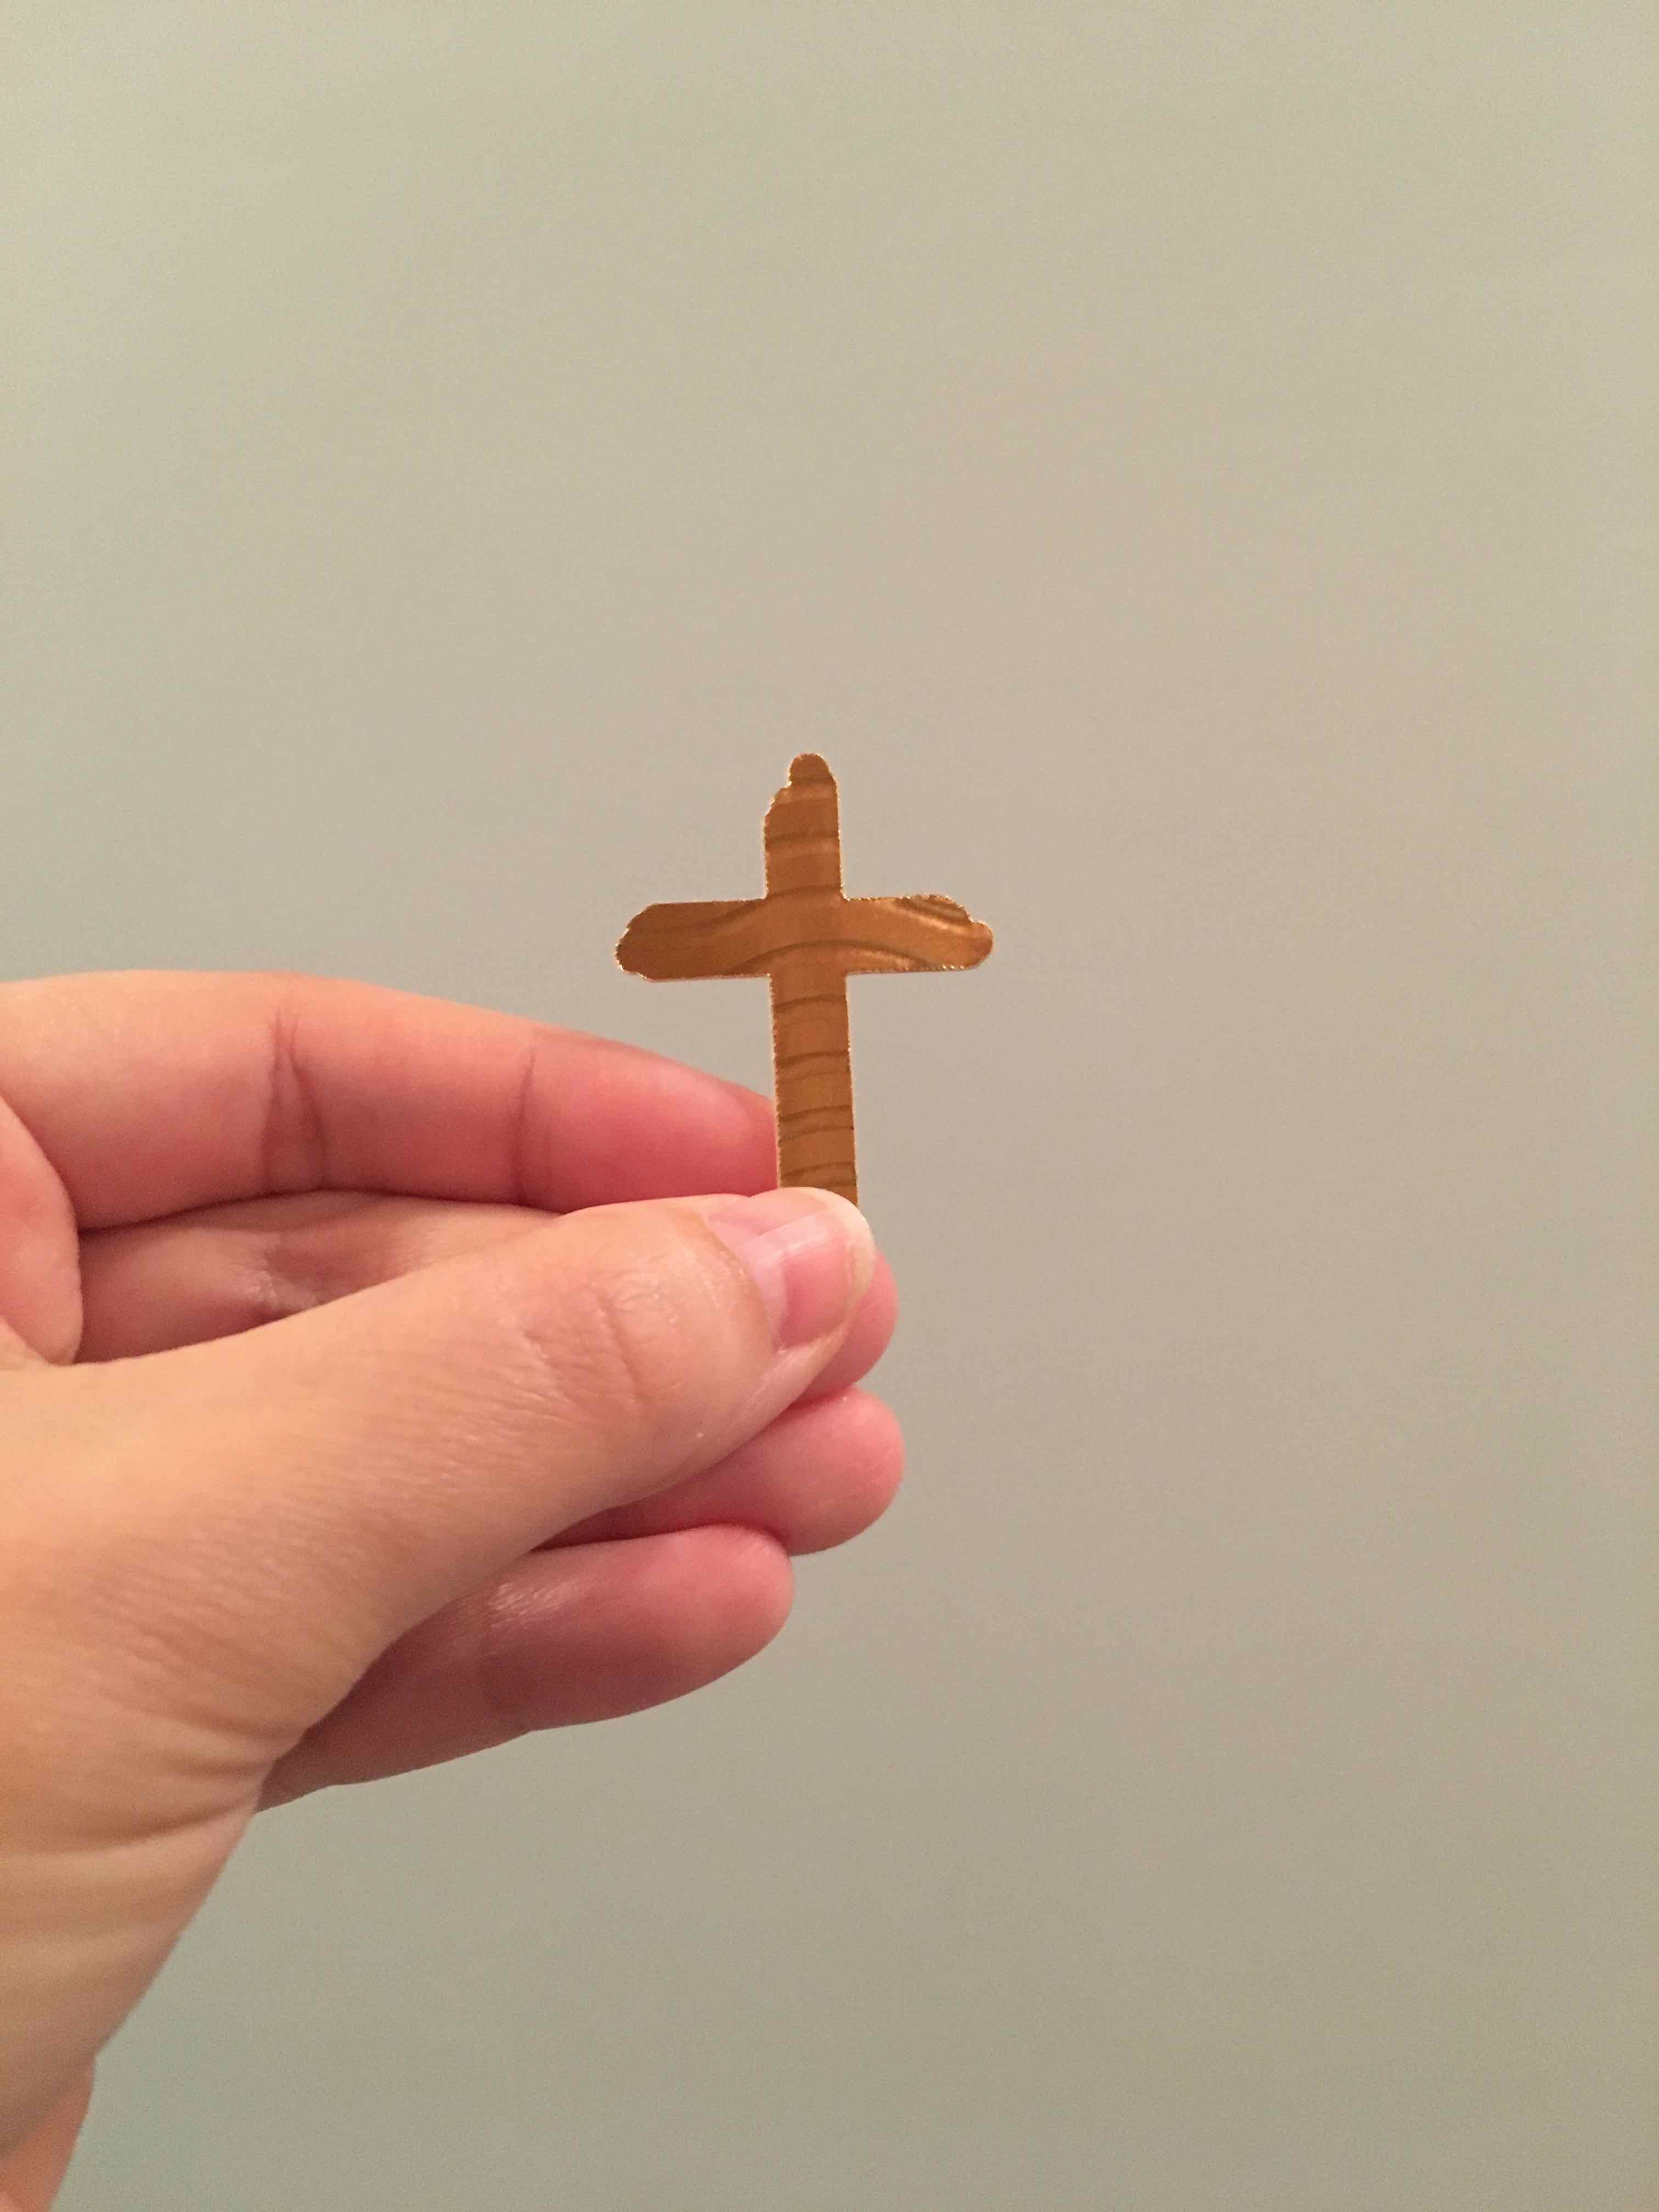
Step 9
My main top silhouette layer will cut out now. This one was extra fun because I used a lovely thick foil card-stock!
Final Result
Step 10
Lay out your layers with the largest at the back and the smallest at the front.

Step 11
You will use some glue dots, tape, or glue on the largest layer first. Or actually, it may be smartest to use it on the back of your middle layer to attach to the largest layer. That way you will not see any extra bits sticking out or extra glue. I didn't think about that when I did it. I used double-sided sticky tape which is quite dirty after being in my drawer for a while.
Step 12
Slowly put on the middle layer on top of the large back layer and hold it where the hole will be. I used the hole as sort of an anchor for adjusting the position and found it quite easy! If you start pressing down on it and it seems a little off now is the time to make a gentle adjustment before too much of the paper is taped or glued.
Step 13
You will do the same thing to the top layer - using the hole as your anchor point and where you will hold it when positioned.
Step 14
I DO NOT recommend using glue as it has a tendency to make paper look bumpy. However, my smallest piece is so tiny that tape wouldn't work. So I used just a dab!
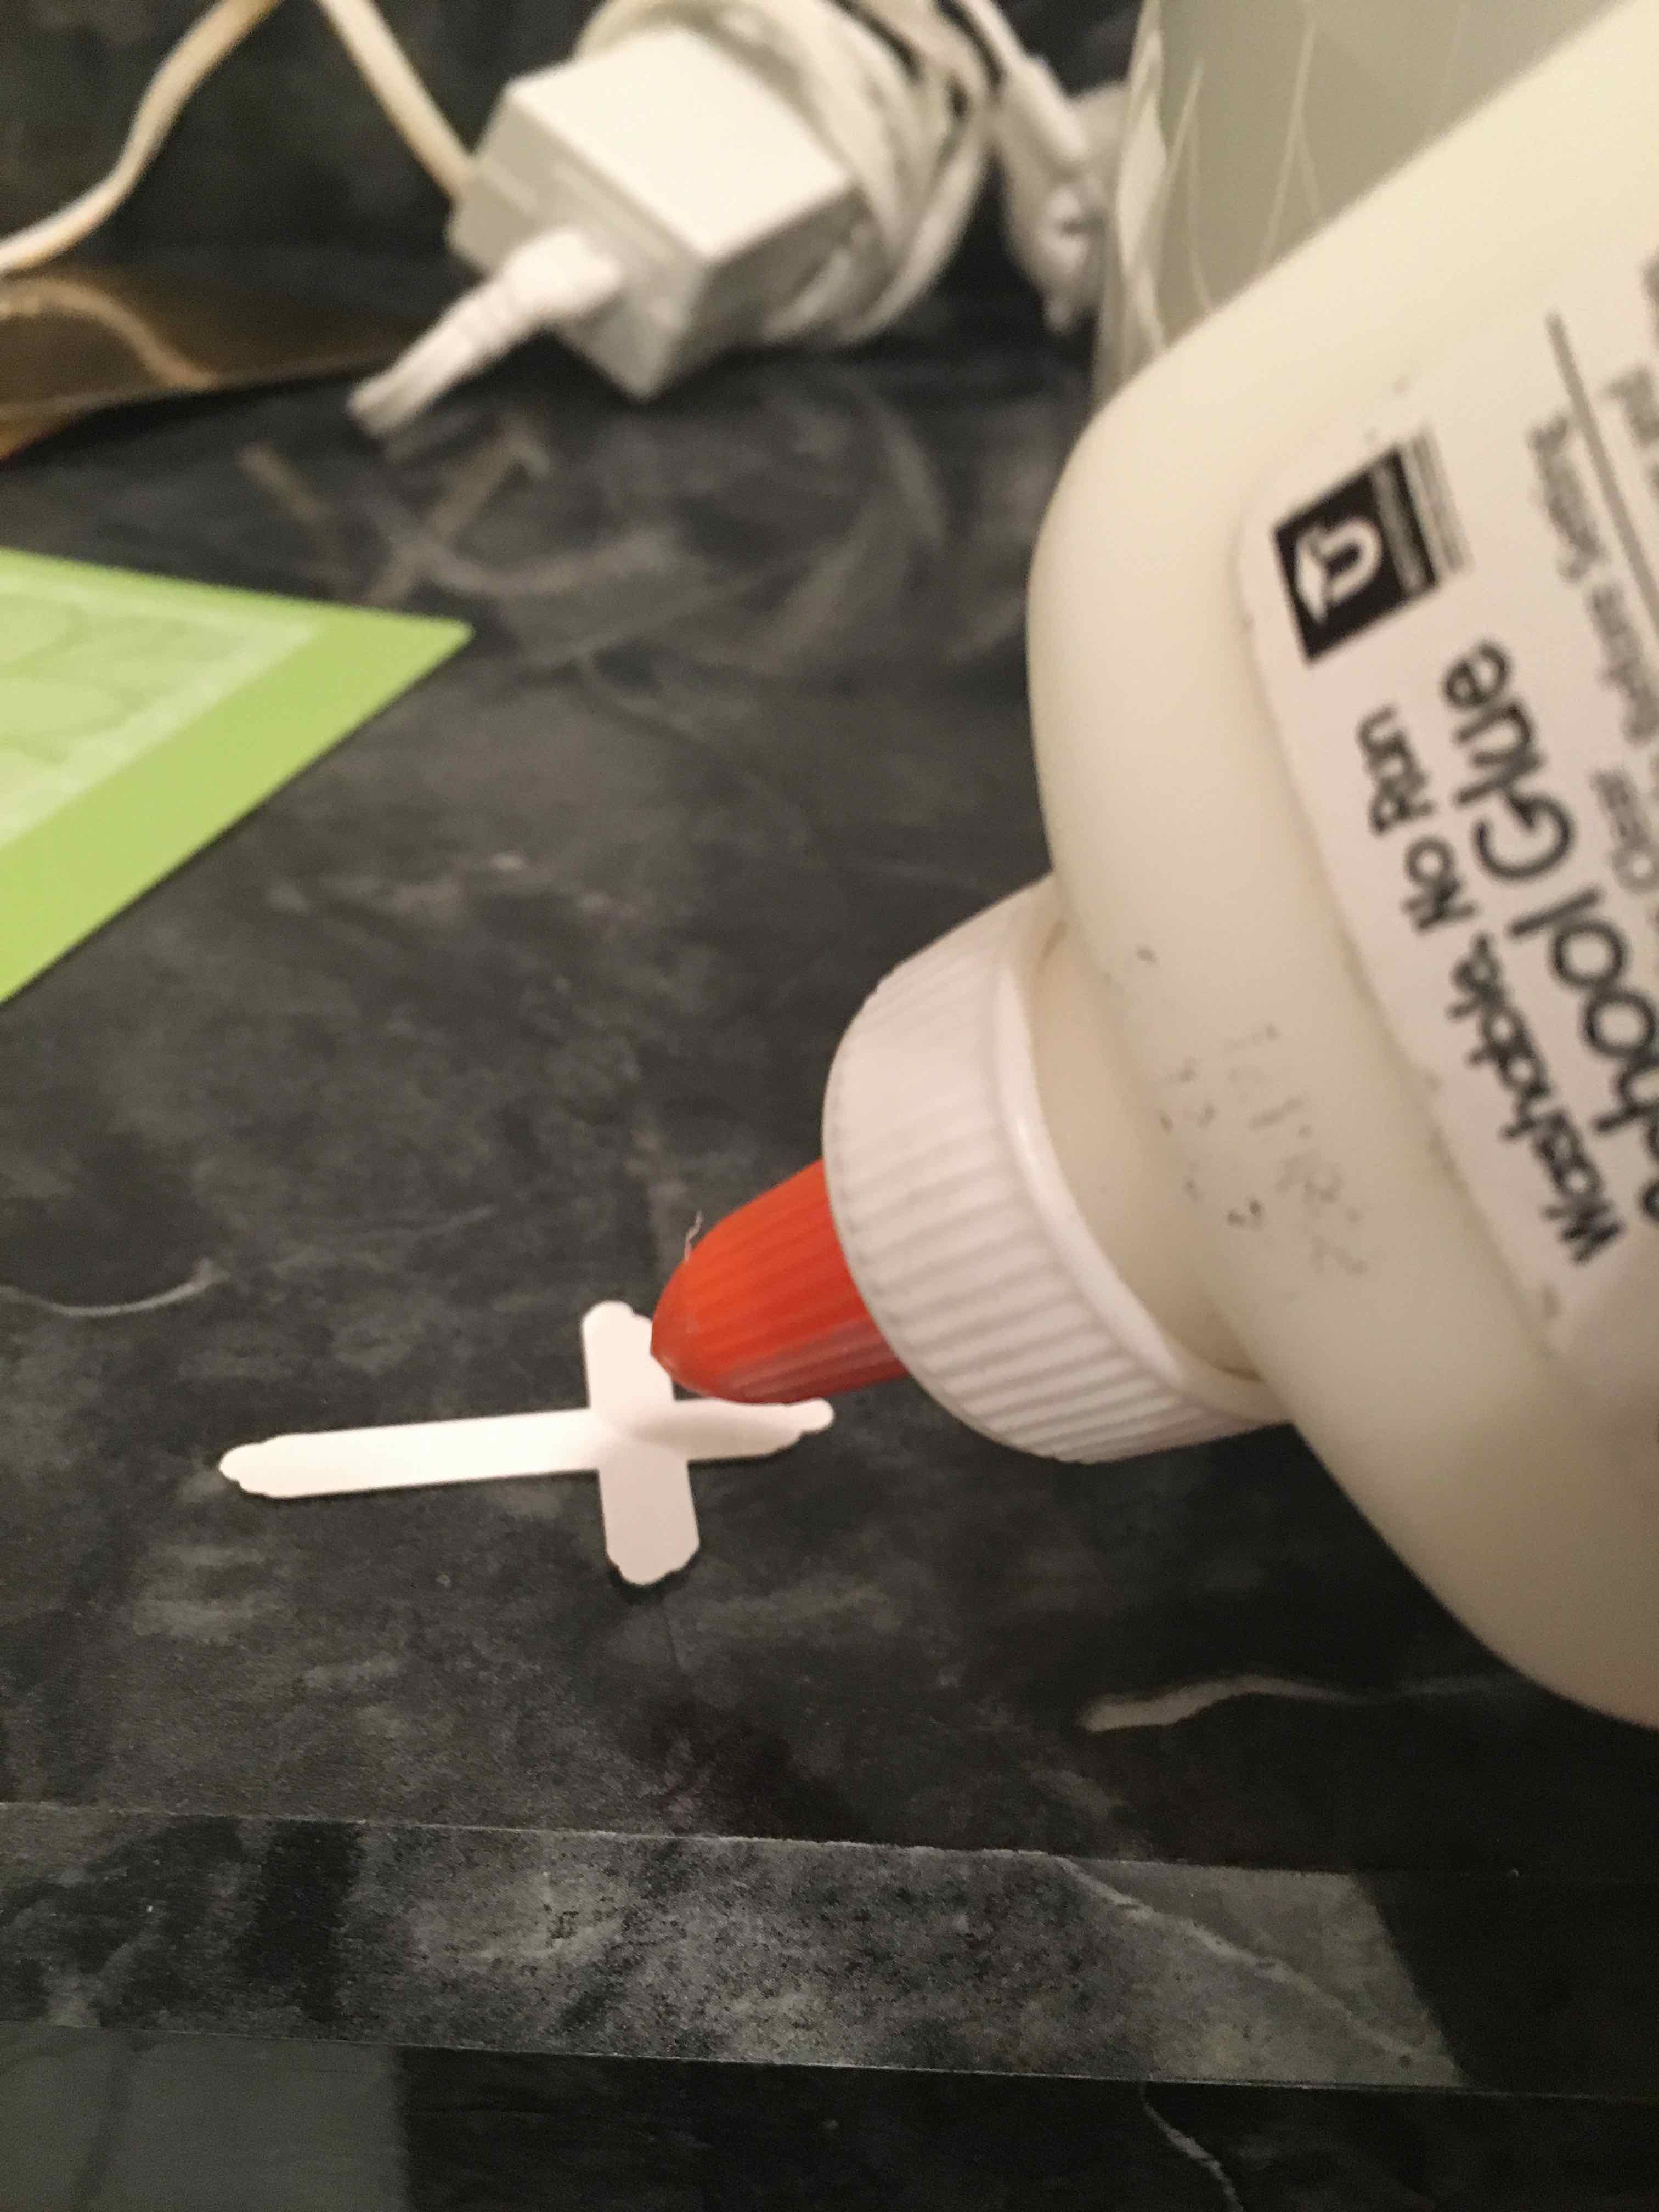
There you have it! You can see a bit of glue smudged near the cross but it dried clear later on.

Step 15
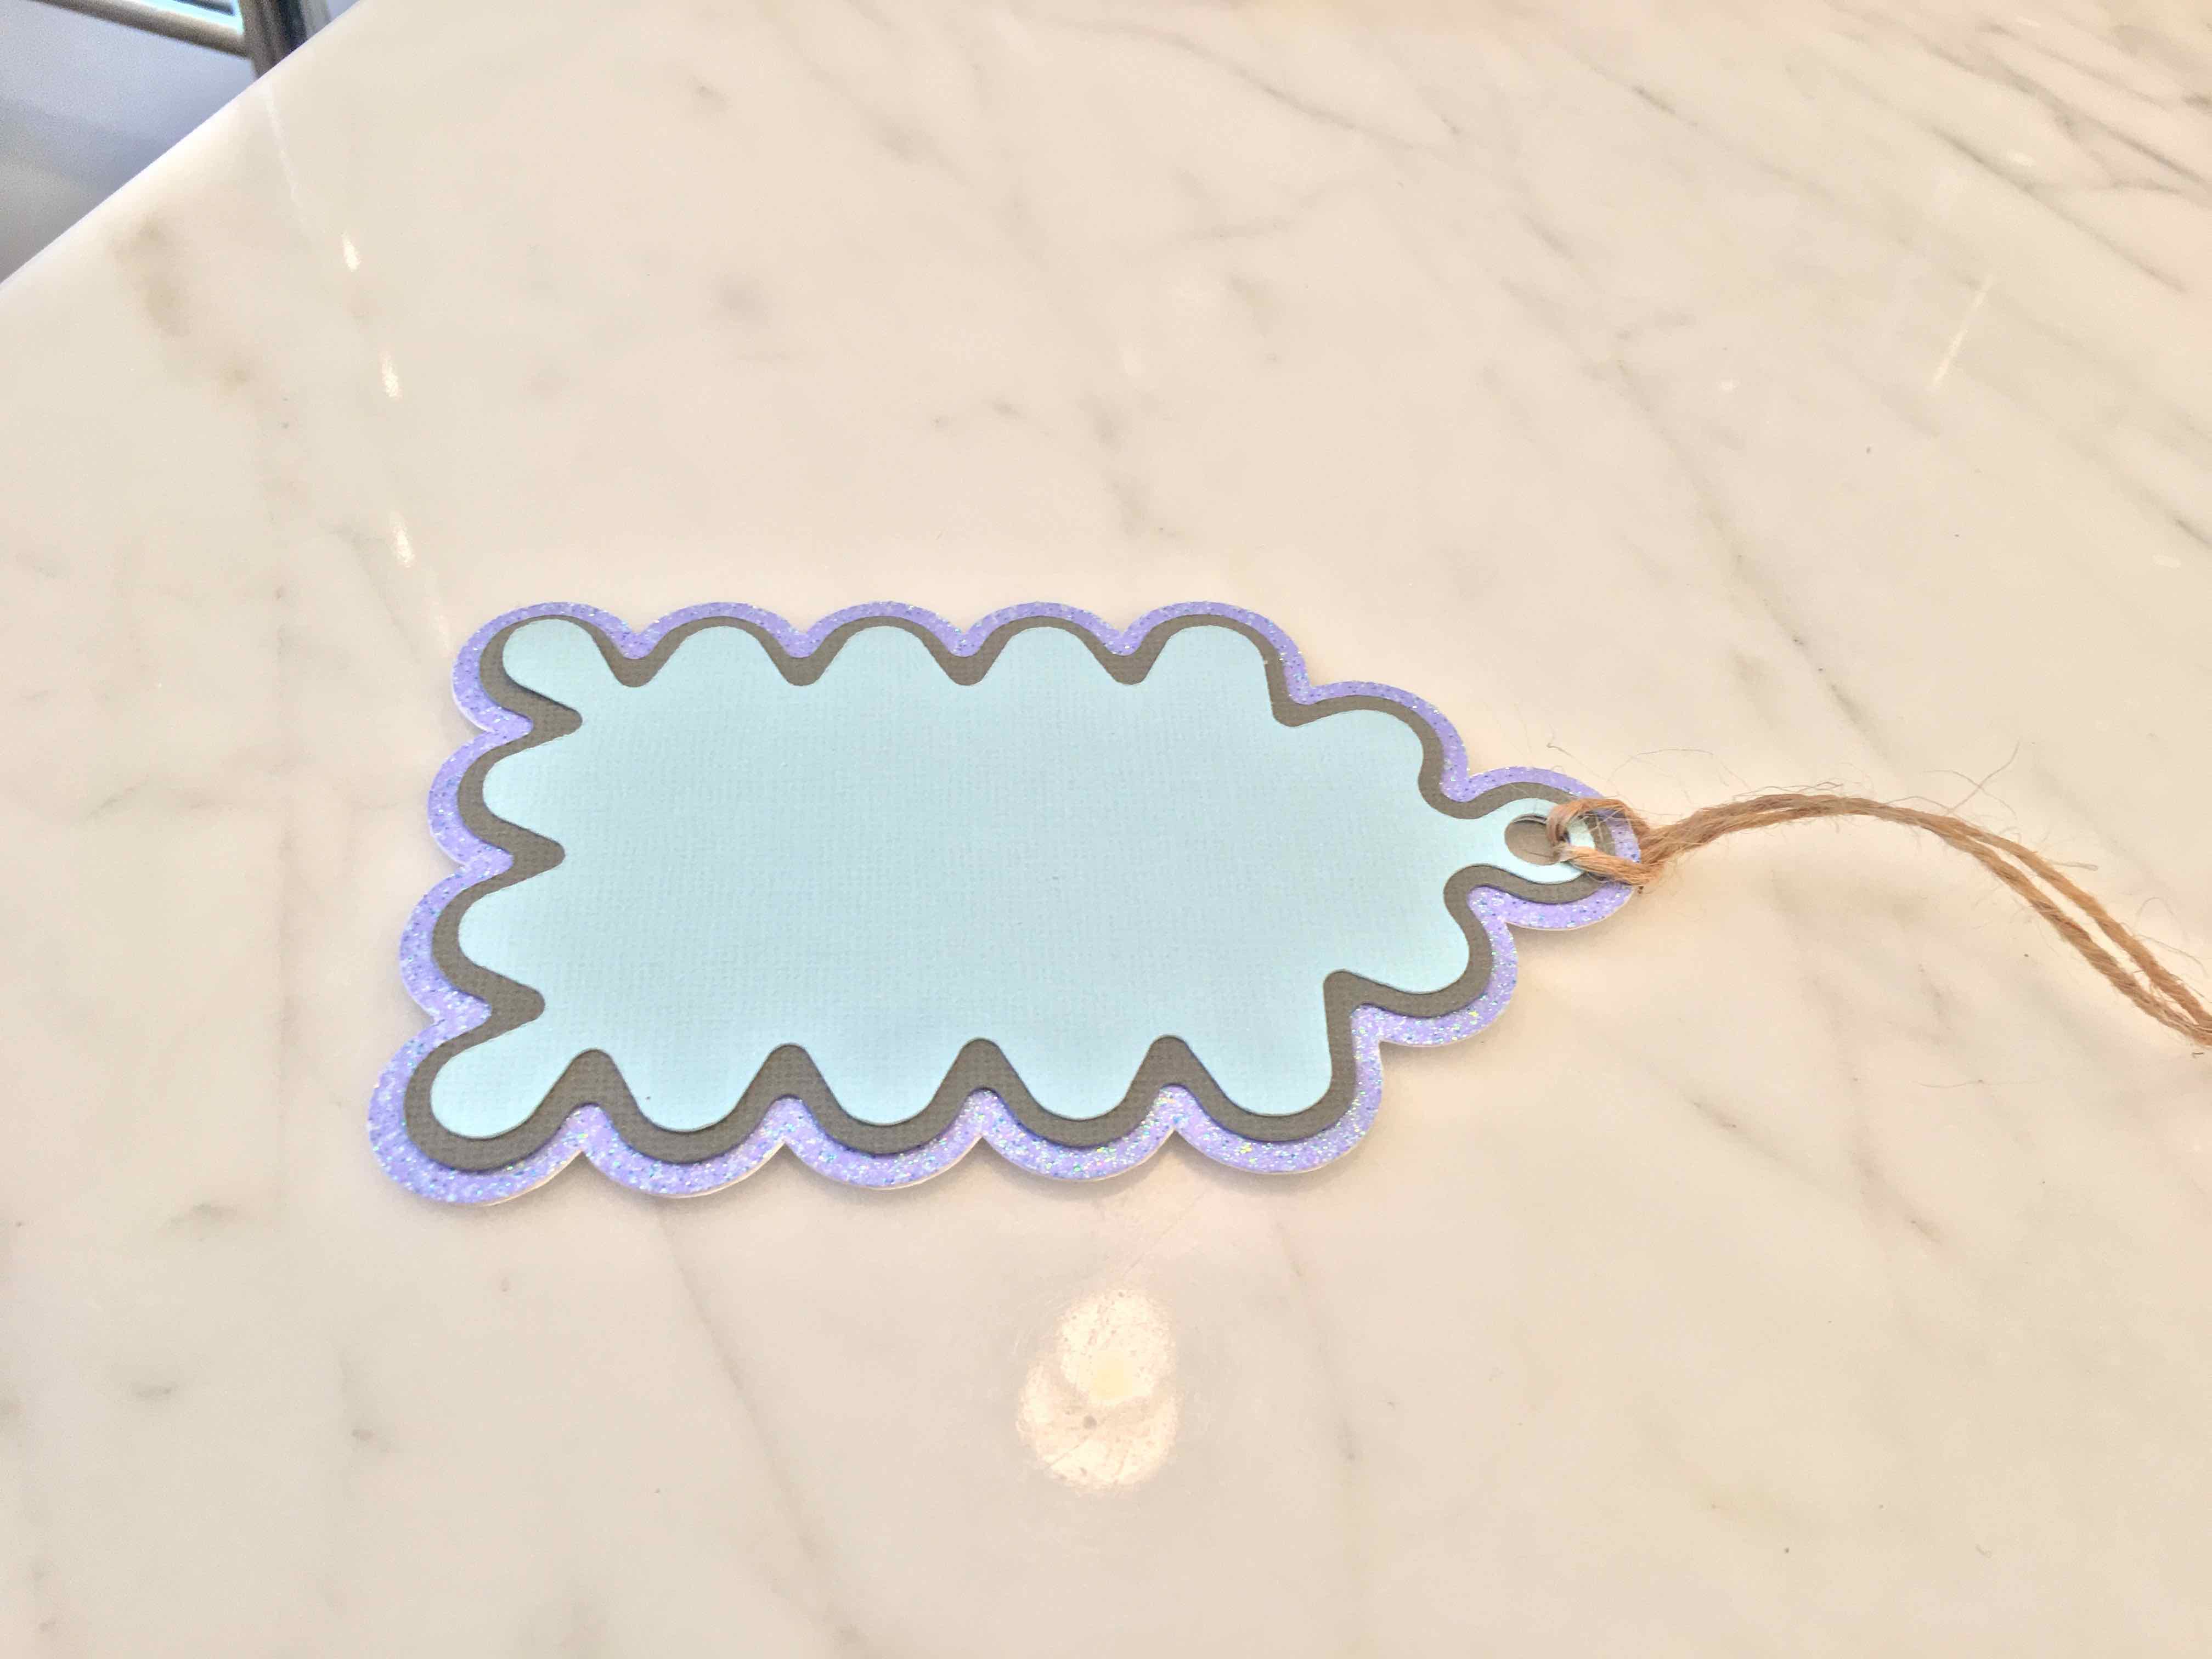
Here is the back of the design. You may want to write or stamp on a fancy "To:" and "From:" message. You may also notice that I made sure the less appealing side of the paper (which is slightly ripped or thinner) faced the back.
Step 16
Use a little ribbon or twine to finish off your gift tag!
Finished Results
I only put tape on the angel's body so I could fold up the wings a little.
I only put tape on the deer's body so I could fold up the antlers a little.
Keep in mind you can go all out and do the back in layers as well!
Thank you so much for your interest in our Christmas gift tags. I hope this guide makes the Christmas holiday a little less stressful for you and that you can do more of what you love - create! You can purchase our Christmas Gift Tags here.