
DIY Glitter Vinyl on Glass Jar Tutorial Using Mermaid Scale Seamless Pattern in Cricut Design Space
Posted by Savana Price on 19th Aug 2020
This post contains affiliate links. If you decide to purchase something through a link in this article I may receive a small commission. Using or purchasing through an affiliate link does not cost you anything extra.
Please bear with me as I walk you through this step by step tutorial of using our mermaid scale pattern on a glass jar. I’ll confess that as an SVG designer, I do not work with vinyl or other mediums that often unless I have something specific that I wish to do. That is why I say bear with me, because I make mistakes - and some of them are excellent learning tools of what you SHOULDN’T do!
To begin with, I will show you how I use my design in Cricut Design Space and then I will move on to the physical DIY side of putting my project together.
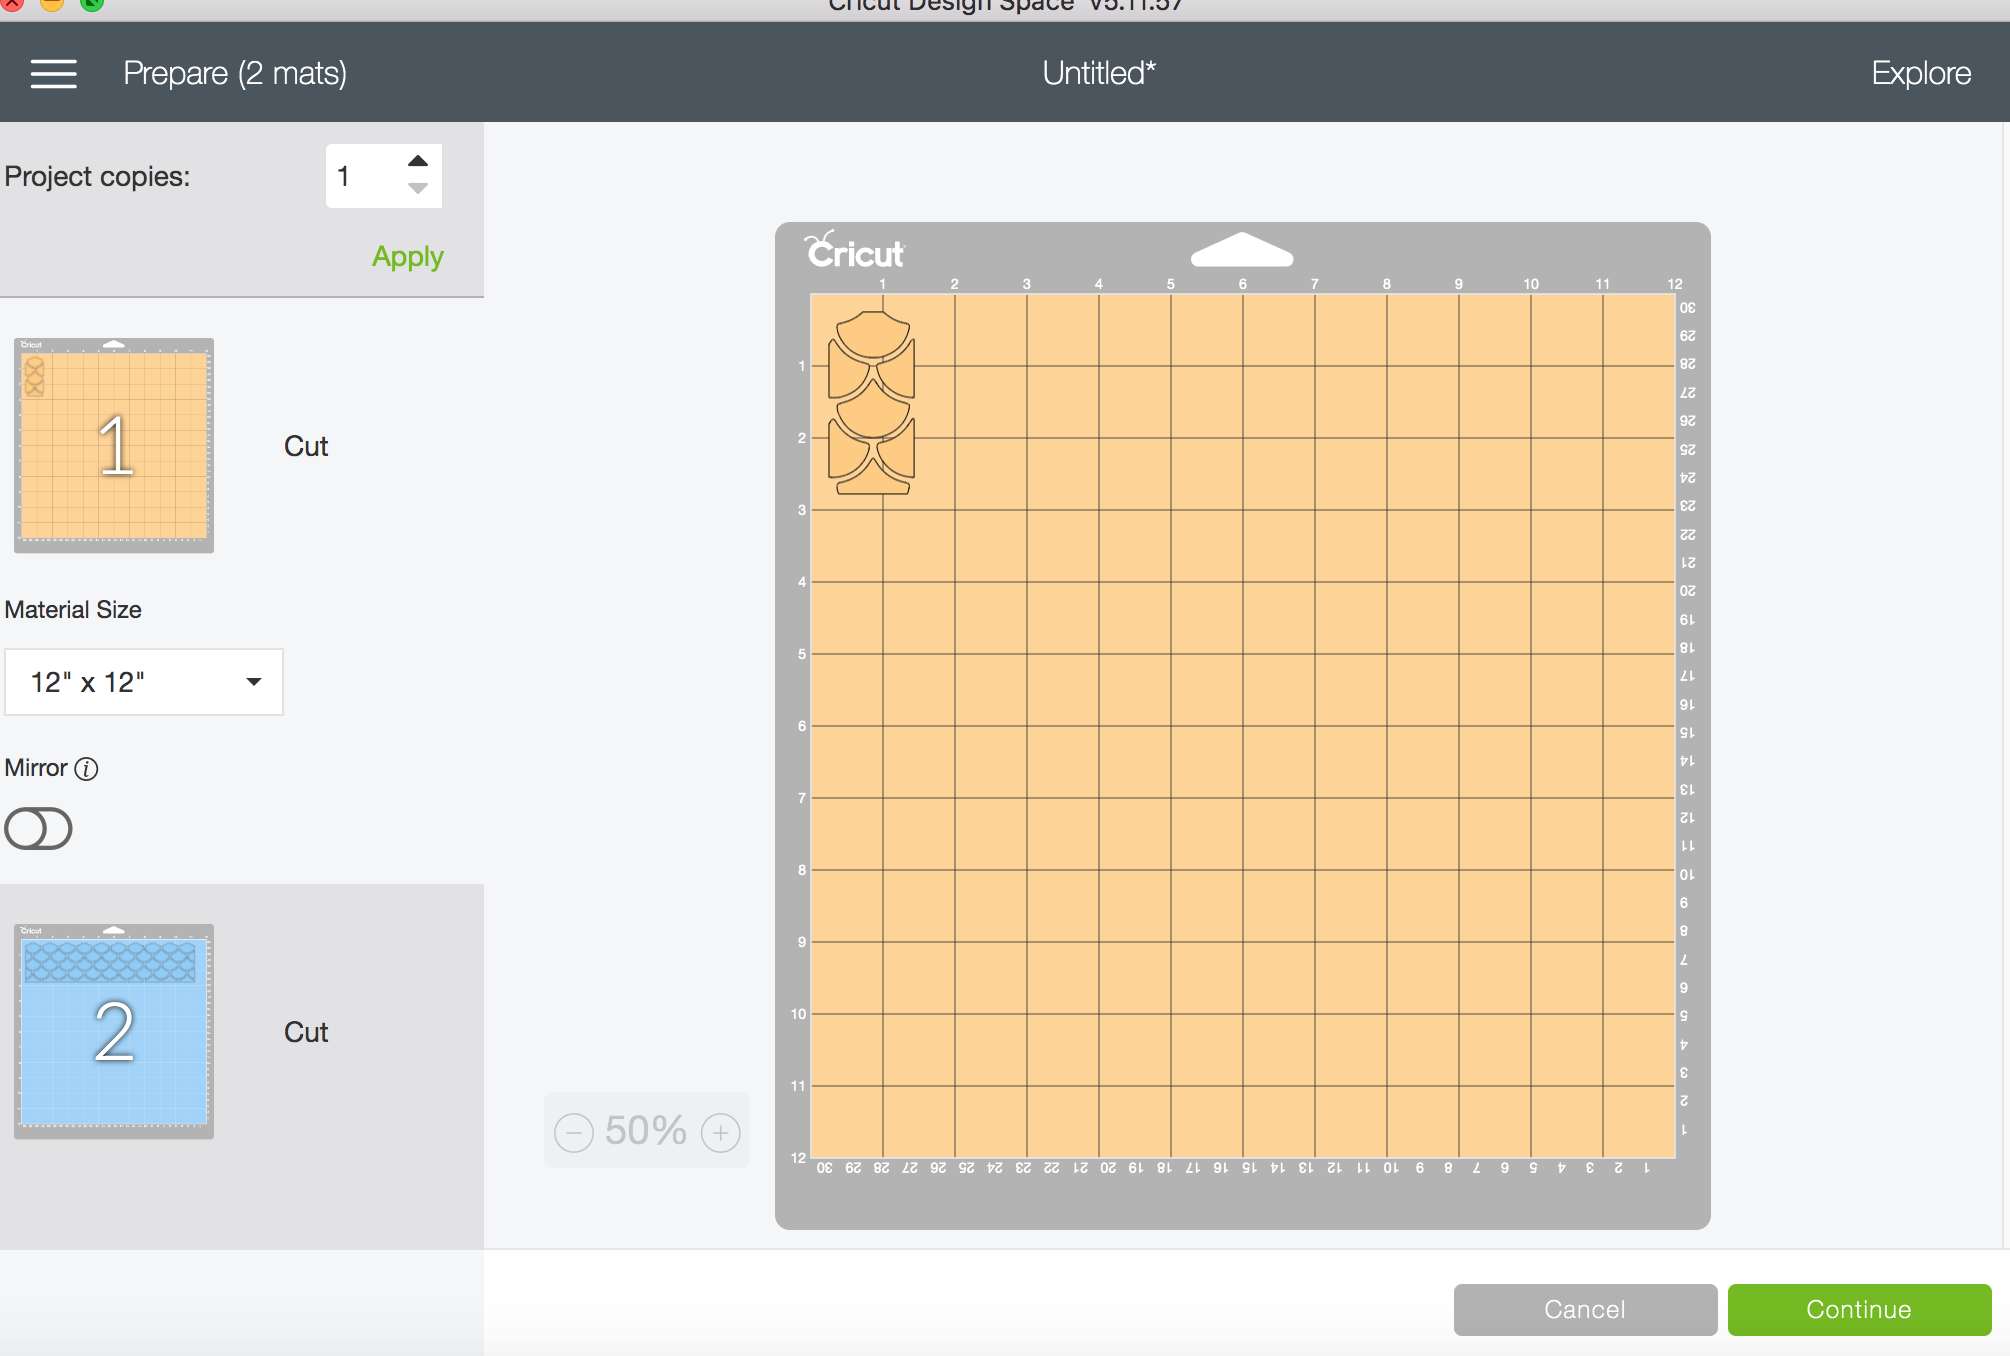
Cricut Design Space Seamless Pattern Instructions
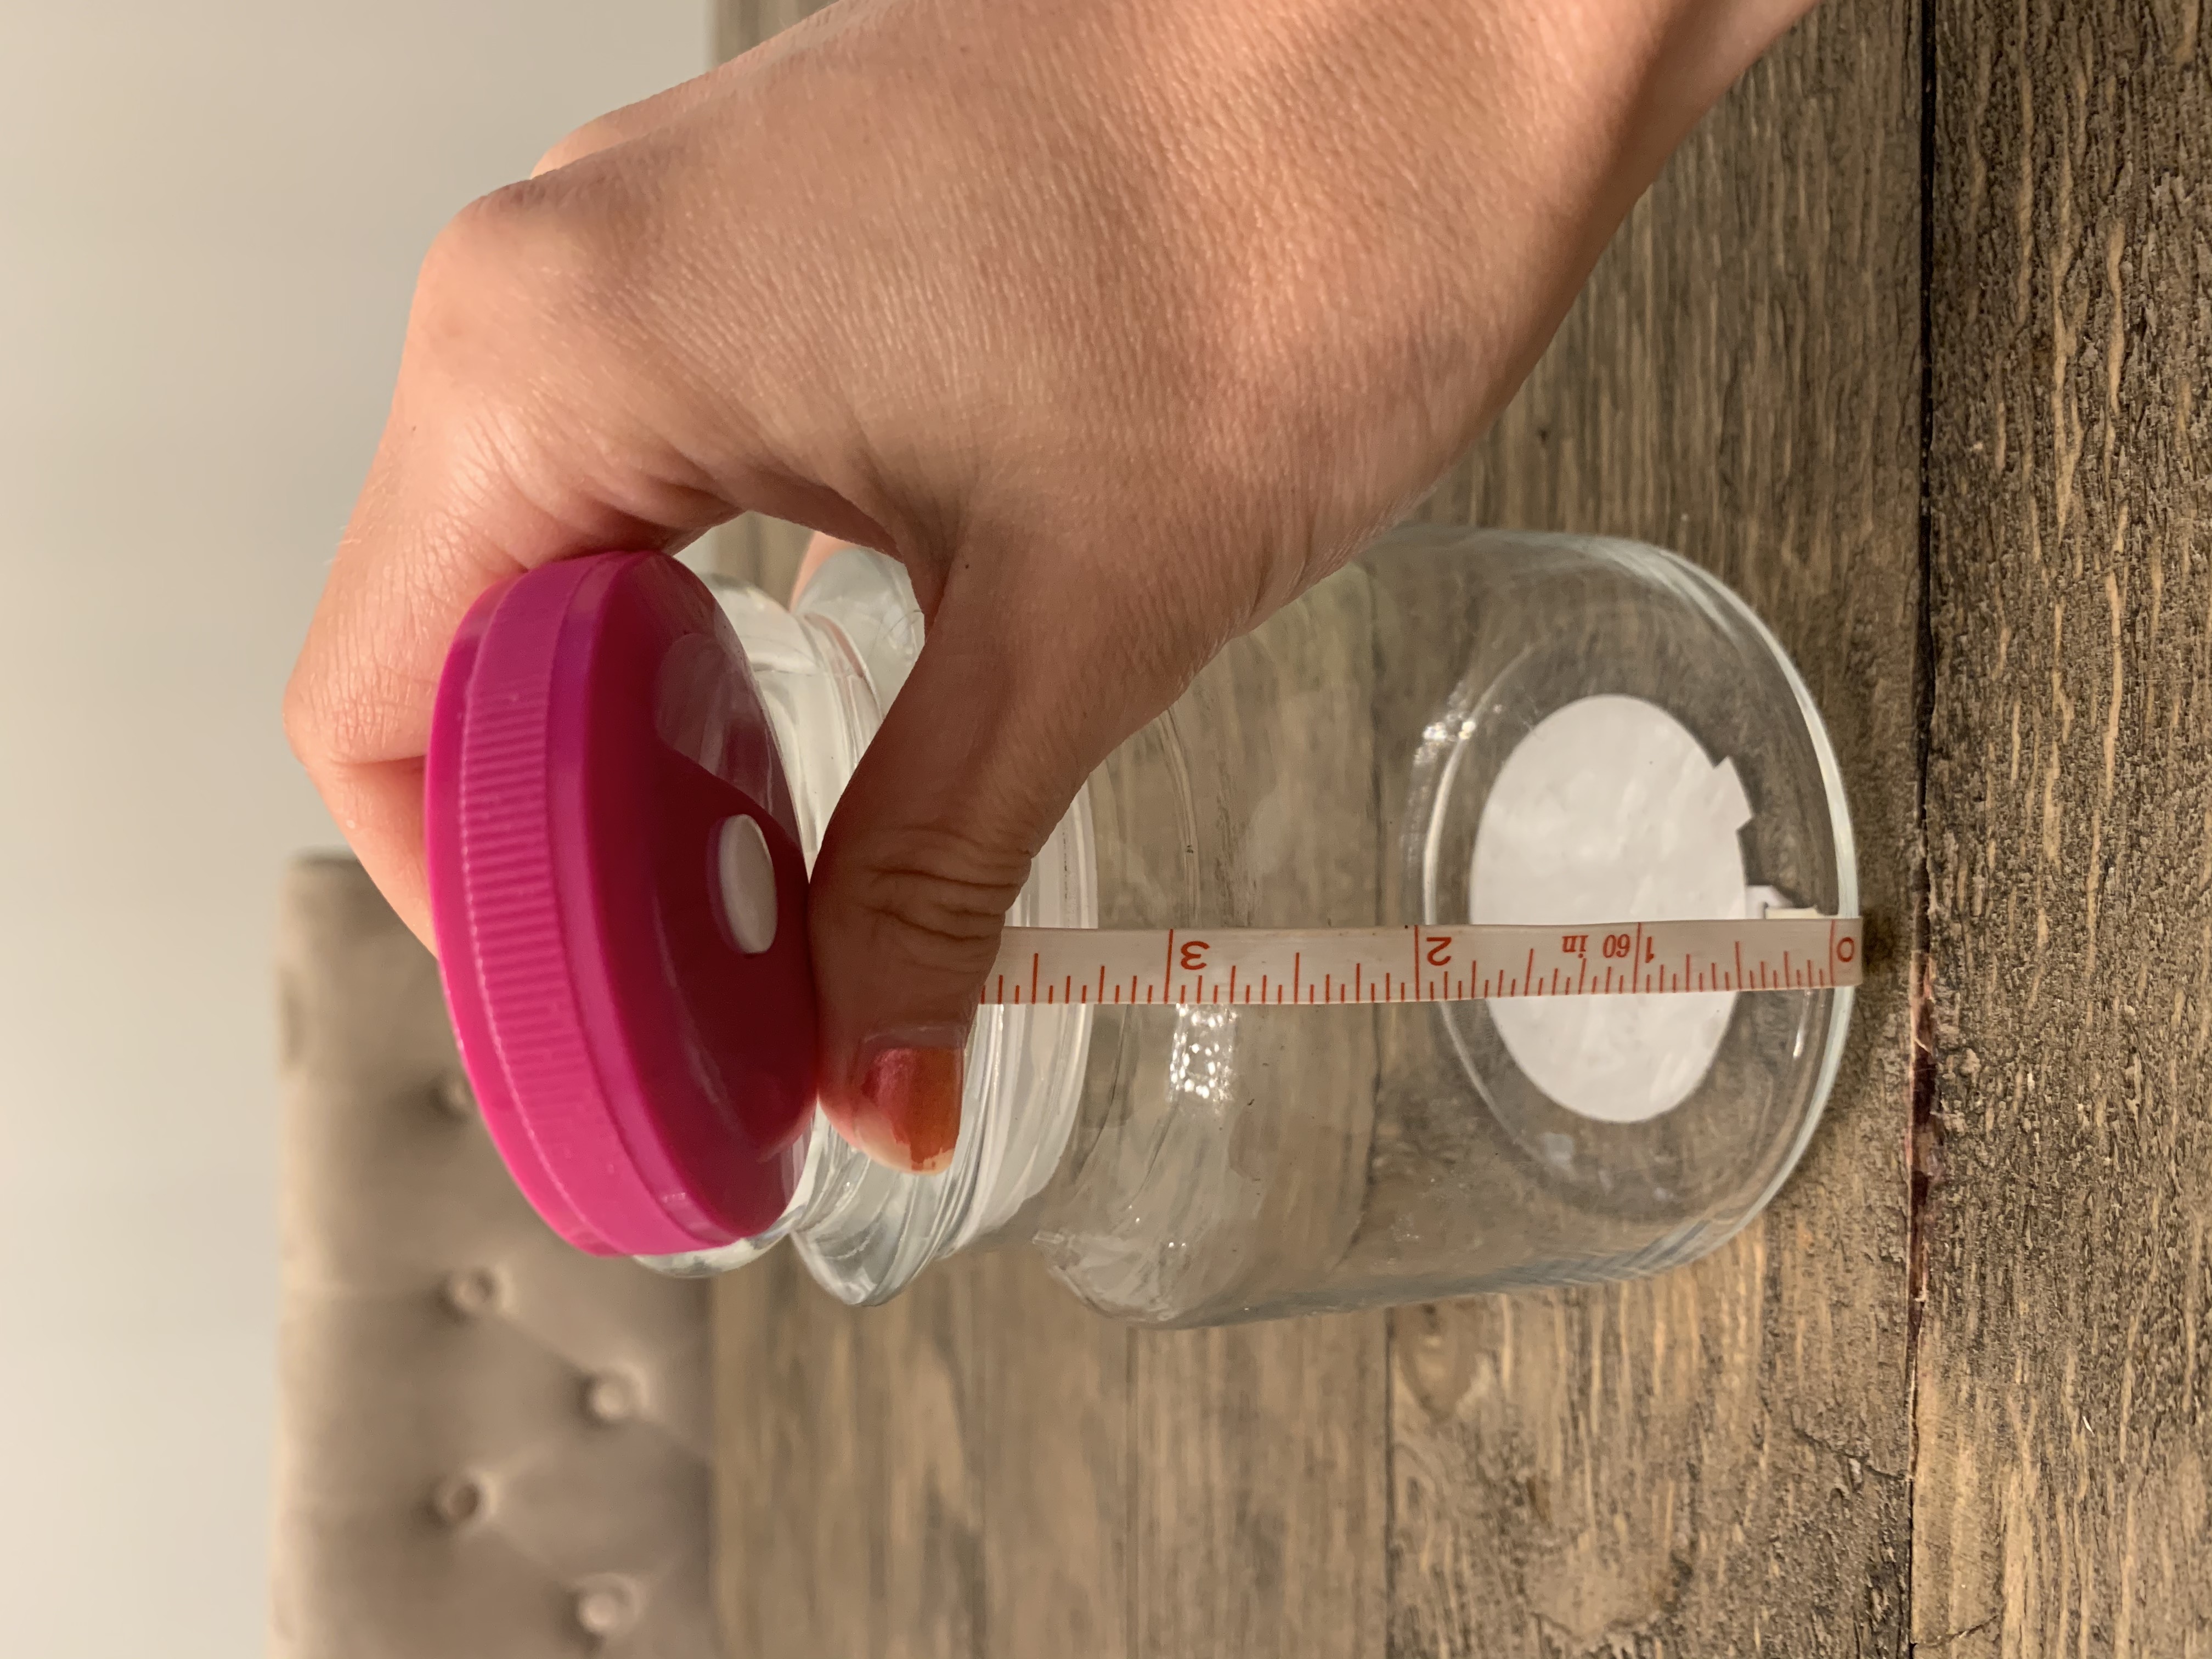
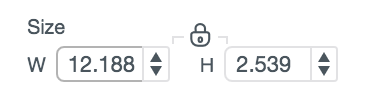
- First, I take the measurements of my jar so I know what measurements I will be looking at in Cricut Design Space.

- I upload my mermaid scales.
- I Duplicate it to get how many scales I want.

- I weld all of the design together by selecting the scales and then selecting Weld.
- I make sure my design is X: 0 Y: 0

- I include a rectangle behind my design and measure it out exactly the size I need for my project. This makes it a lot easier to see where the “seamless” cuts could go. I position it accordingly and then select all and hit Slice.
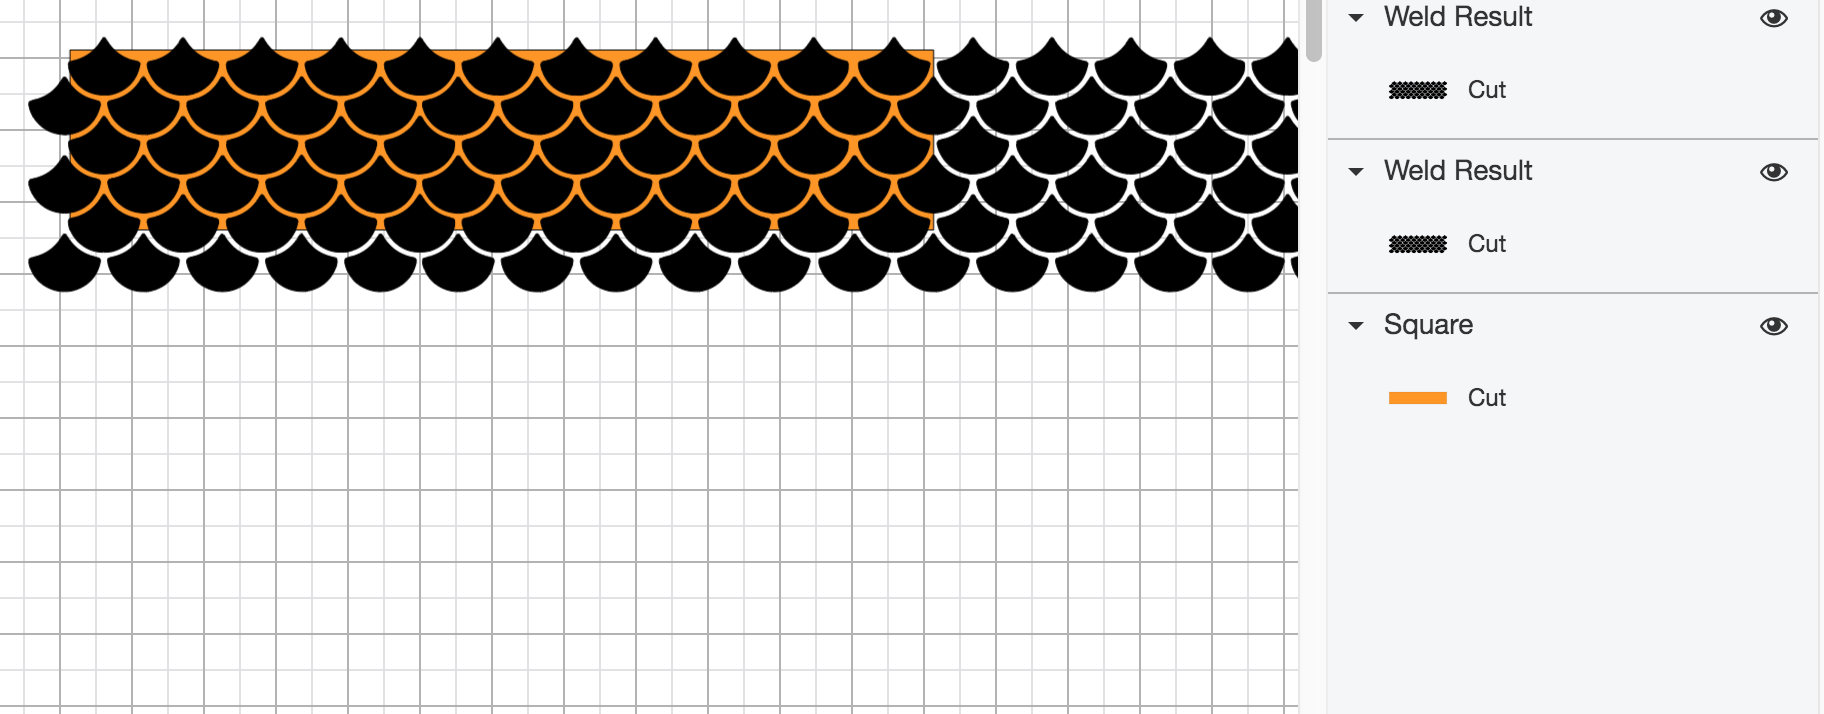

- Separate the pieces out and delete the unused pieces.

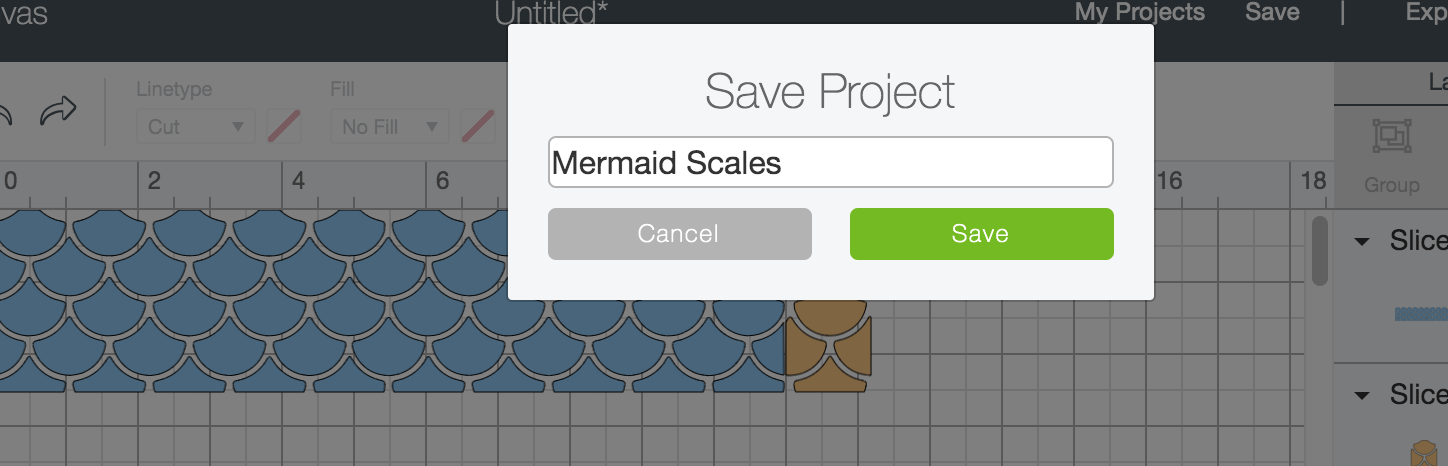
- This is a great time to save your project in case the program crashes.
- After you have saved your project, go to Make It.

- This is an example of what order my cuts will go in.
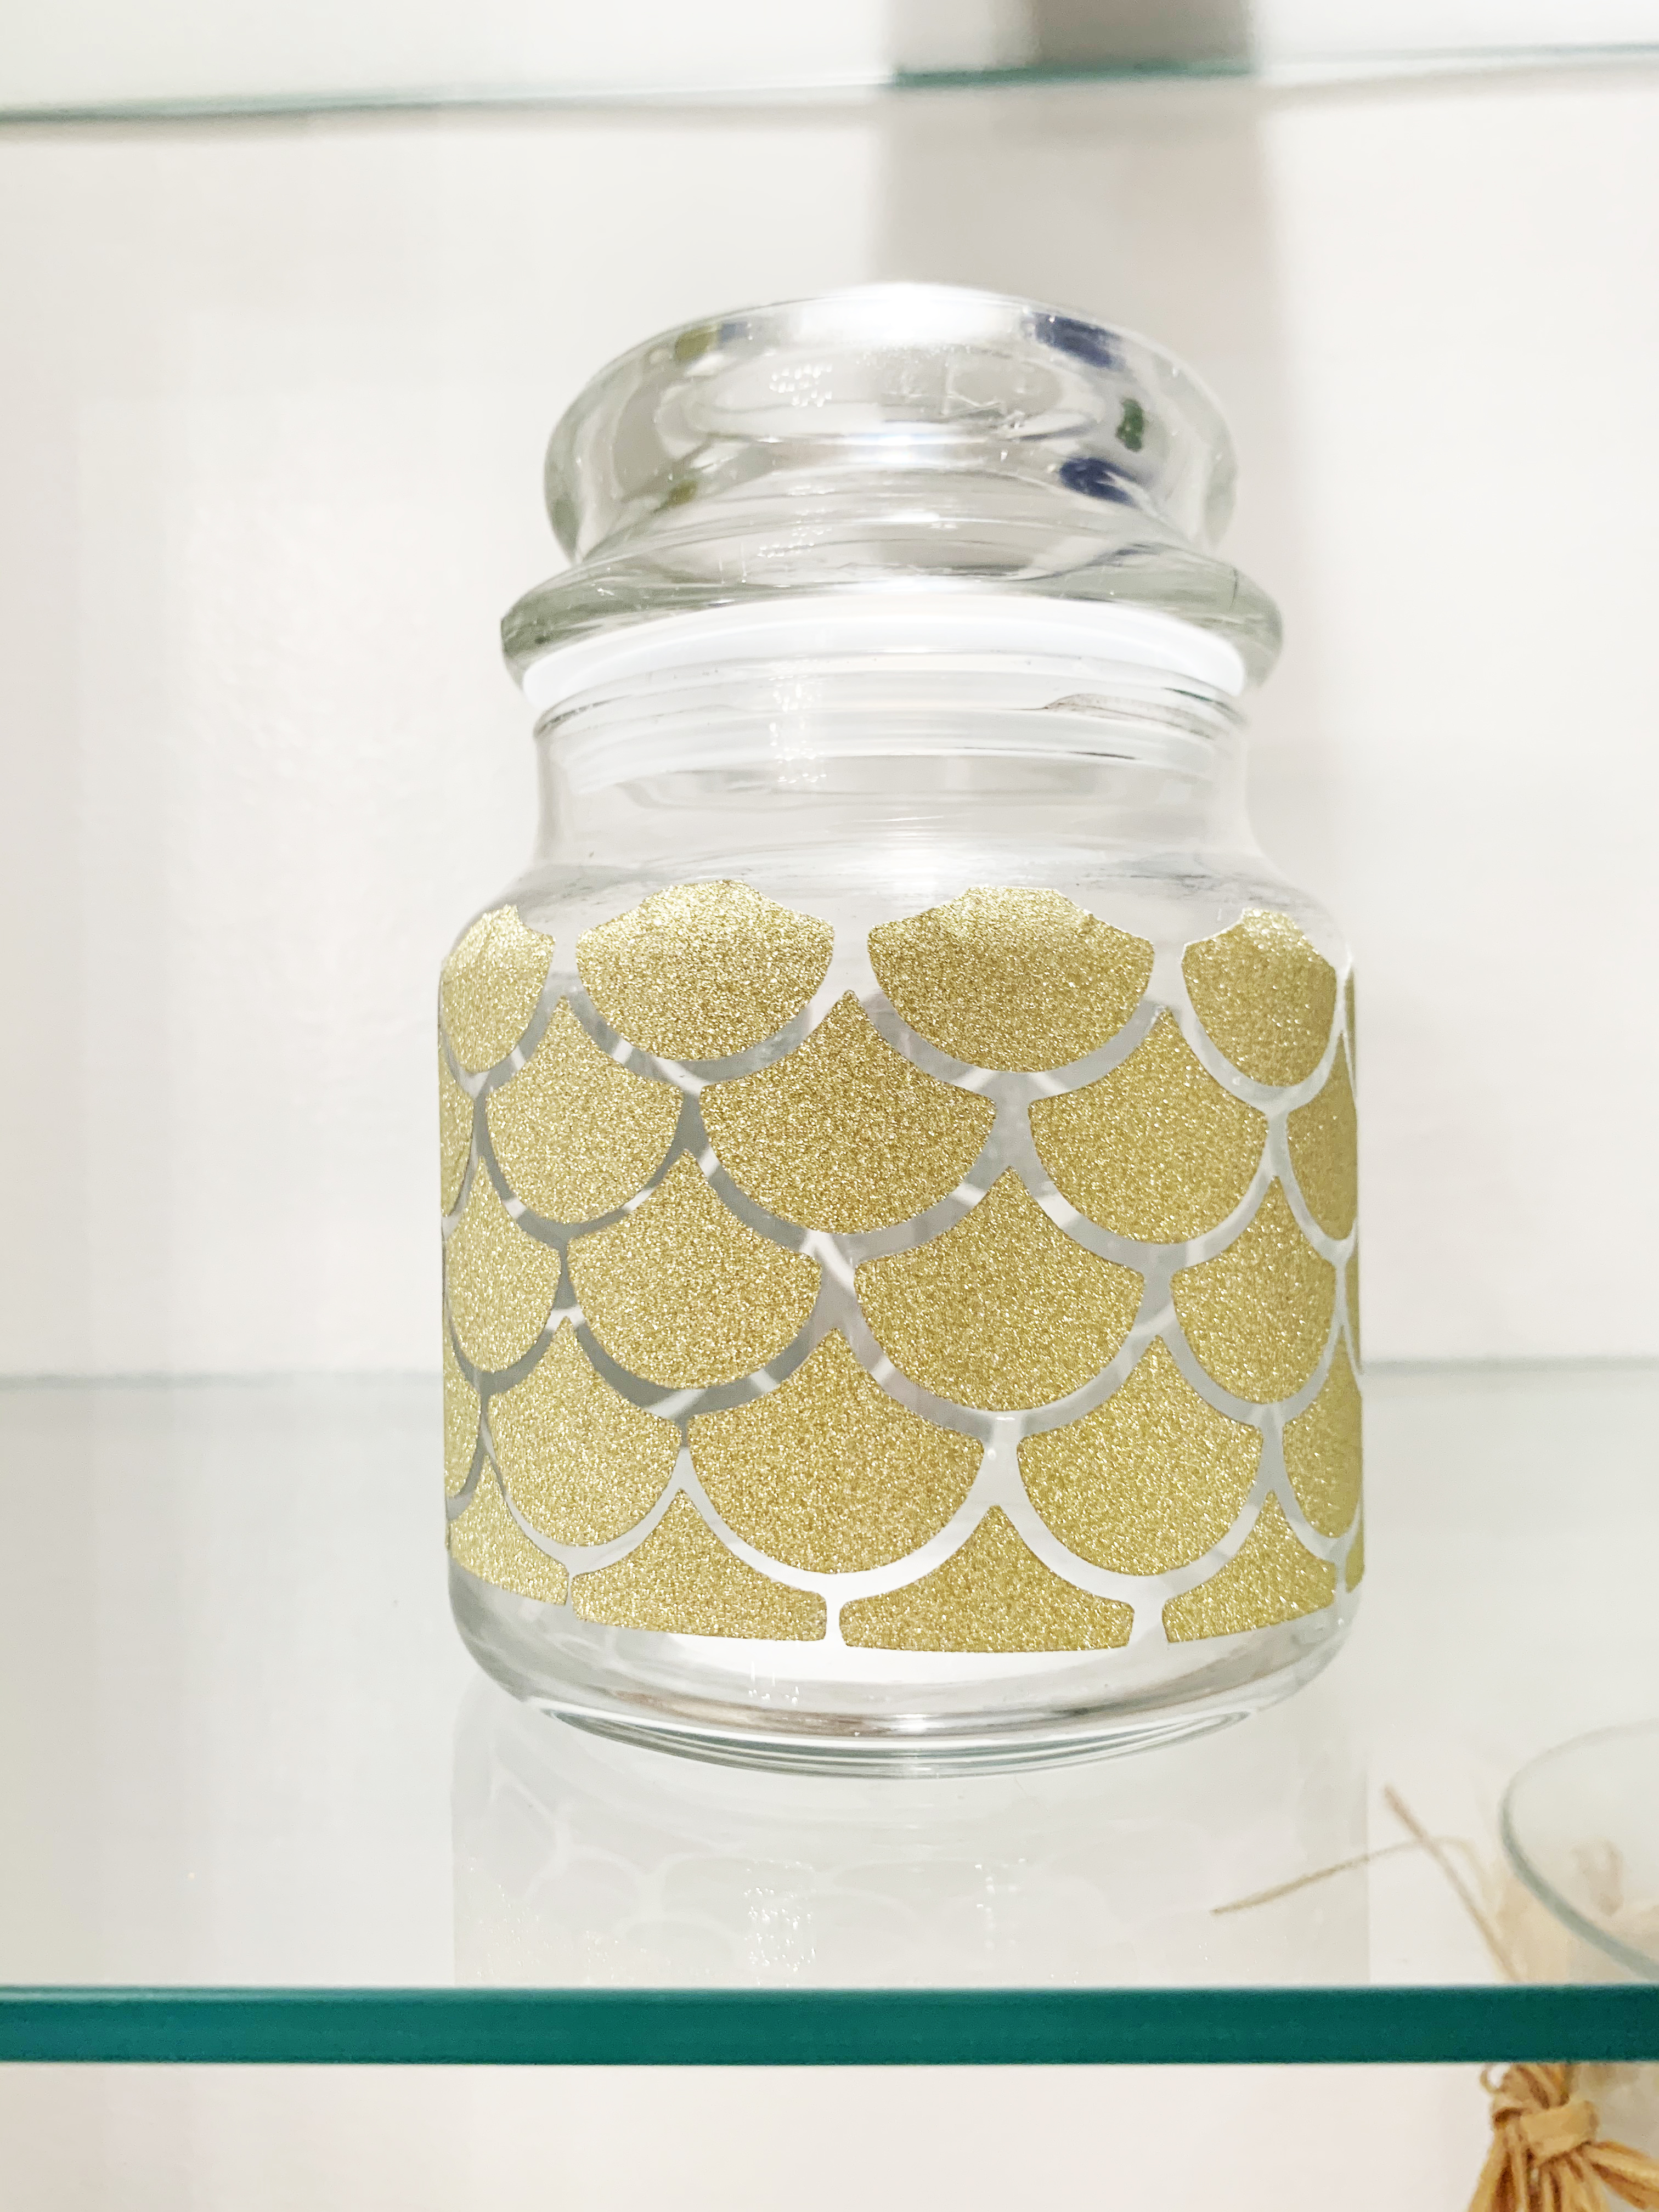
DIY Glass Jar Project Tutorial
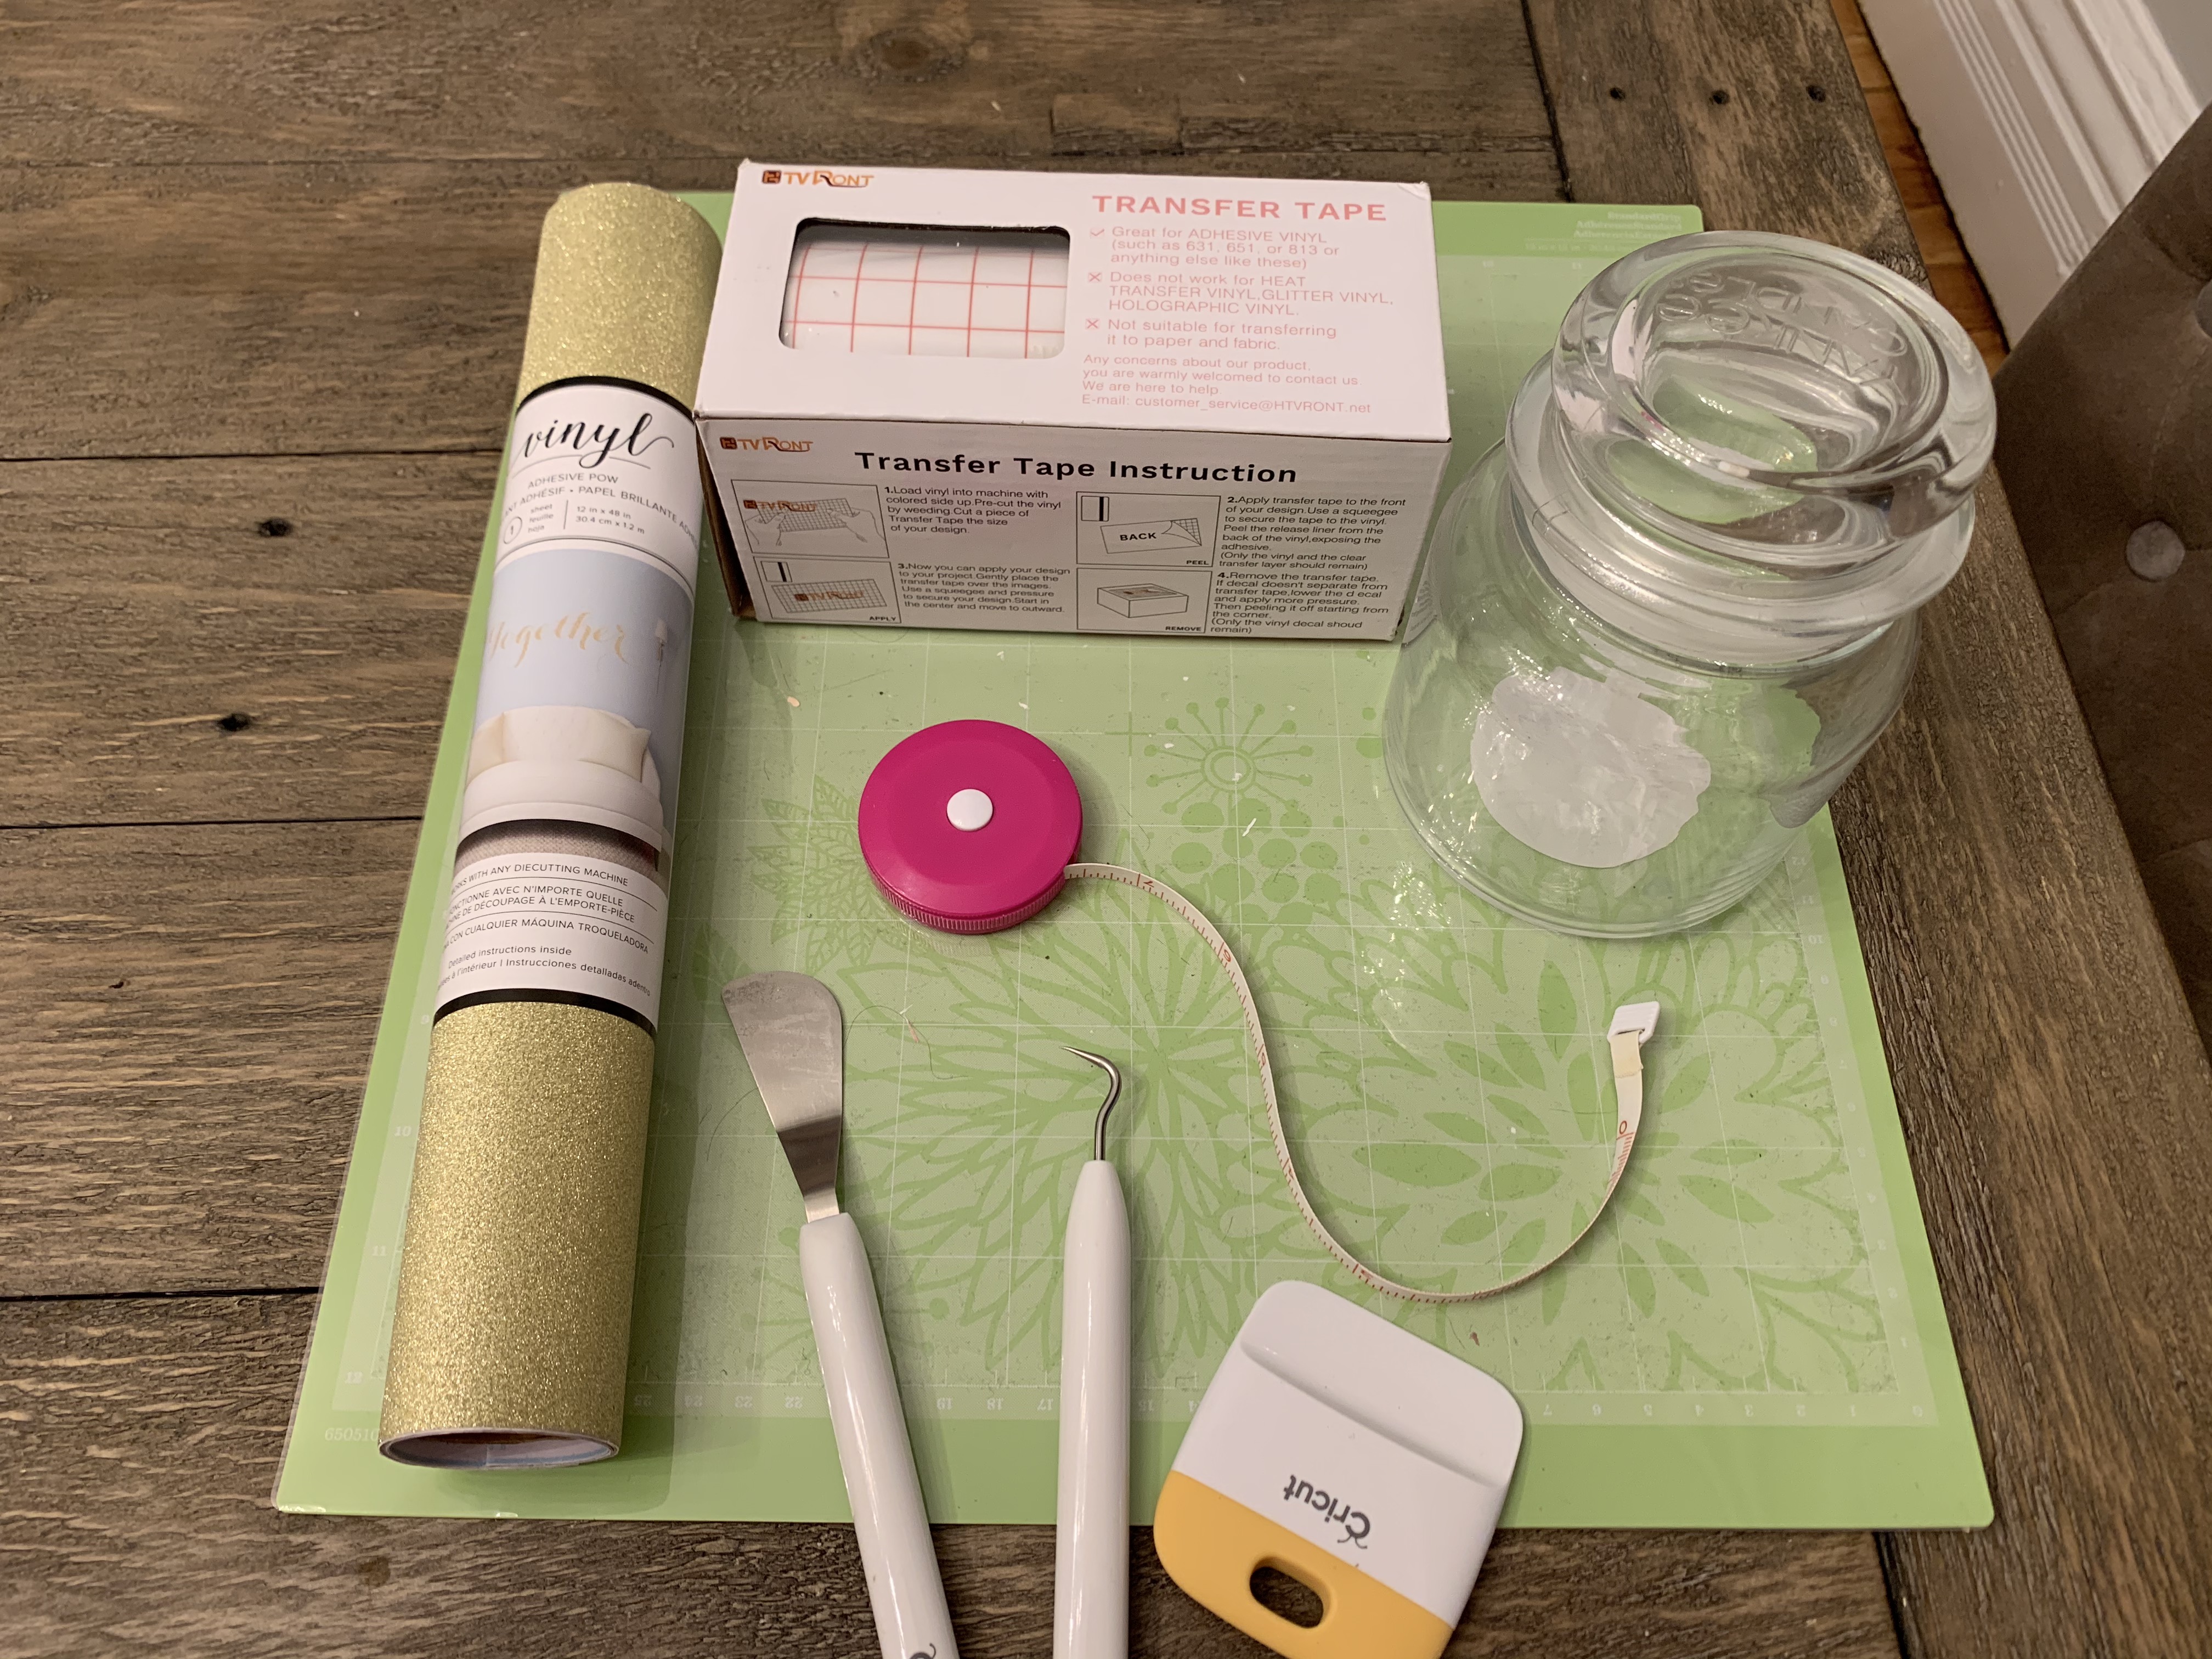
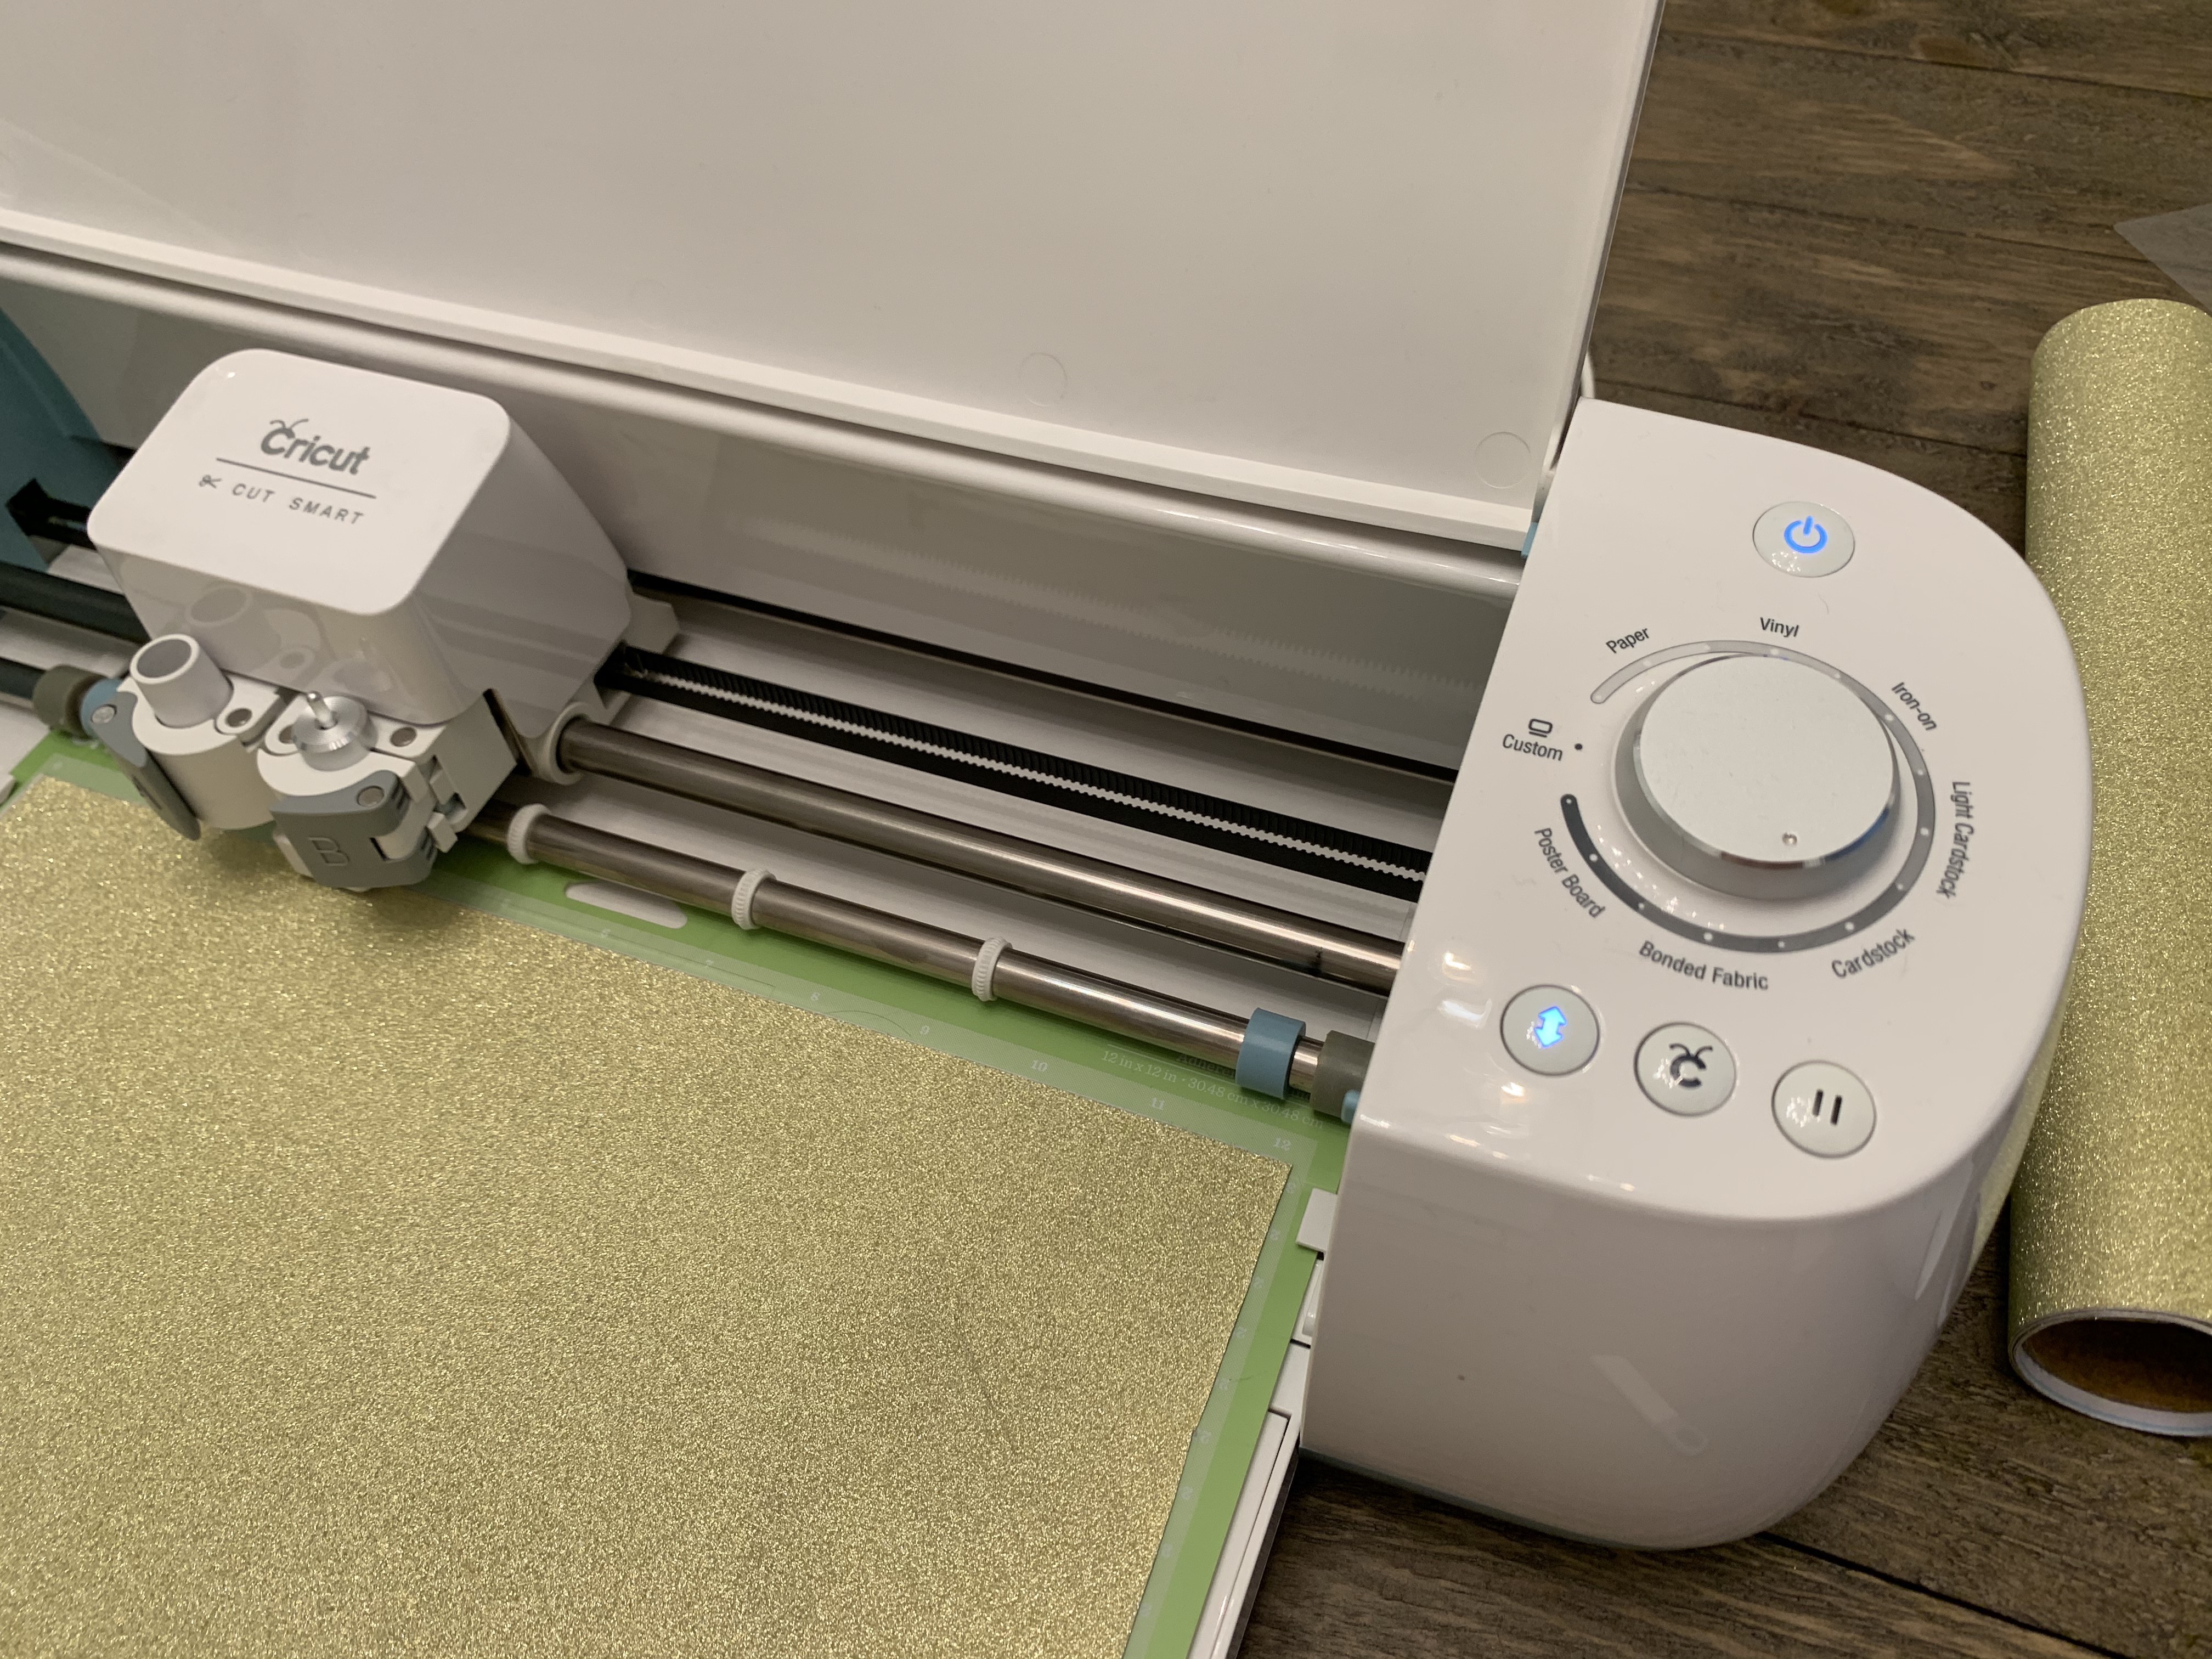
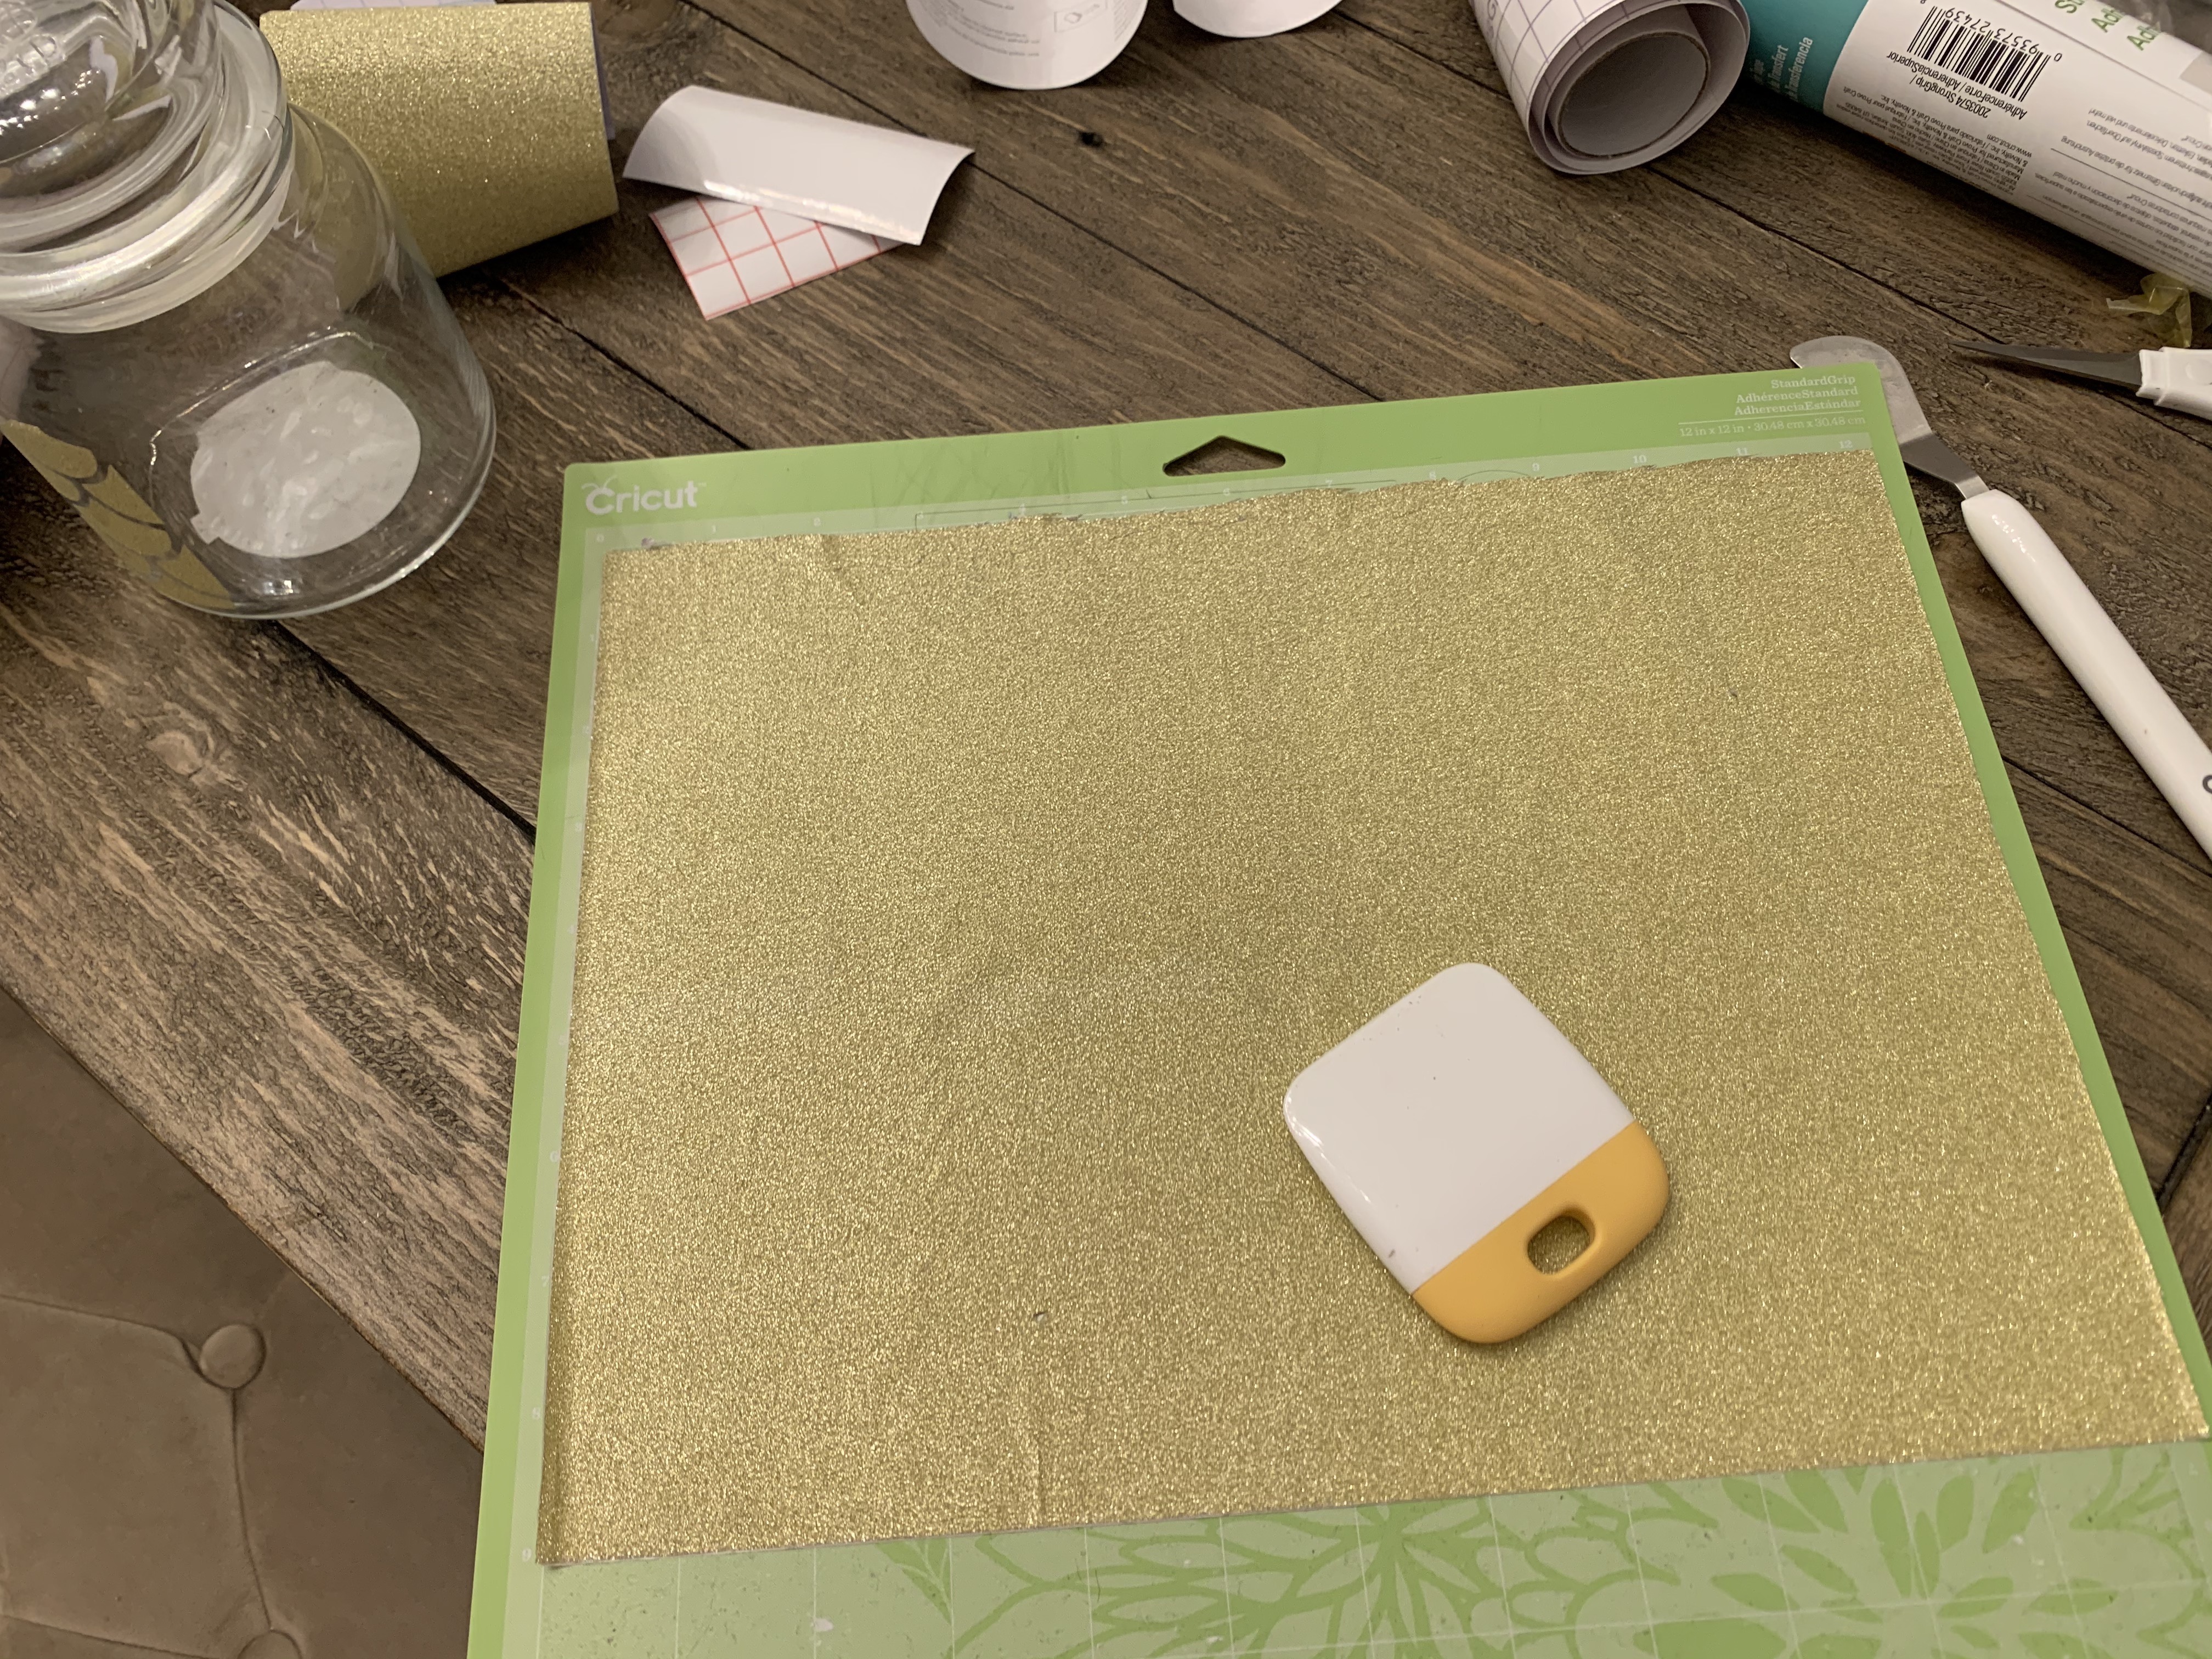
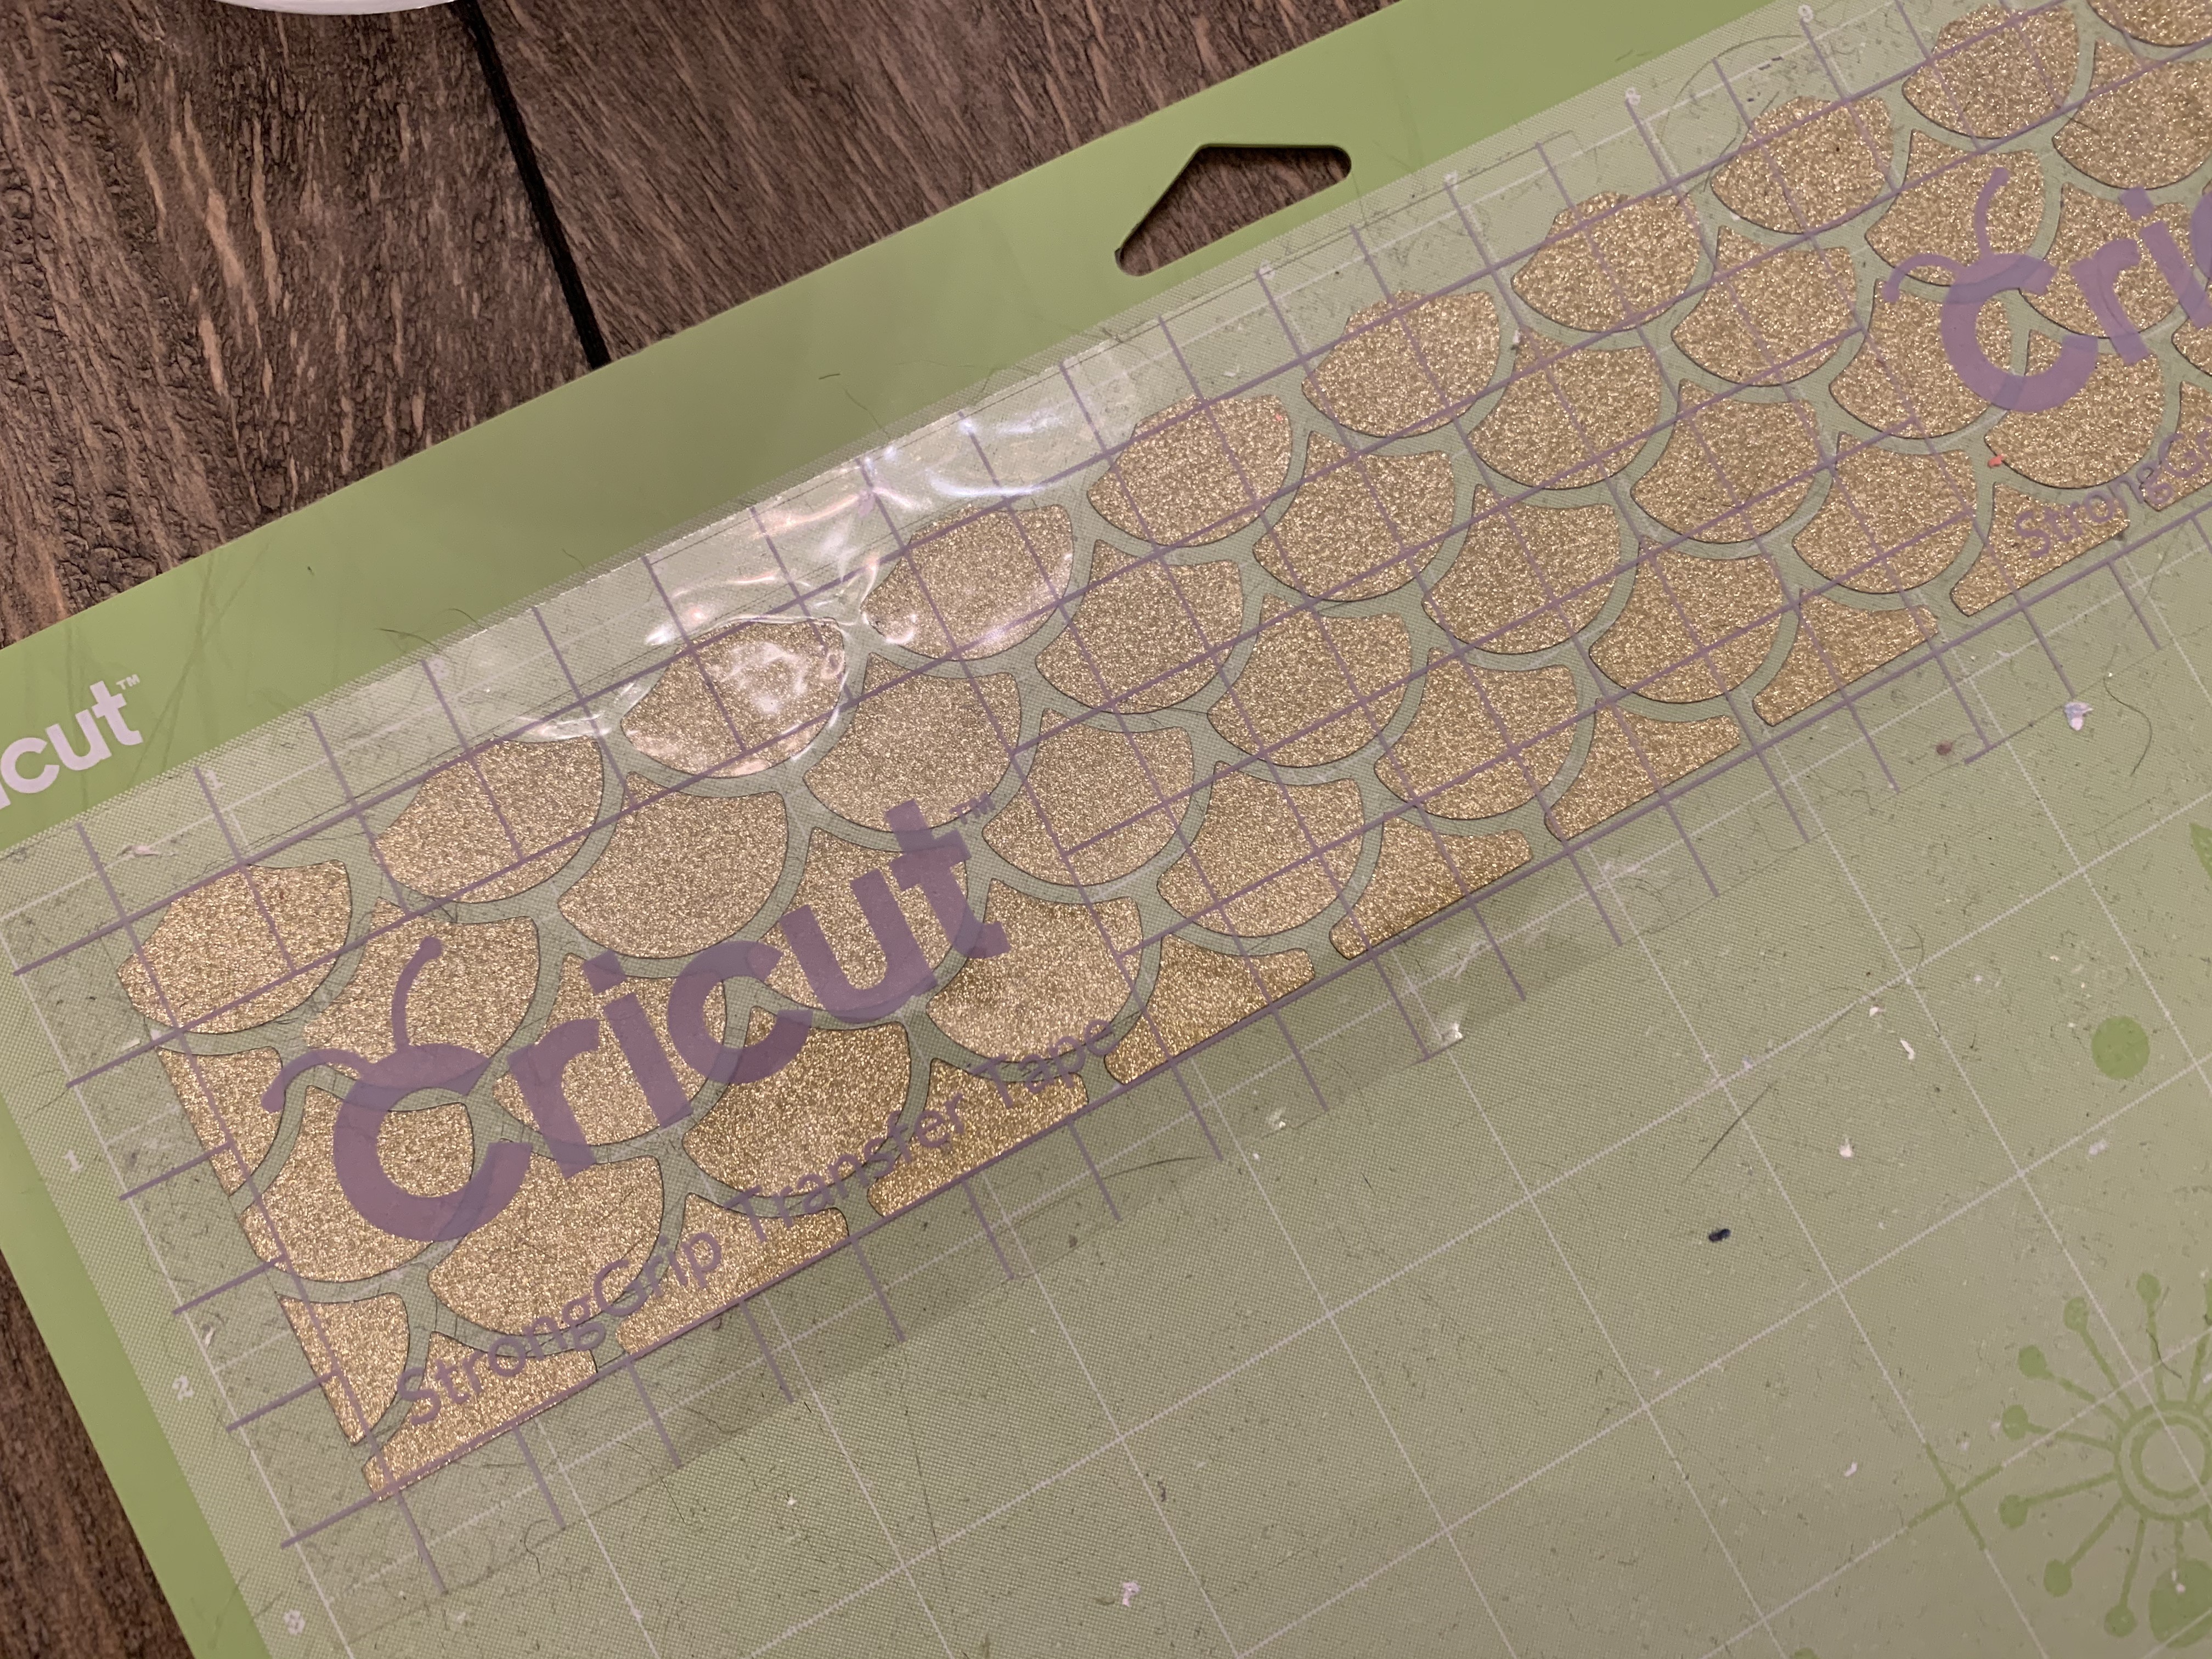
- Have your tools ready to go: Glass Jar (I cleaned out an old candle jar), Measuring Tape, Cutting Mat, Glitter Vinyl, Weeding Tools, and StrongGrip Transfer Tape (or any transfer tape designed for glitter vinyl).
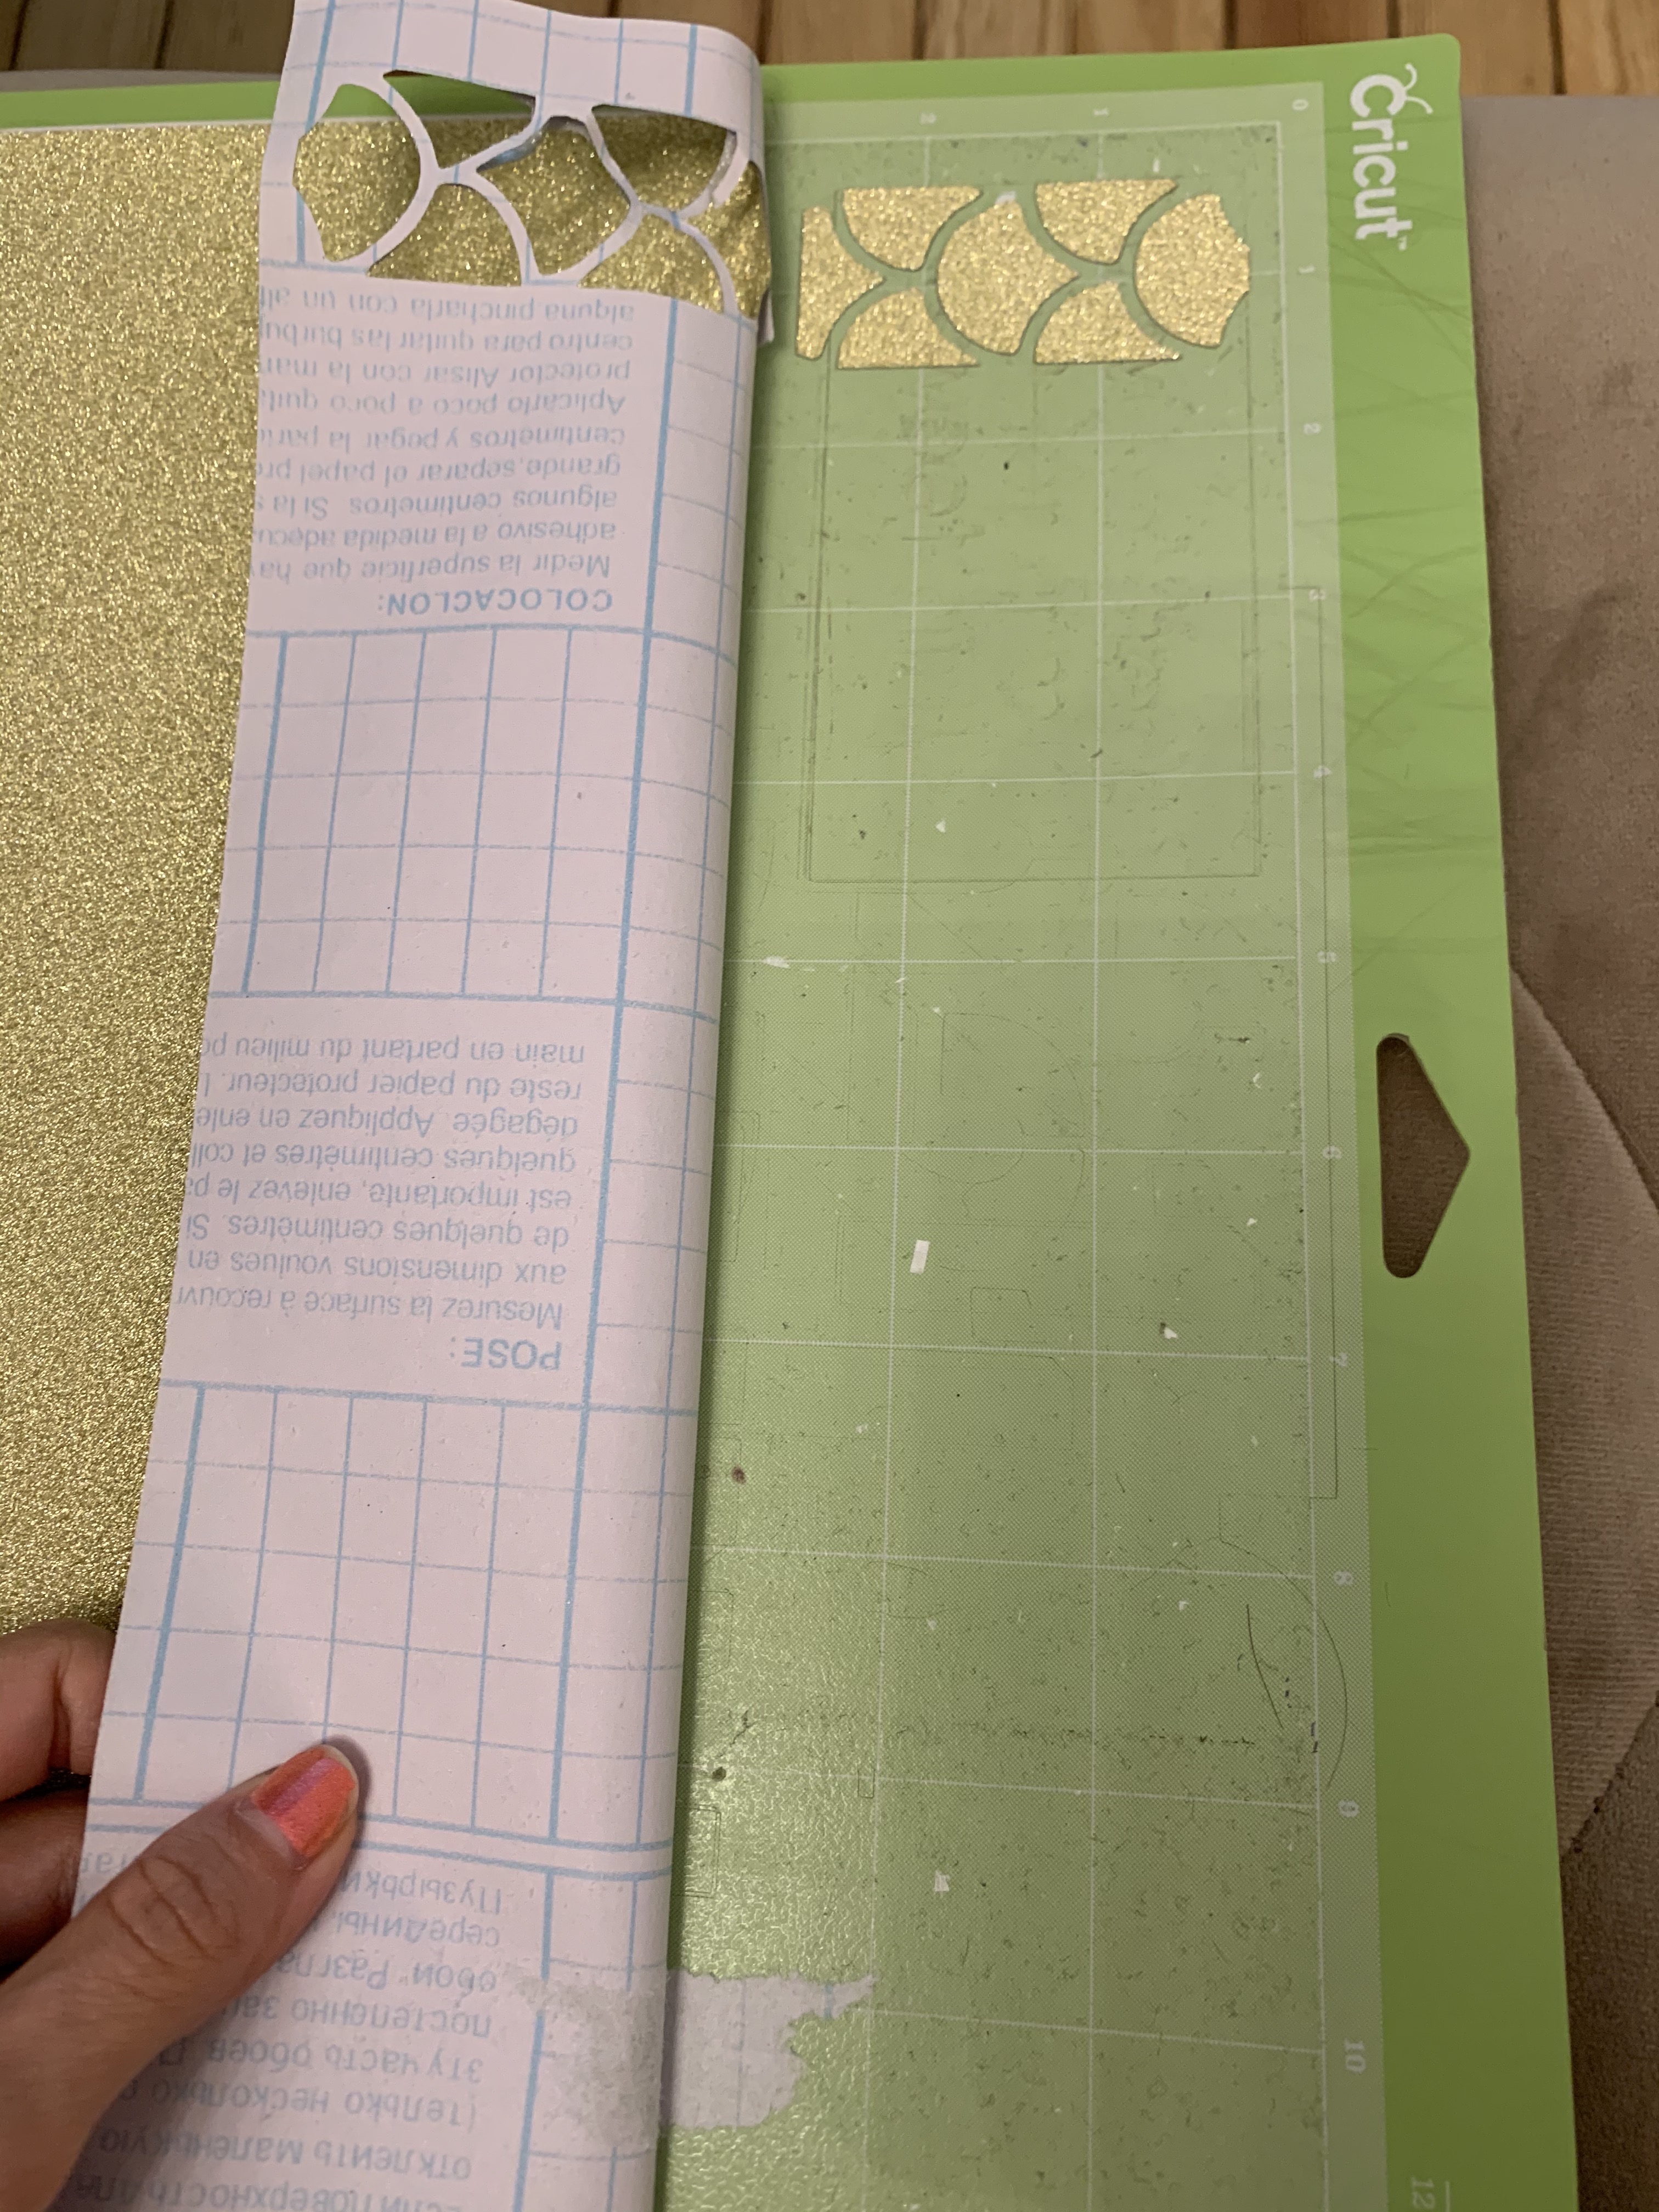
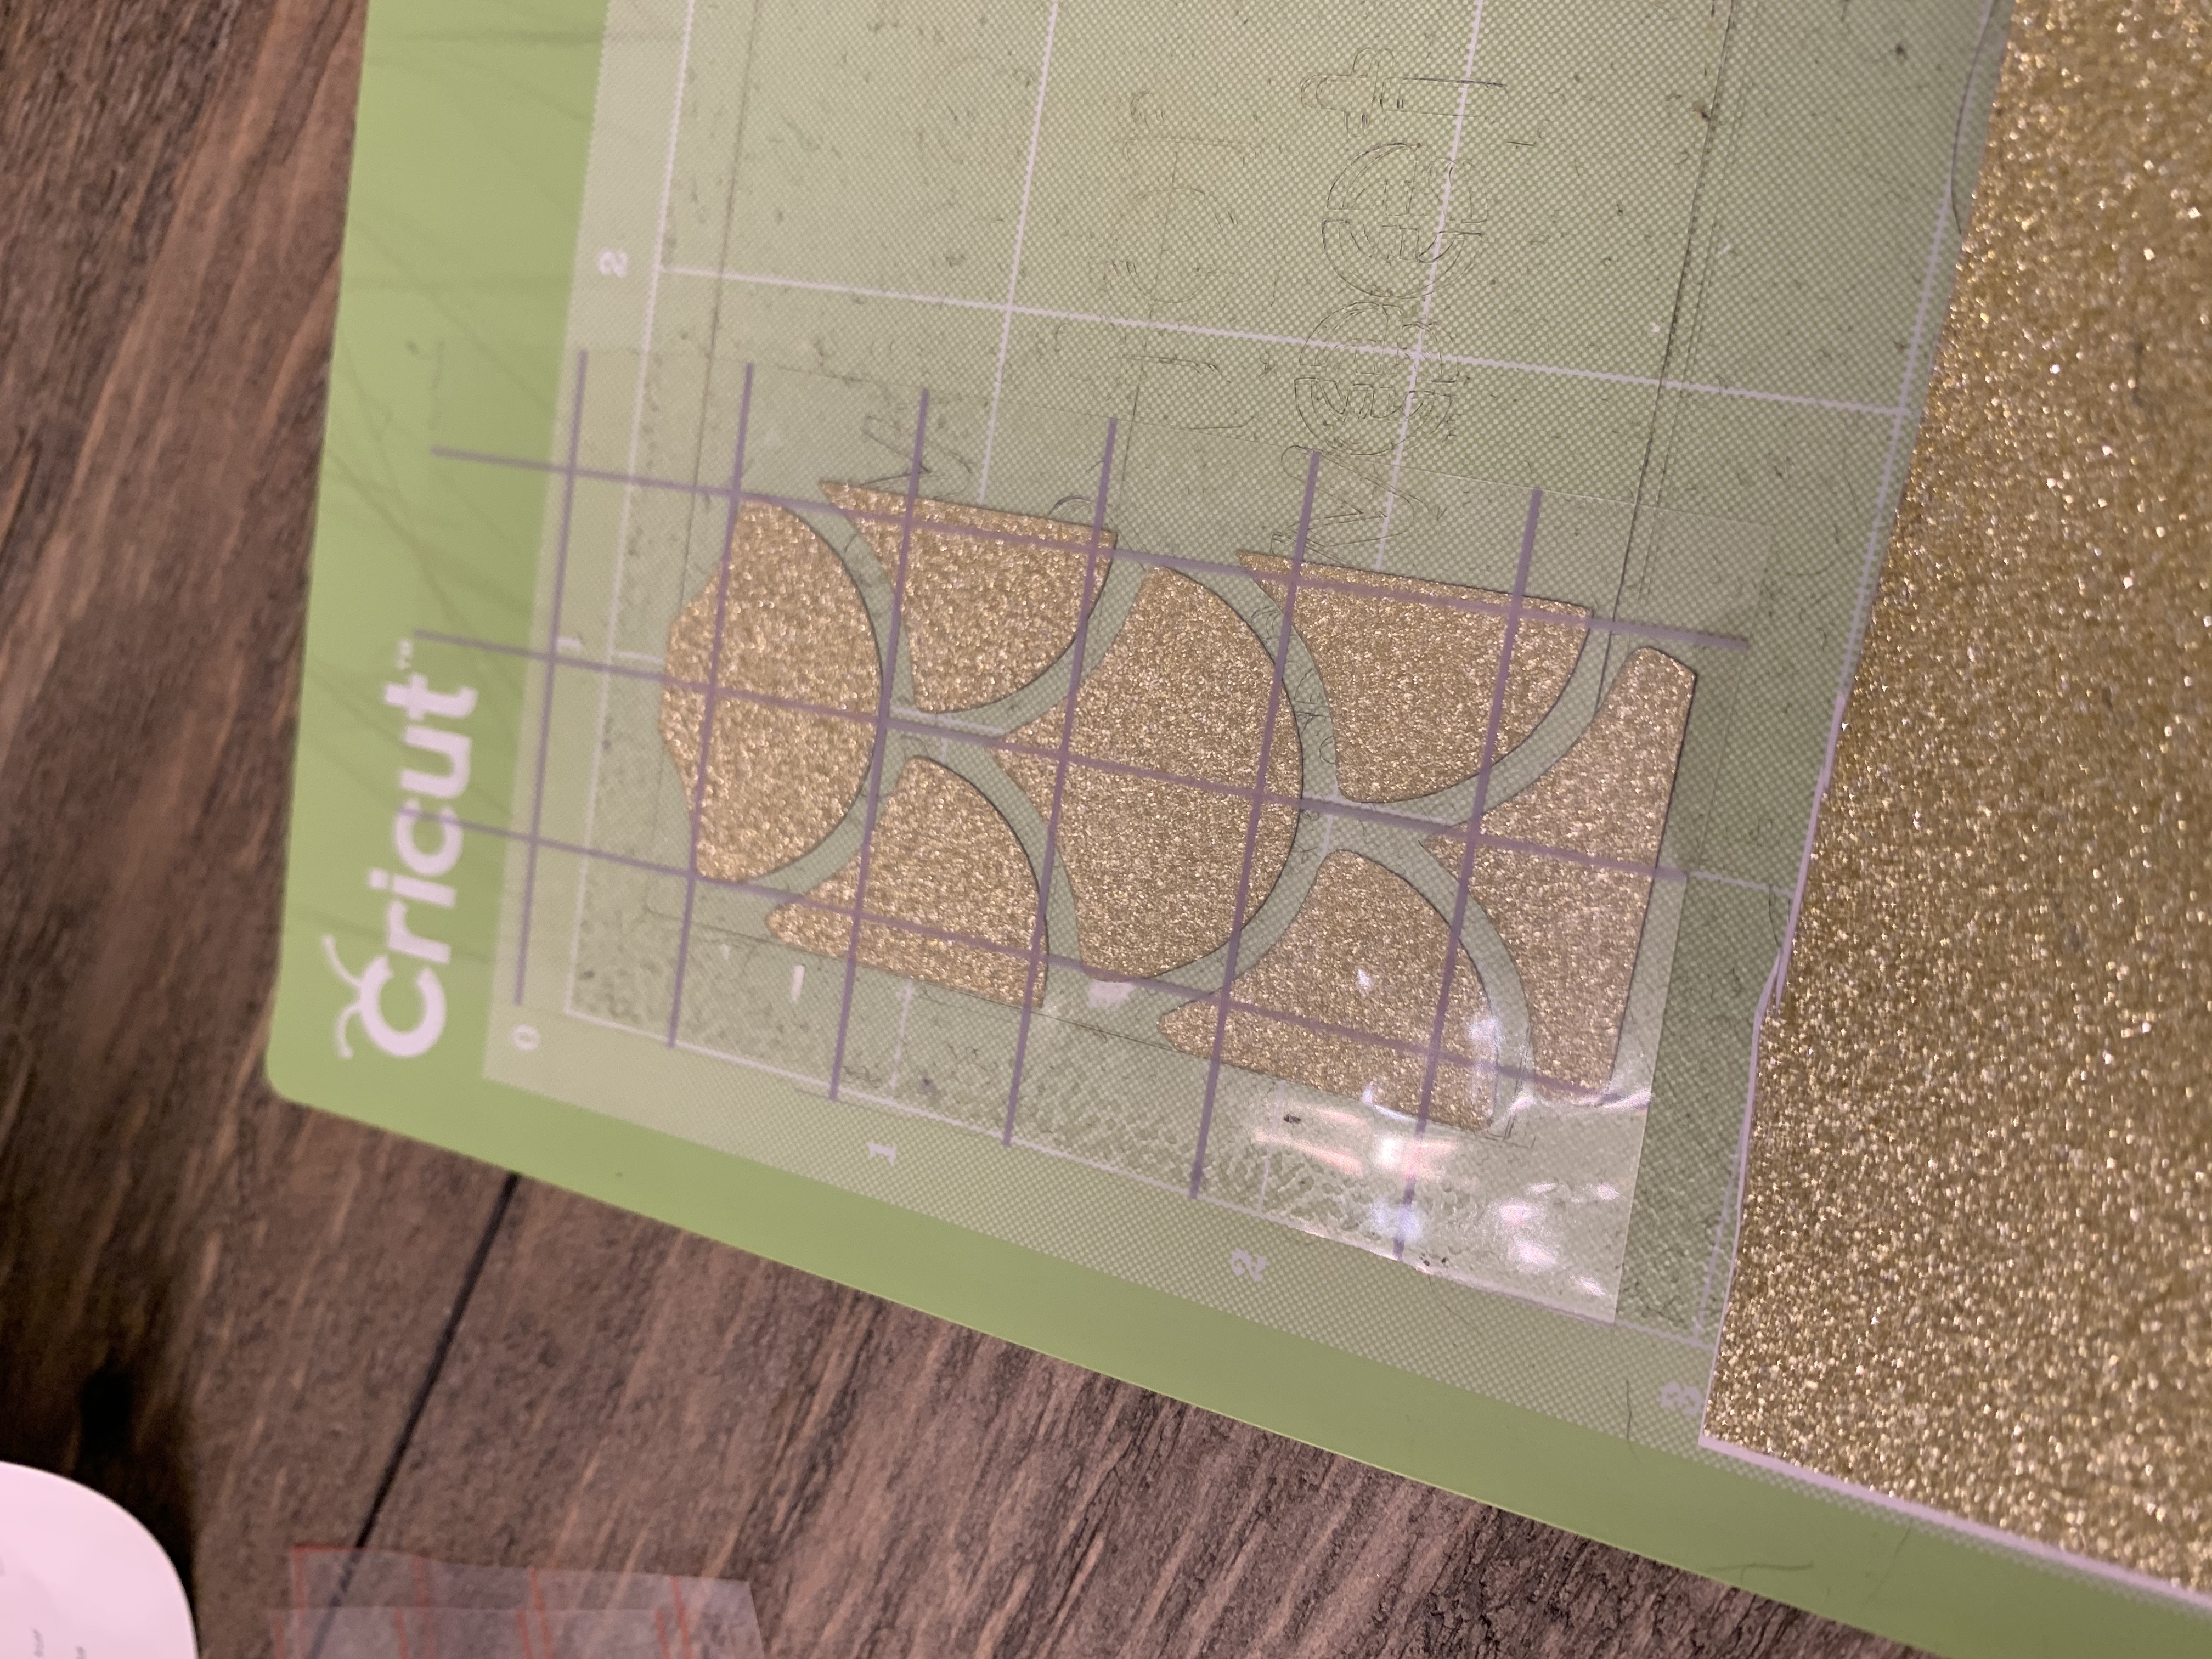
- Place your glitter vinyl on the cutting mat
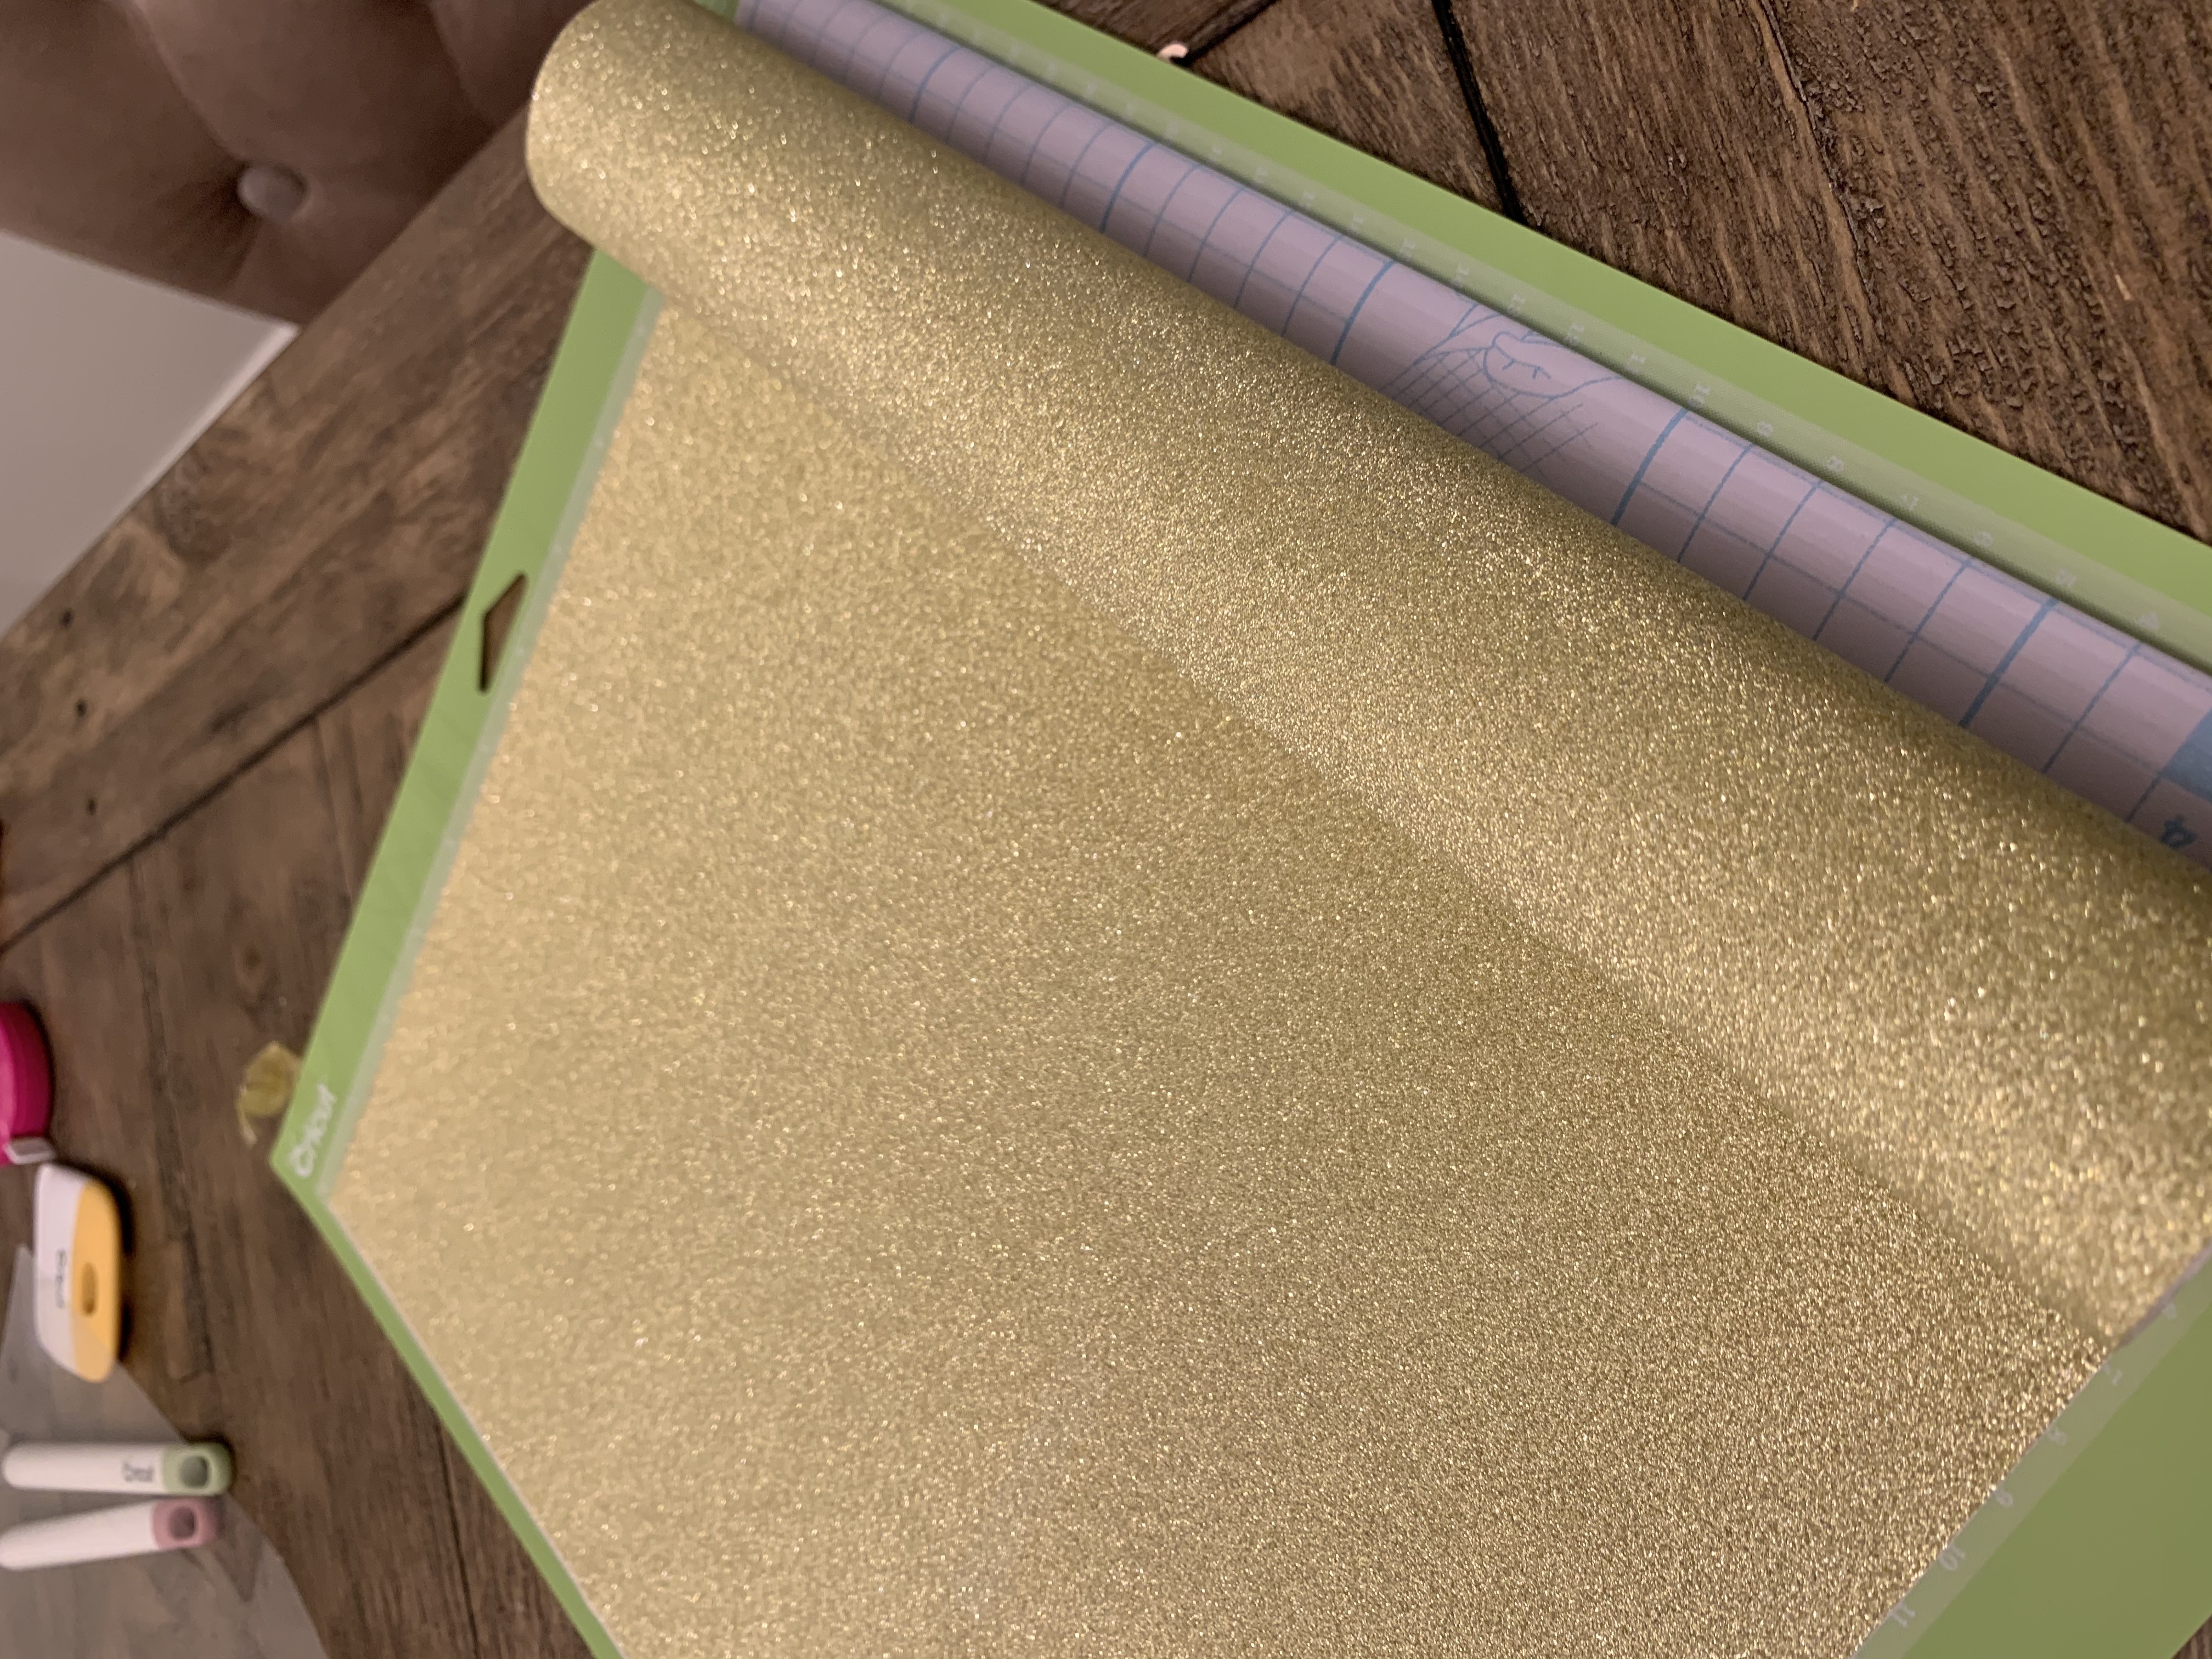
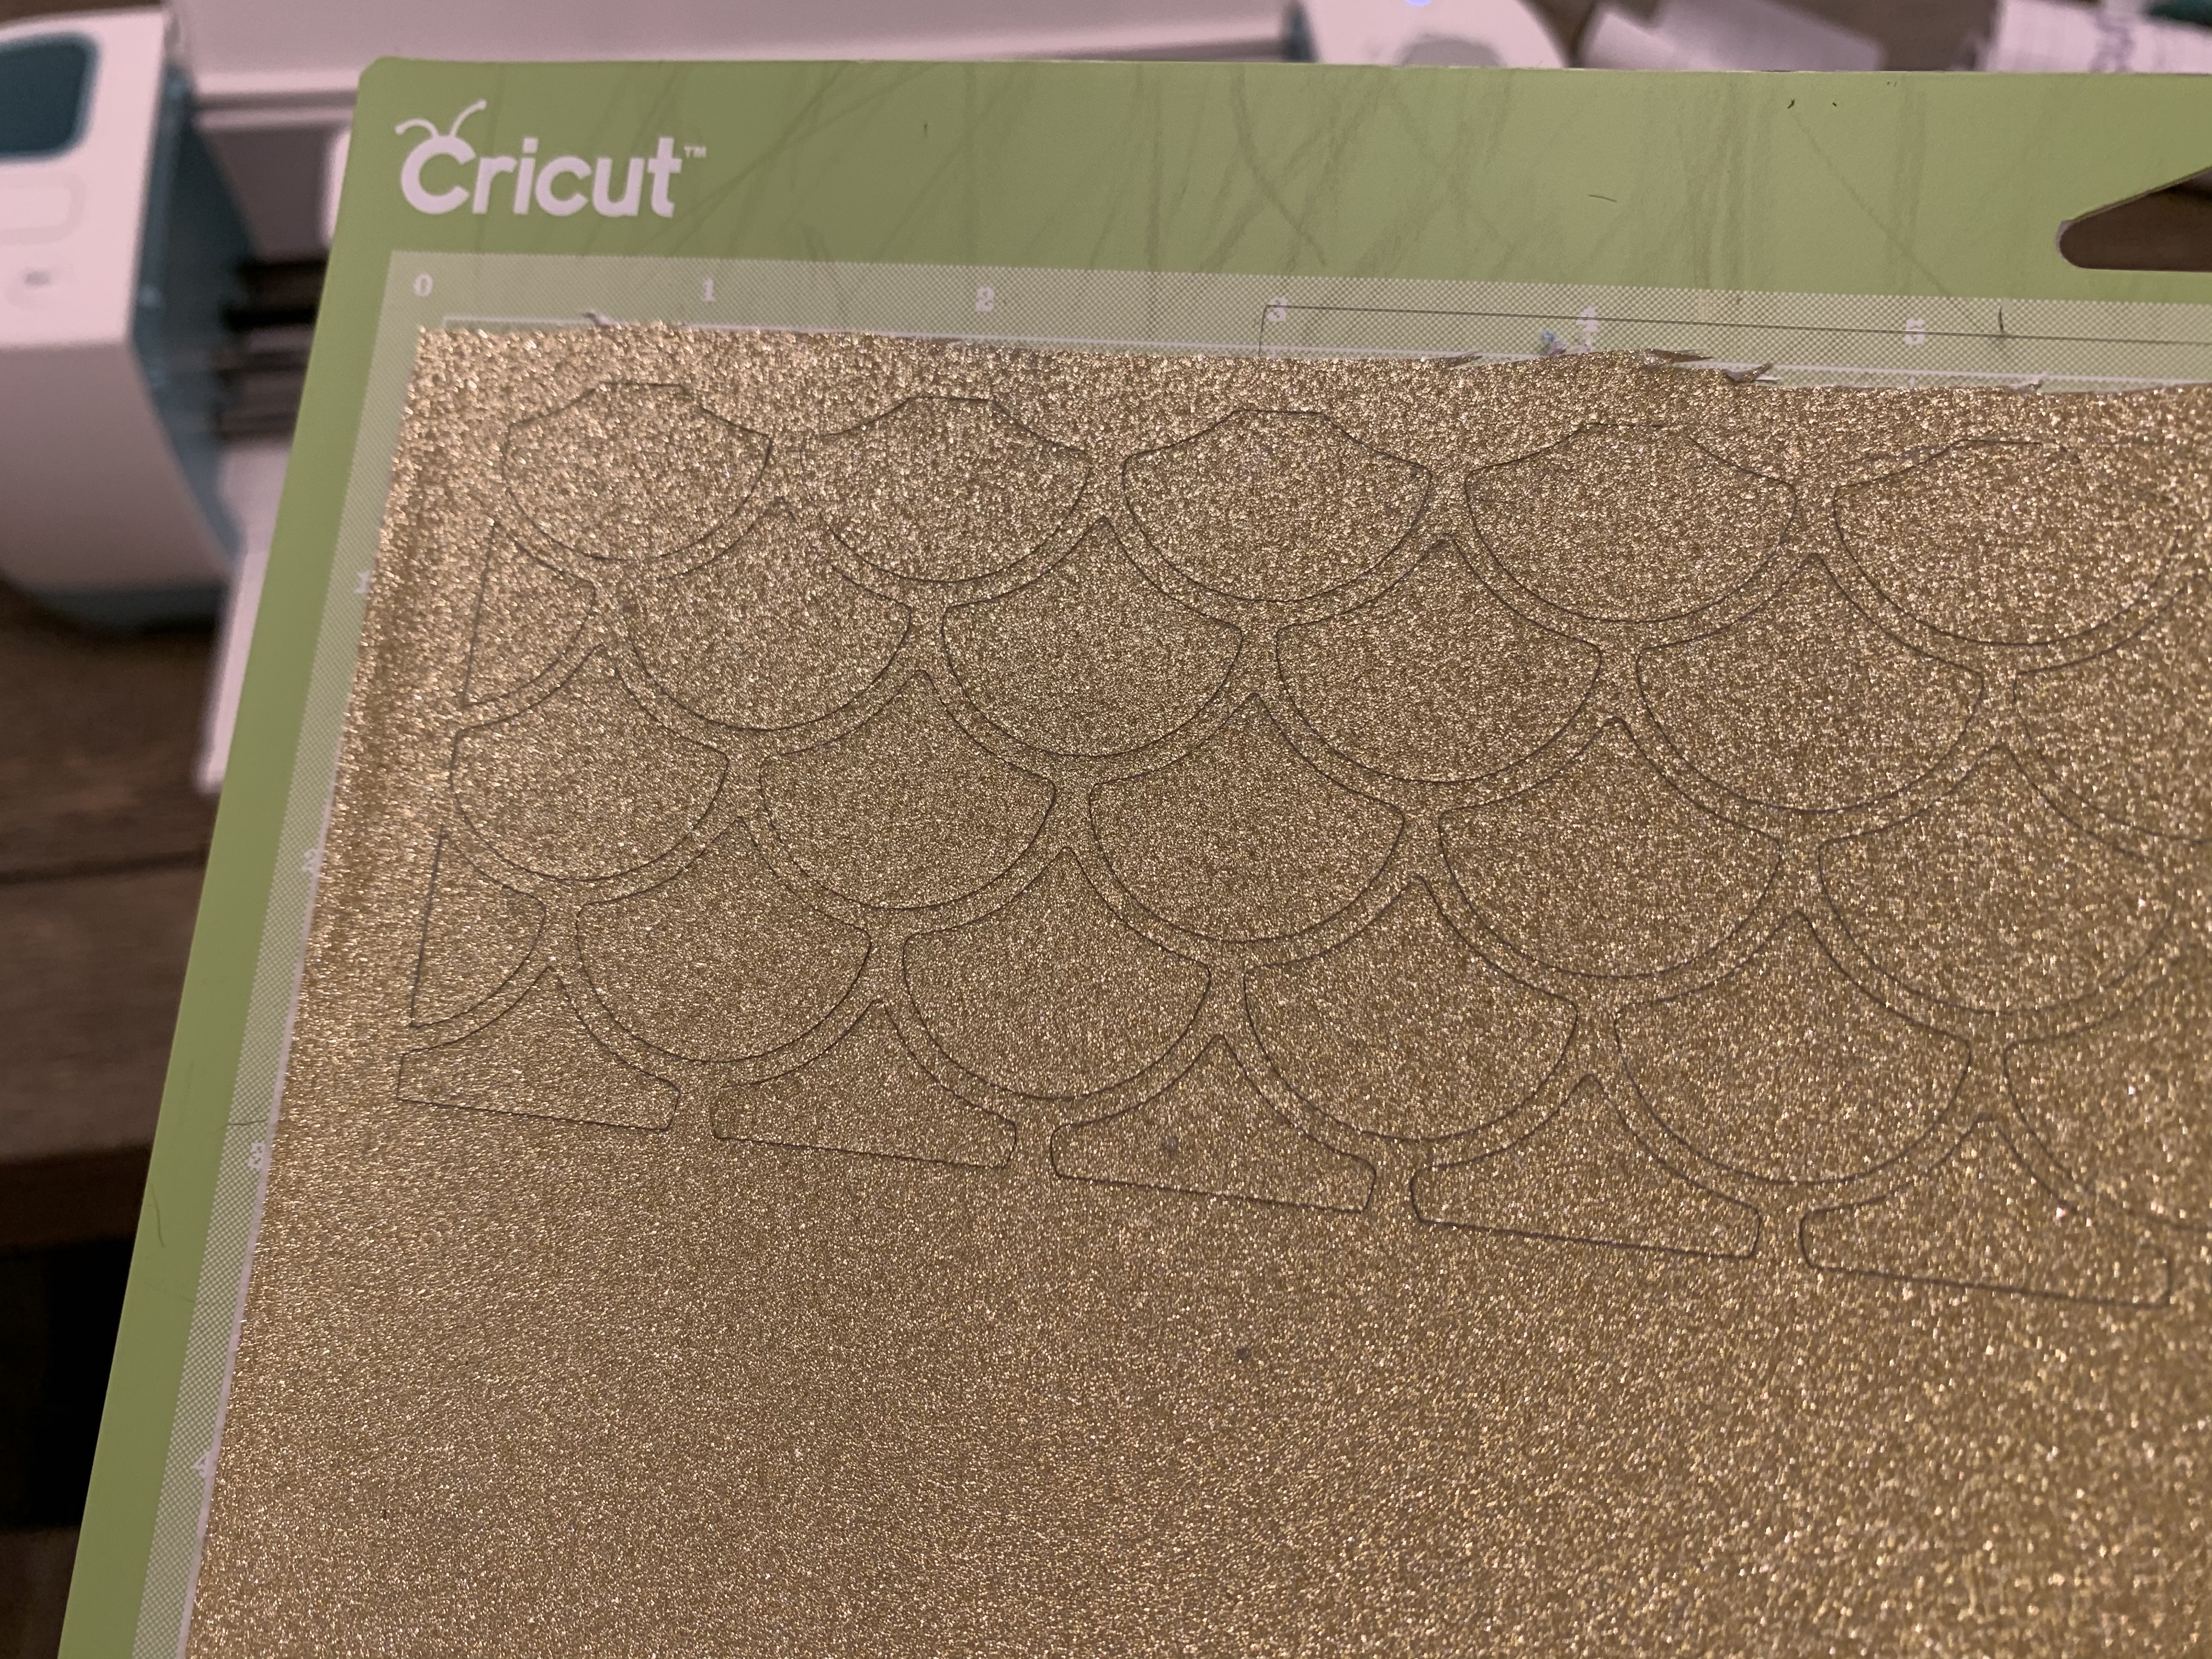
- Cut off the excess vinyl

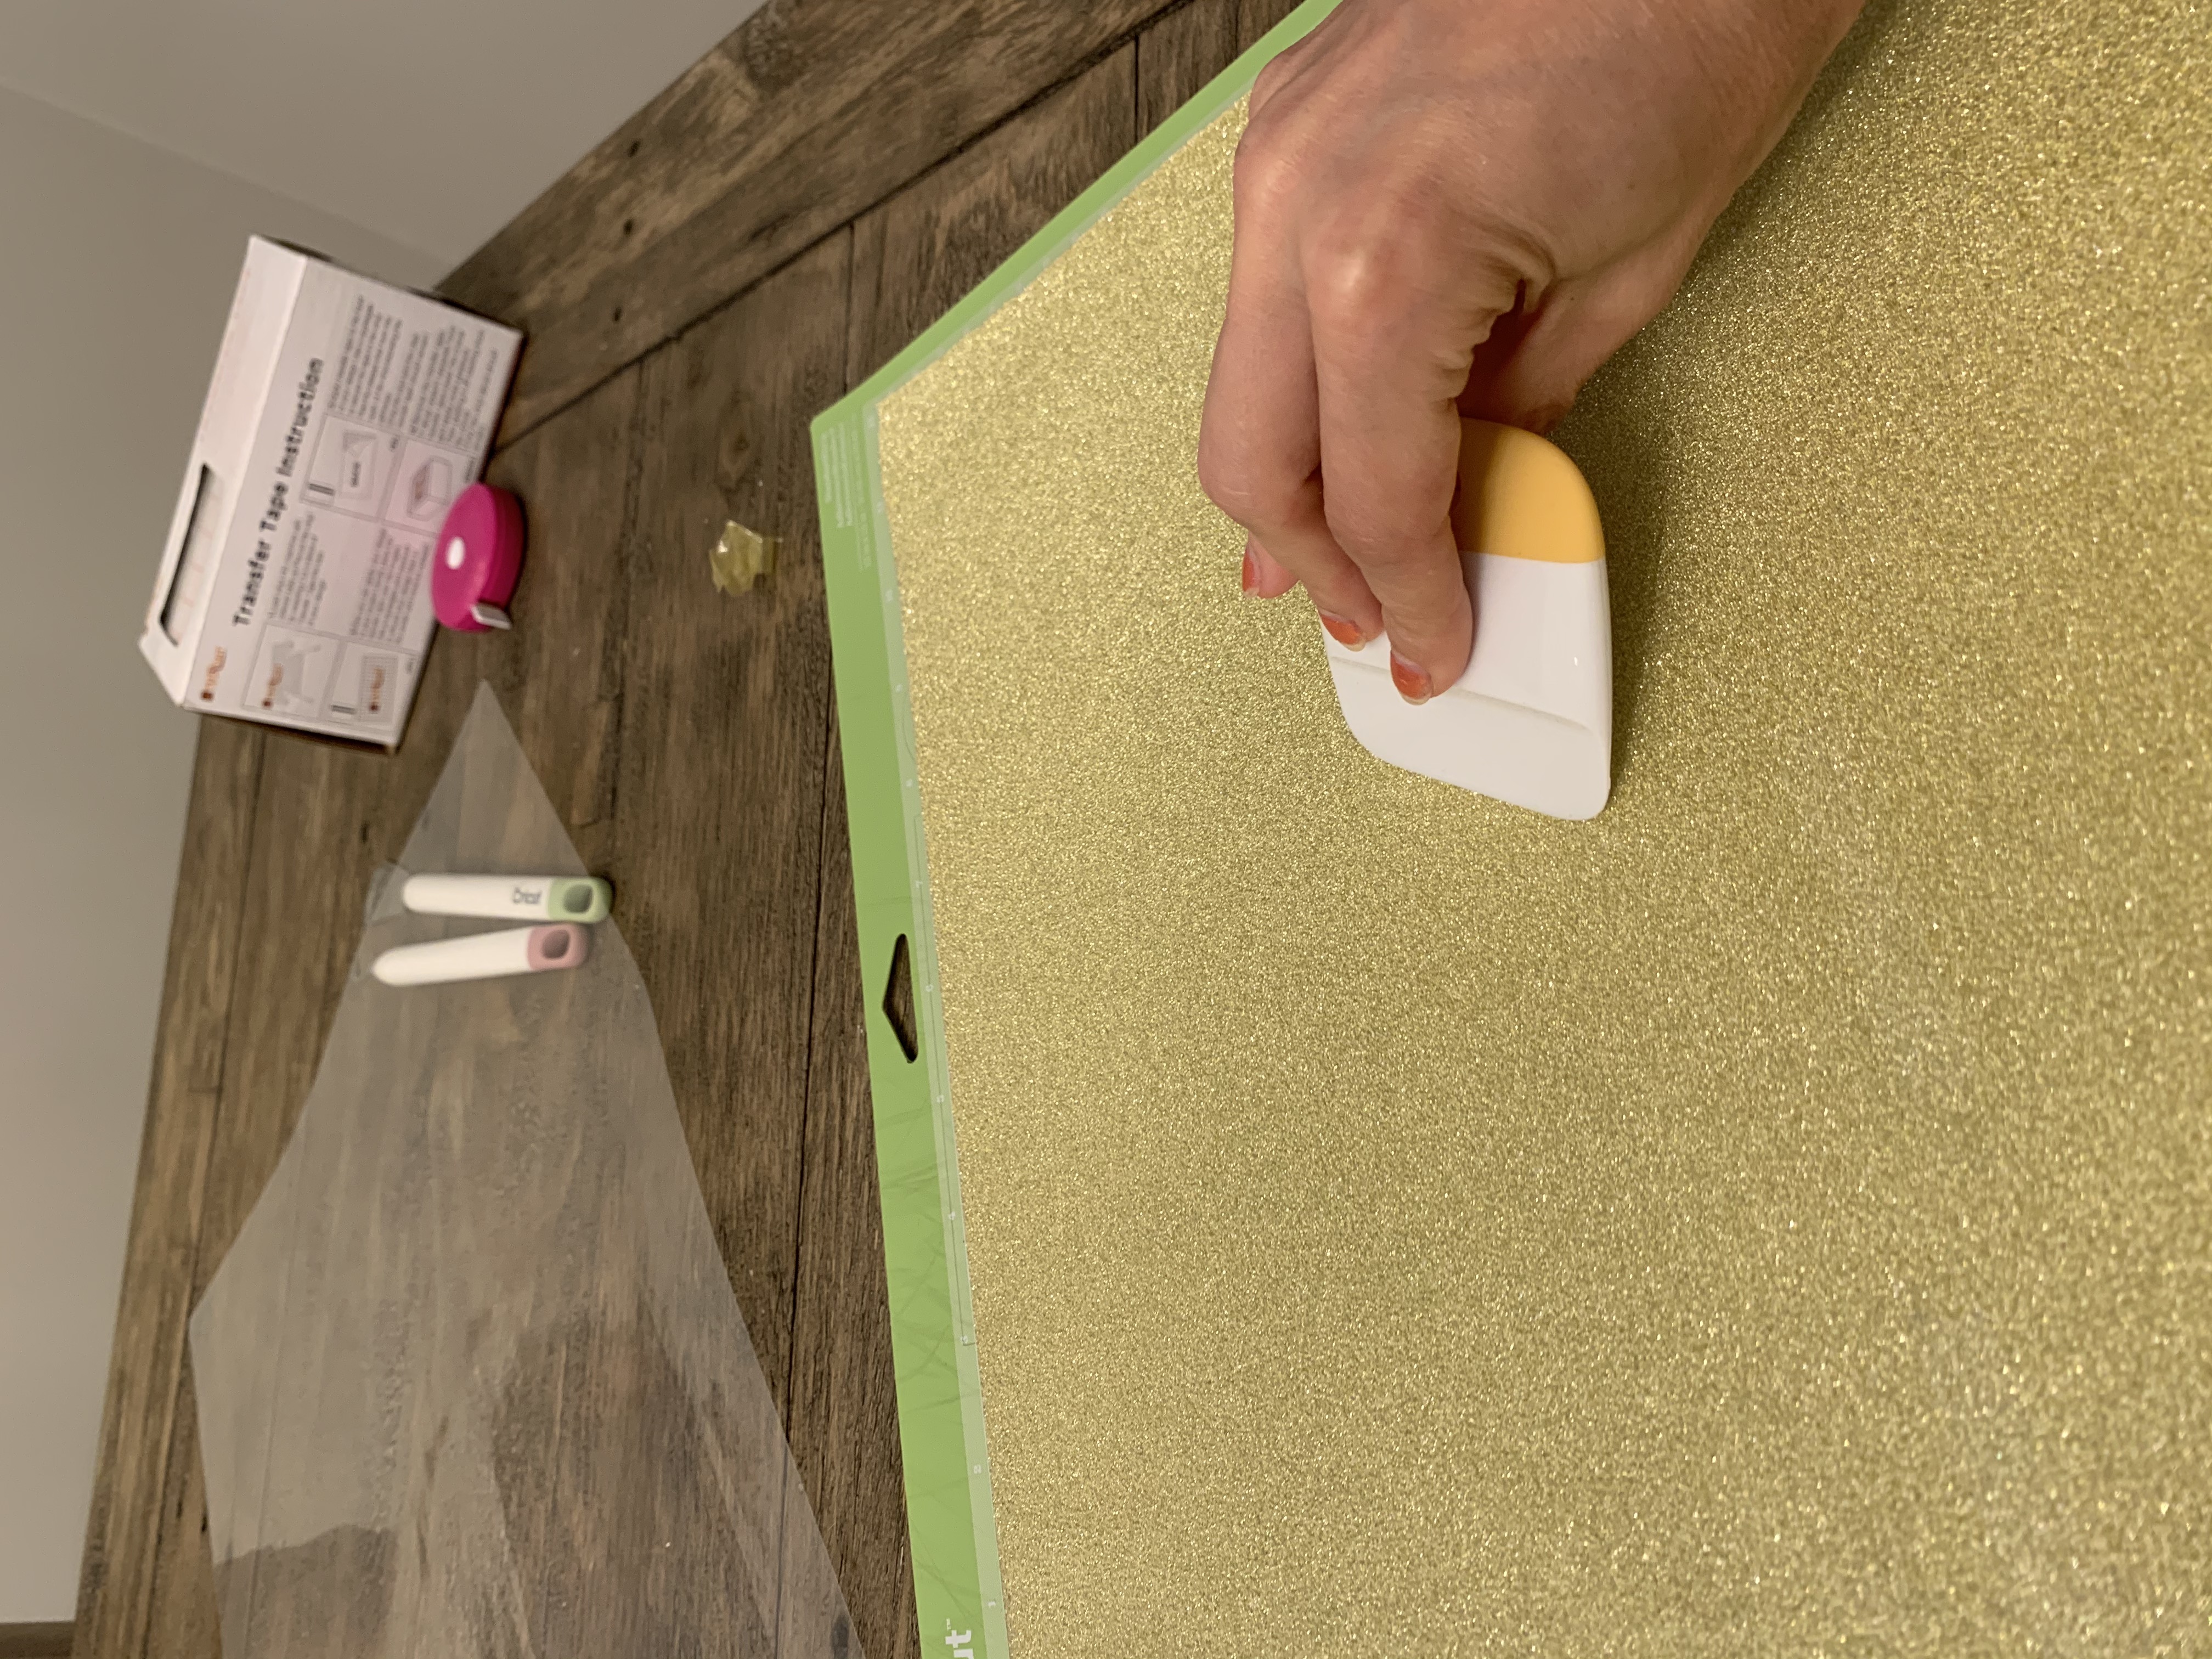
- Push the vinyl down with your squeegee
- I put my cut setting to in between Cardstock and Bonded Fabric but you can do as you need. Since mine cut through (though it was very thin glitter vinyl) you may want it closer to the Cardstock setting.
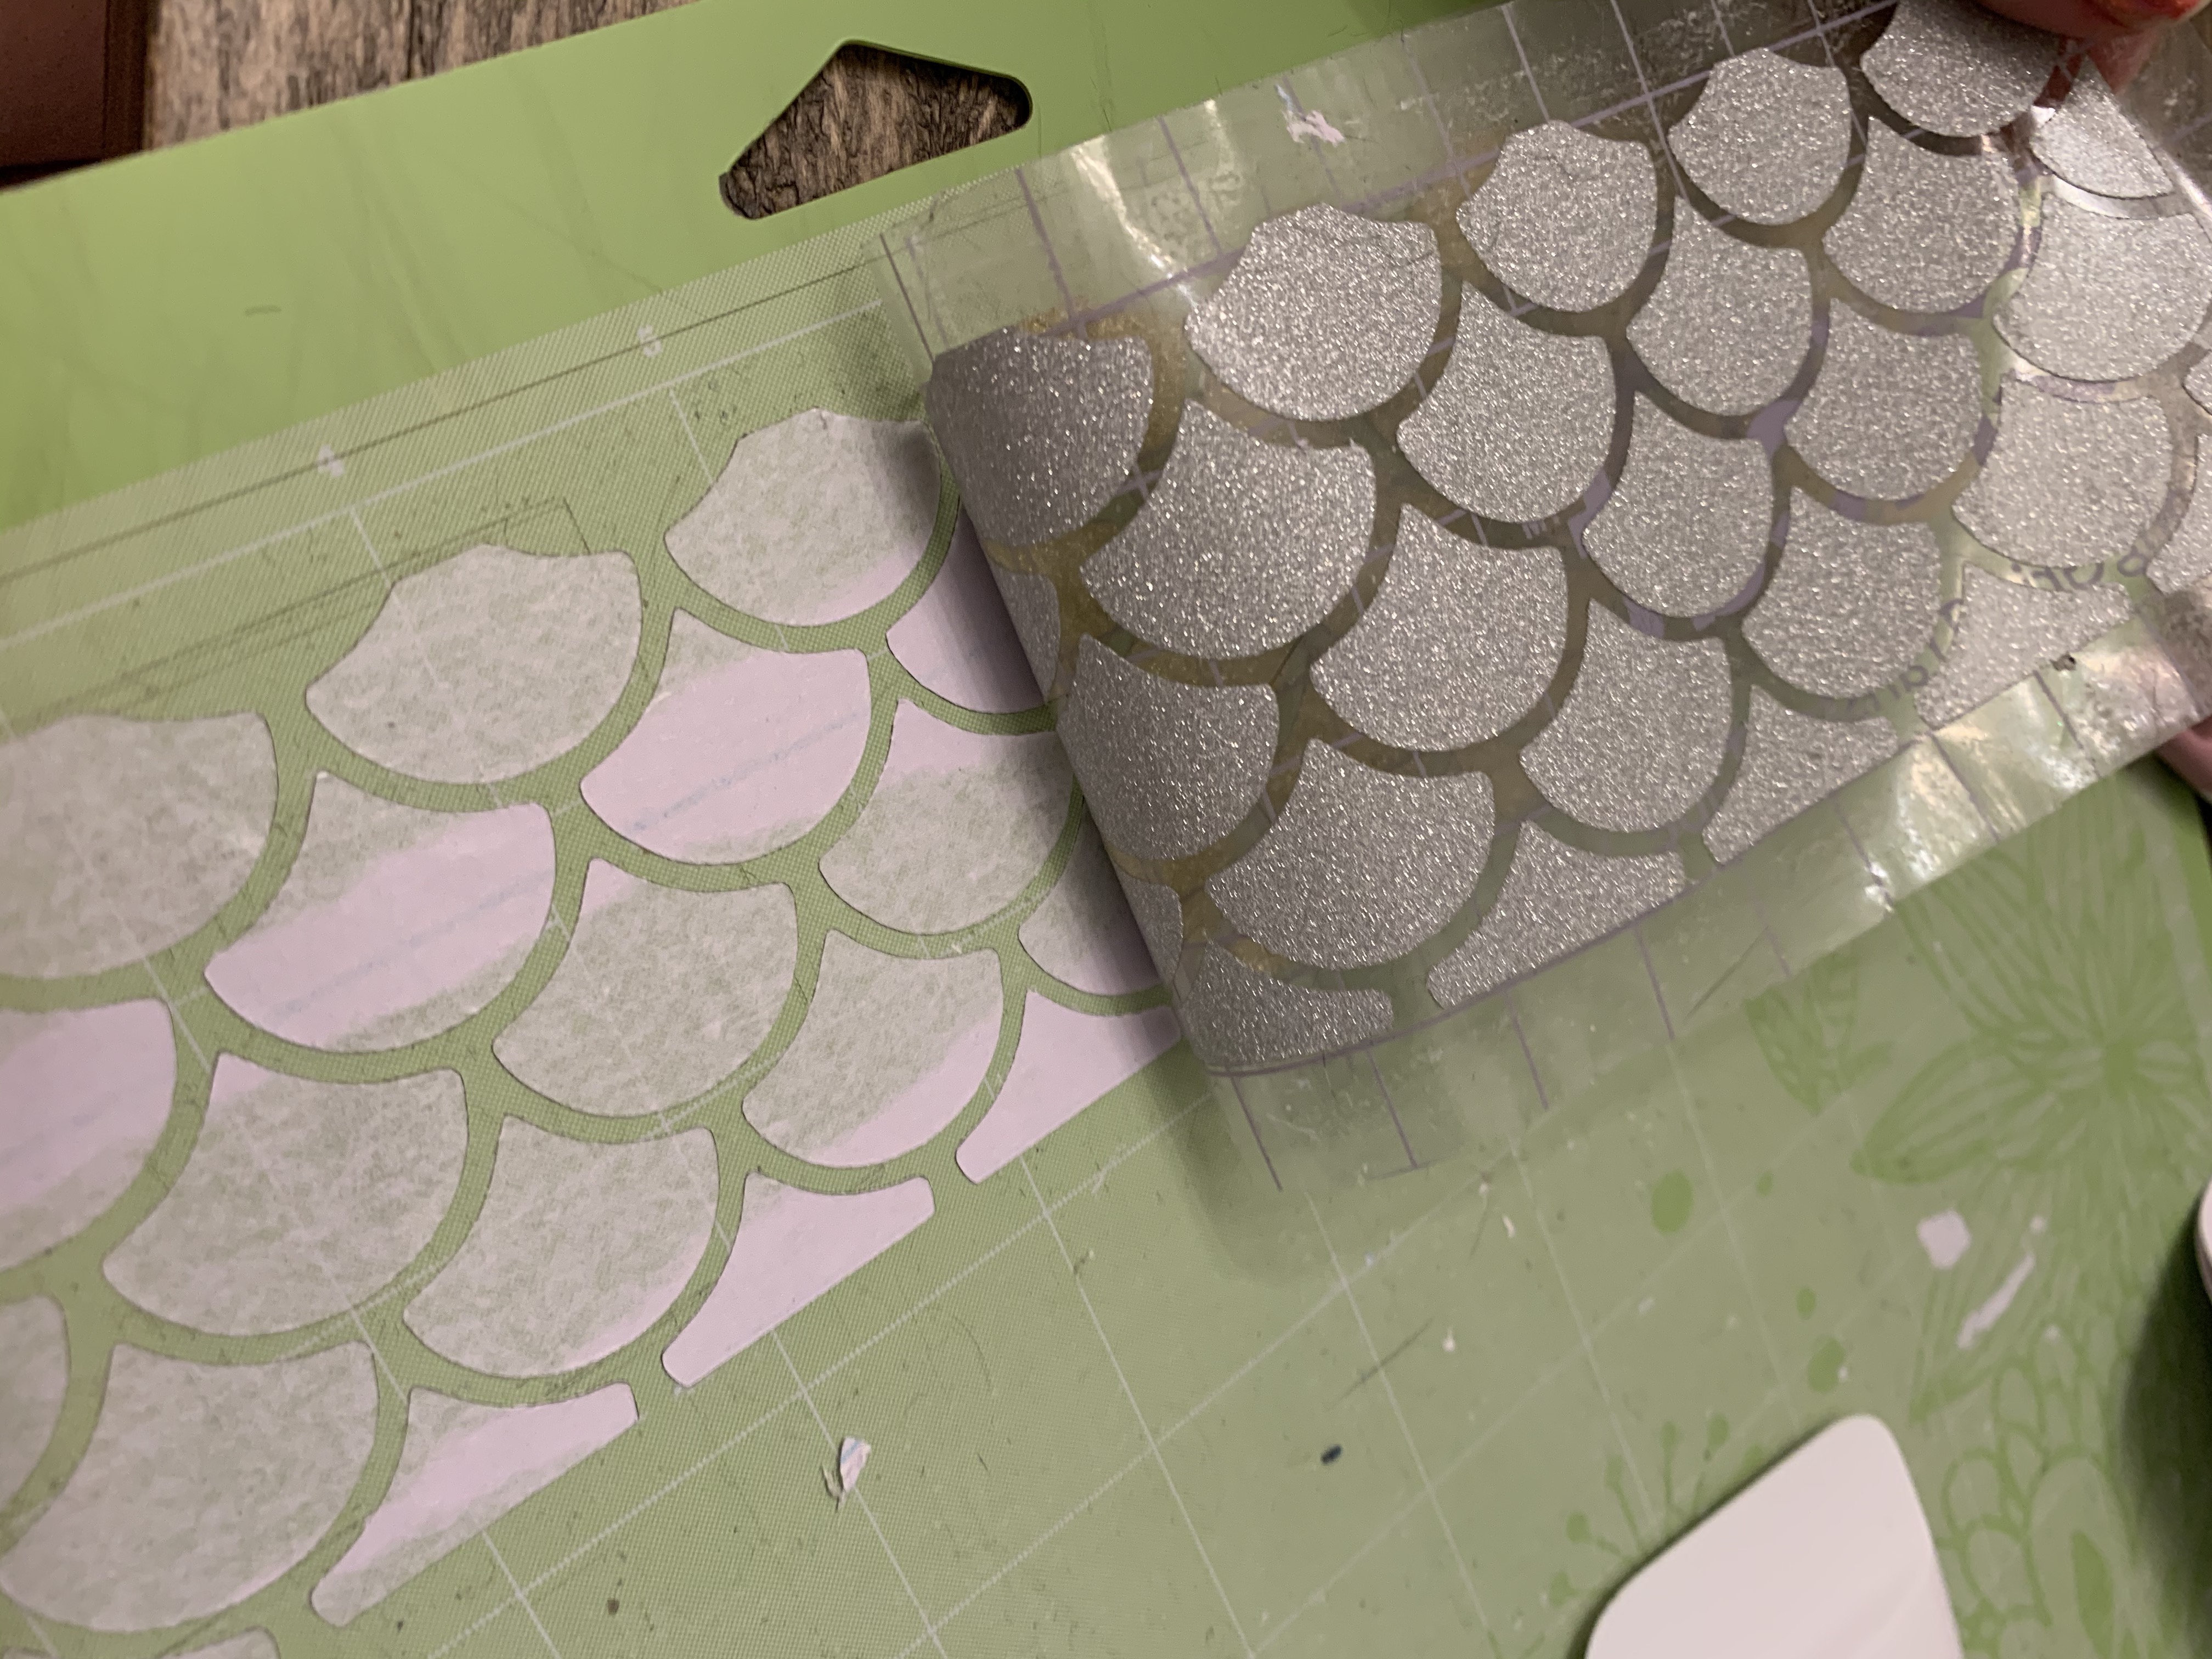
- I cut out the first layer and pull back the vinyl. In this case it cut through (my mistake #1) but this actually made it easier in my case so it was no big deal.
- (Mistake #2) I tried to use regular transfer tape for this project (I should have known better, but I haven’t used glitter vinyl before!) Surprisingly the StrongGrip that I had worked well for this (because… you know… I made prior mistakes in other projects by using the StrongGrip which is apparently ONLY designed for glitter vinyl… so I thought hey! glitter… maybe it will work.) Luckily, it worked.
MISTAKE: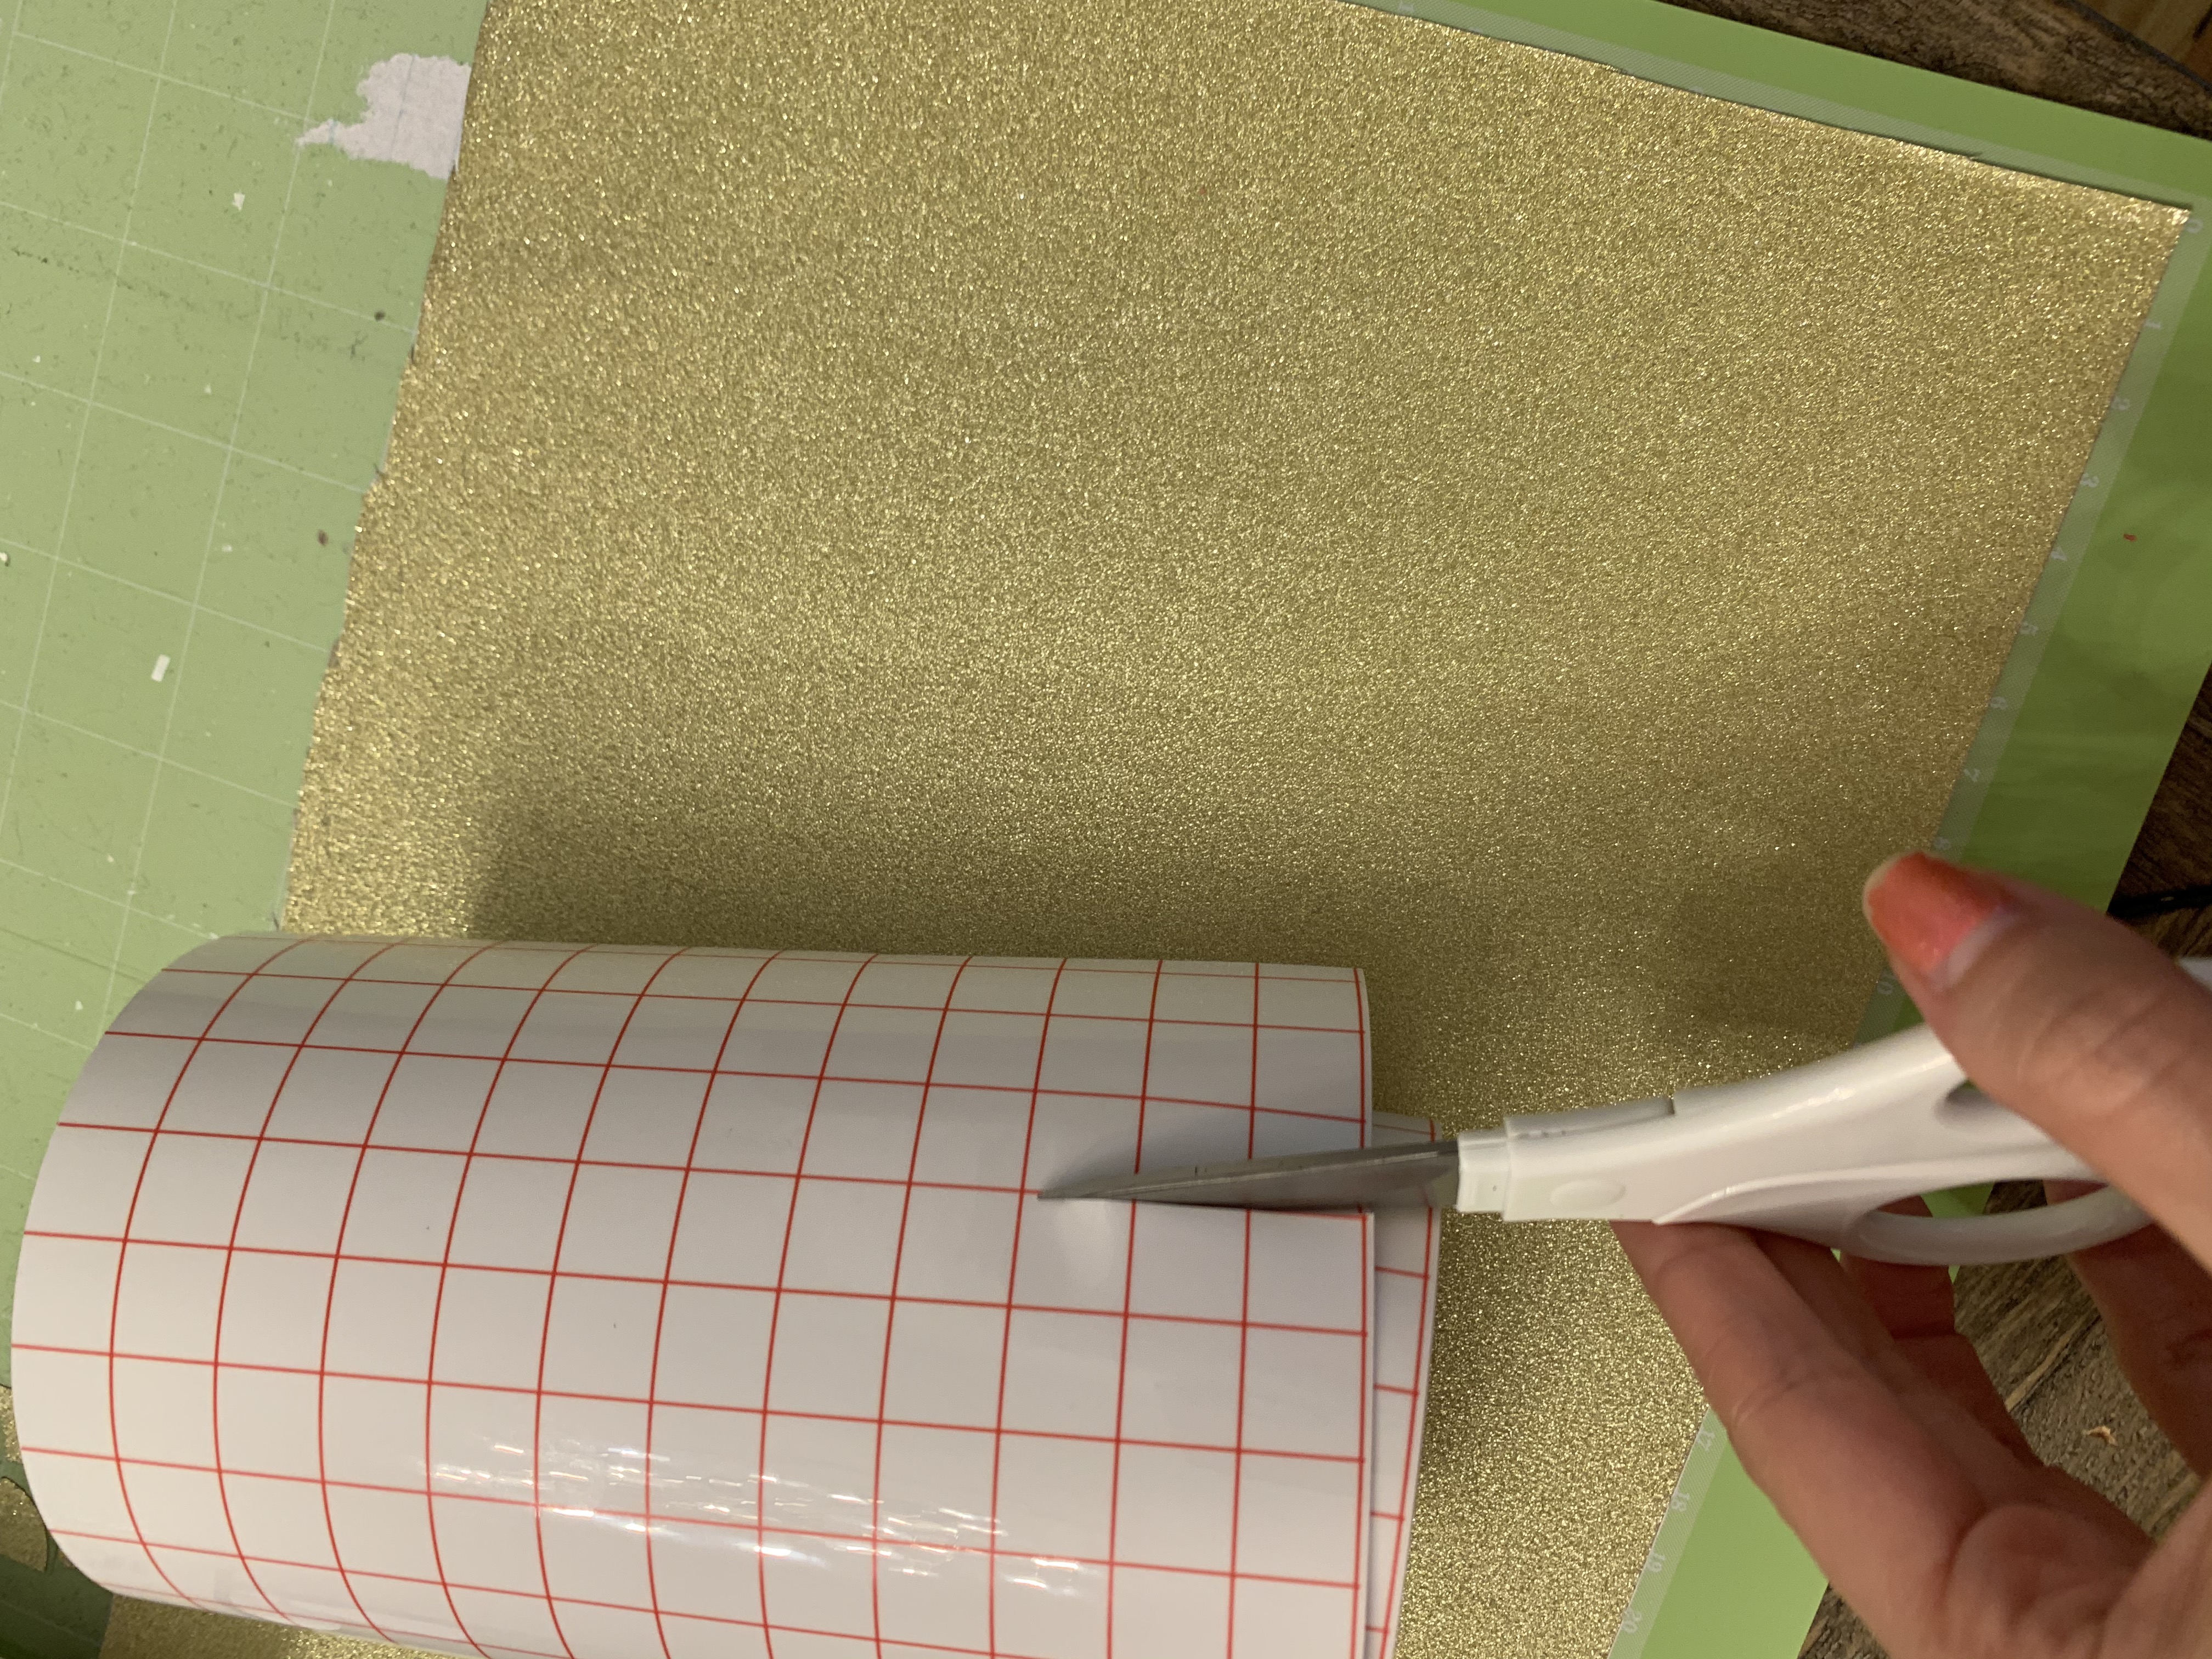

CORRECT: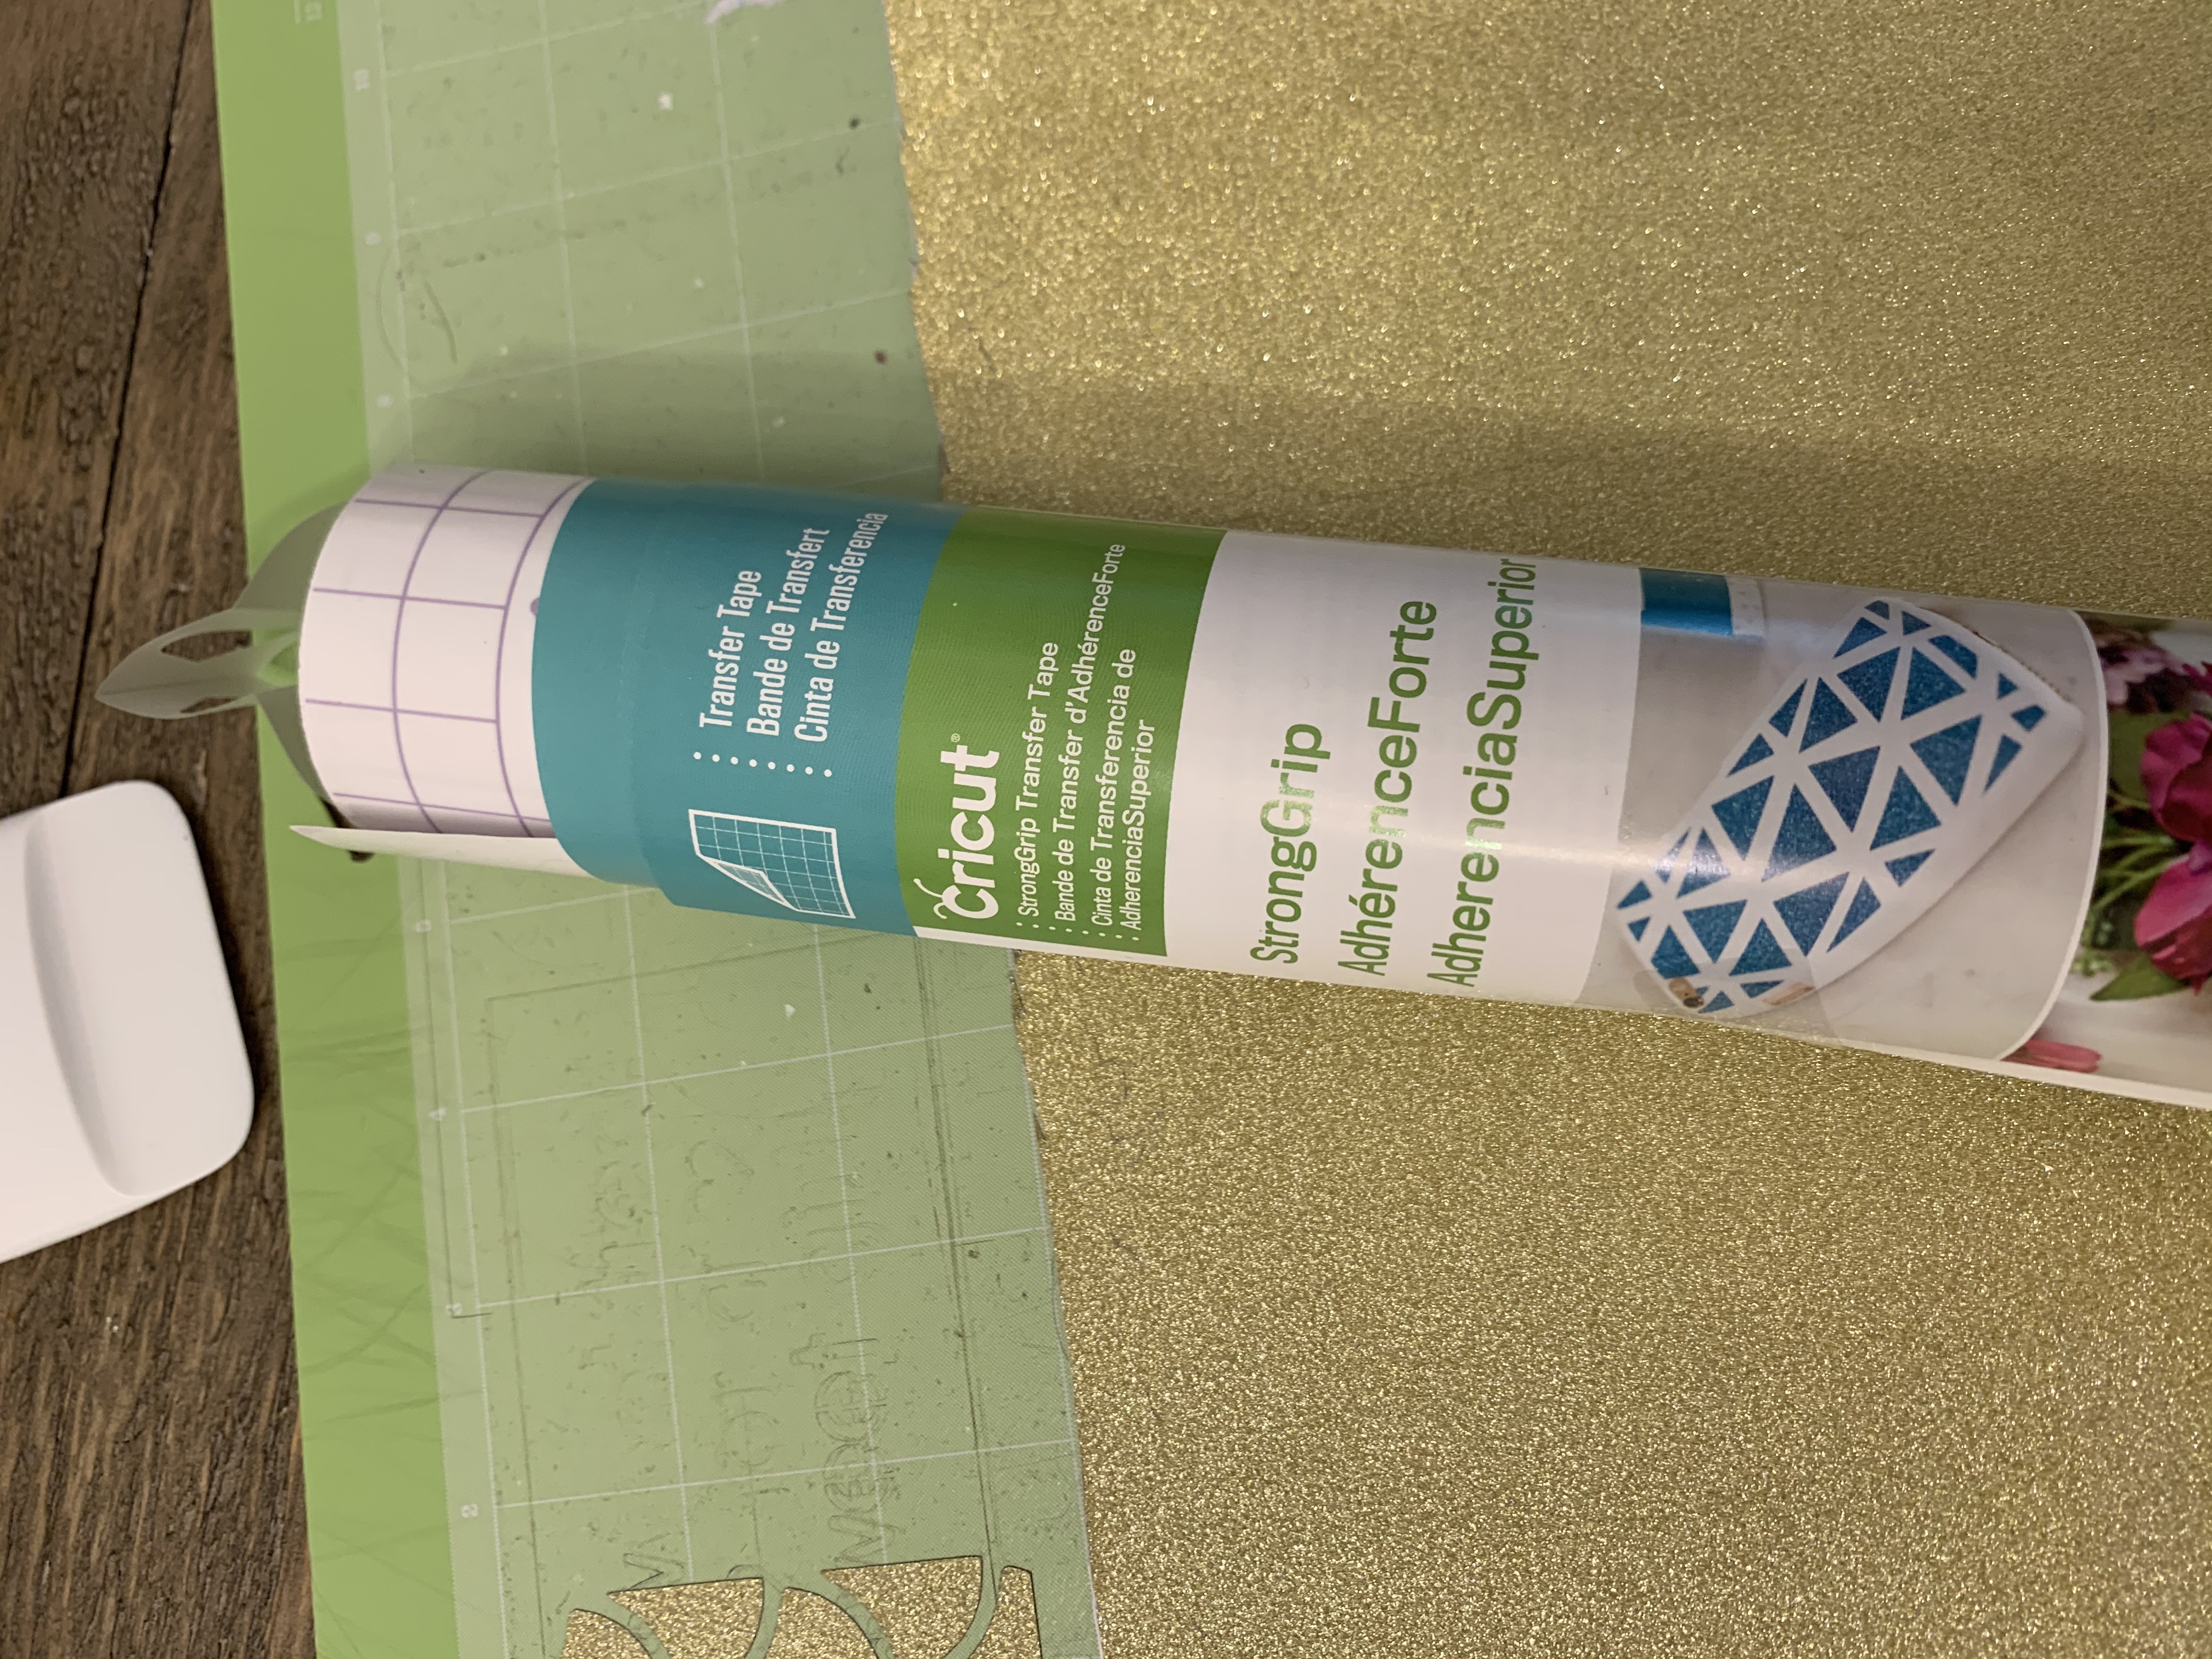
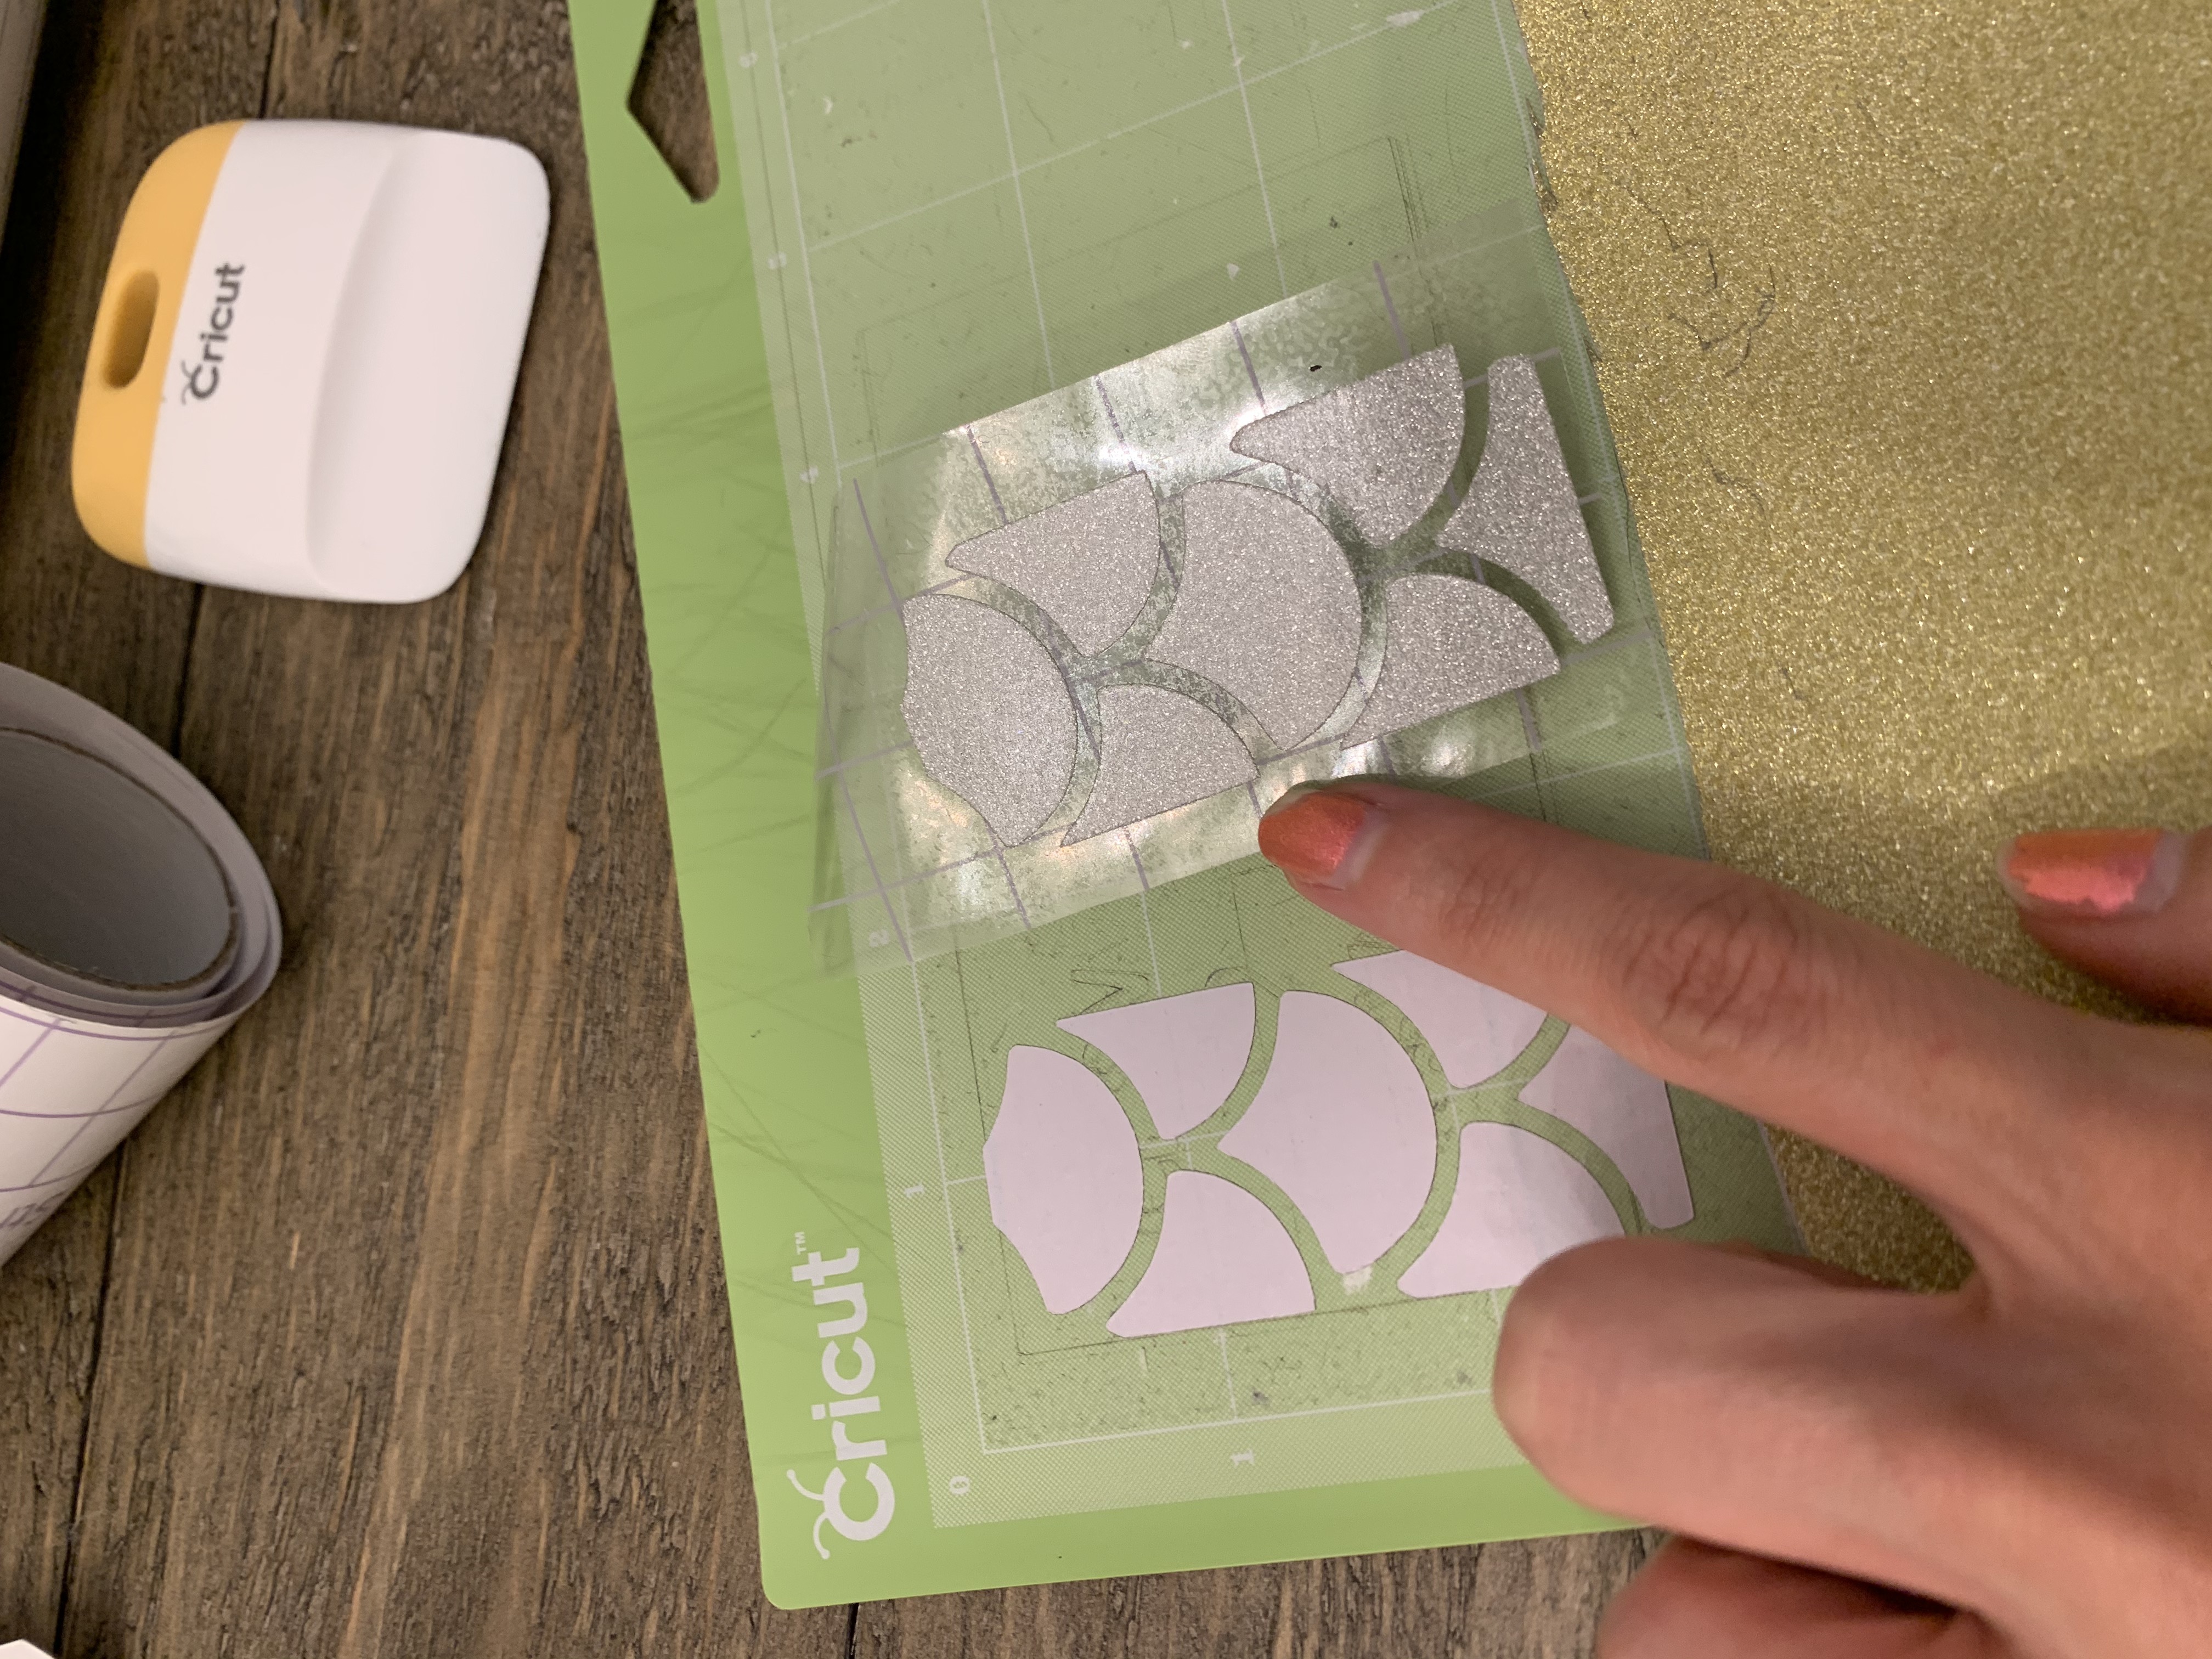
- When I peel back it let go of the original transfer tape that was on the original vinyl - see, mistake #1 wasn’t so bad this time!
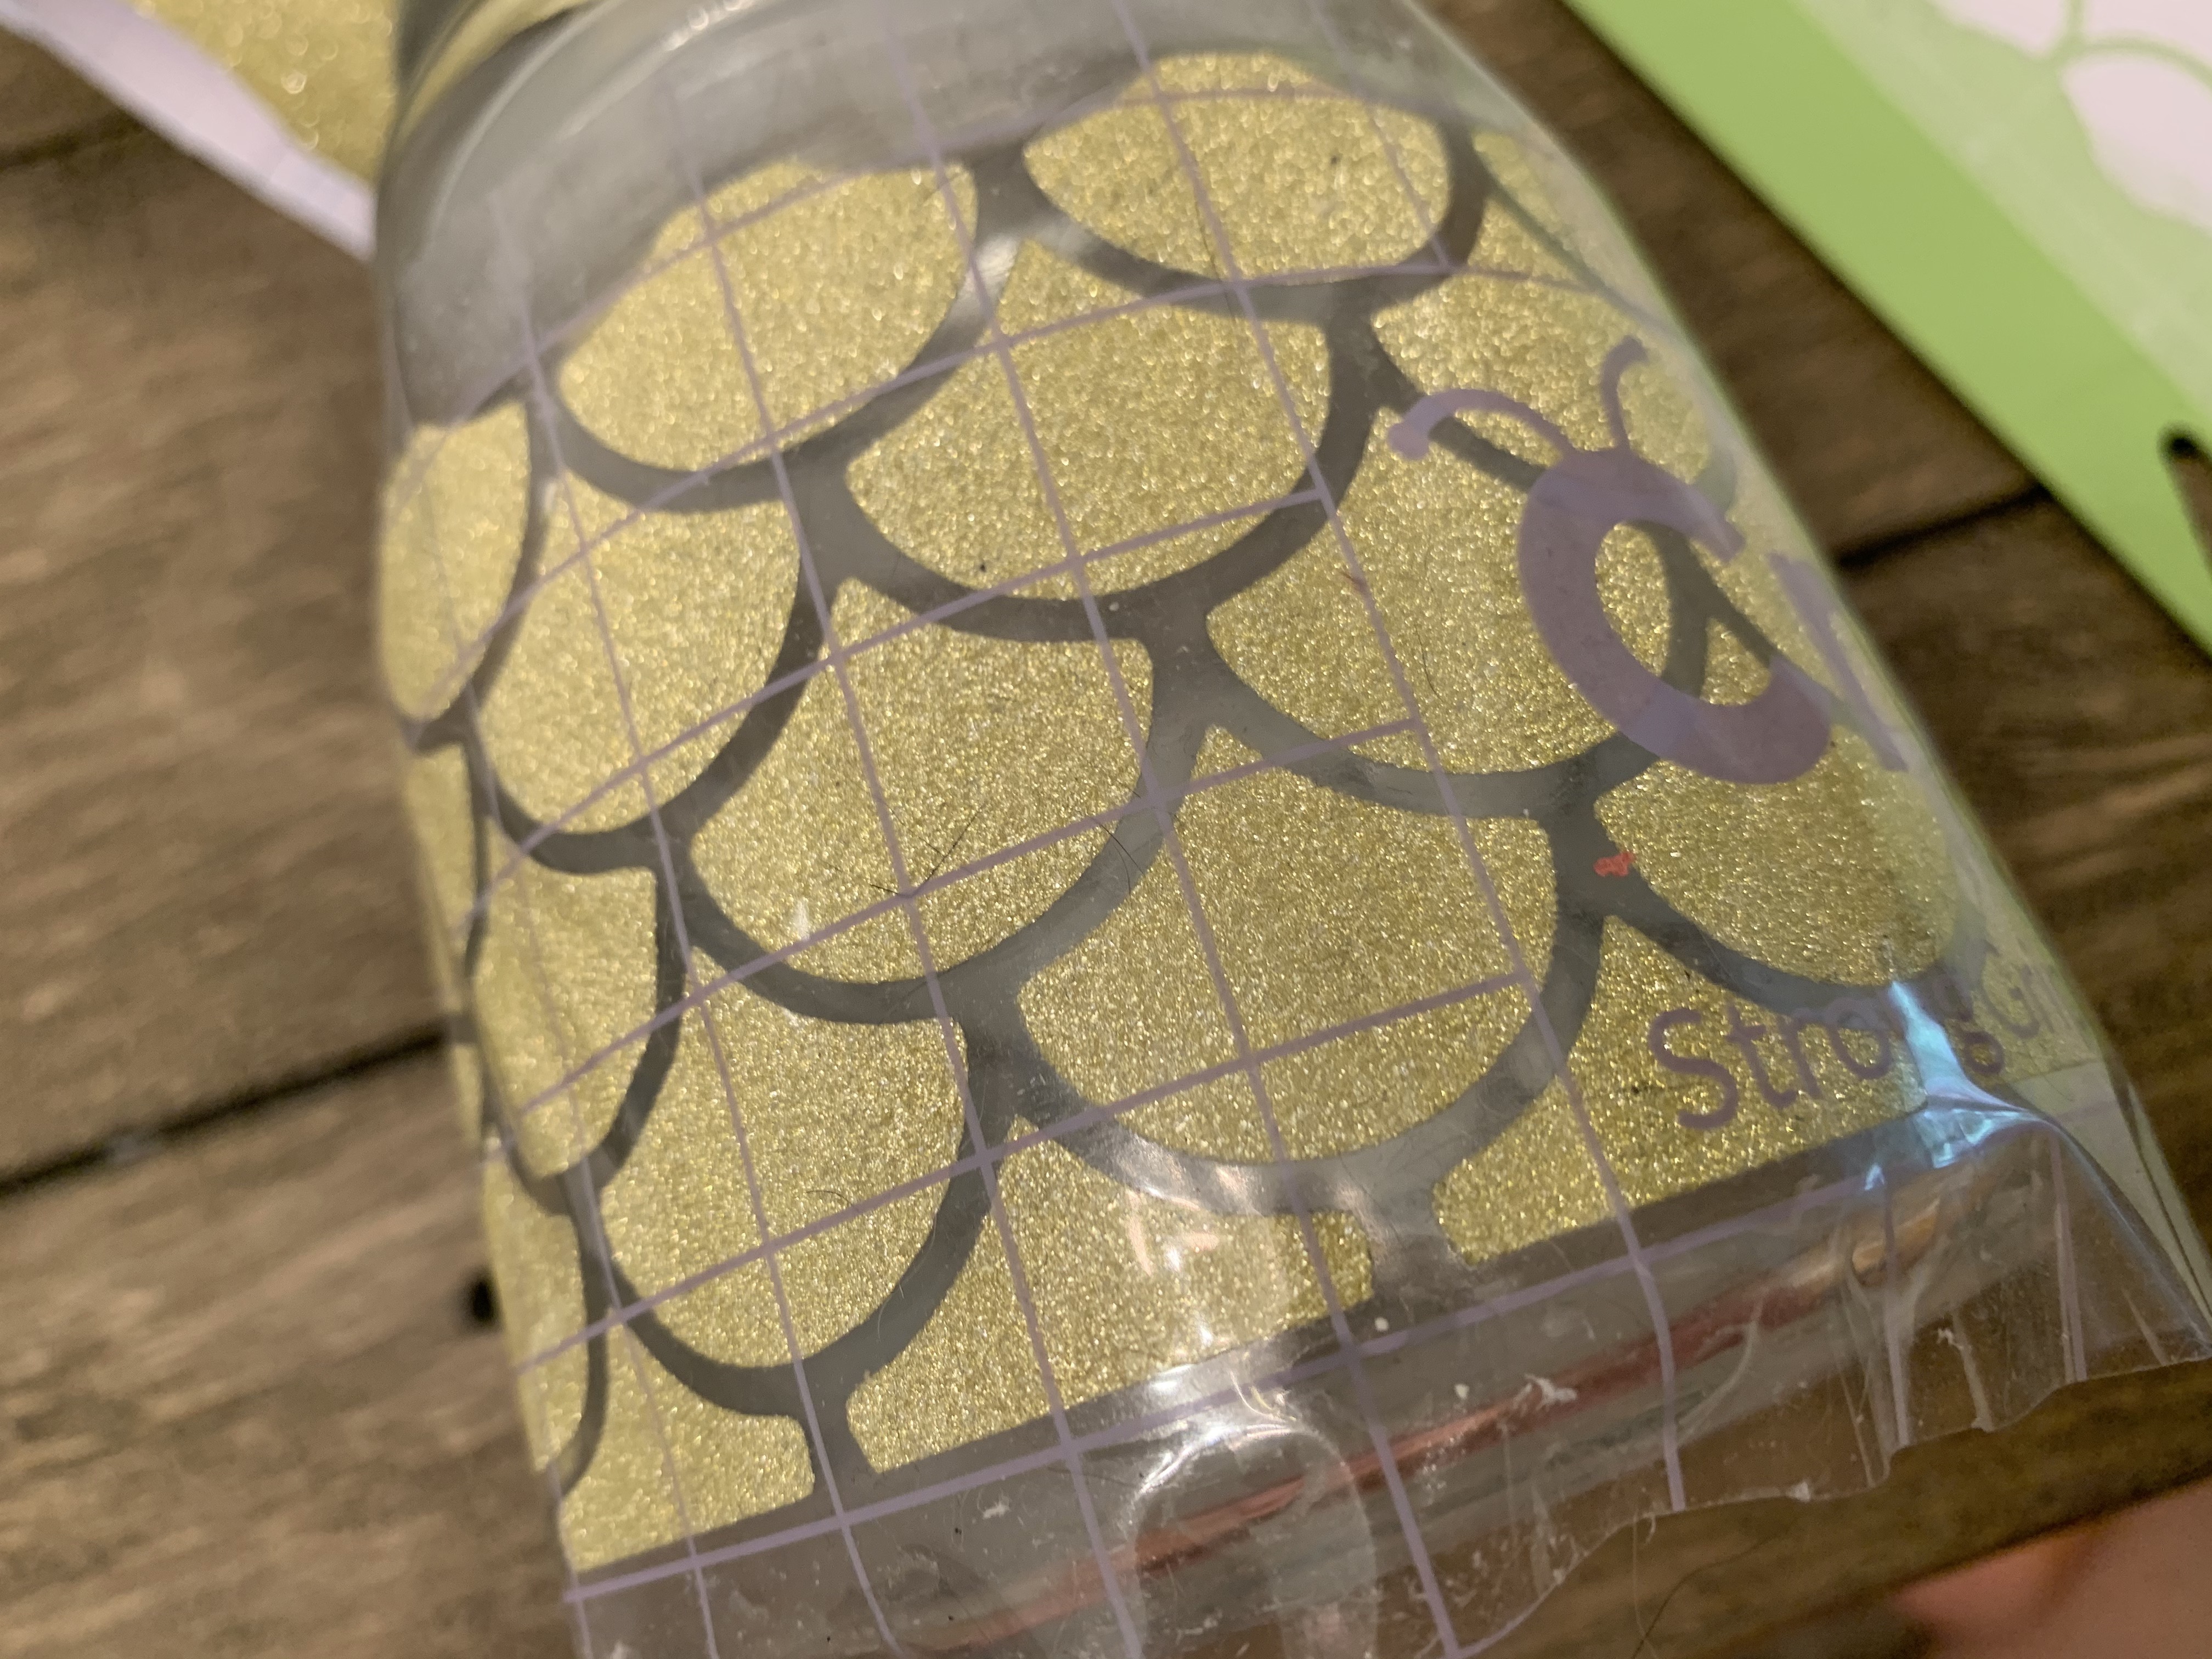
- I try to place it on my glass and boom.. it hit the surface without my permission cue MISTAKE #3!!! Off center.
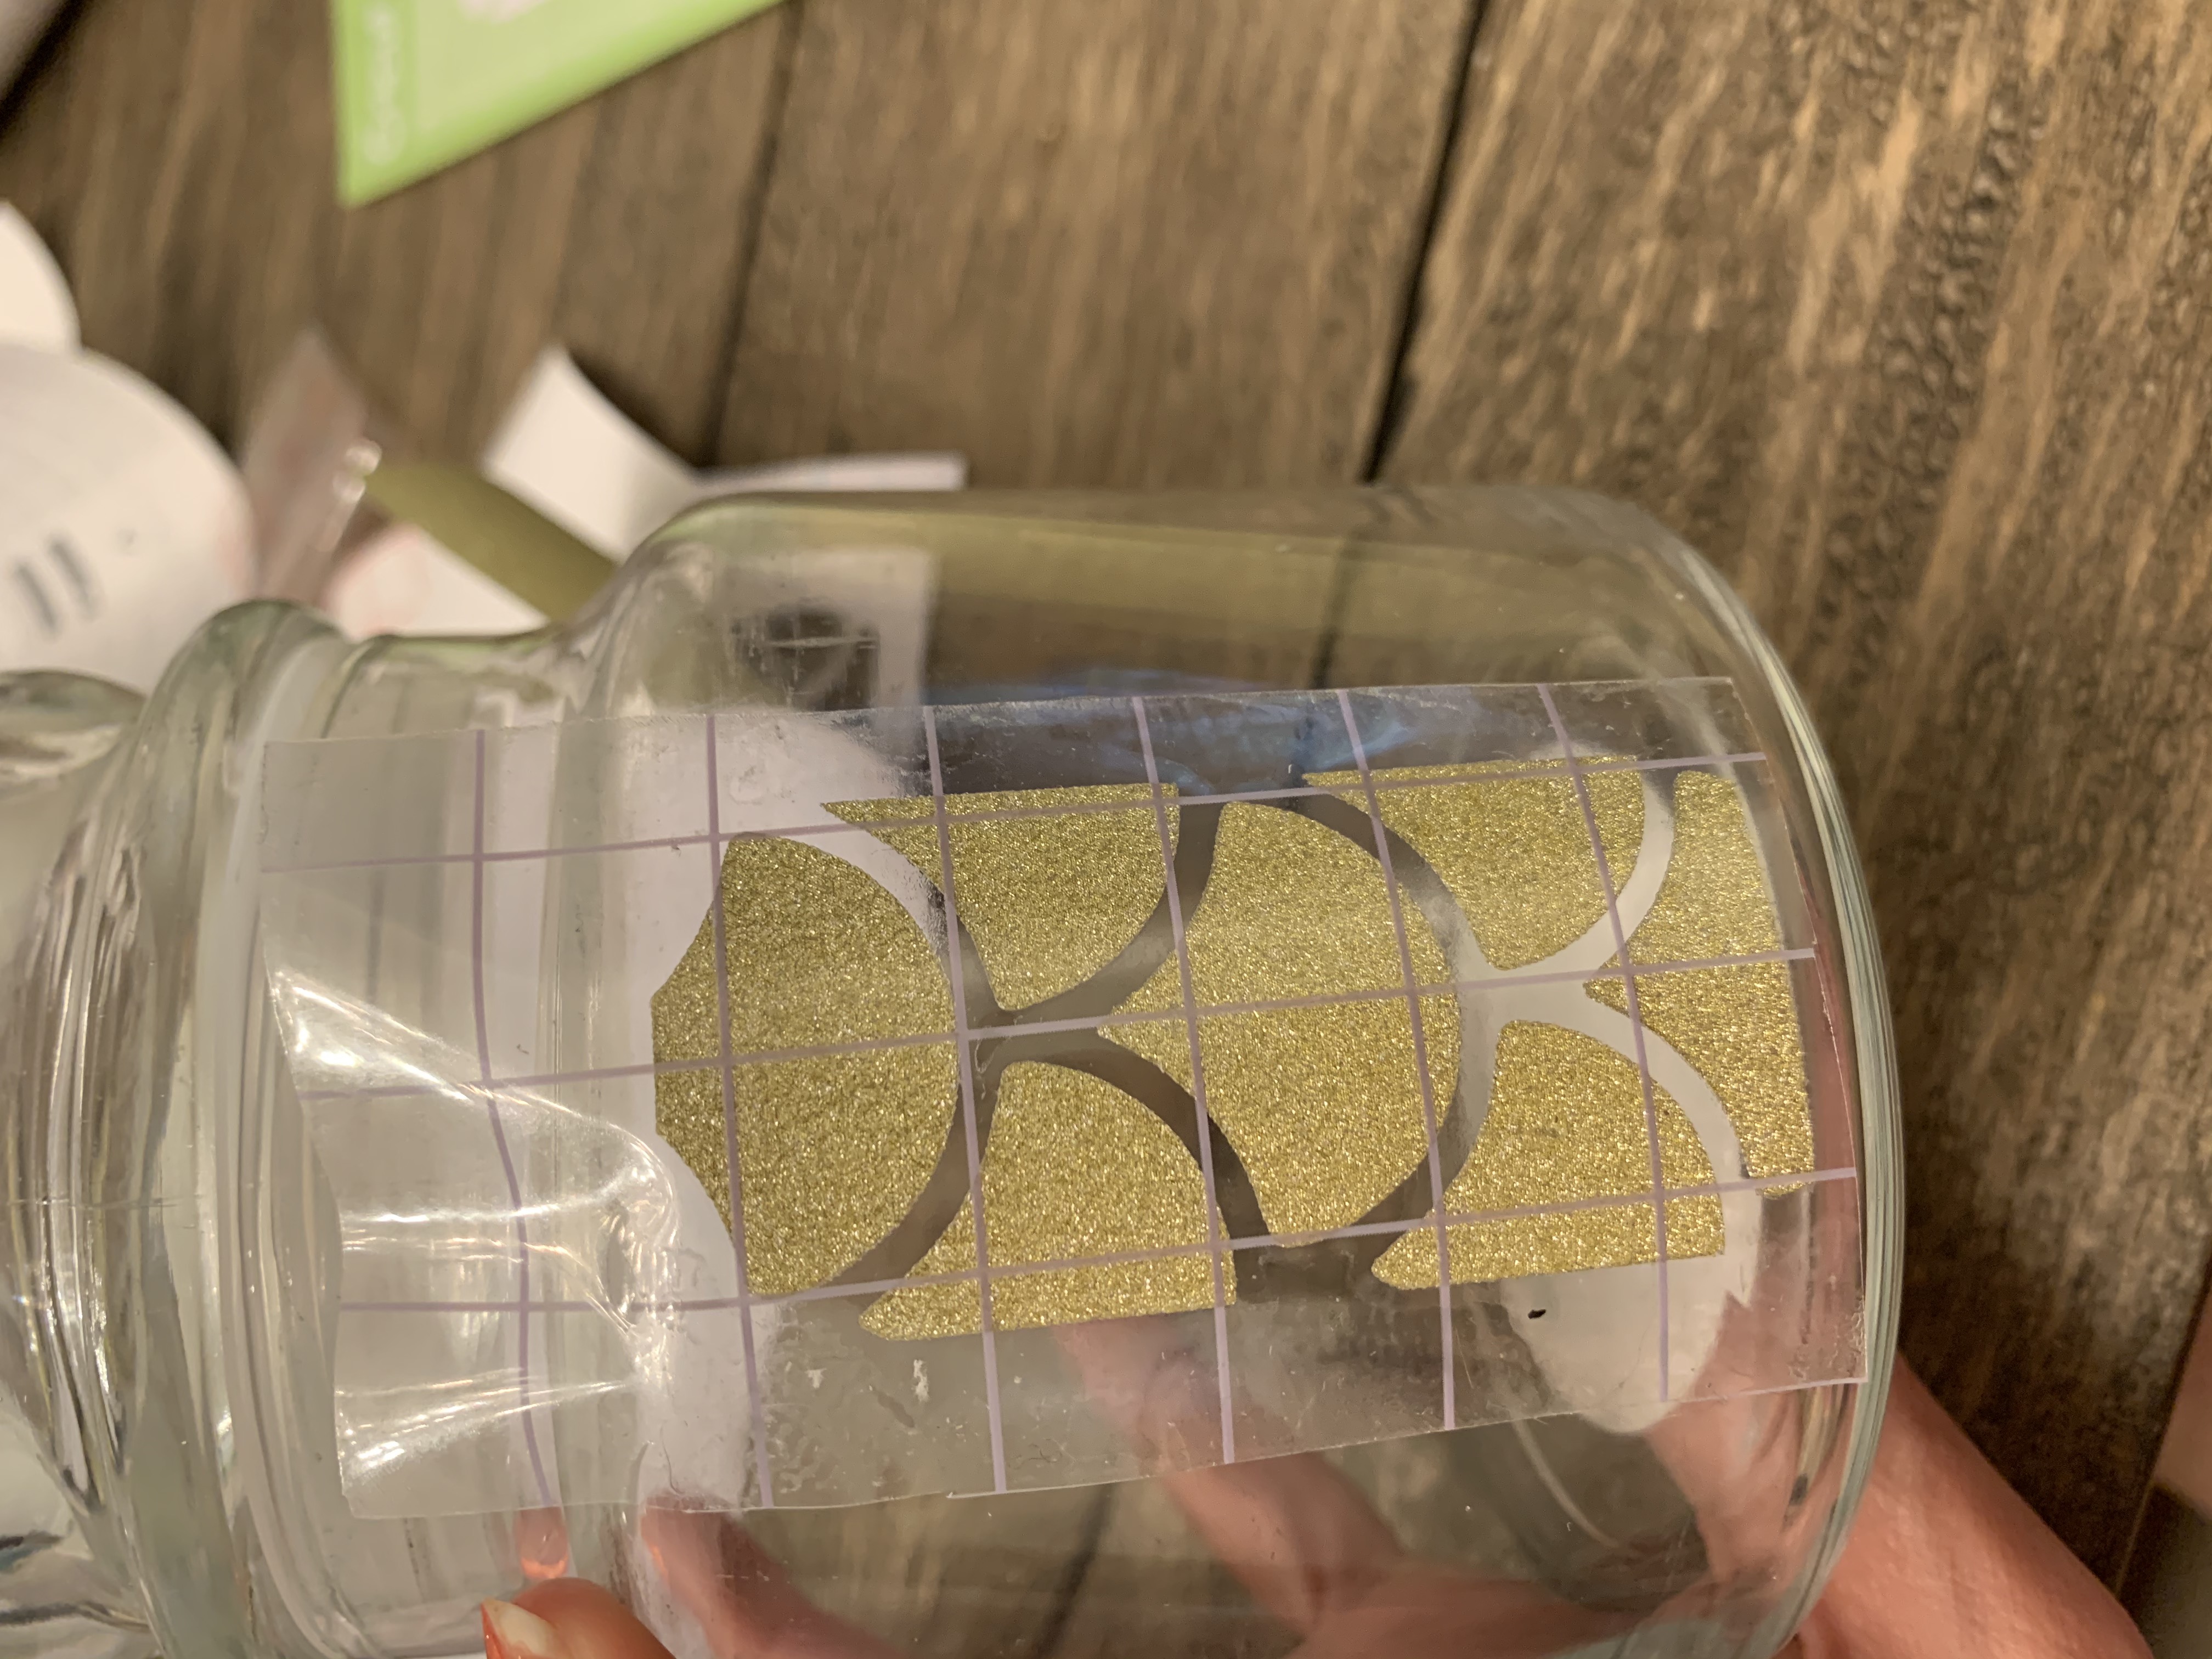
- I look at it and it’s glitter, so it’s still pretty.
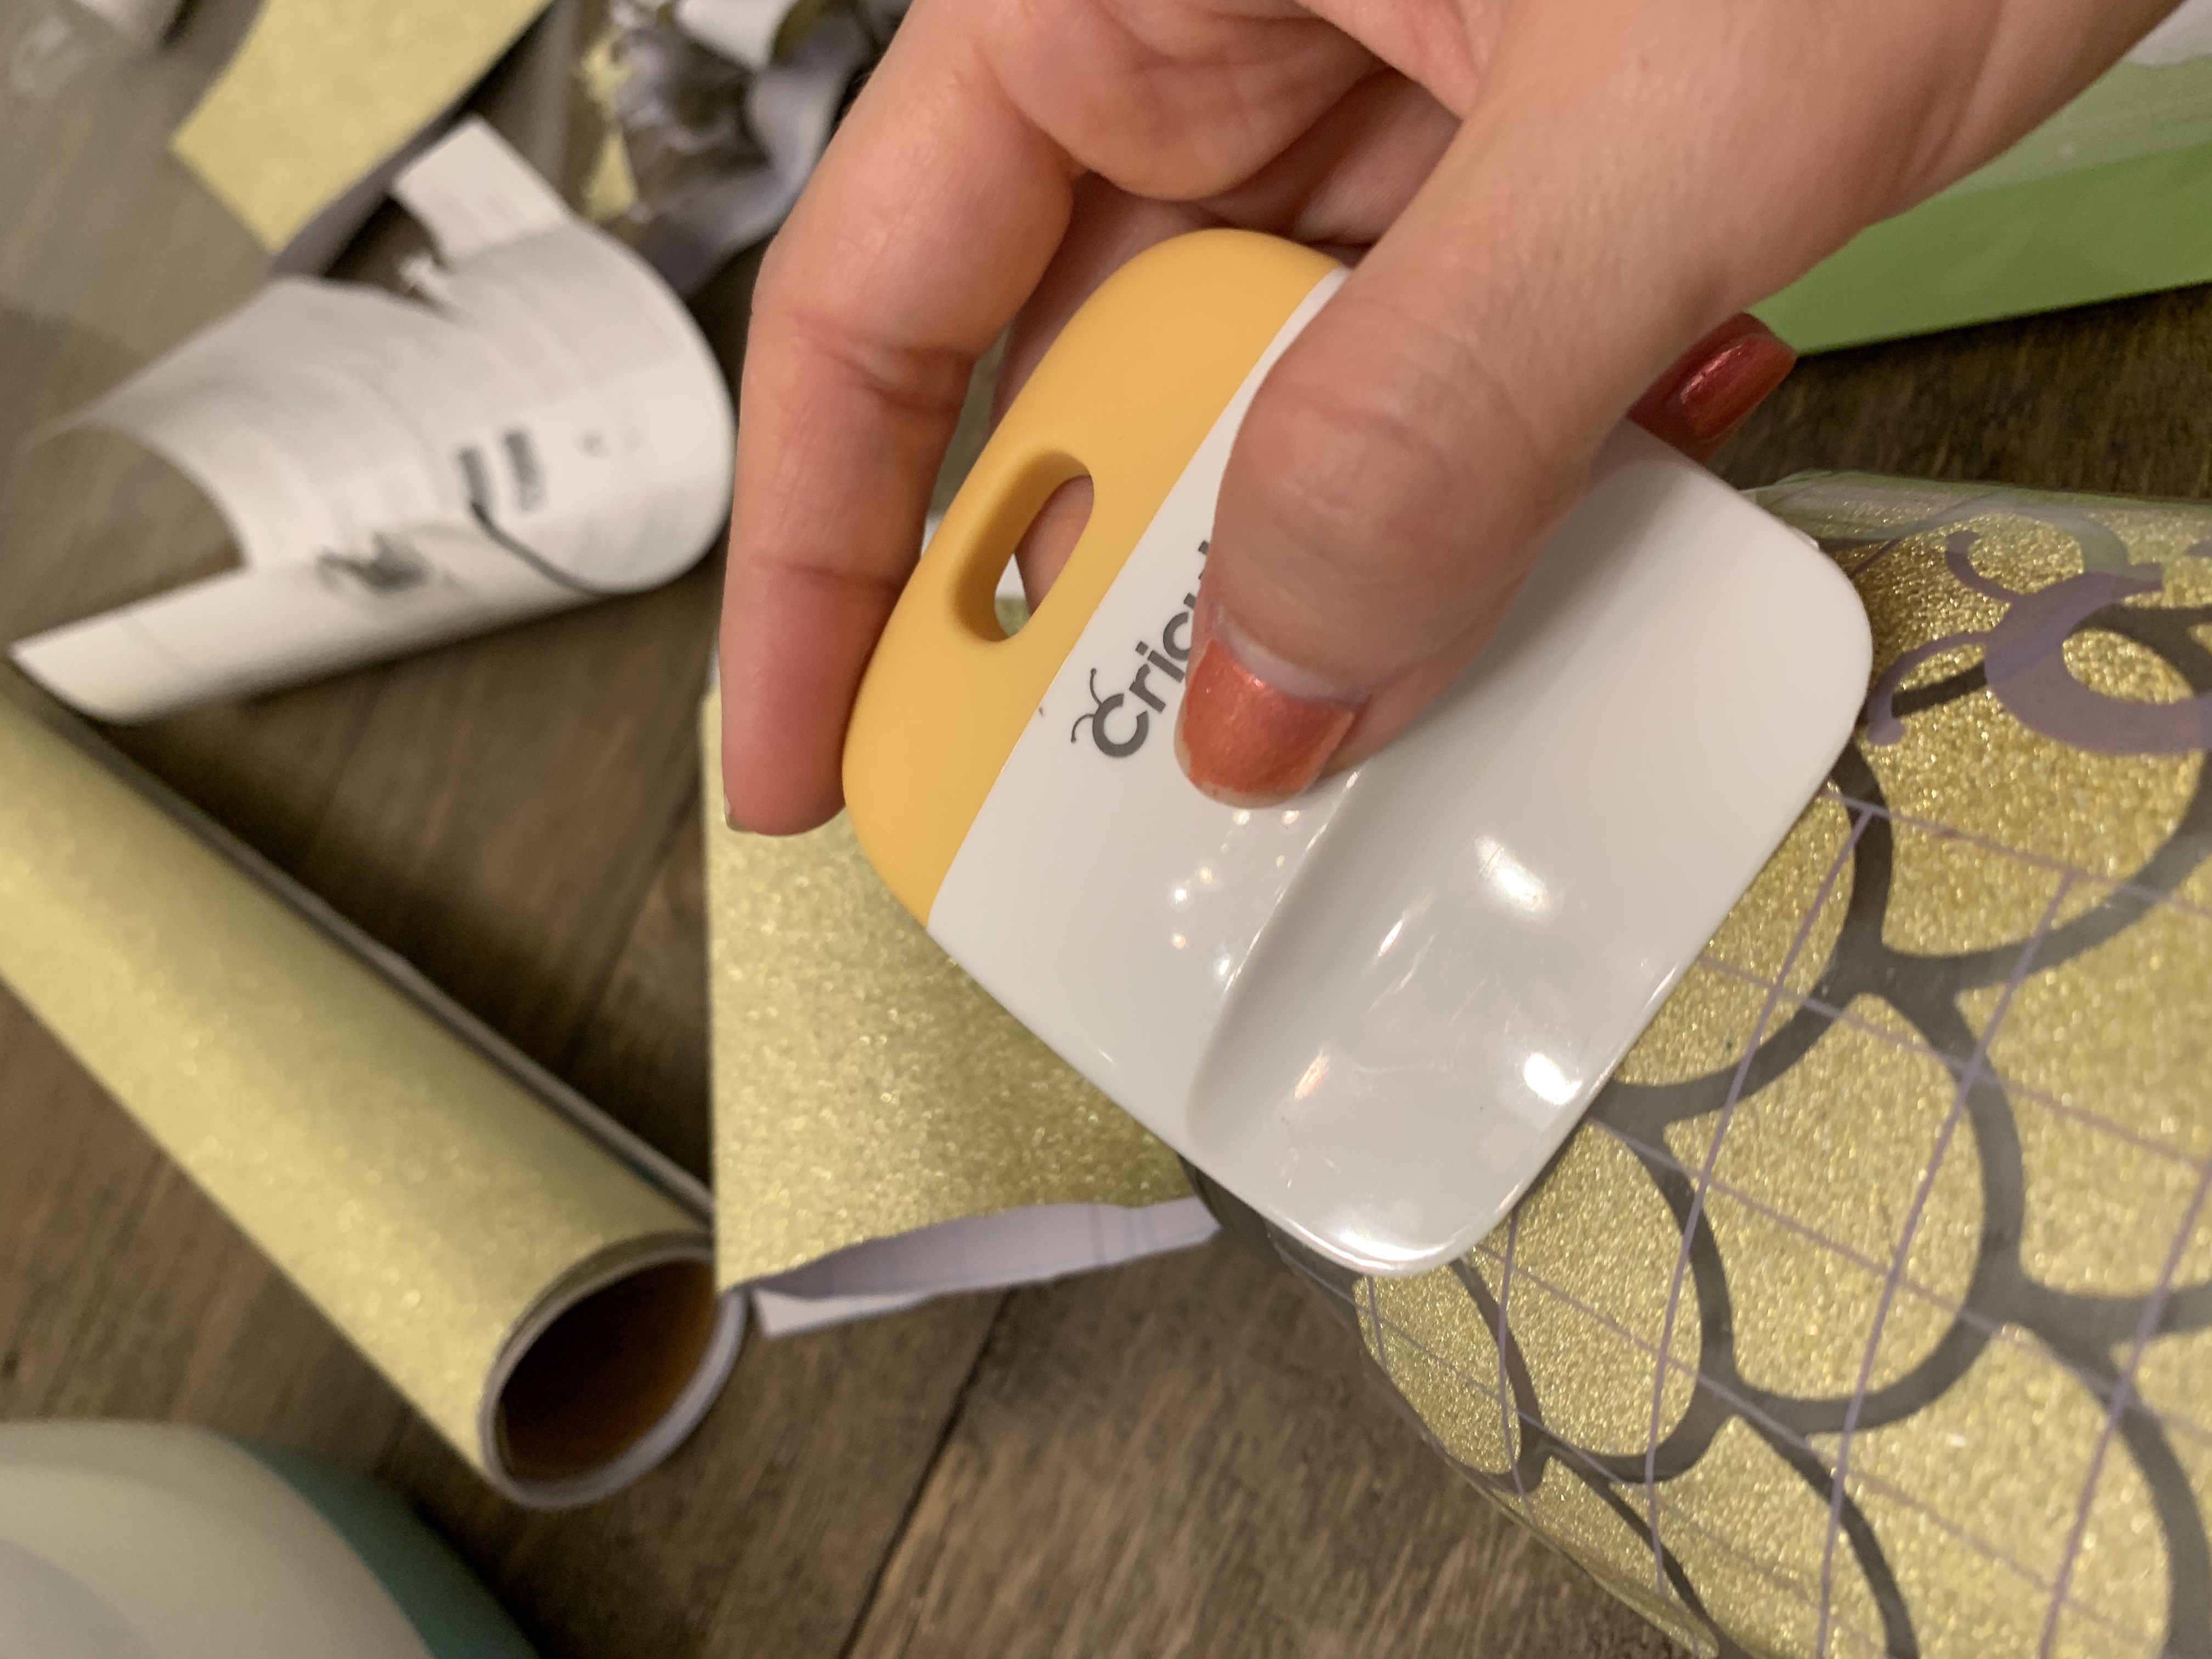
- I use the rest of the vinyl and use the squeegee to push it down against the cutting mat.
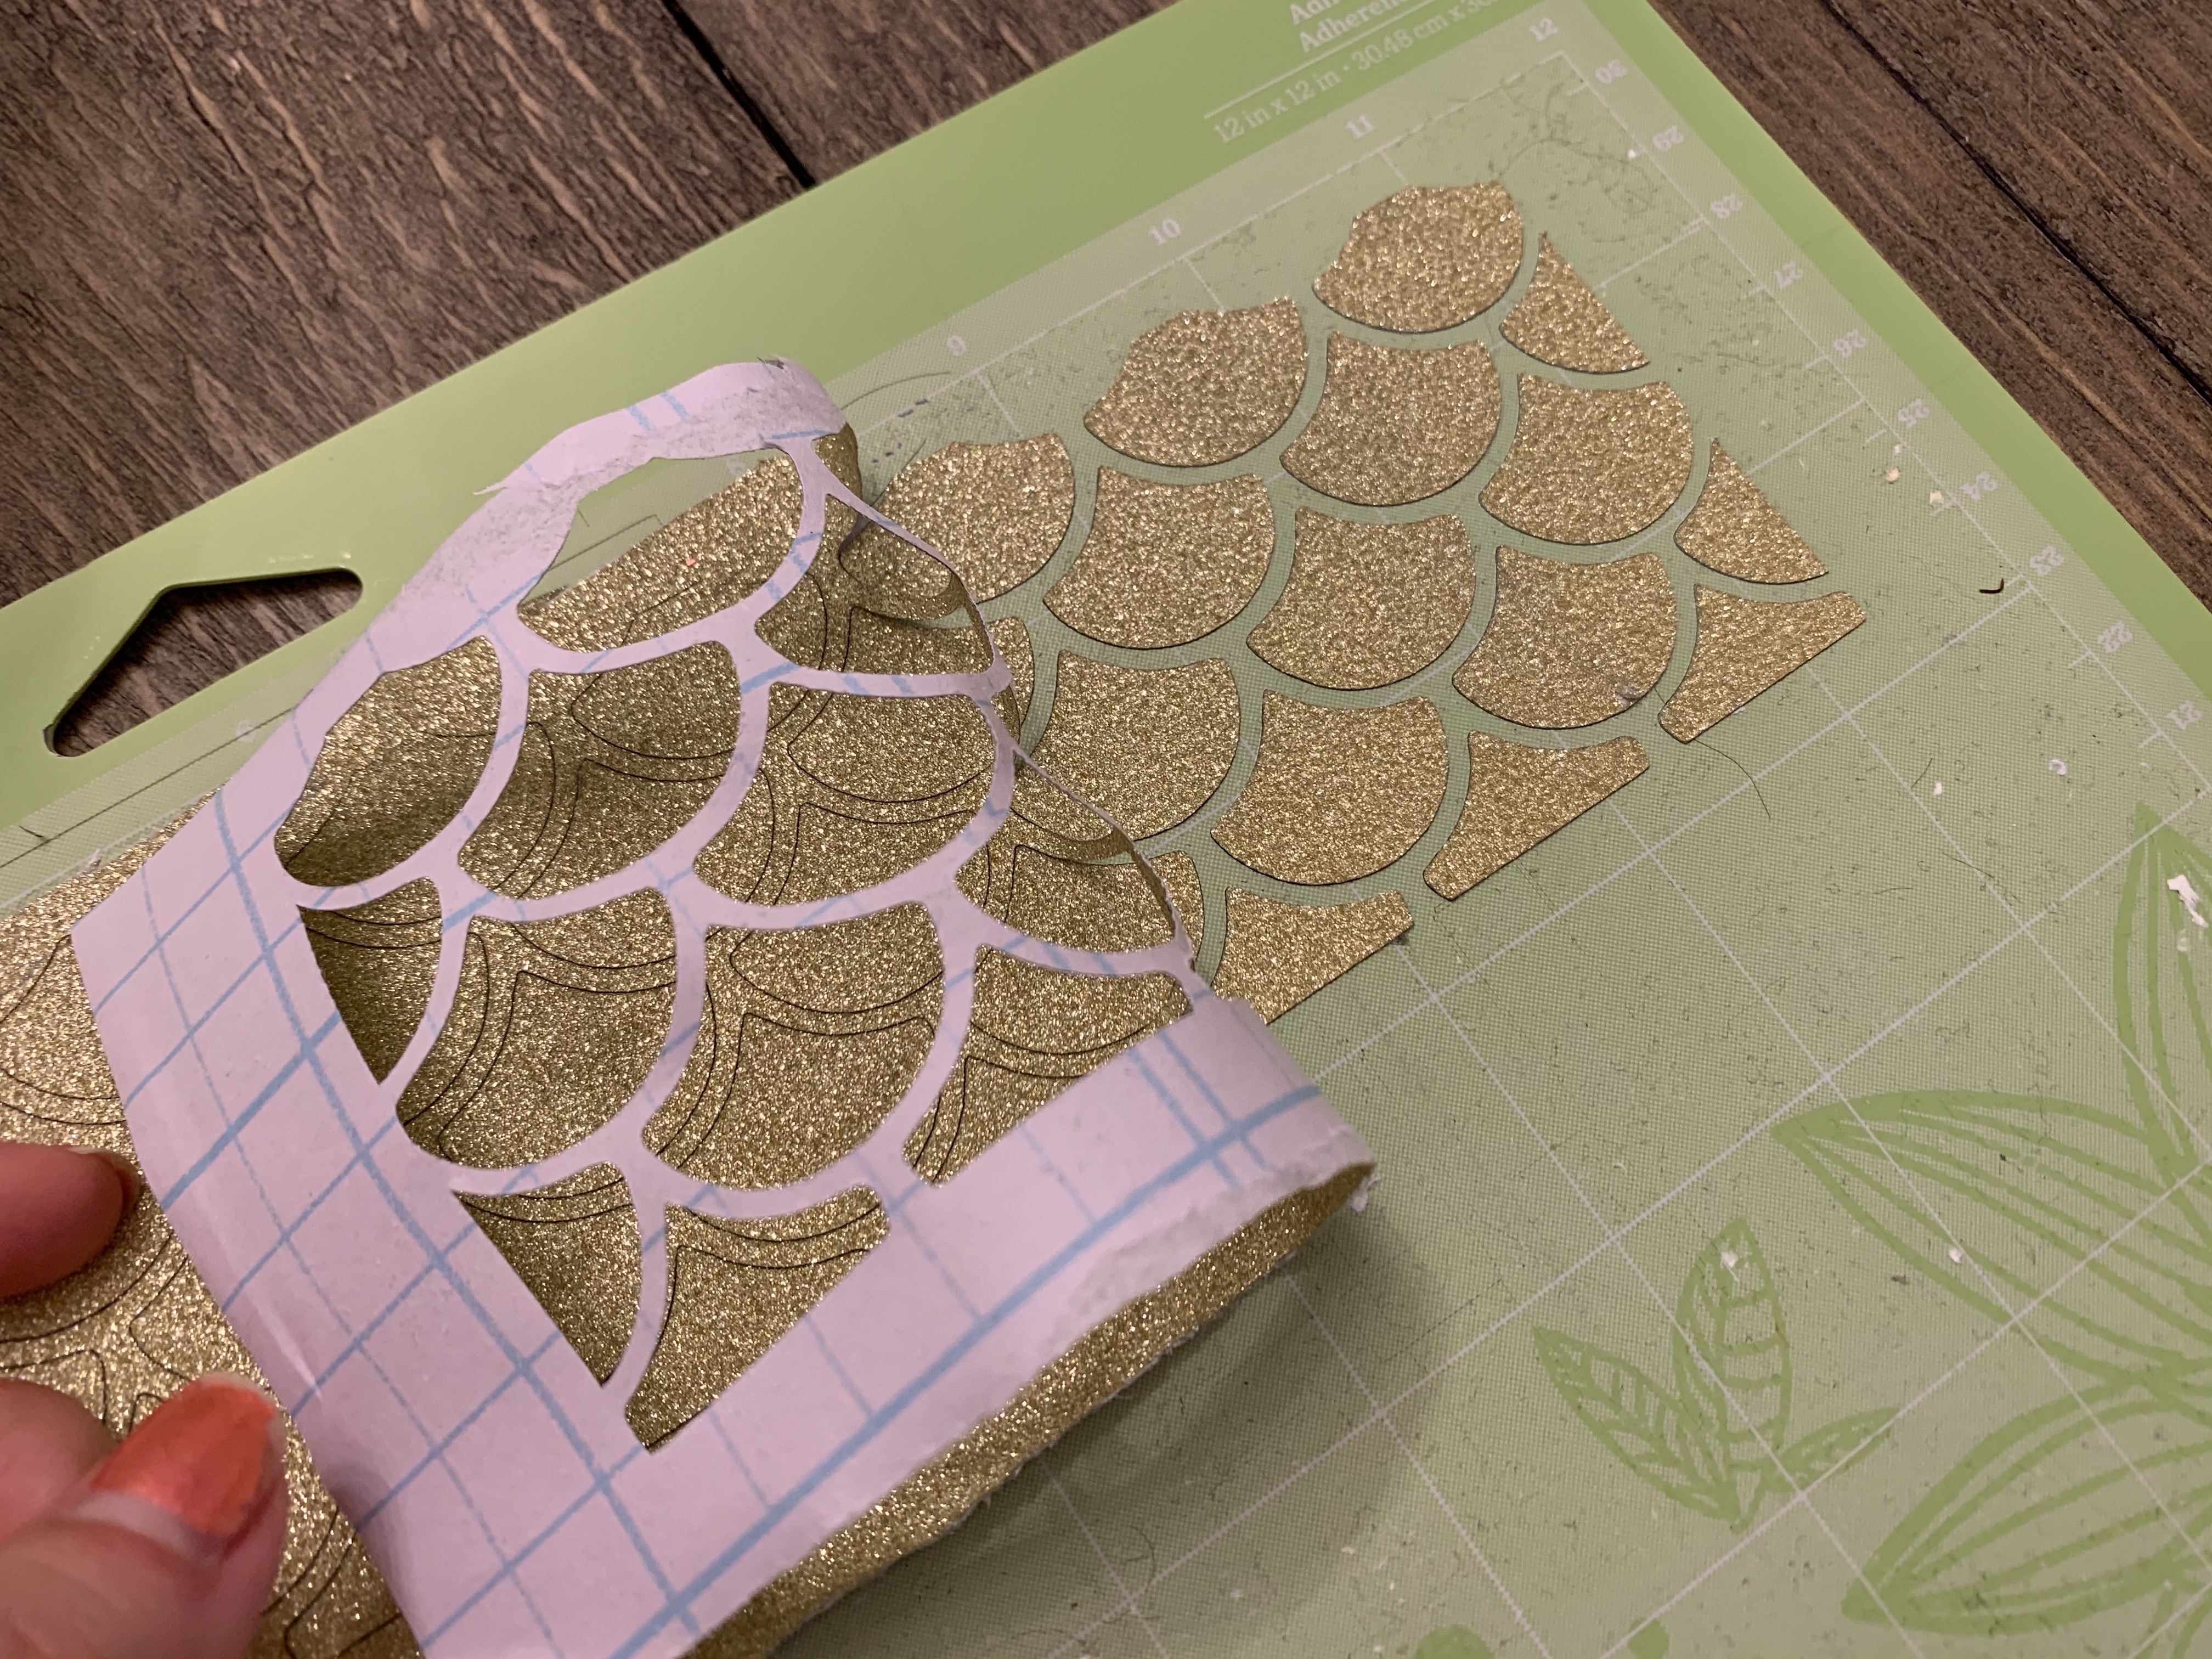
- Here is what the results are cut.
- I peel back the vinyl.
- MISTAKE #4!!! UGH!!! Just kidding. I want the StrongGrip transfer tape this time to be less strong grip, so I put the sticky side on my clothes for a few pats.
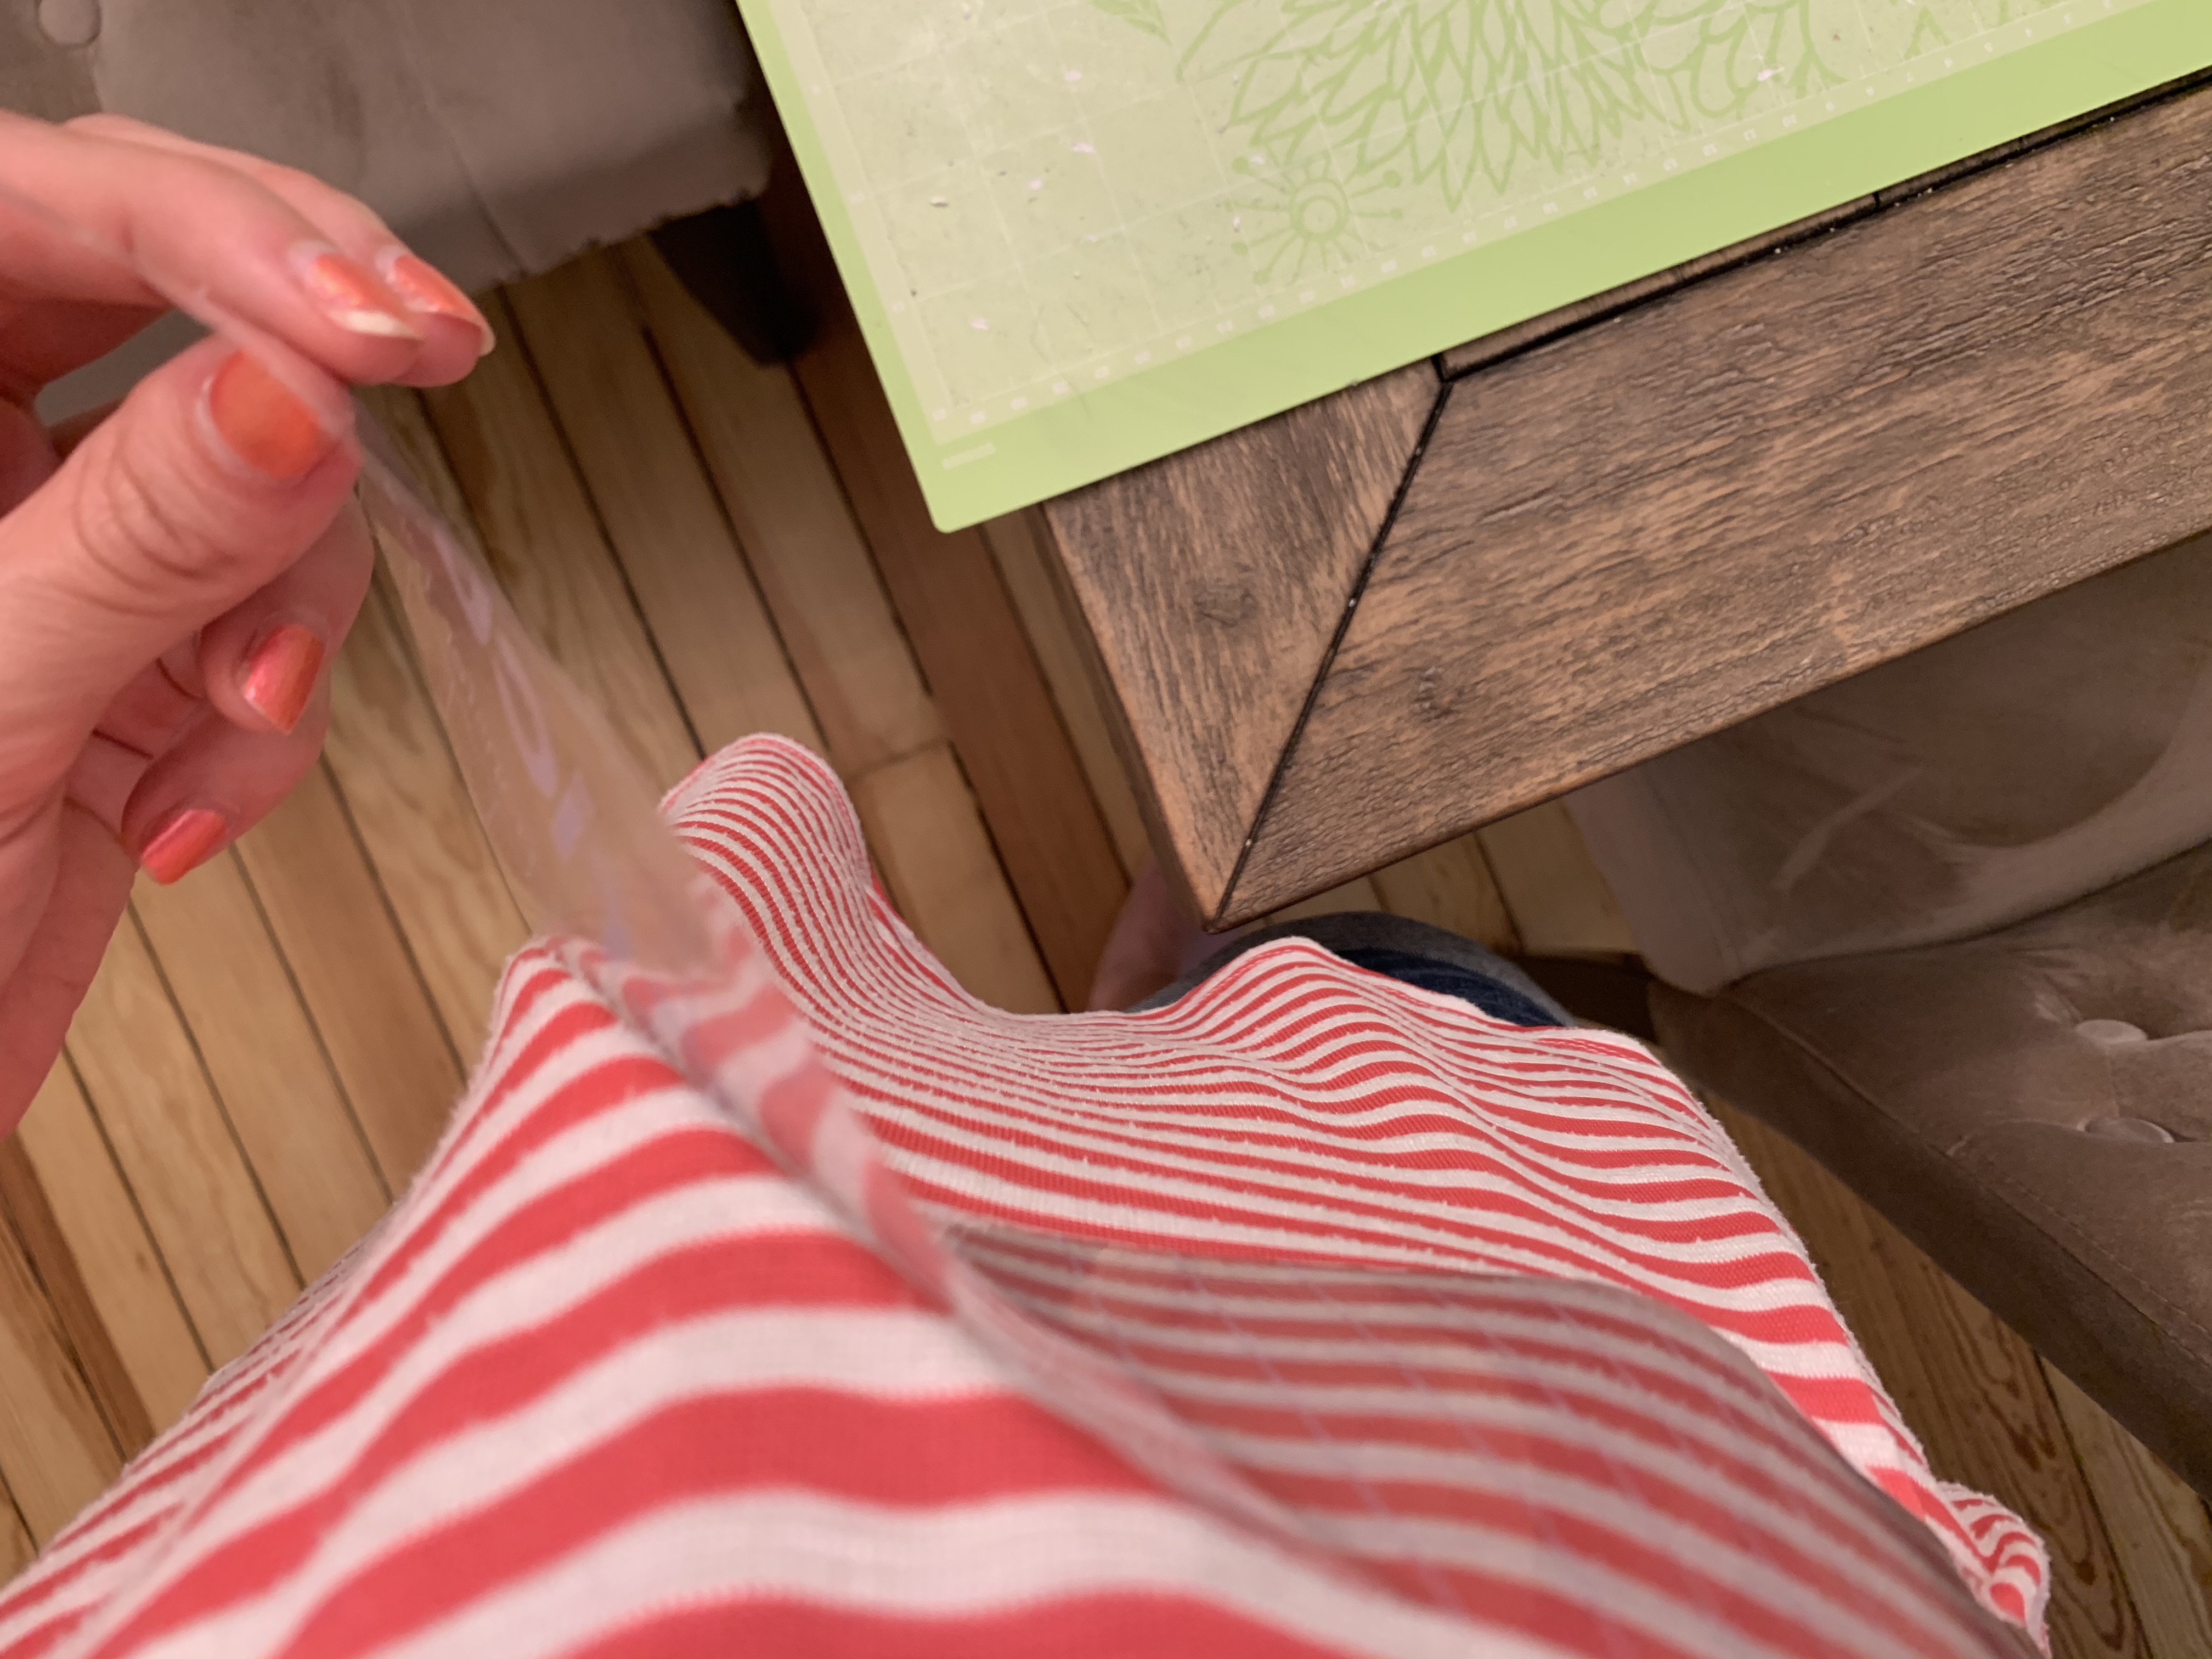
- I place the transfer tape and then squeegee it flat
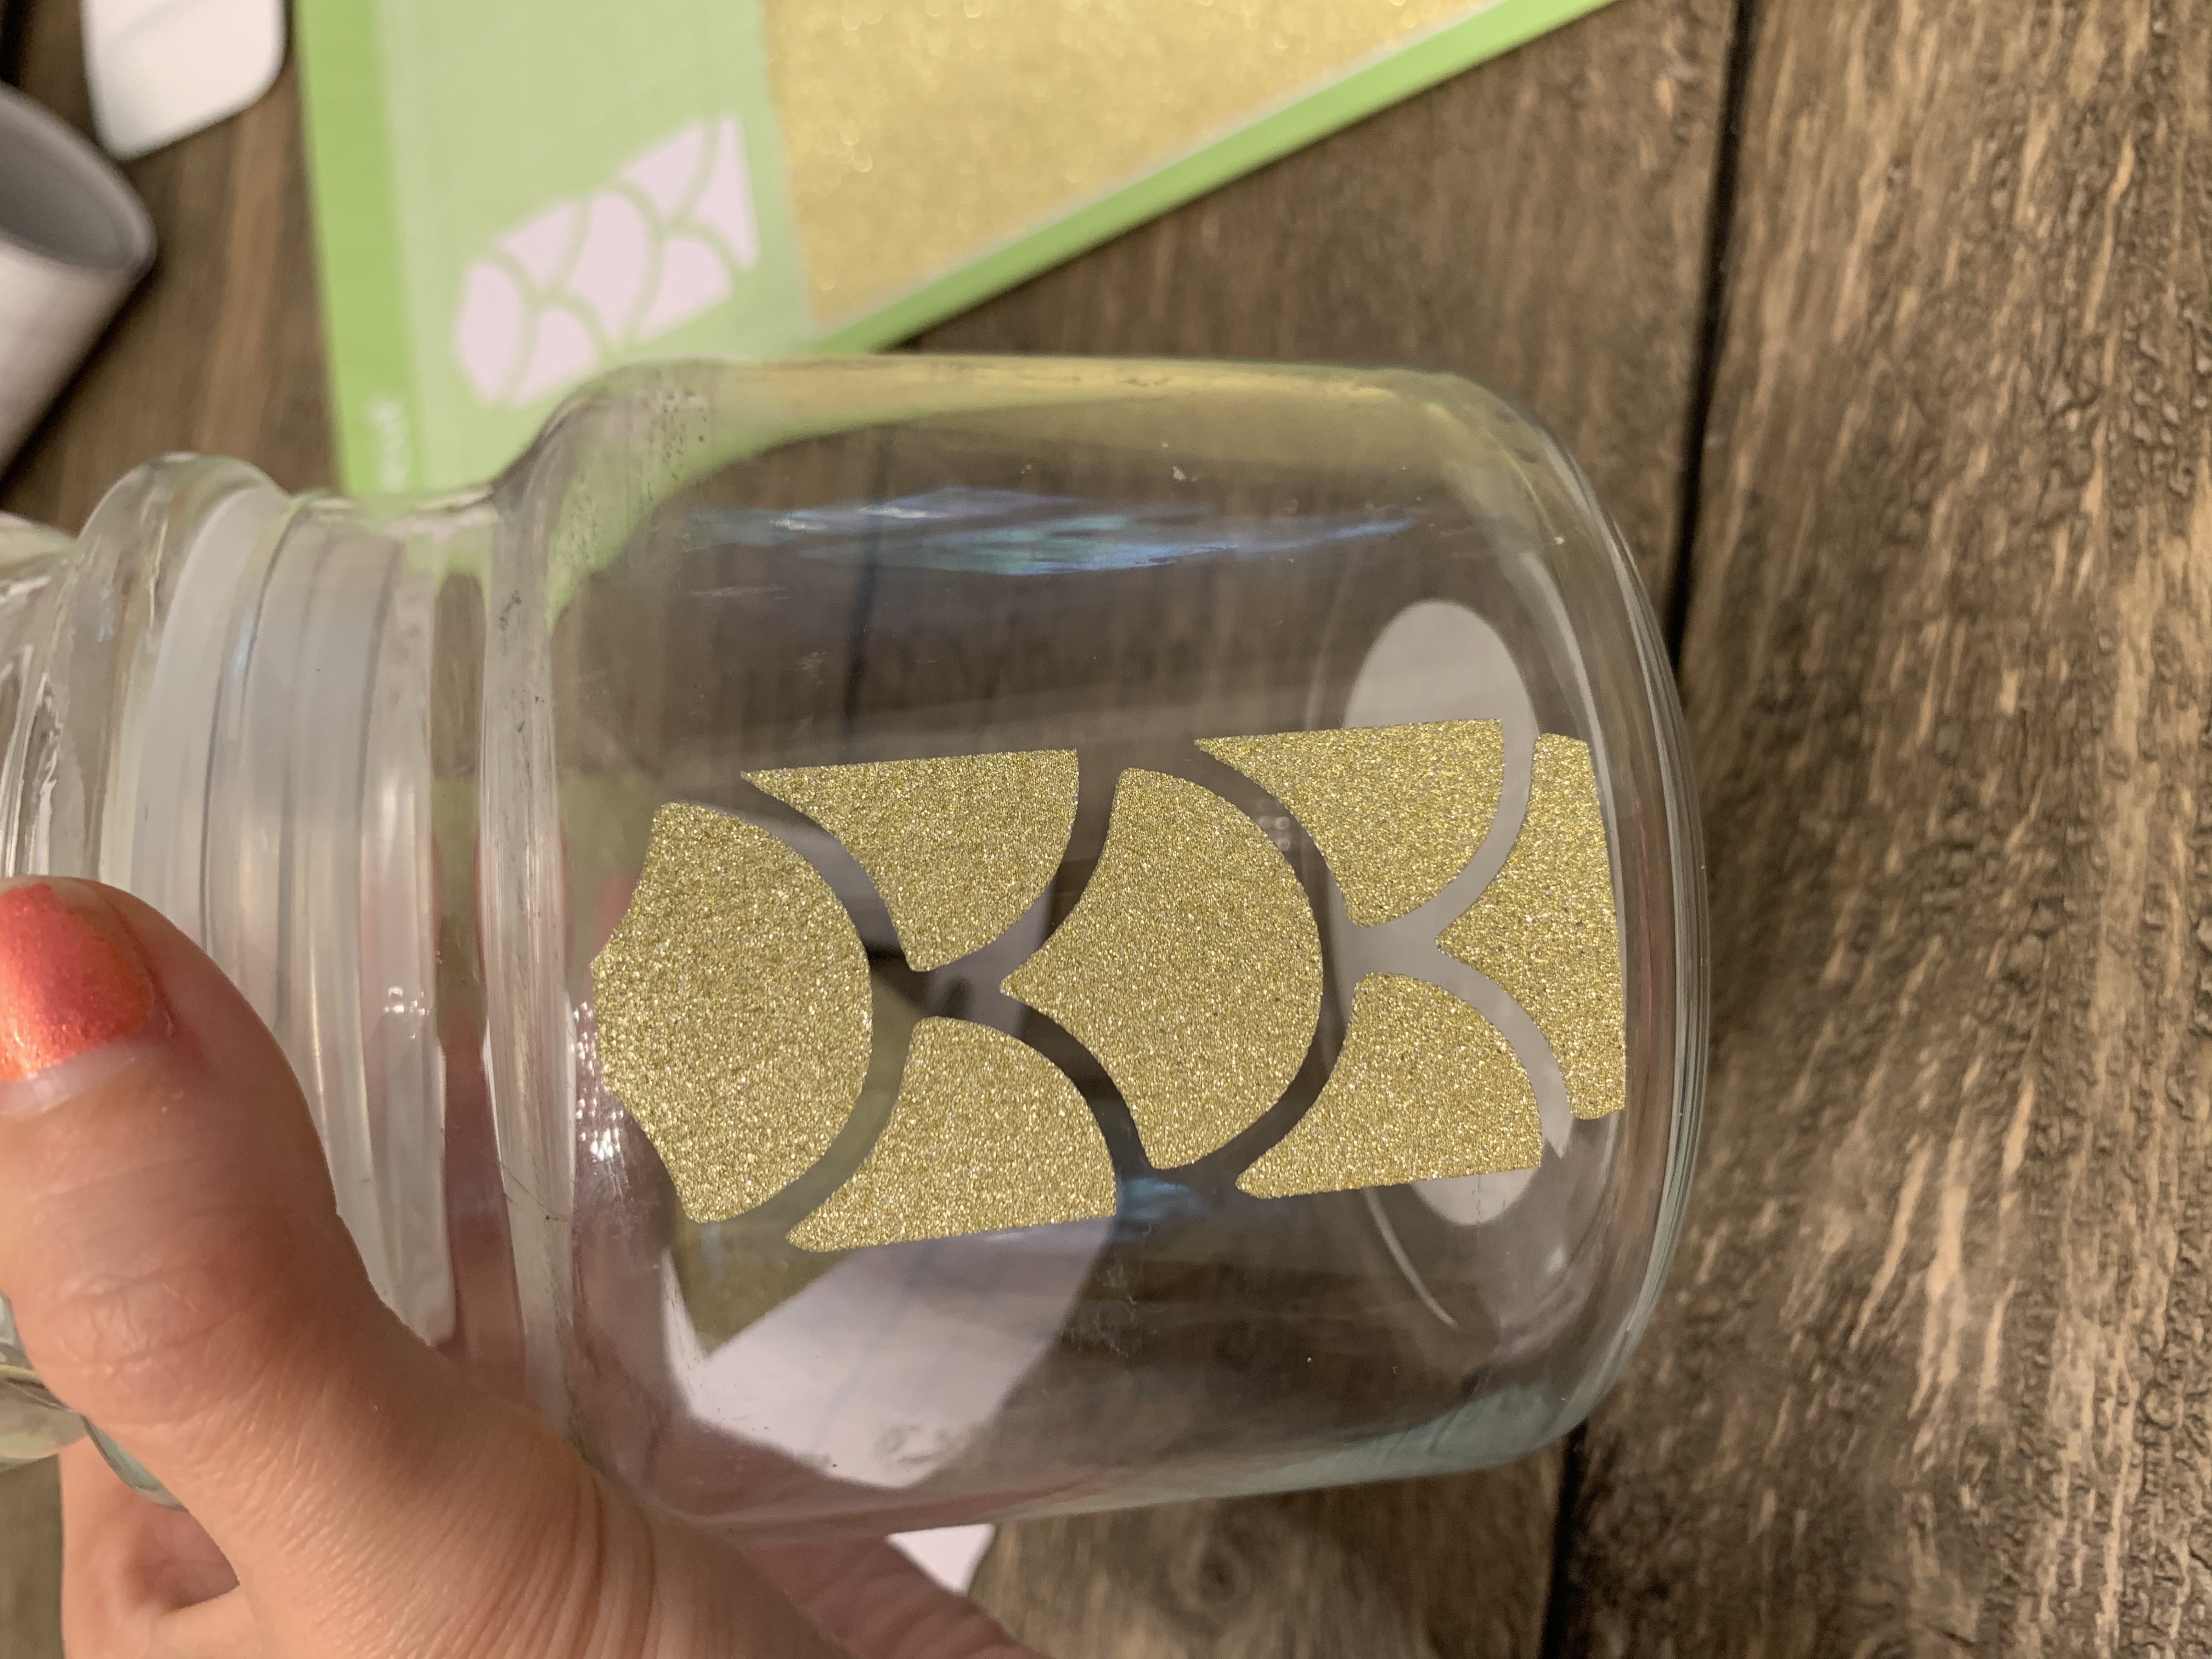
- I peel off the transfer tape.
- I place it as good as I can to be as seamless as I can on the glass jar.
- I scrub it against the glass to hold it in place.
- Slowly and gently pull off the transfer tape. Here is my final product. Not TOO shabby for a first try. The most important thing is that this was a fun project to try out and next time I will do so much better!

![]()