
Design Space Circle Monogram Tutorial
Posted by Savana Price on 6th May 2020
Circle monograms are the perfect way to create personalized gifts for loved ones! If you have a cute circle monogram frame or if you created your own design, you will want to know how to use fonts to put inside your blank circle. You may also be wondering how to create a blank circle within your design. I will address both of these in this tutorial!
How Do I Make A Circle Monogram?
To create a circle monogram within a design you will need to use the Slice tool.
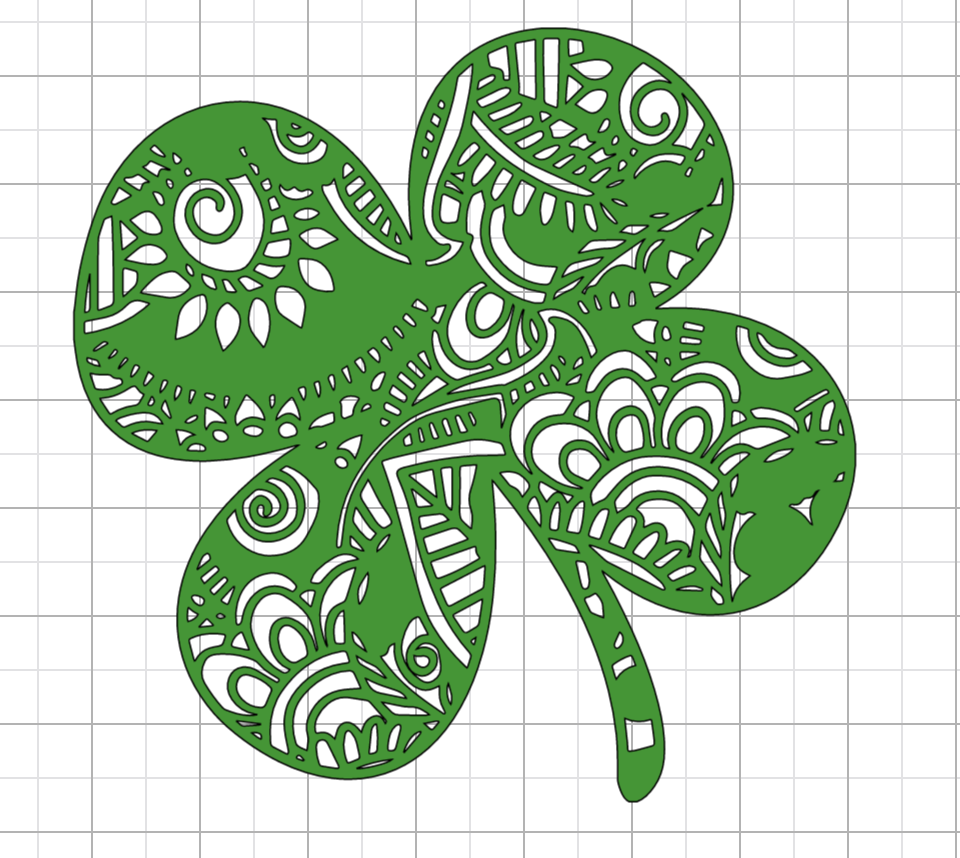
I start out with my design. In my case I am using my Zentangle Four Leaf Clover Mandala SVG cut file.
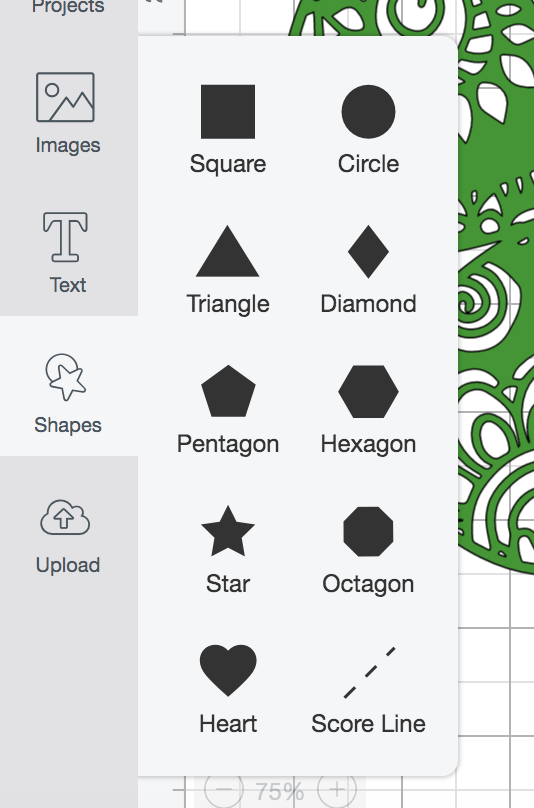
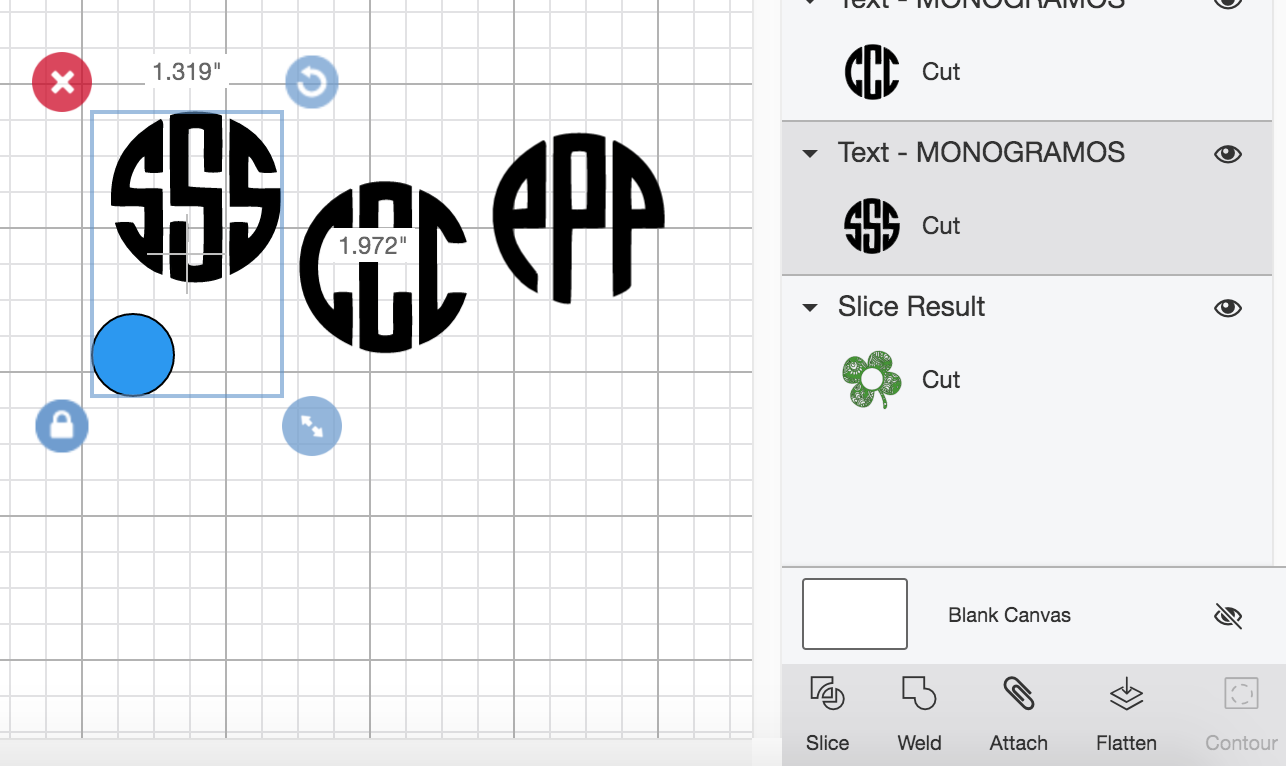
I then select the Shape tool and insert a circle.
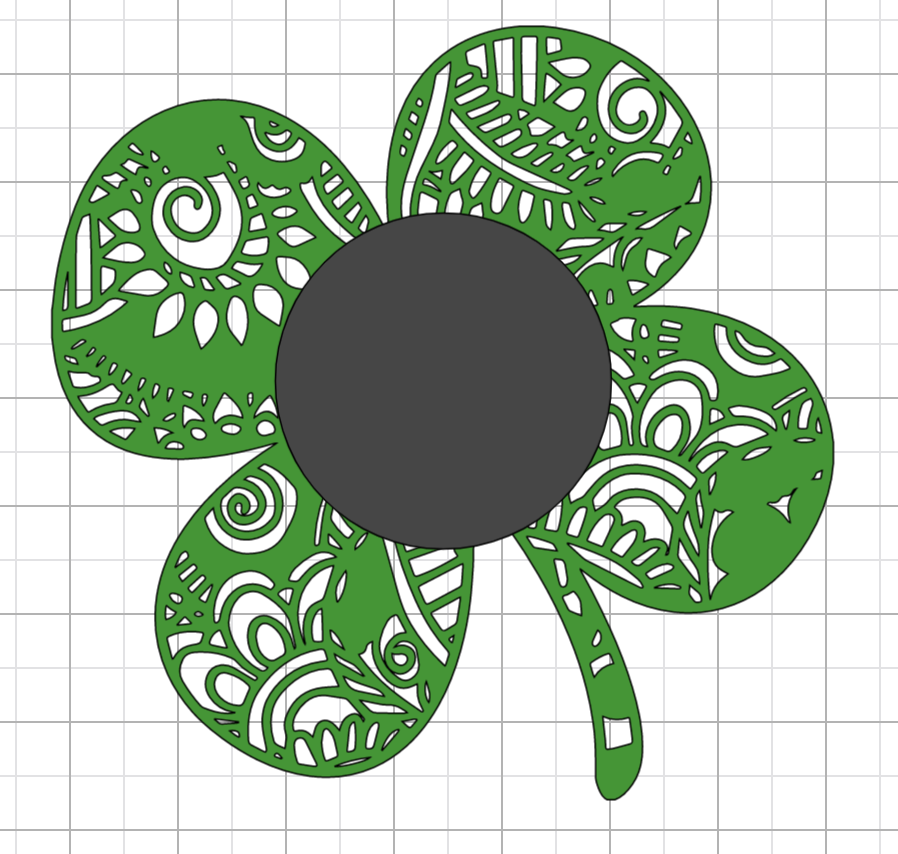
I position my circle towards the center of my design.
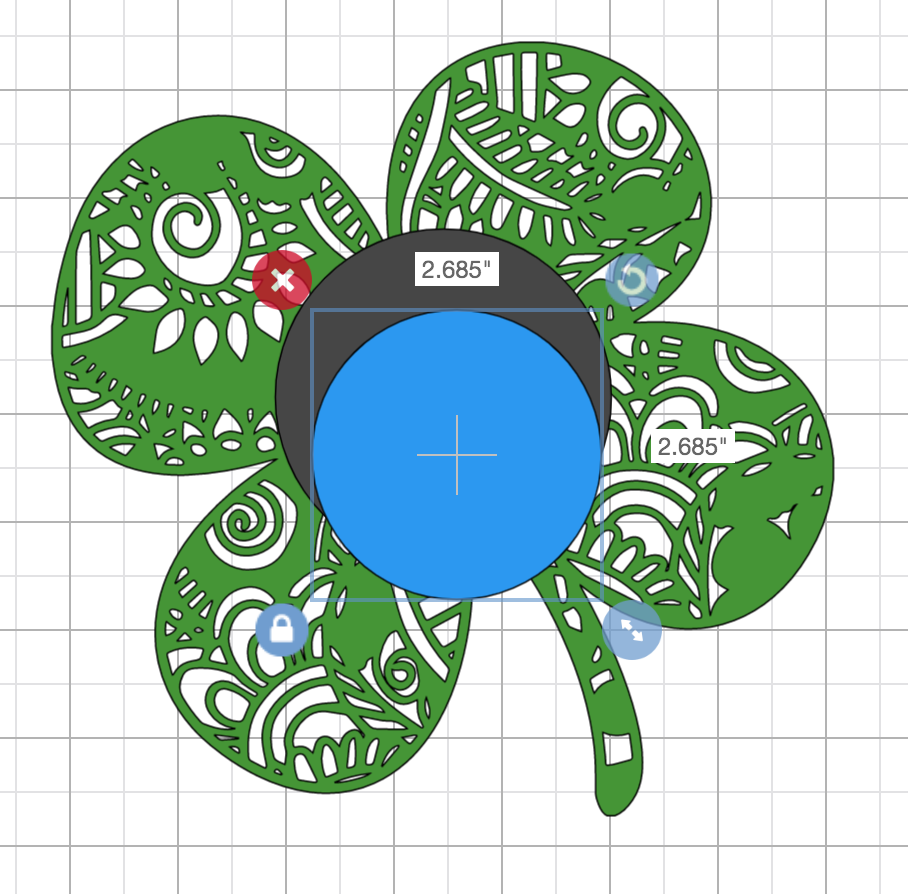
Because I want a bit of a border around my circle I select the Shape tool again and insert a second circle.
I select the bottom circle and top circle and select the arrow drop down under Align and select Center.
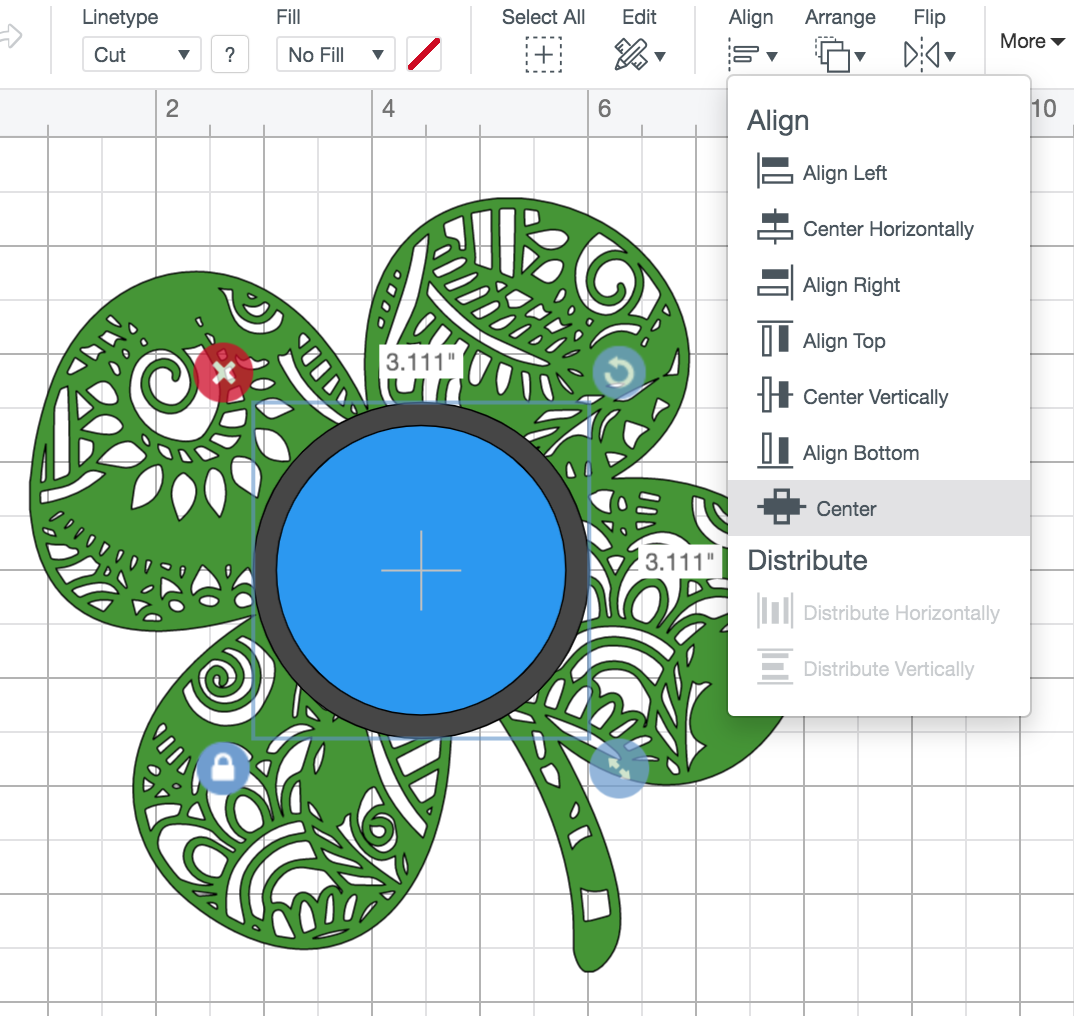
Now the 2 circles are positioned directly in the center of one another.

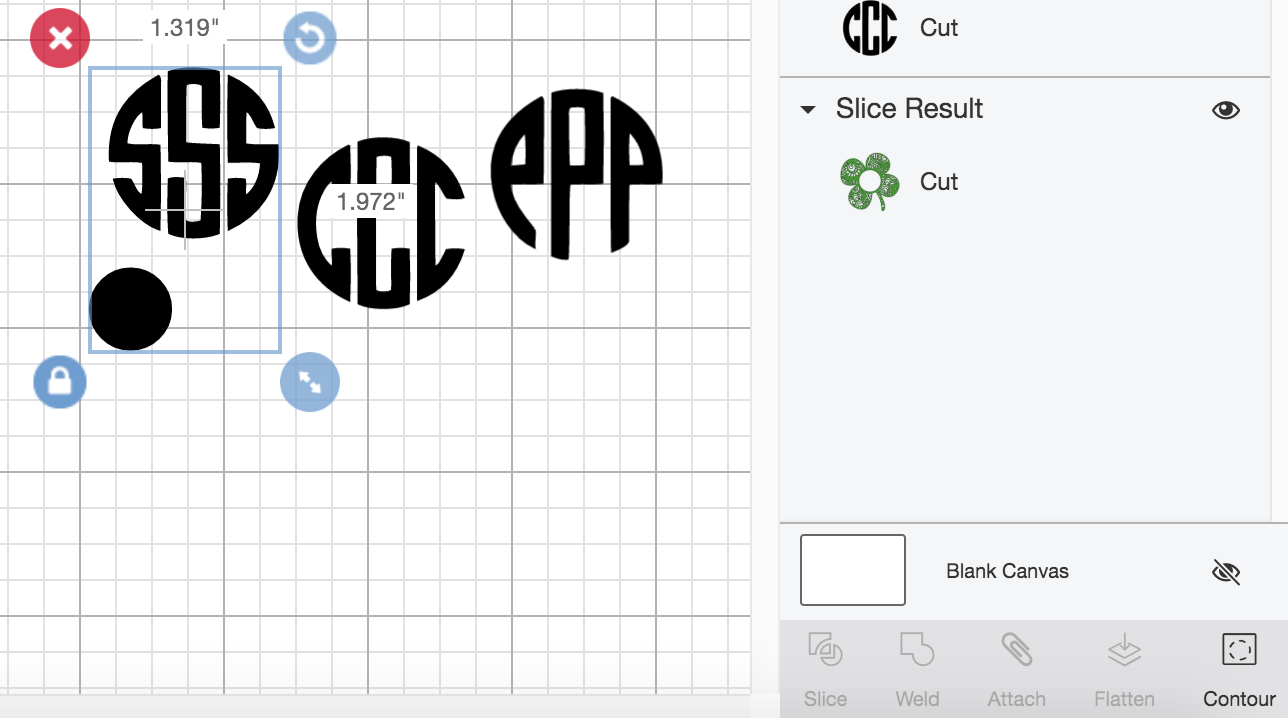
I can now select my bottom circle (in my case the gray circle) and I also select my design. I want them combined into one shape.
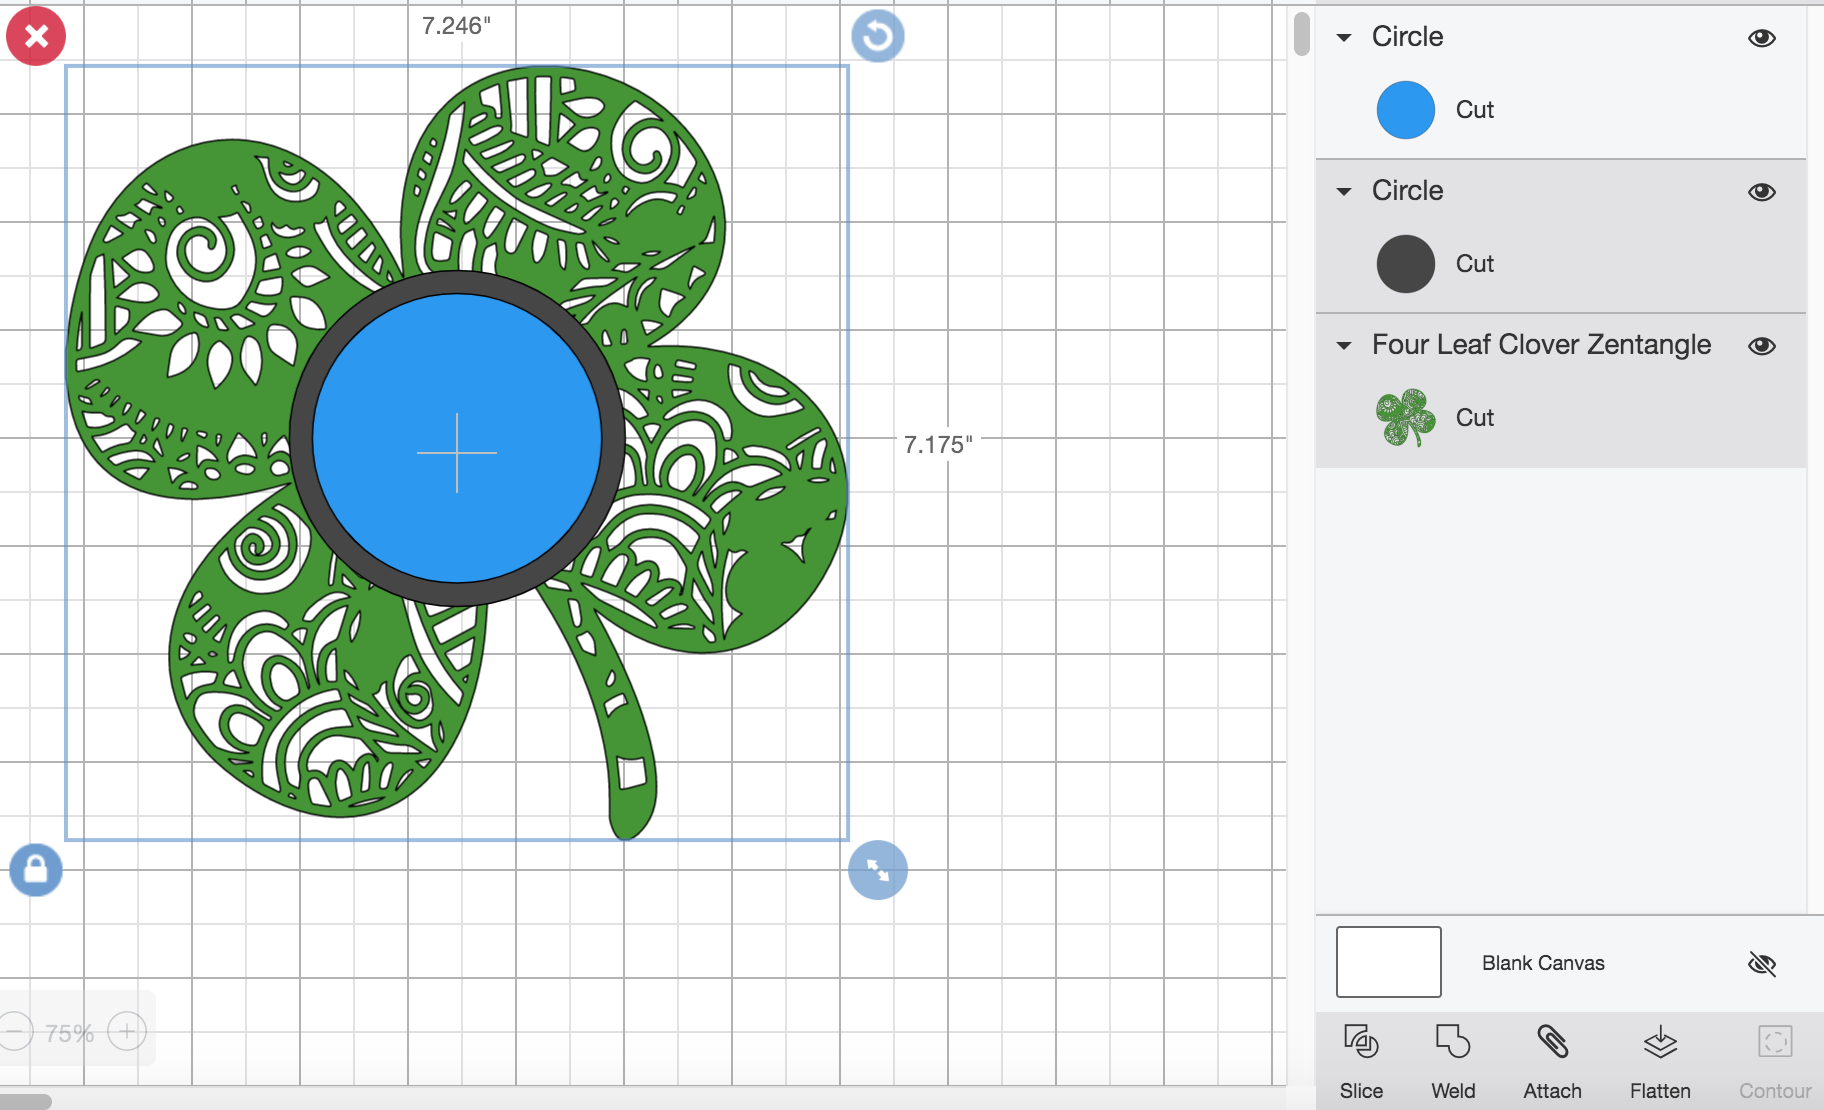
With both shapes selected, I select the Weld tool.
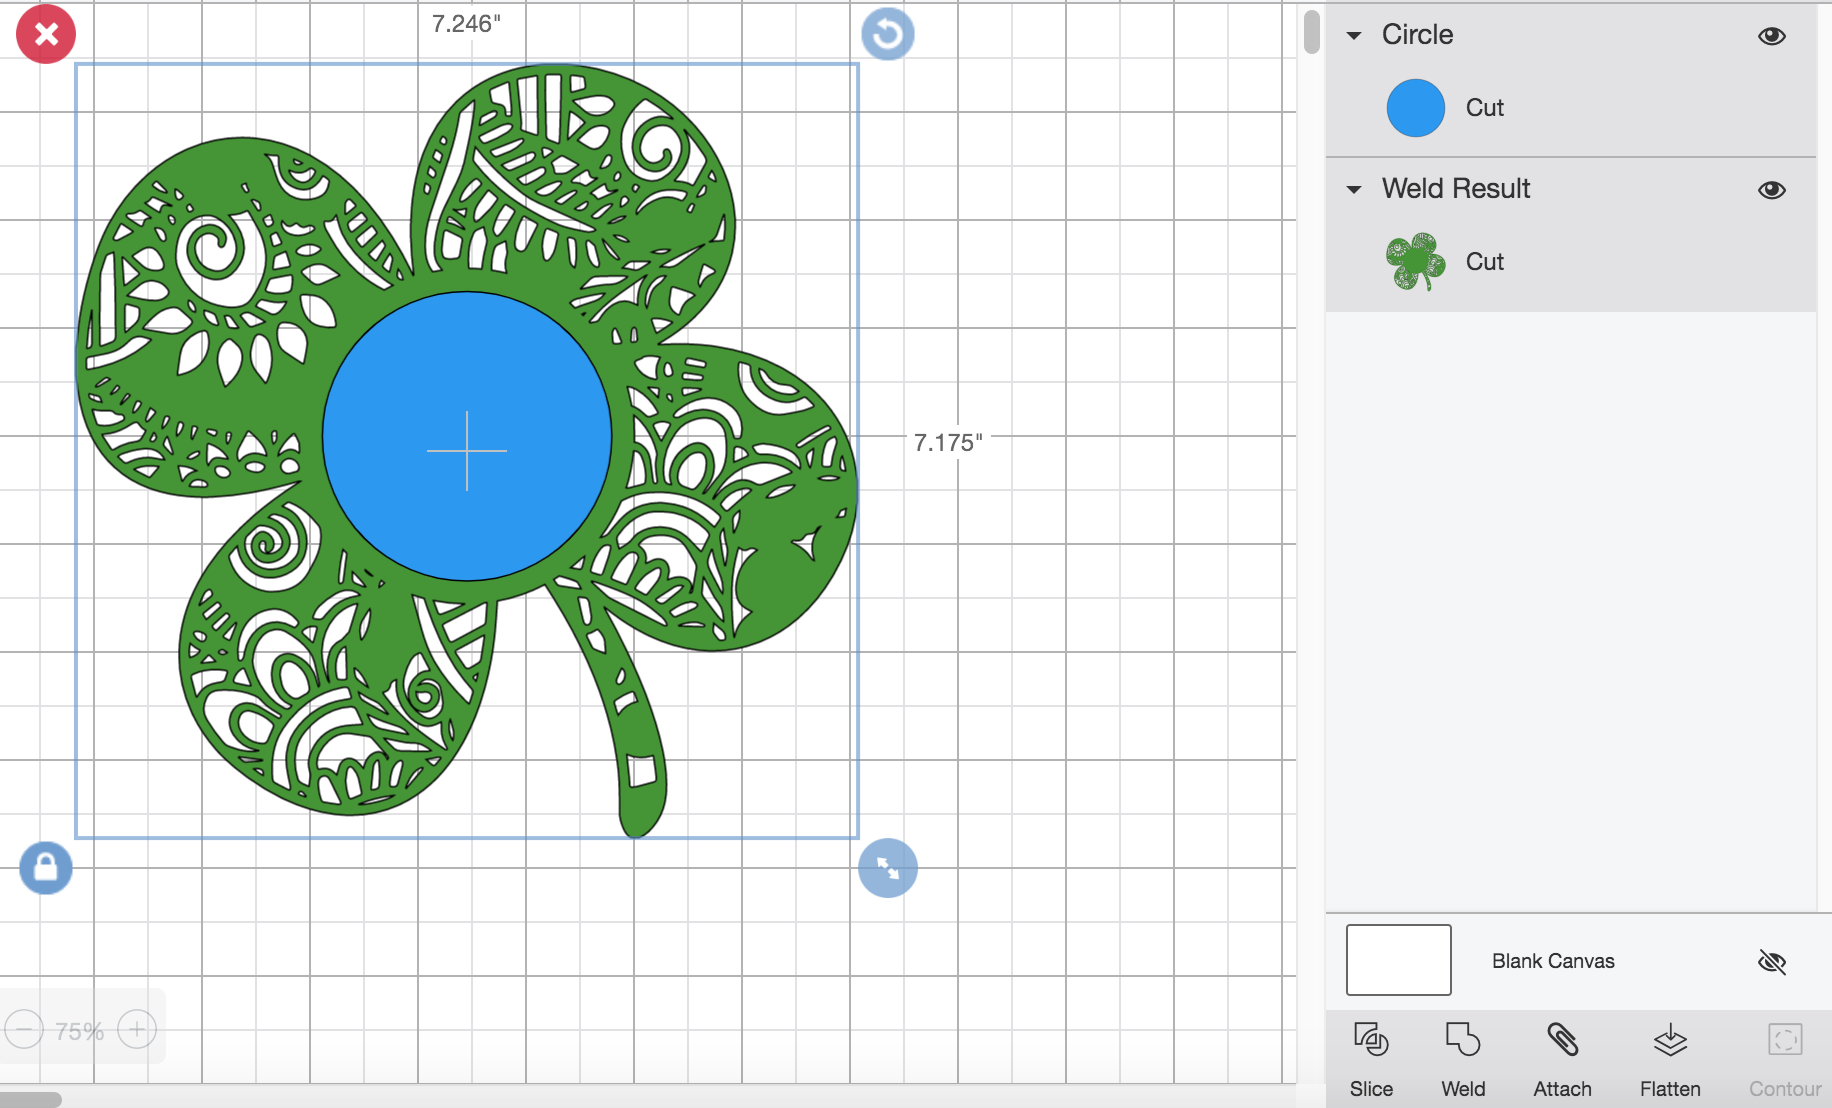
Now you can see that the bottom layer circle and the clover design are combined into one design. I now select both of my layers.
I select the Slice tool.
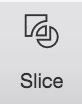
After I slice my design, I can pull out the separate pieces.
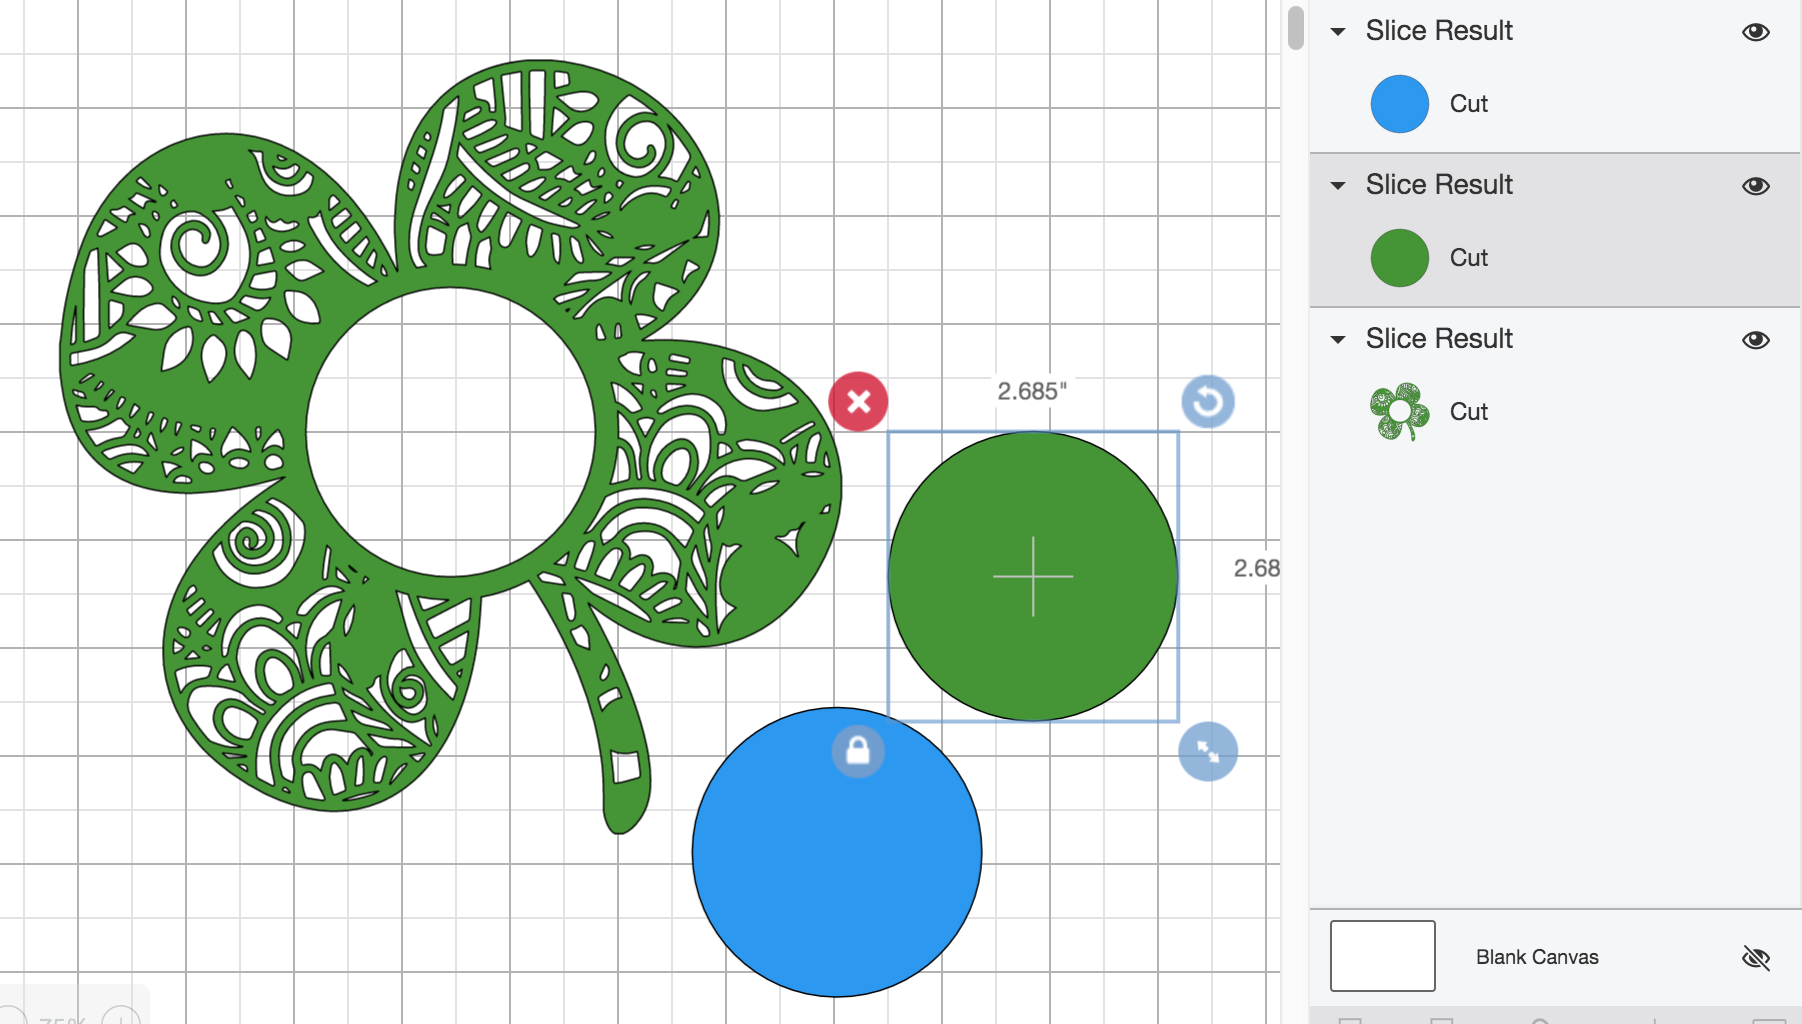
I delete any unwanted shapes or parts to get my finalized design.
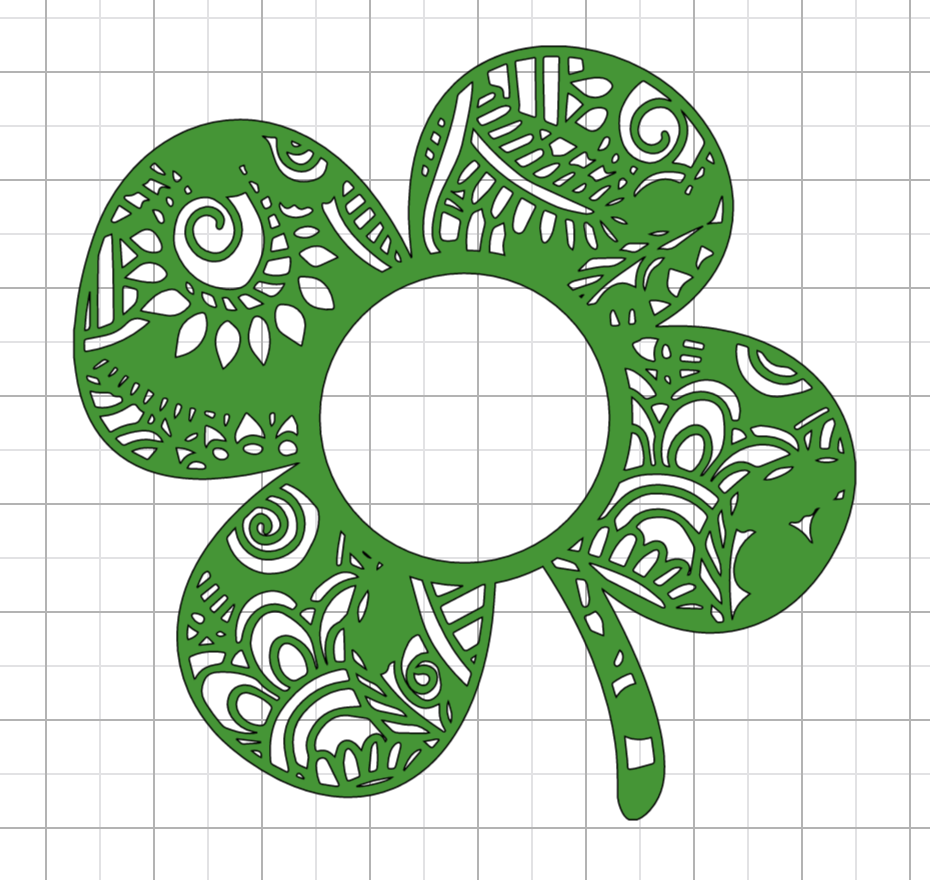
Now would be a great time to save your project! This will help you if your program crashes or if you accidentally lose the design when going through the next steps. Click on Save right next to My Projects at the top right.
How Do I Use Fonts For My Circle Monogram?
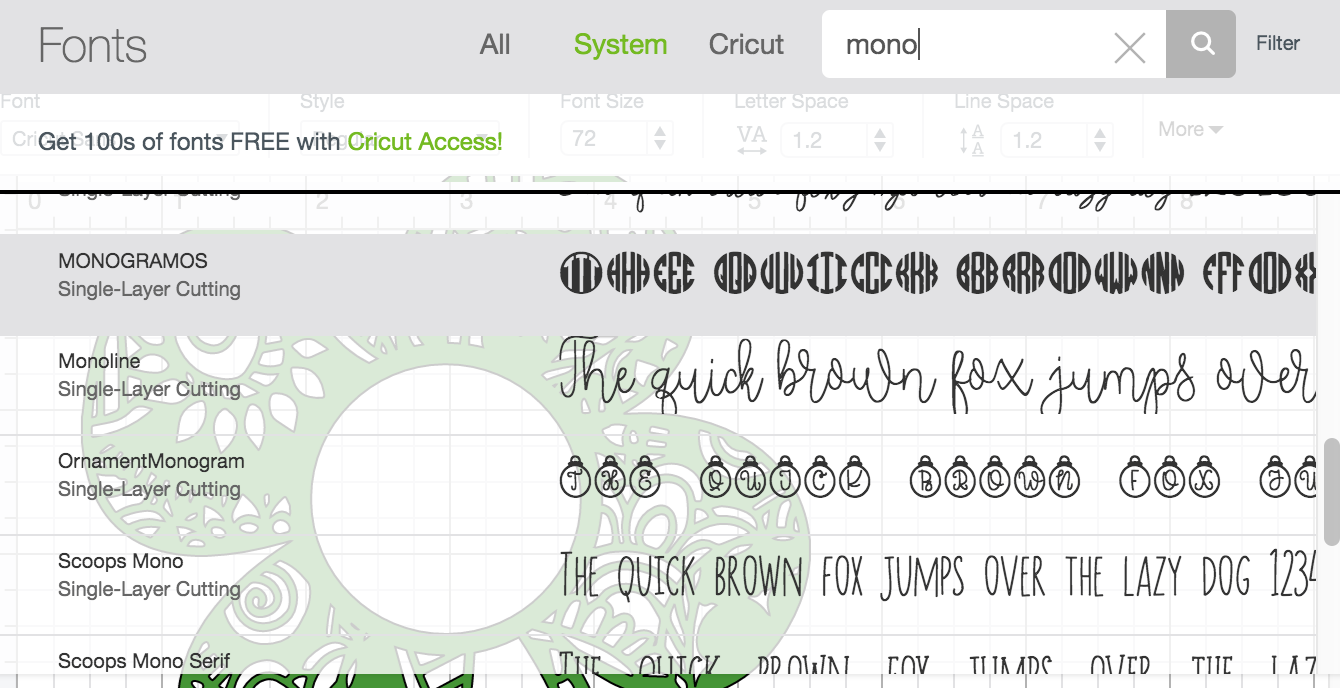
Monogramos by Woodcutter is one of the most popular fonts to use in Cricut Design Space to use for the letters. You will need to download it and install it on your computer. There are also other options for circle monogram fonts. In this section we will make use of the Weld, Slice, and Contour tools. Woodcutter also offers an easier-to-use paid for set that includes separated left, middle, and right letters.
Let's first start out by selecting the Text tool.
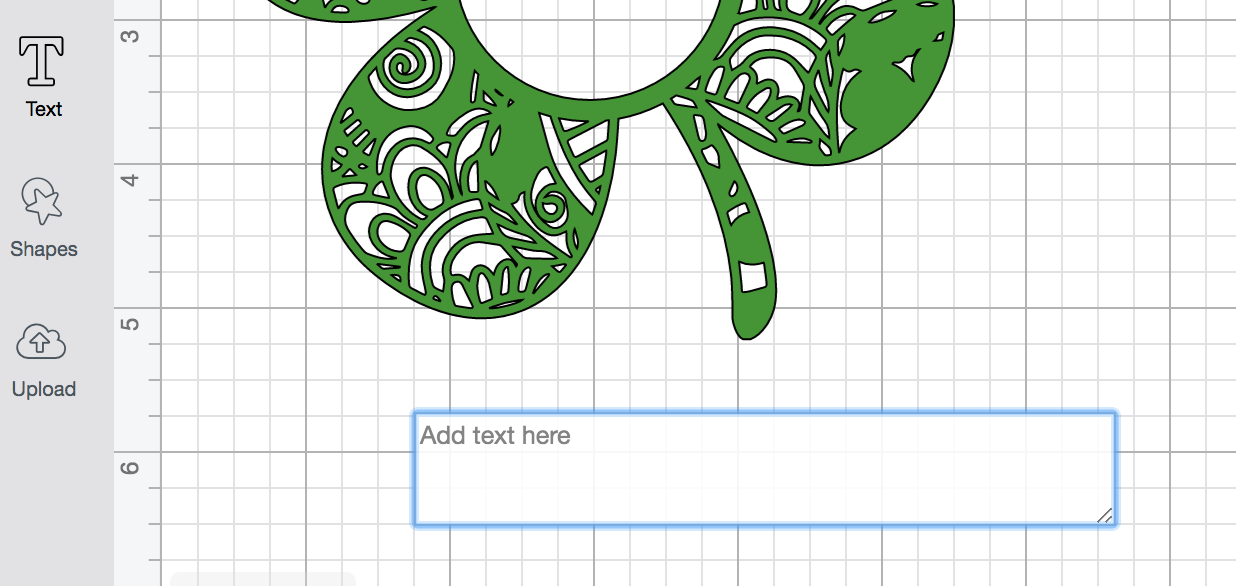
When using Monogramos, I will want to use lowercase letters only because the uppercase letters are in a different and more complicated style. I start out by typing in my lowercase "s".

I type out the remainder of my letters, c and p. I type all of my letters out in a separate text box.
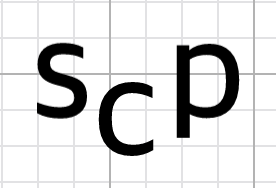
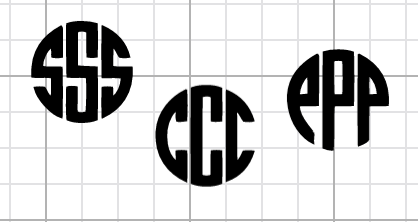
I can now select one letter at a time and change the font to Monogramos.
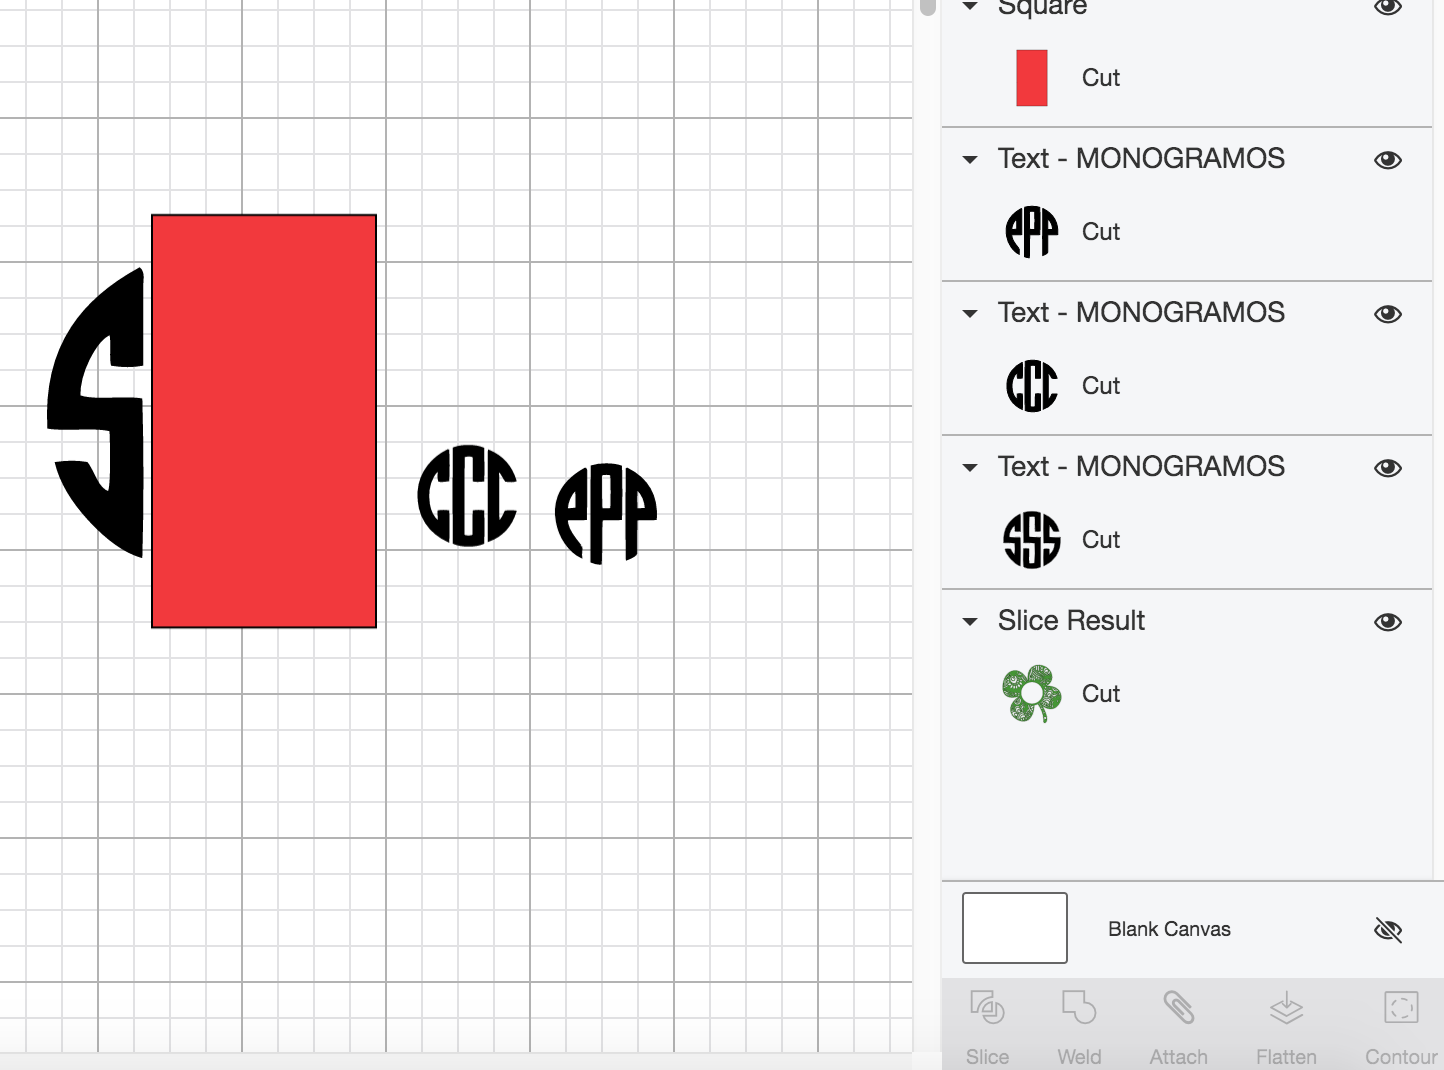
Here are my individual letters once typed out and changed to Monogramos.
When I select my S I do not see an option to Contour as Contour is grayed out.

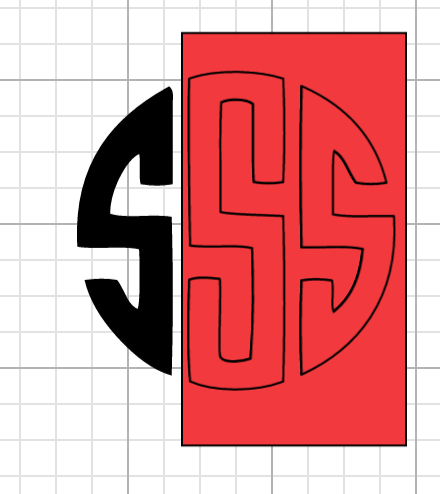
I add in a random shape and select both the shape and my S. Now I can Weld the 2 shapes together.
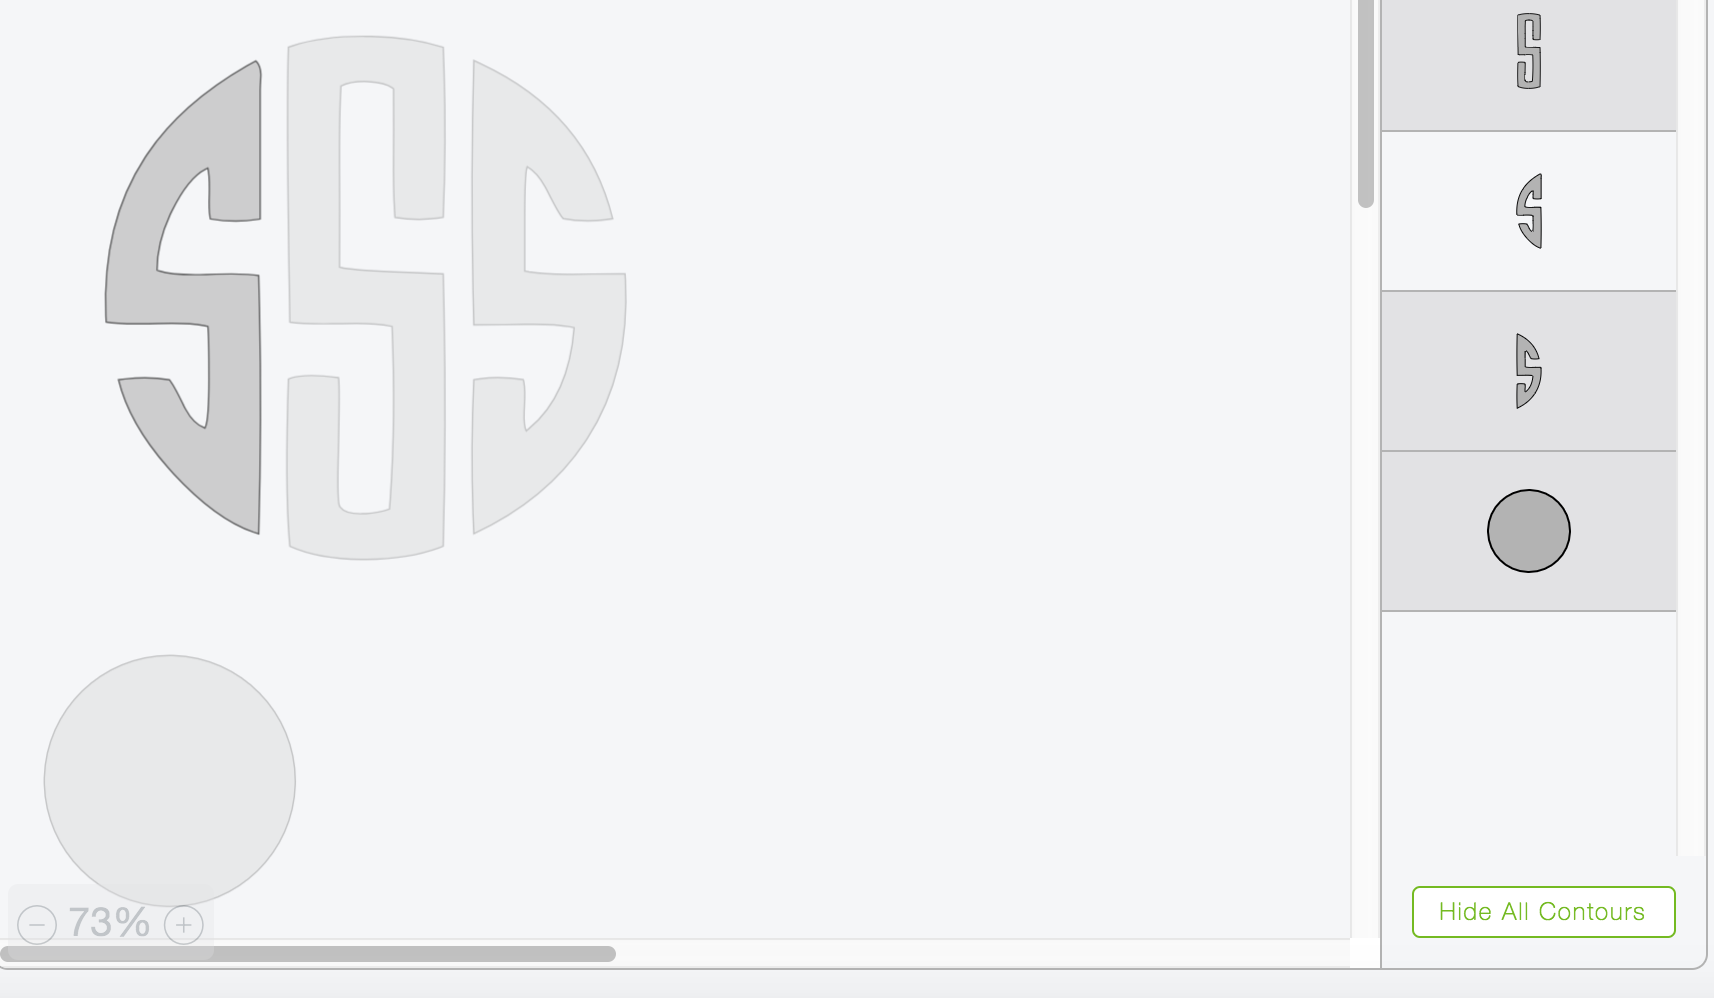
Now that I have 2 shapes I can select them and then select the Contour tool.
I can now click on the areas that I do not want. They will turn a lighter gray. The areas that will remain are darker gray.
I will need to repeat the same process with my letters c and p.
Once I move everything in place this is my final result.

There is another way that I can get my letters separated. I draw a rectangle on top of the area I do not need.
I can then select the Slice tool.
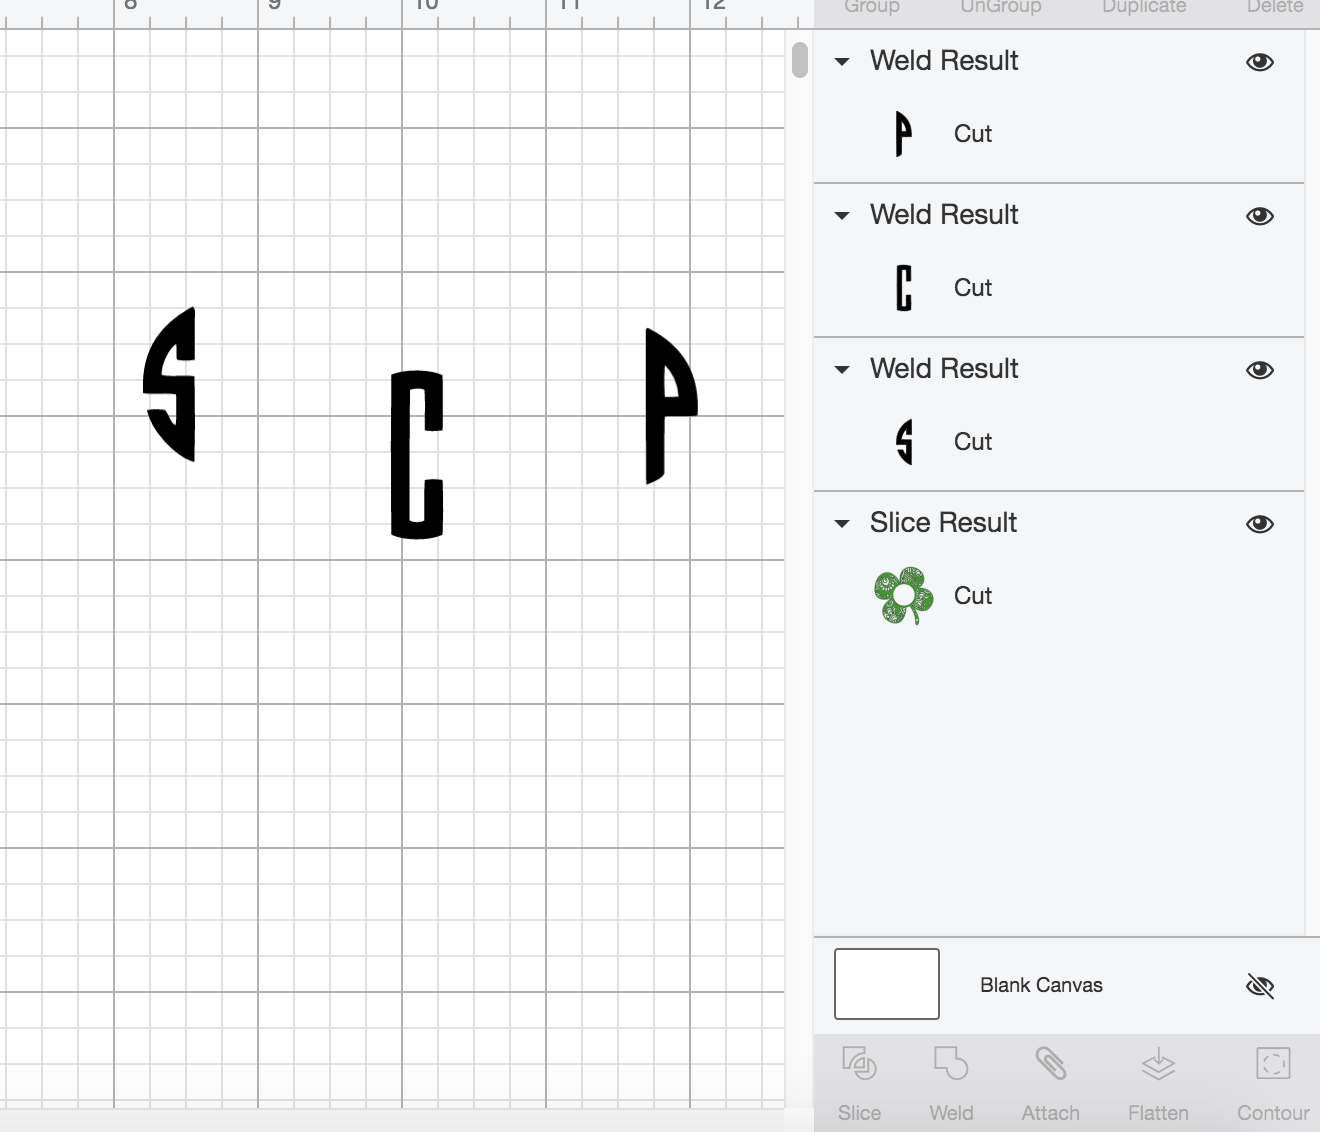
Once the parts I do not want are deleted I am then left with the part of the S that I want to keep. I will need to repeat the process with all of my letters.

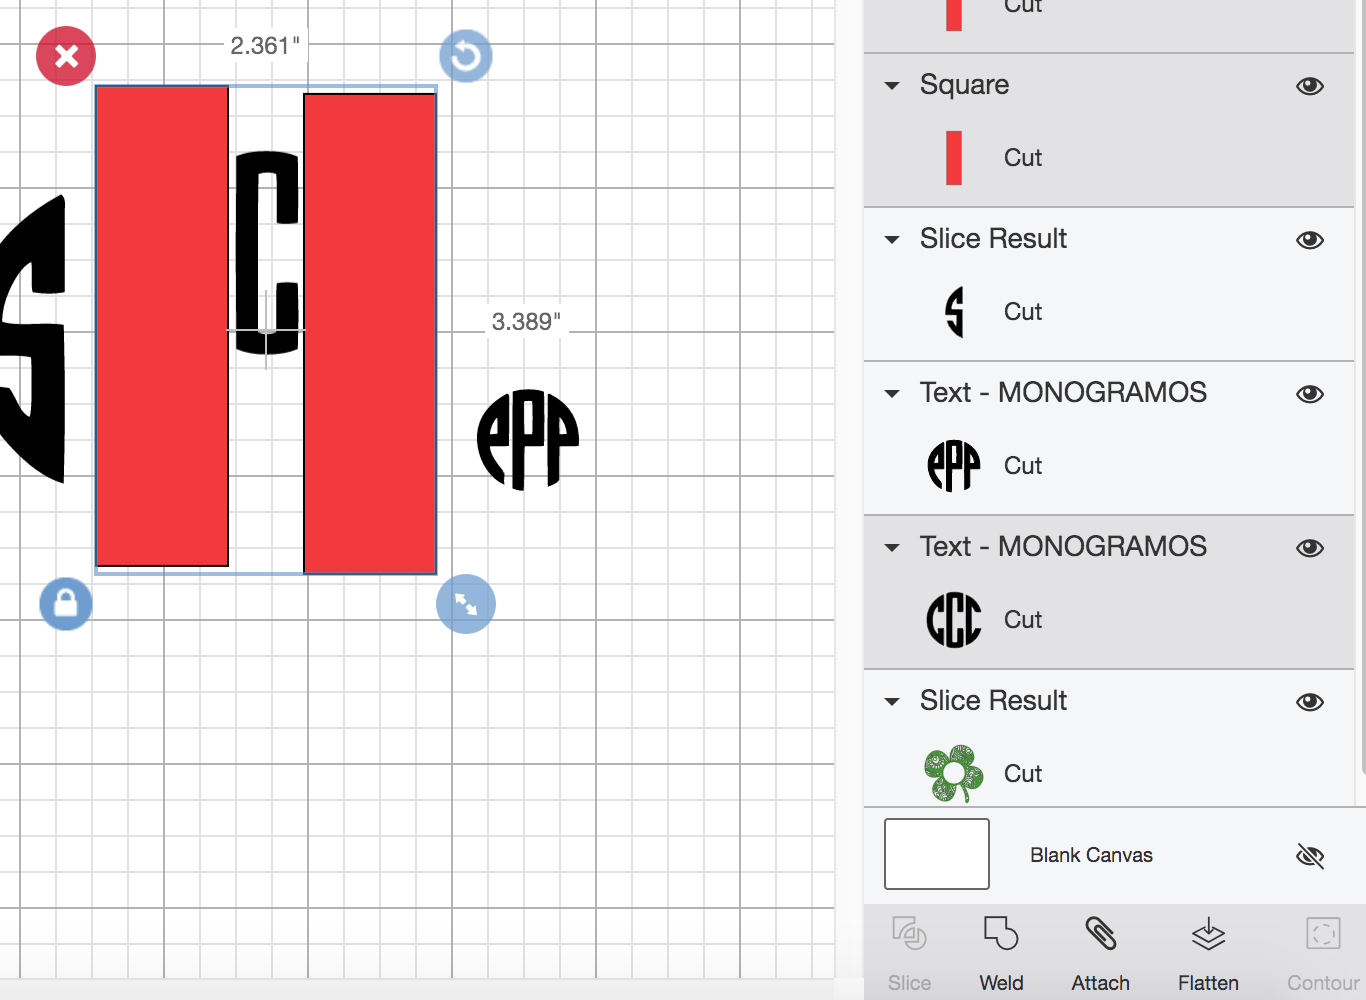
Keep in mind that the Slice tool only works with 2 shapes. It will not work with 3 or more shapes selected. As you can see in my example, when I select both of the rectangles around C and select my monogram C, the Slice tool is grayed out. To get around this, you will want to select your letter and one rectangle at a time to Slice. Another trick to get around this is to select all of your 3 shapes and Weld. After you Weld you will be able to use the Contour tool to delete the shapes you do not want. This is basically the same concept that I had originally taught you.
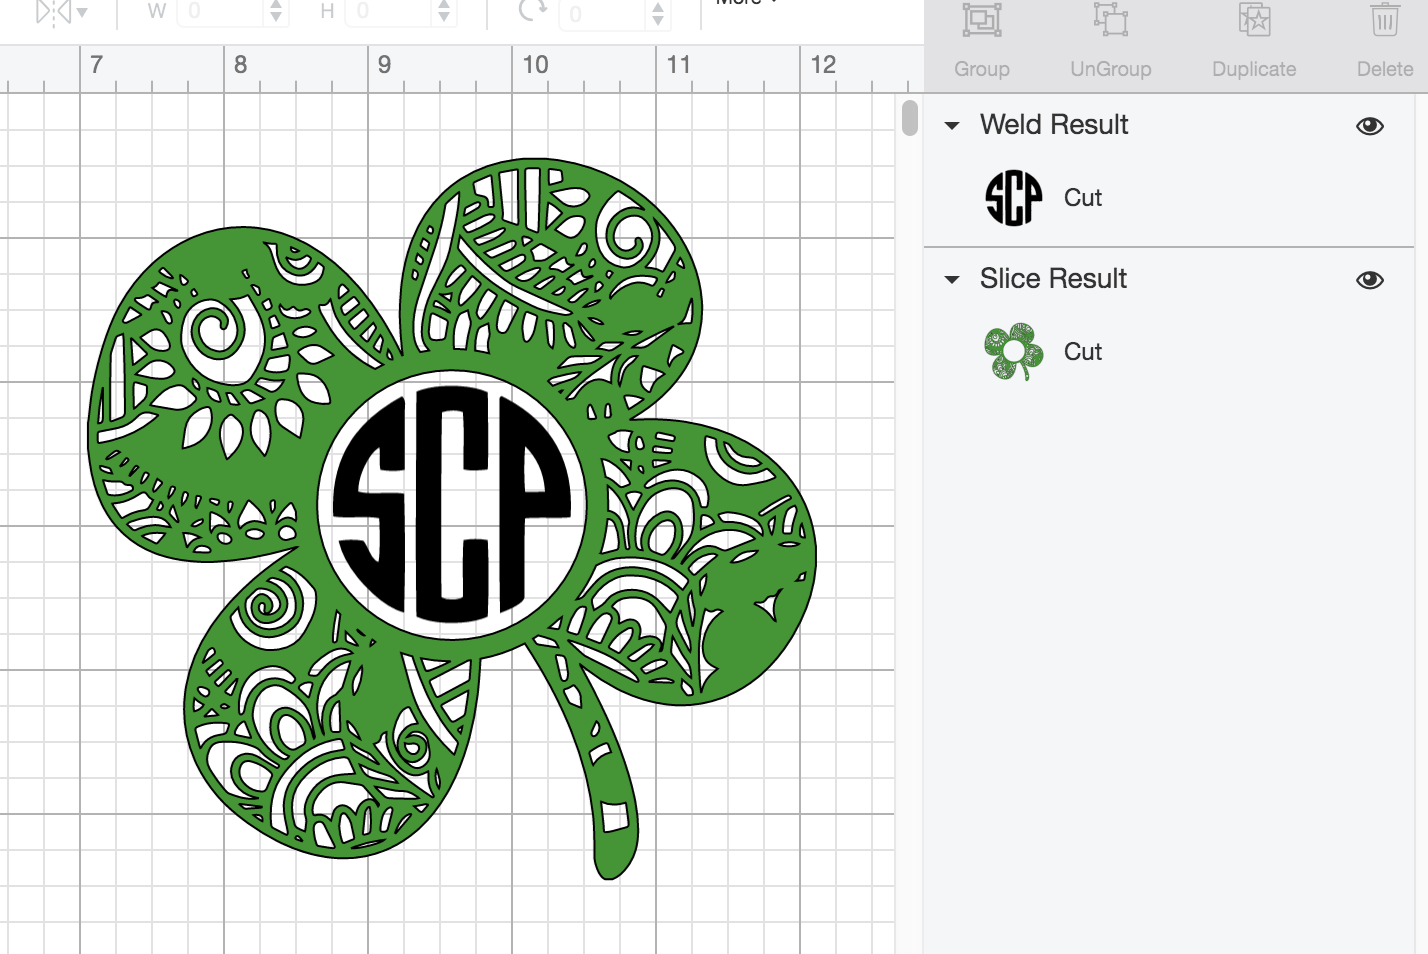
Once you do have all of your letters separated out and positioned you will want to Weld them all together. You will do this by selecting all of your letters and then selecting the Weld tool. (Keep in mind that if you want your letters to cut out on different layers of vinyl you can keep them separated and recolor each letter so that Cricut Design Space will read them as separate layers).
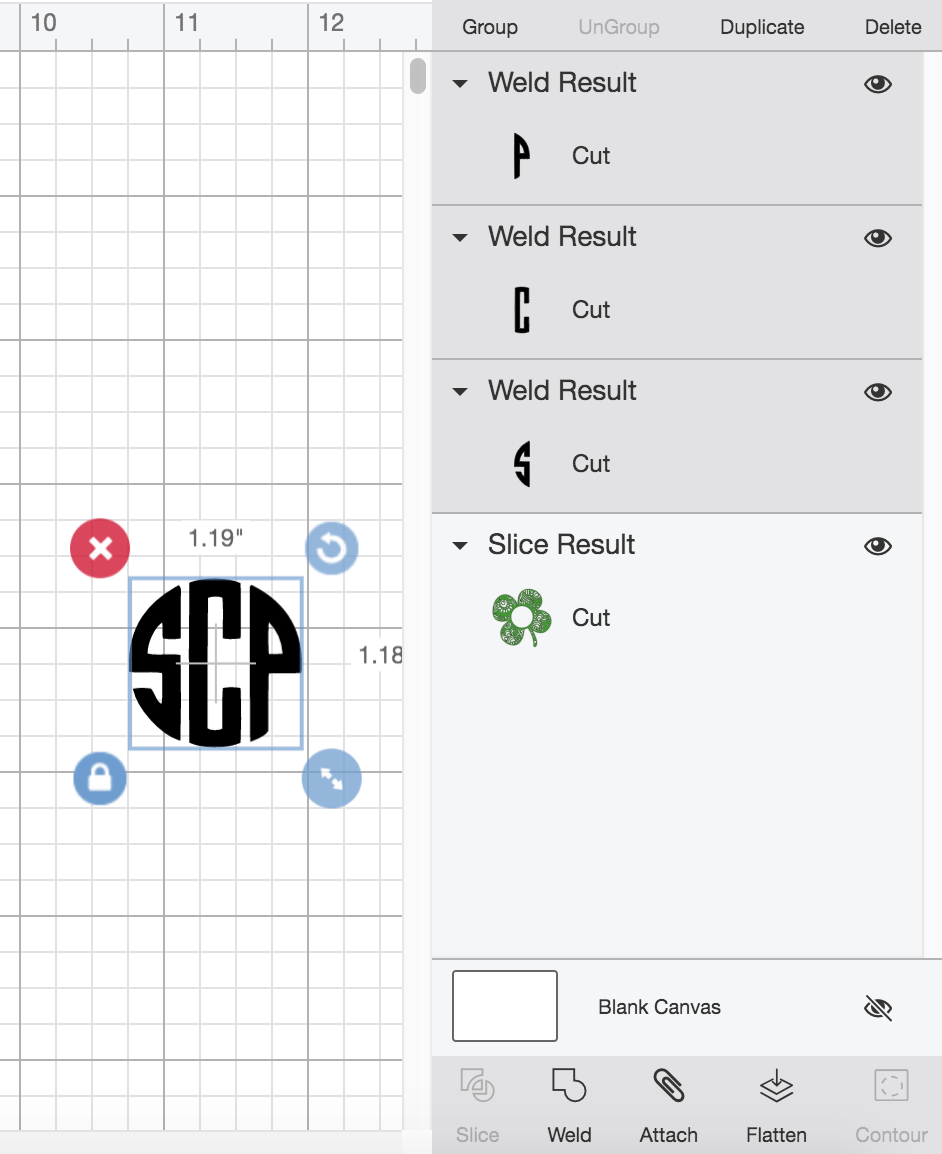
Finally, you will want to resize and position your newly welded monogram letters into your design!
And that is all you need to know about creating a circle monogram design as well as how to use a monogram font in Cricut Design Space. I hope you've learned something and will share this tutorial with others who may need an extra pointer.

![]()